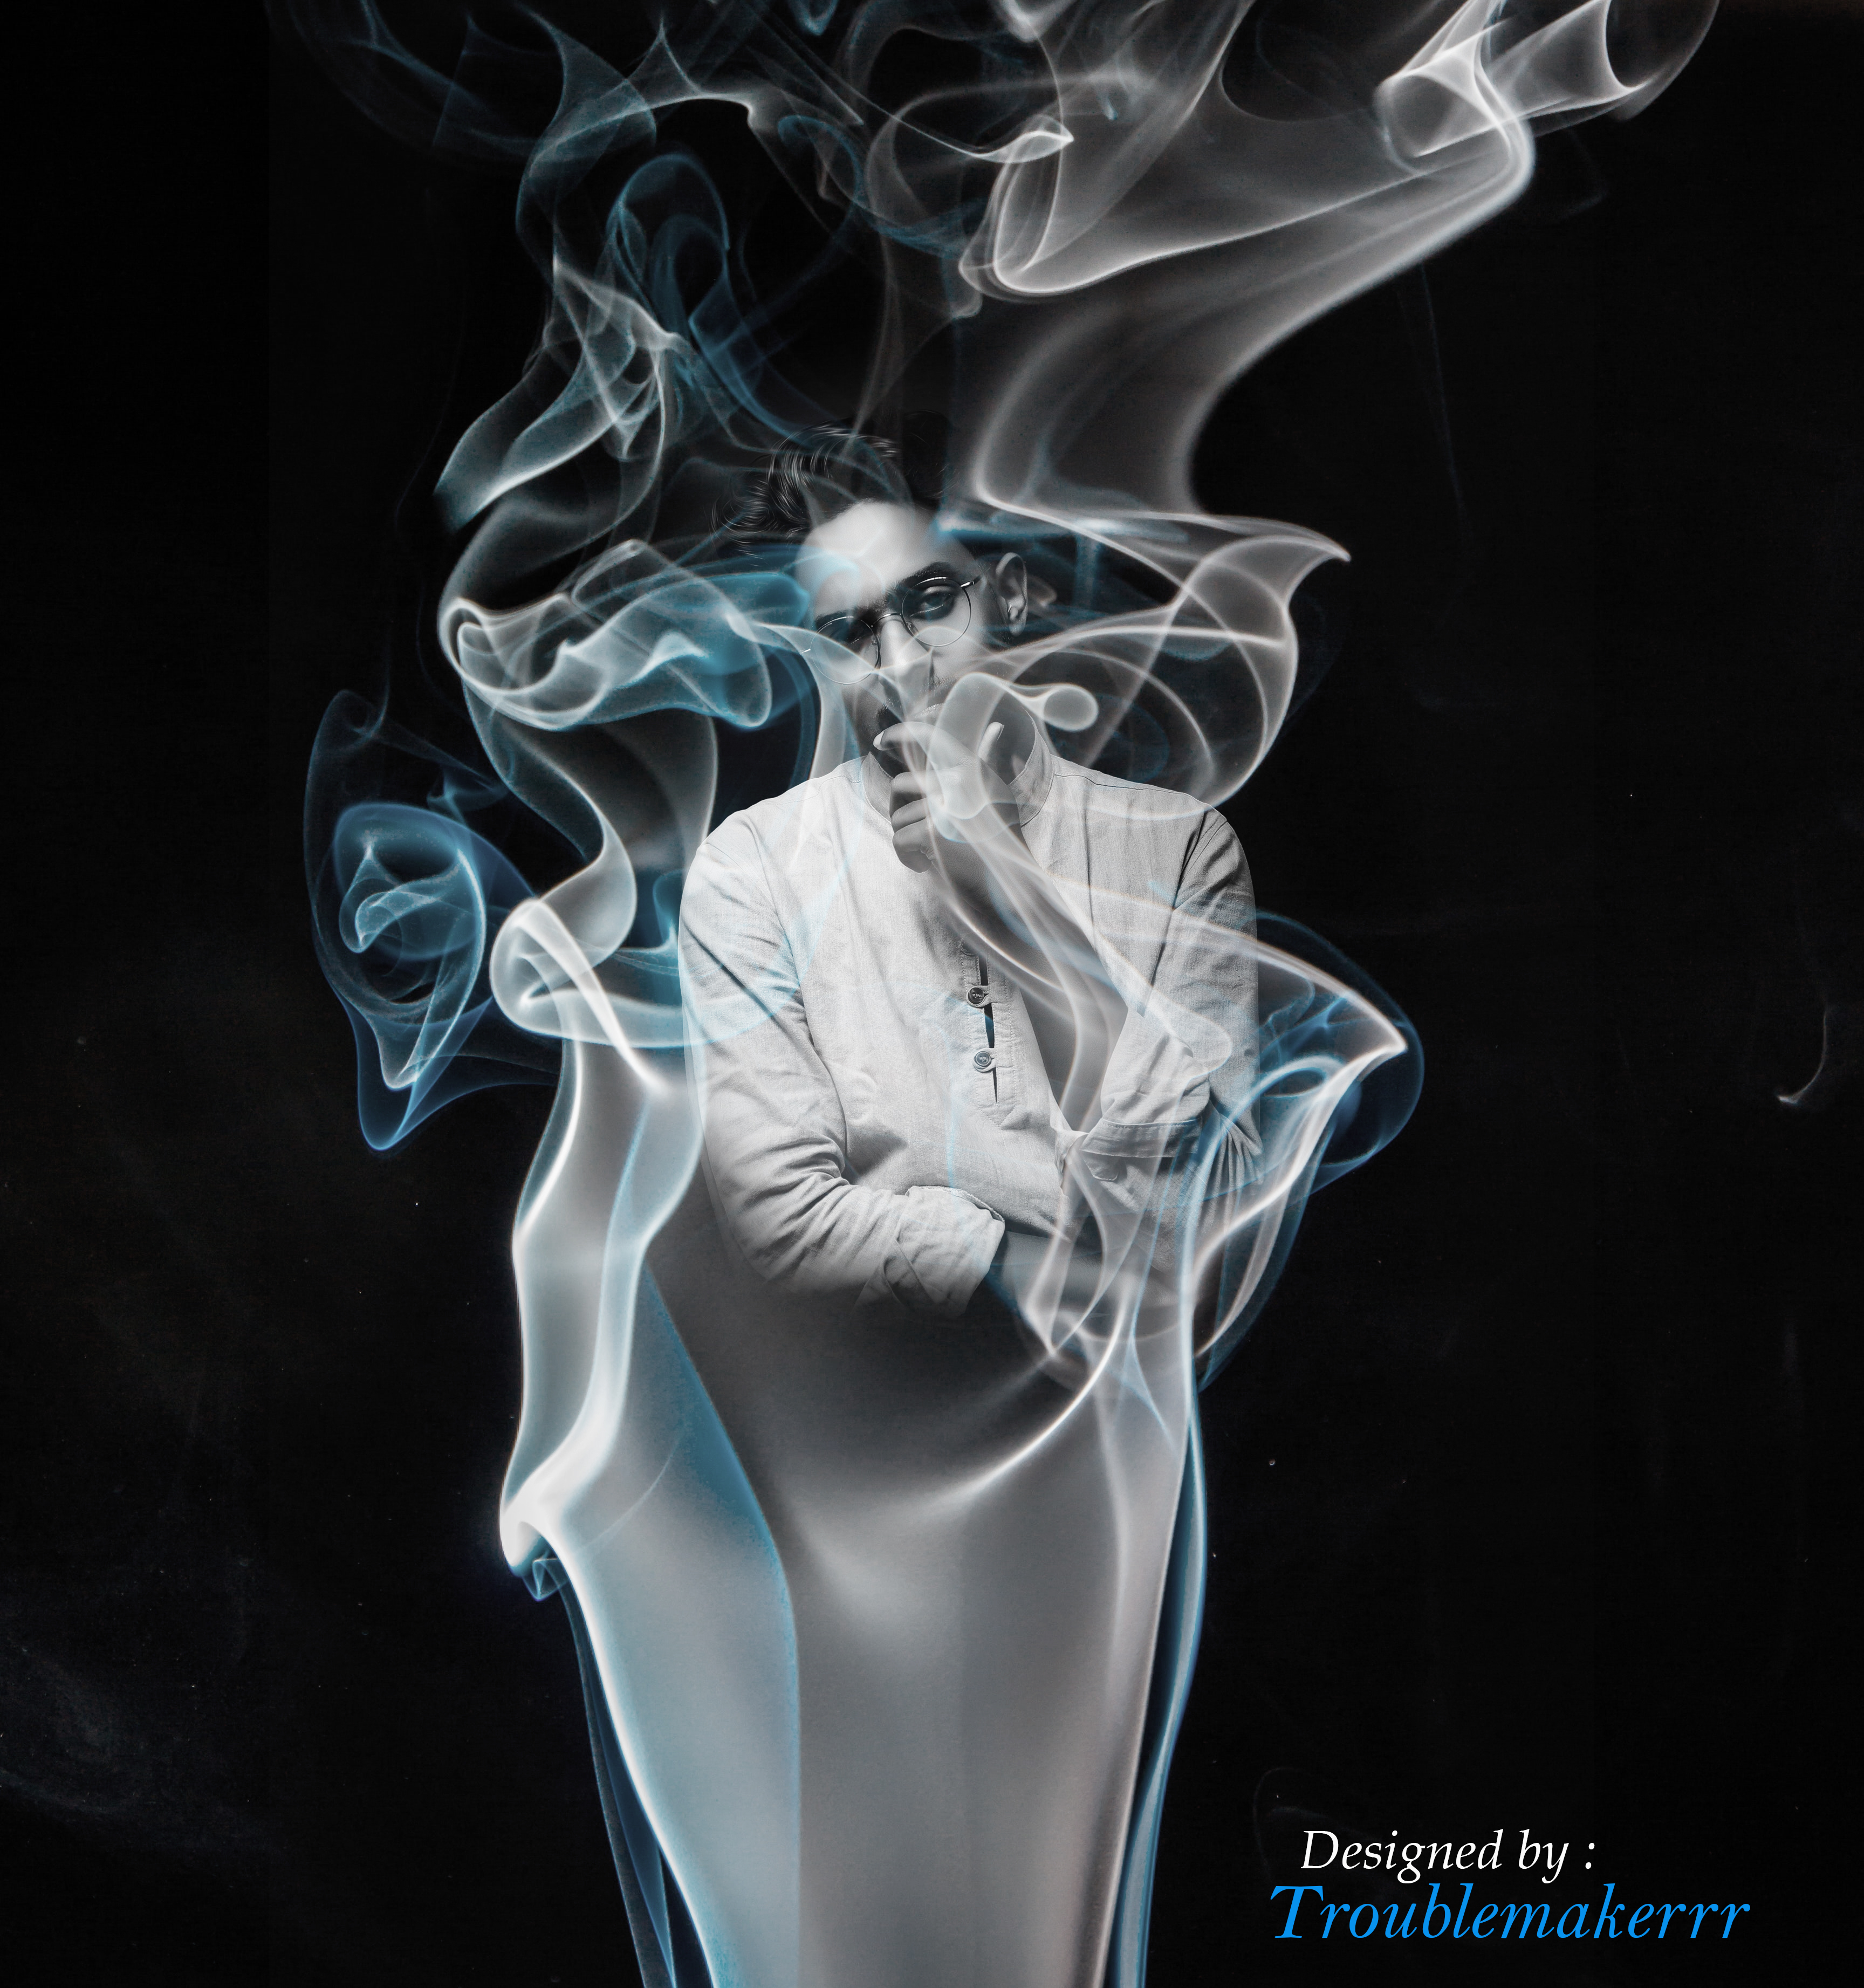
Creating a awesome smoke effect on my photo .............
21 May 2021
Hello my dear friends.
Assalamualaikum. I hope everyone is well in their houses . Temperature is too high in my area. So I'm having a very lazy time. The mind does not want to do anything this summer. It was as if I was sweating under the fan and hot smoke was coming out of my body. After lying down for a long time, I thought if I do something, it will feel hot like this. Because the bed was too hot. So I tried to shape my situation into my picture. So now I will share the processes with you. So let's start without wasting any time.
Process:
step 1:
 |  |
|---|
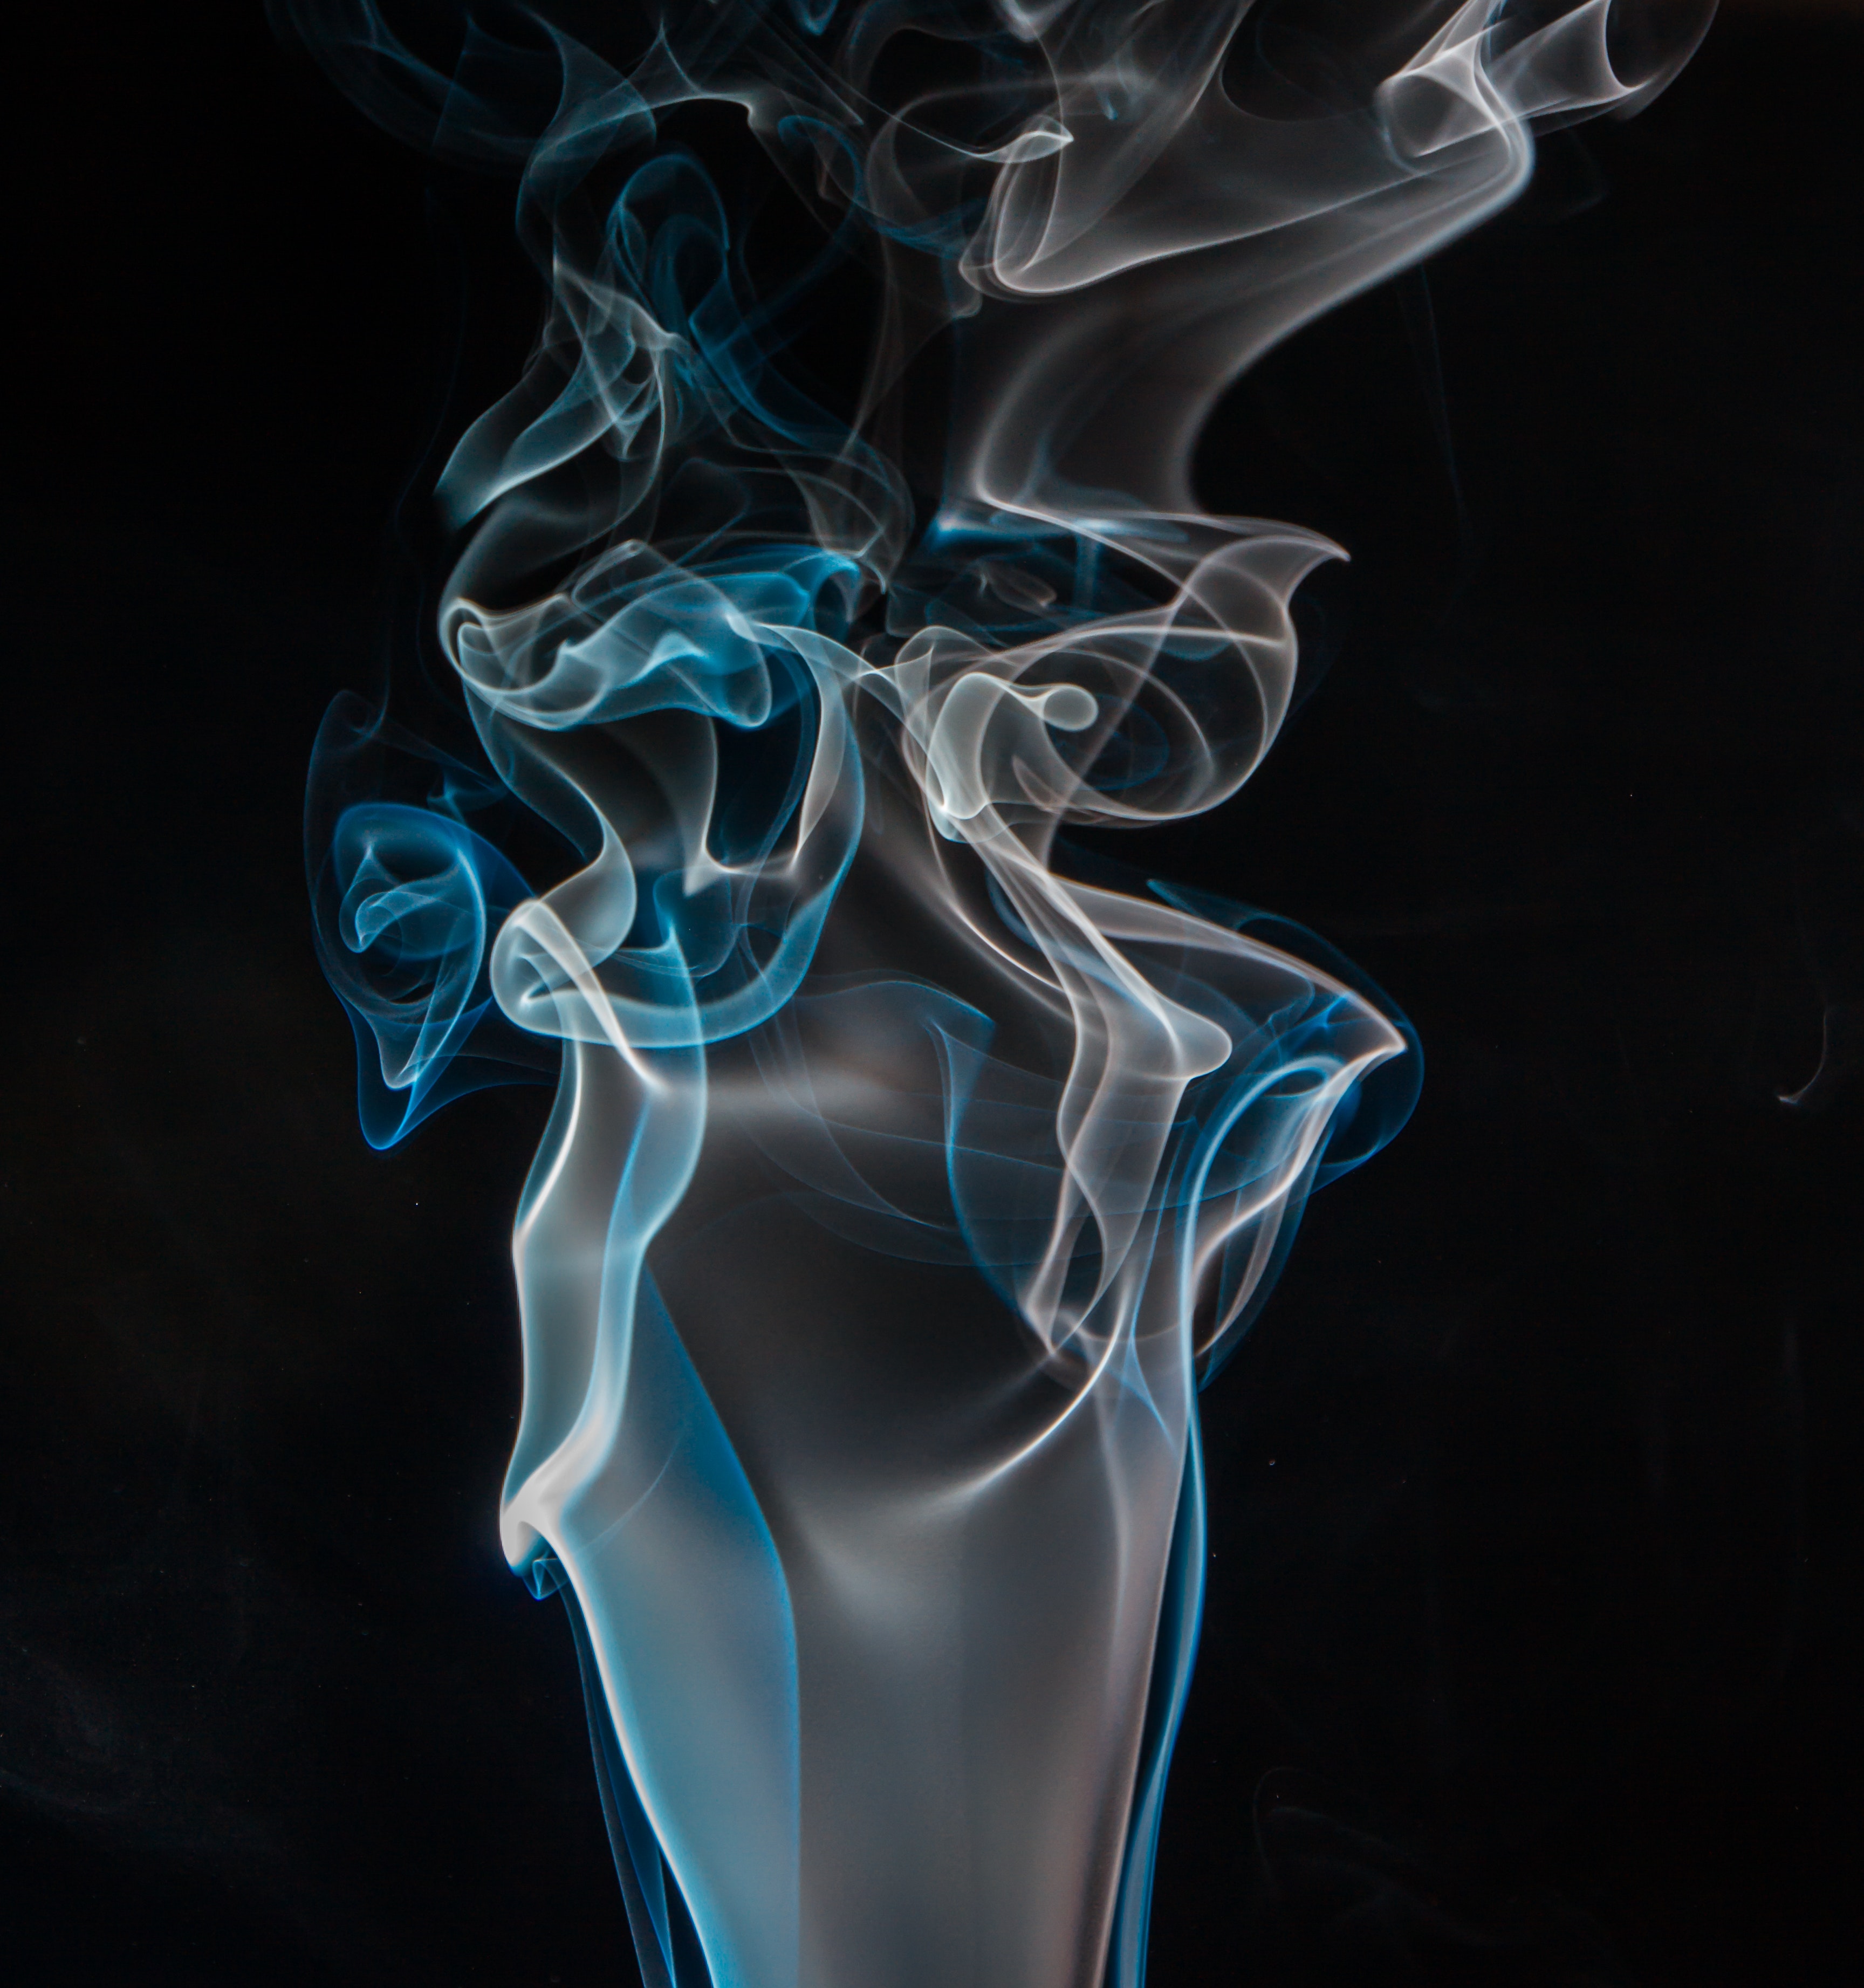
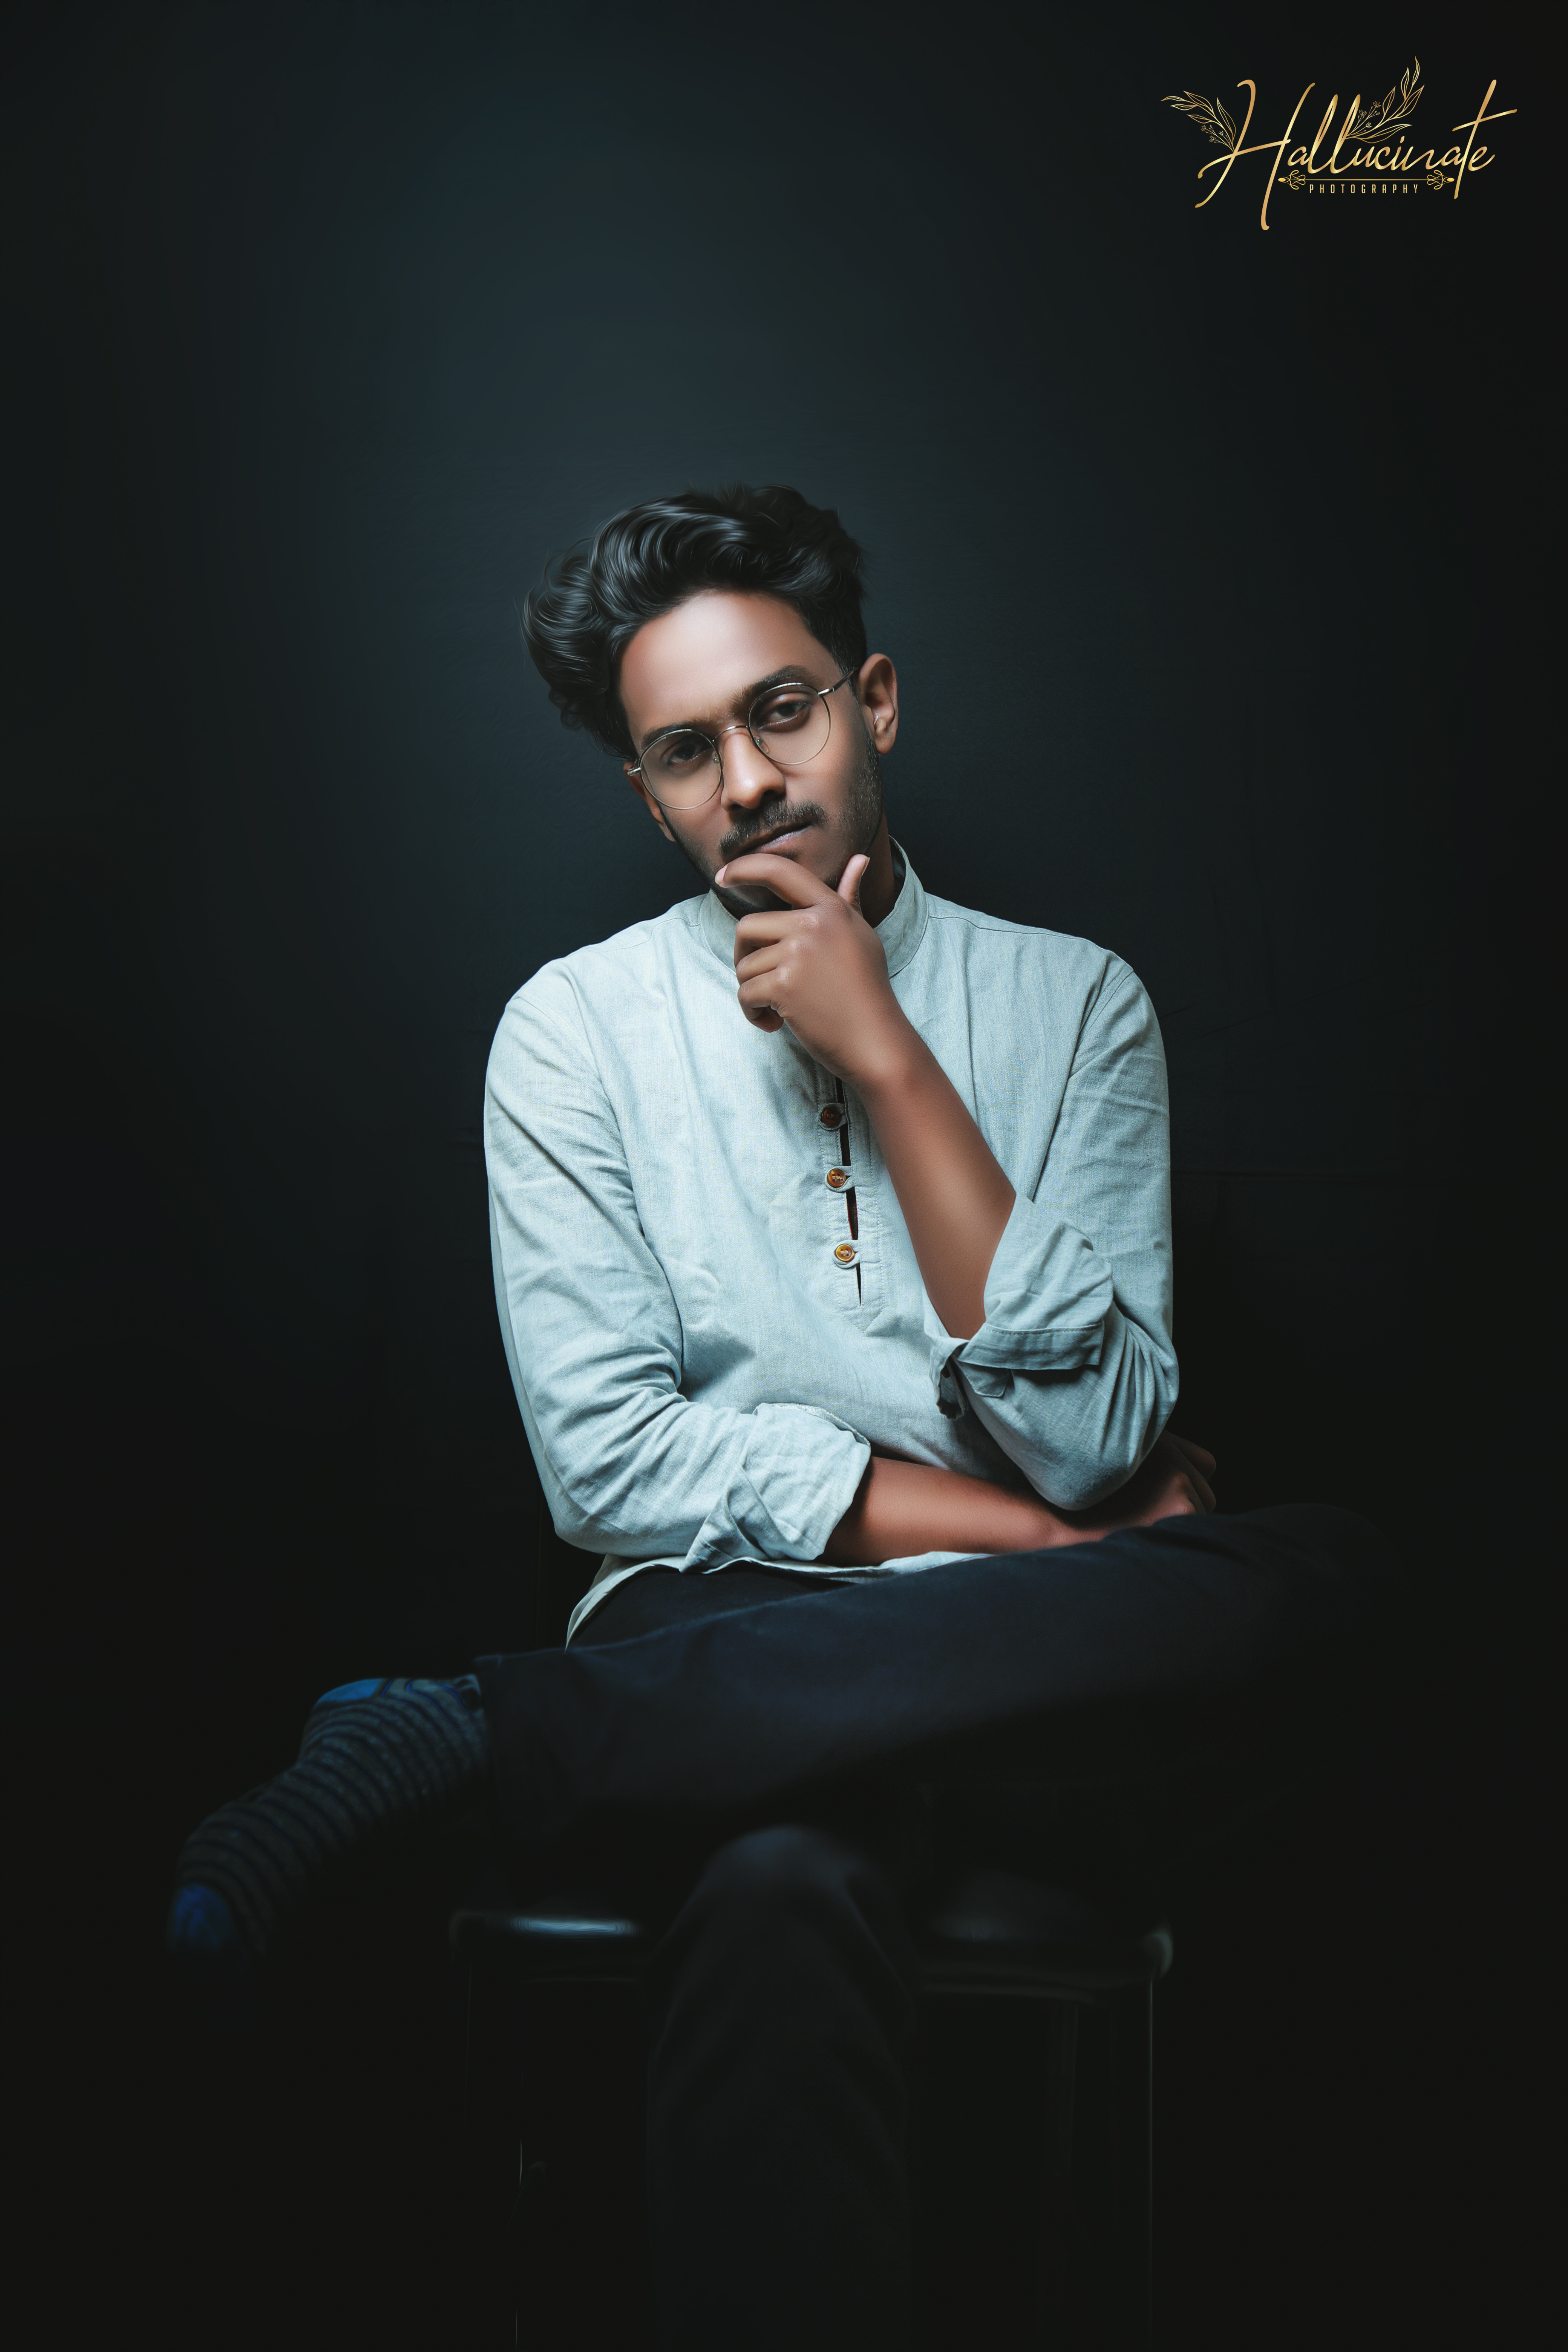
At first I took a smoke photo from pexels.com to use the smoke effect of the photo and took a photo of mine as well.
step 2:
.png)
.png) | .png) |
|---|
Then I took the smoke photo to photoshop and then duplicated the photo. Then I took a photo of mine to photoshop and then adjusted with the smoke photo.
step 3:
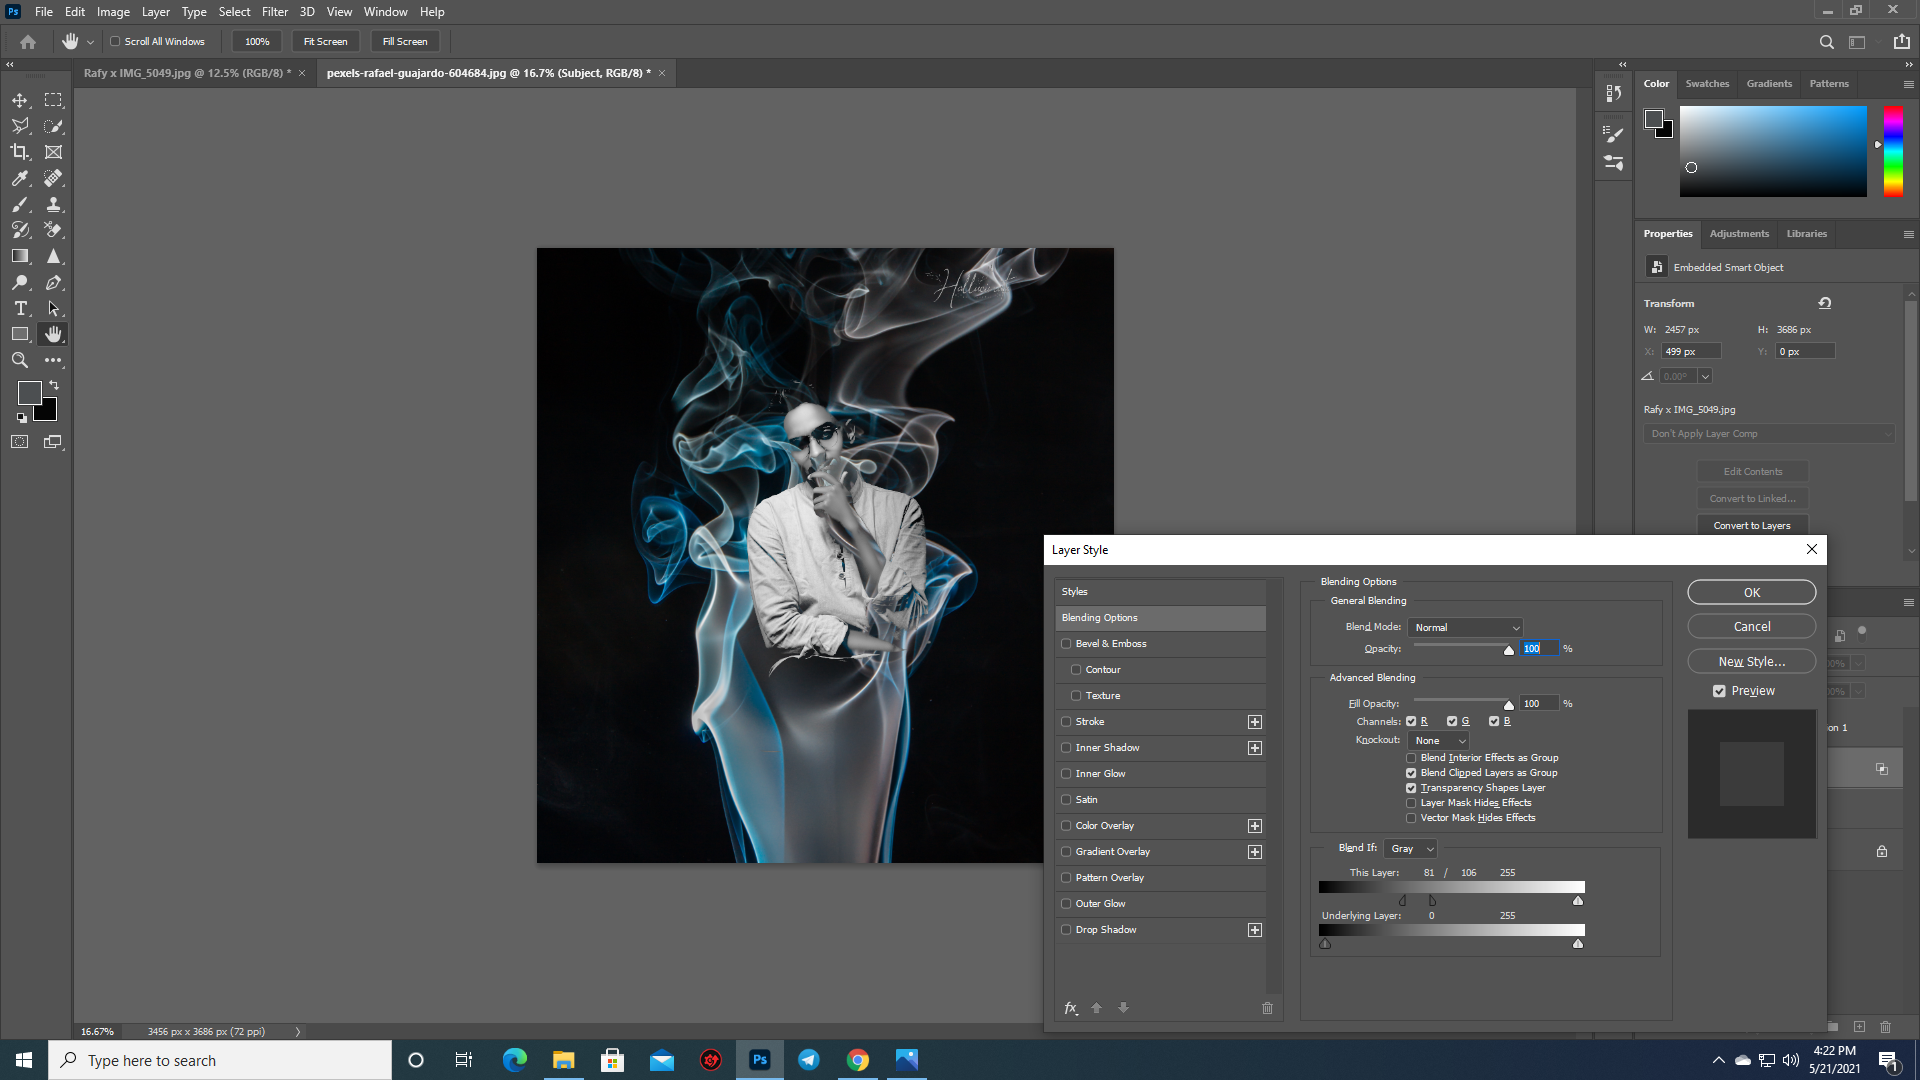.png)
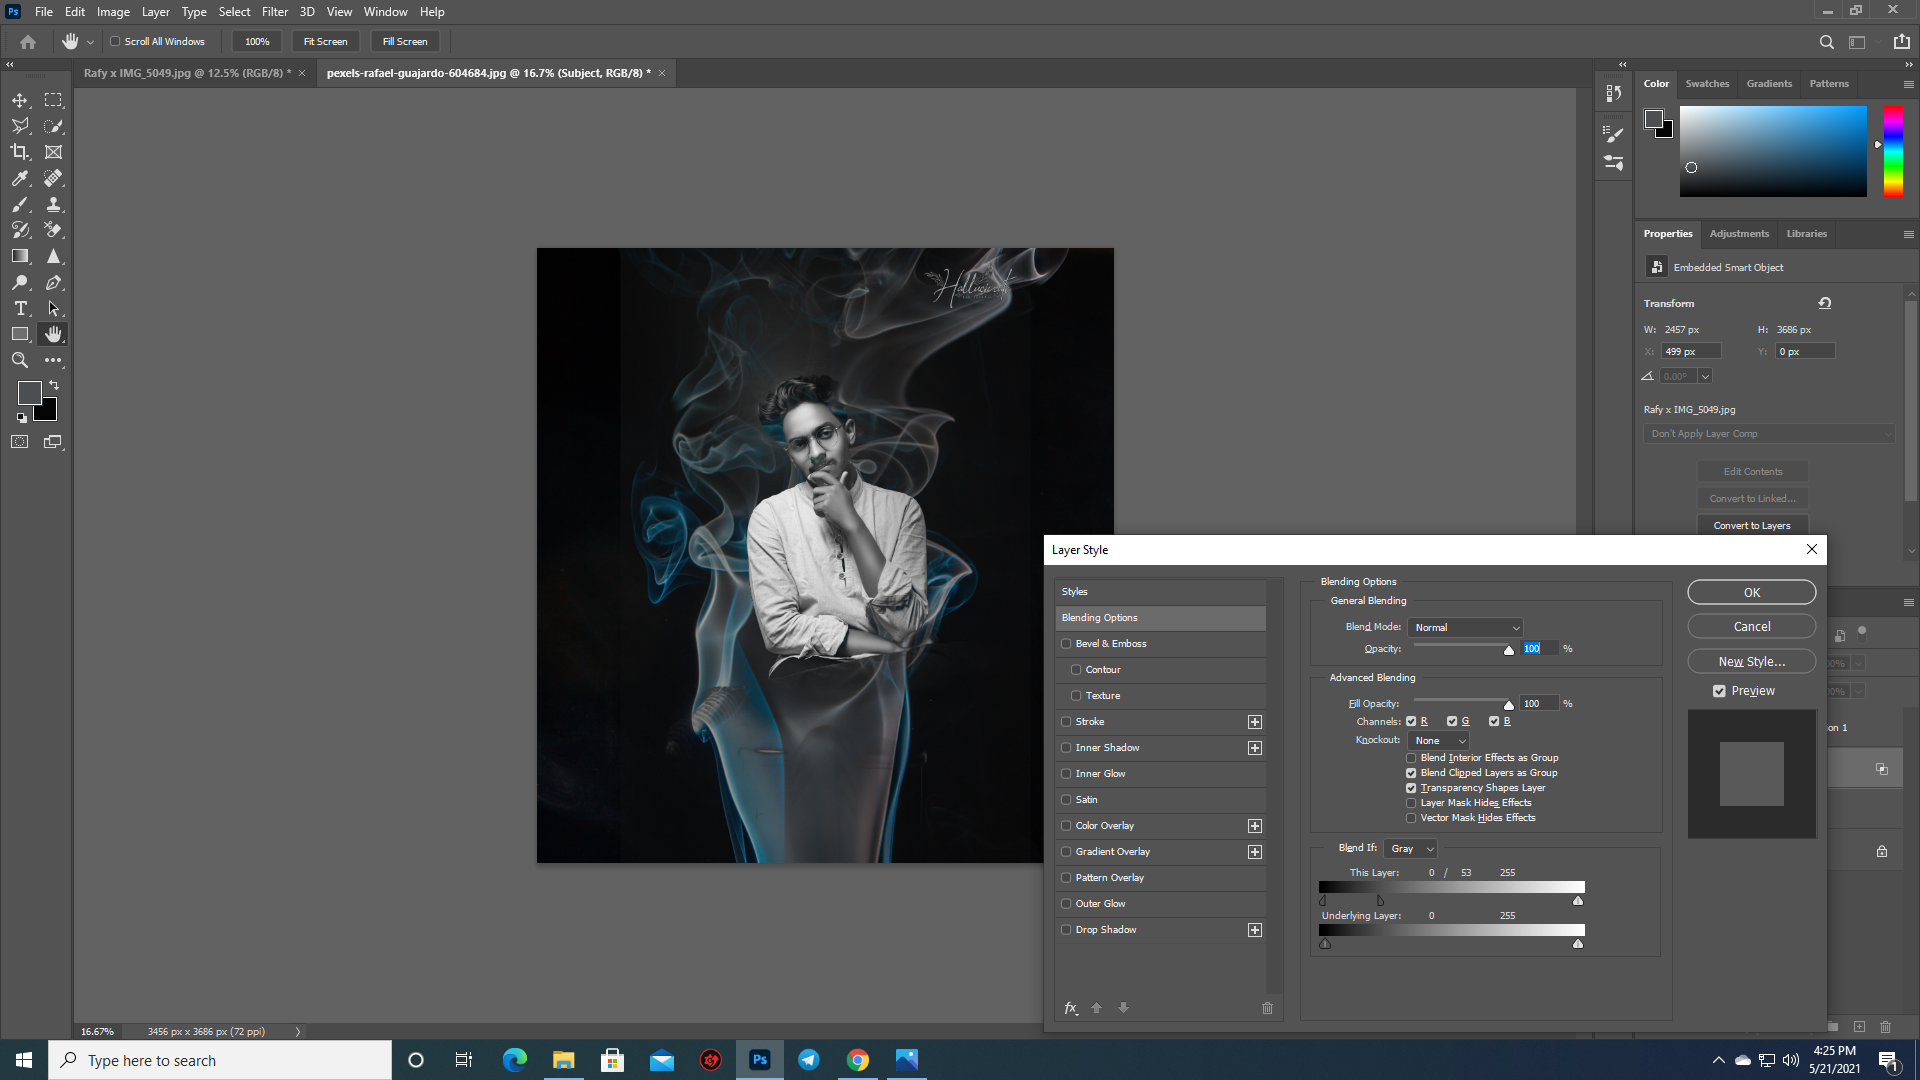.png) | 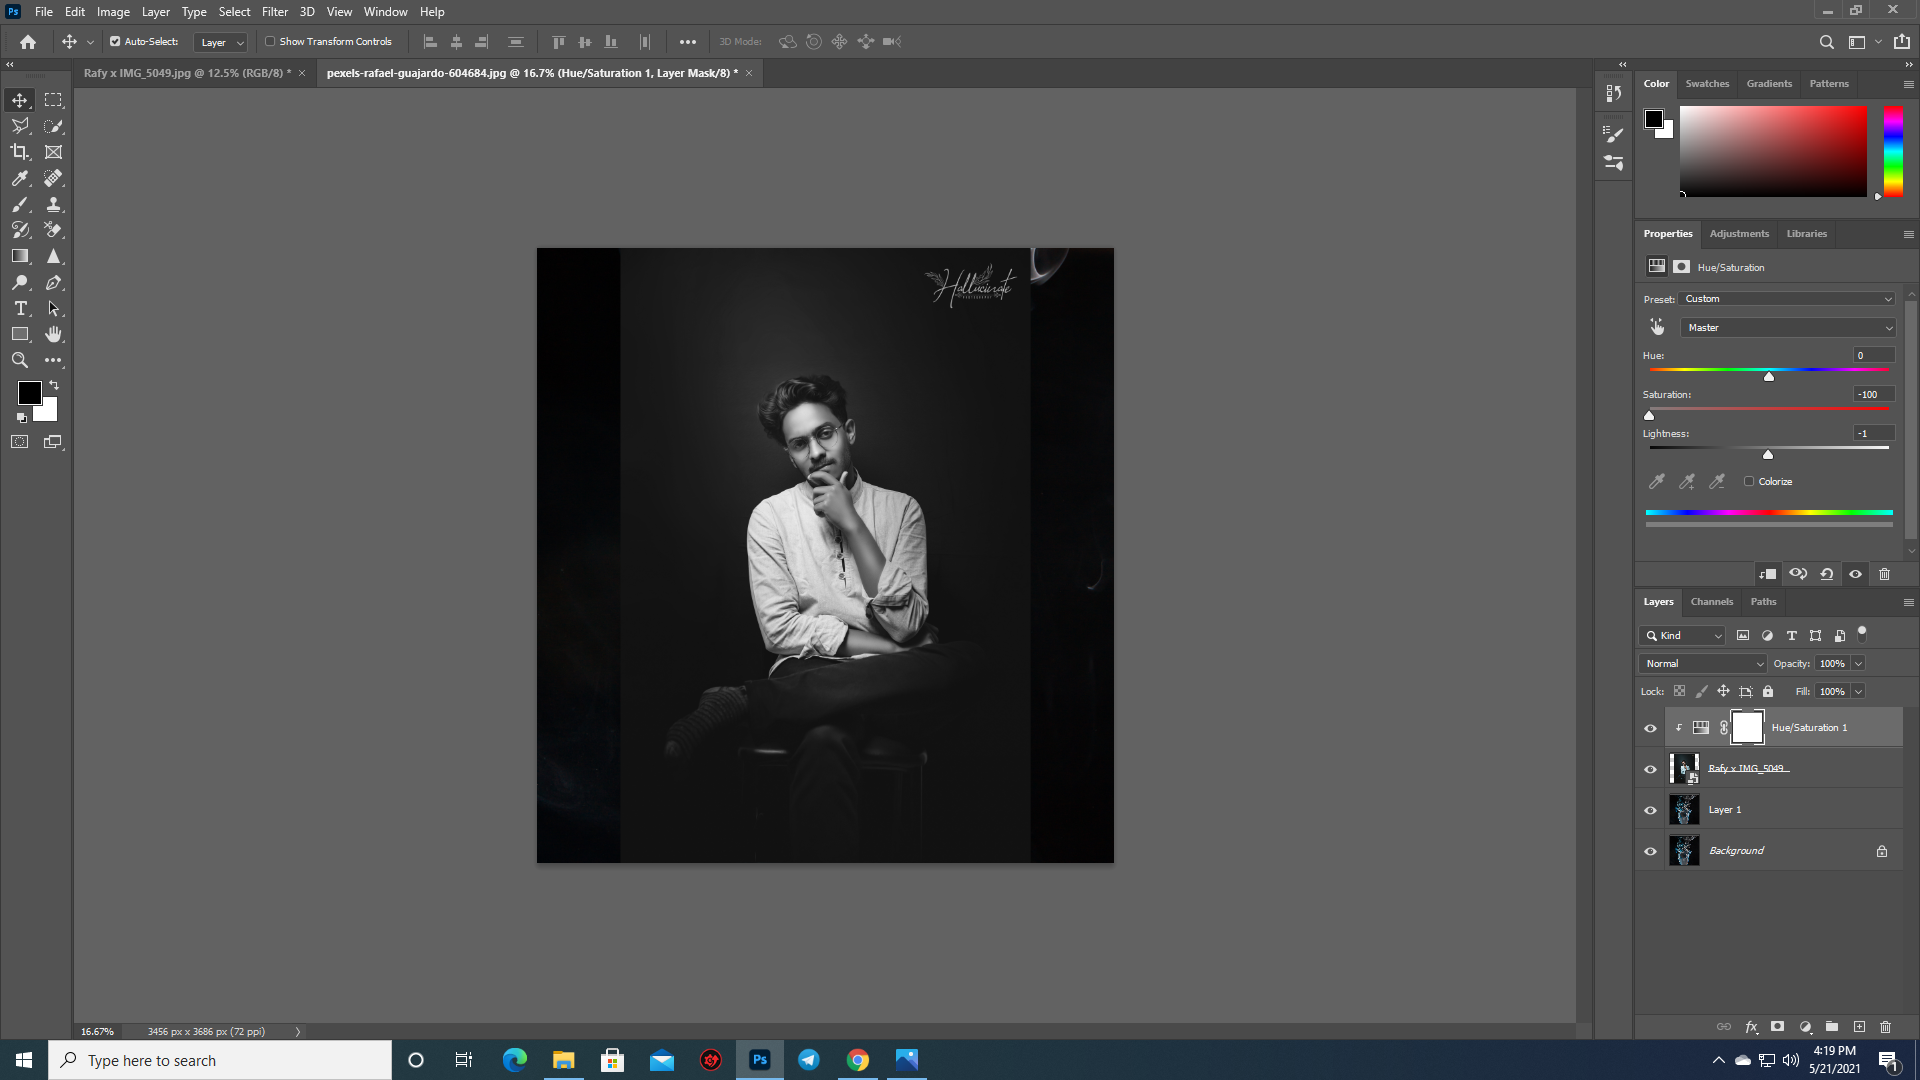.png) |
|---|
Then I took the smoke photo to photoshop and then duplicated the photo. Then I took a photo of mine to photoshop and then adjusted with the smoke photo.
step 4:
.png)
.png) | .png) |
|---|
After blending the photo to screen I started to paint with a soft round brush with black color to remove the extras. And slowly I removed the extras.
step 5:
.png) | .png) |
|---|
After bringing the smoke from the back, I took the smoke again to bring the smoke from the front and changed the blending normal to screen.
step 6:
.png) | .png) |
|---|
In the end I adjusted the smoke and the subject with curves as much as I wanted. Without curves nothing is perfect in my creation. Then I again used the brush to remove extras. After using the brush it was ready then I added those tests with a text tool and group all the layers. This is how the smoke effect will be done. I hope everyone enjoyed my blog post. That's all for today. I will try to come back with something new soon.till then stay safe and healthy.
Thanks.
