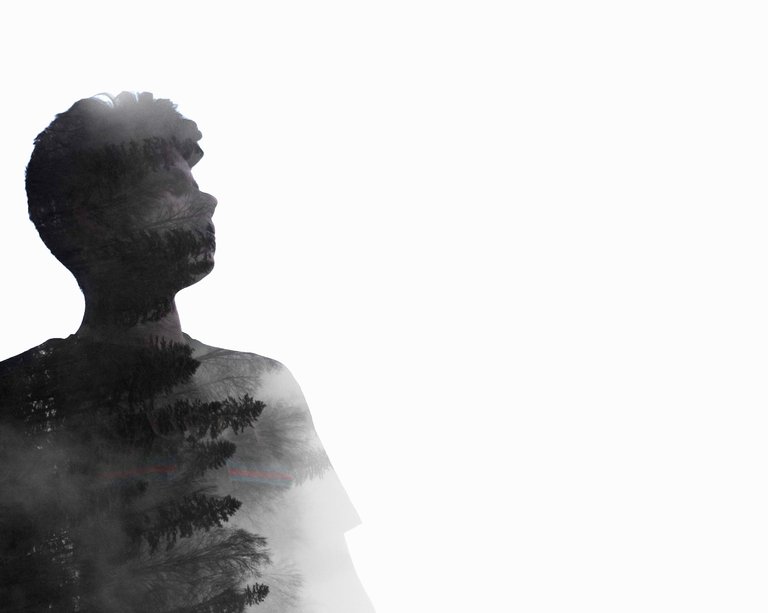
Creating a double exposure with friends picture..
29 June 2021
Process:
step 1:
 |  |
|---|
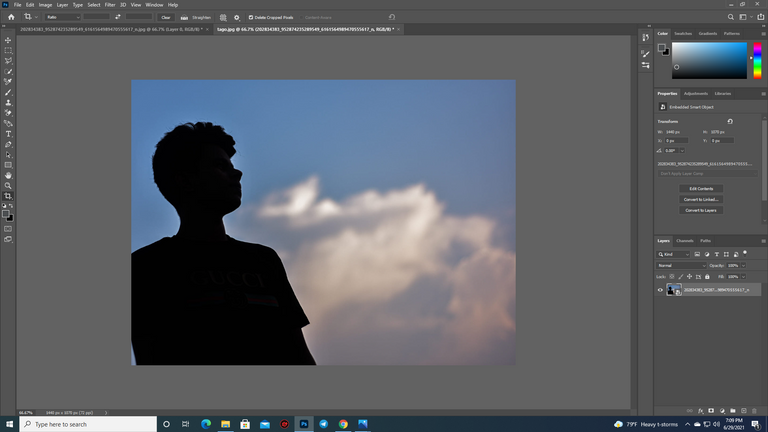
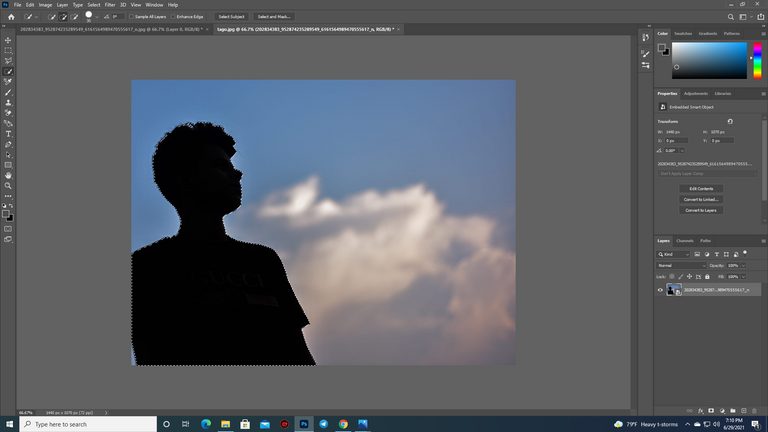
At first, I took the shadow picture of my friend and download the background with some trees from pexels.com to make the double exposure effect on my friend's photo. Then I took my friend's photo to photoshop and selected the subject with a quick selection tool.
step 2:
 |  |
|---|
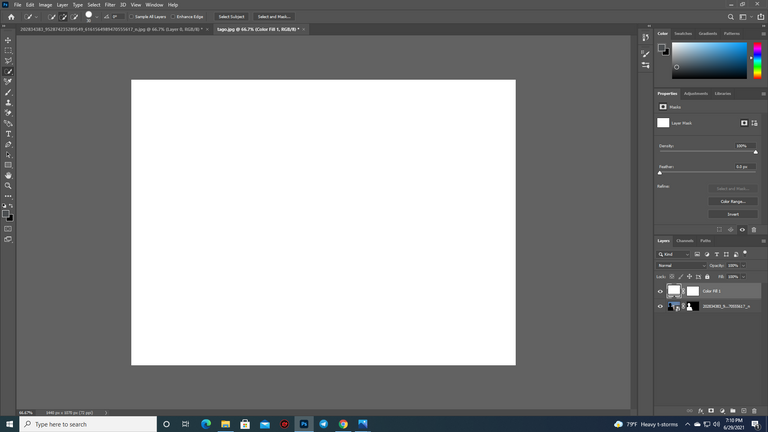
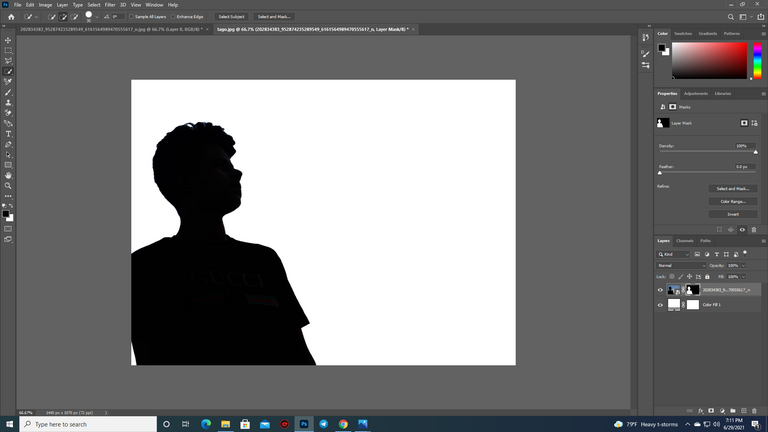
After selecting the subject of the photo property I created a mask by clicking on the mask button. Then I clicked on the mask button and clicked on the adjustment icon and chose the solid color. Choose white as the color and placed it under the subject.
step 3:
 |  |
|---|
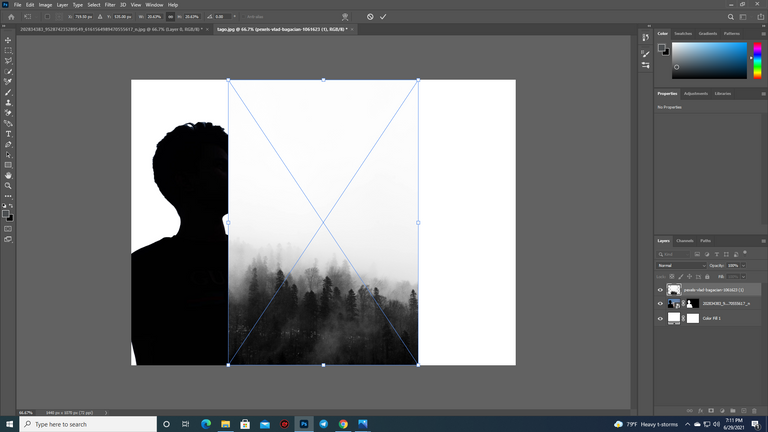
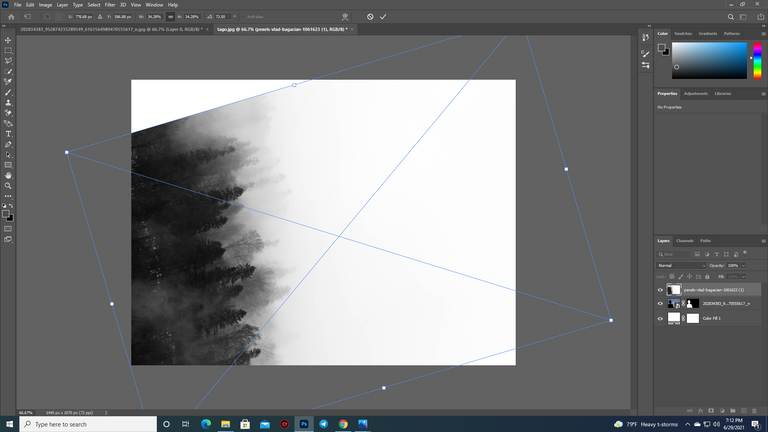
After that, I selected the subject layer and dragged and dropped the second photo that I wanna create double exposure with. Then I adjusted according to my preferences and entered the second photo.
step 4:
 |  |
|---|
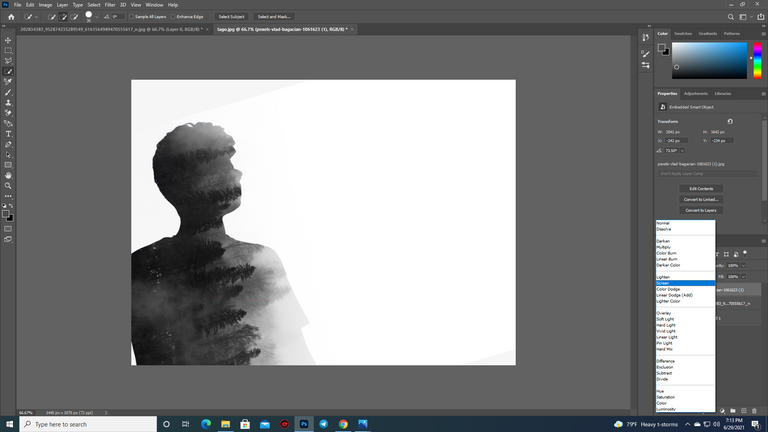
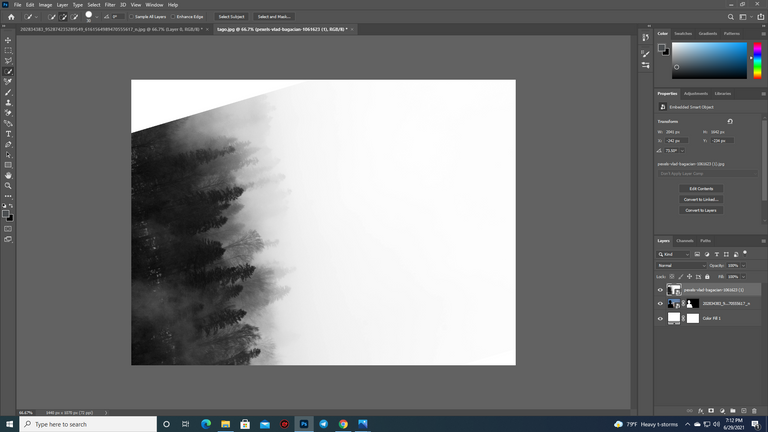
After that, we have to change the background color to that of the brightest color in the image. So we double-clicked on the background to change the background color and picked the brightest color of the new image. Then I came back to the landscape and changed the blend mode normal to screen.
step 5:
 |  |
|---|
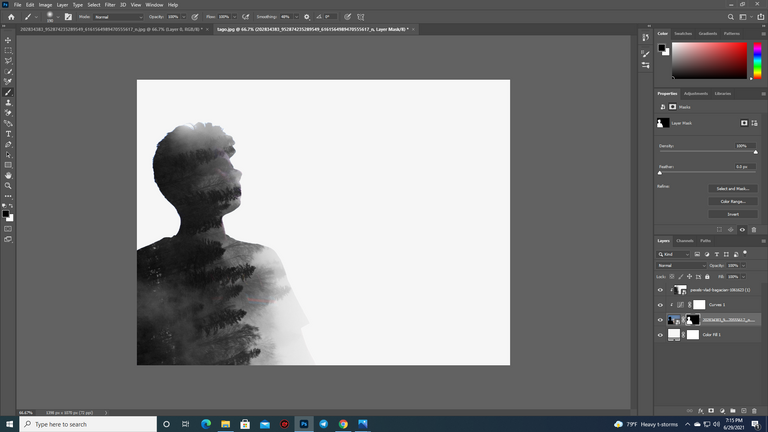
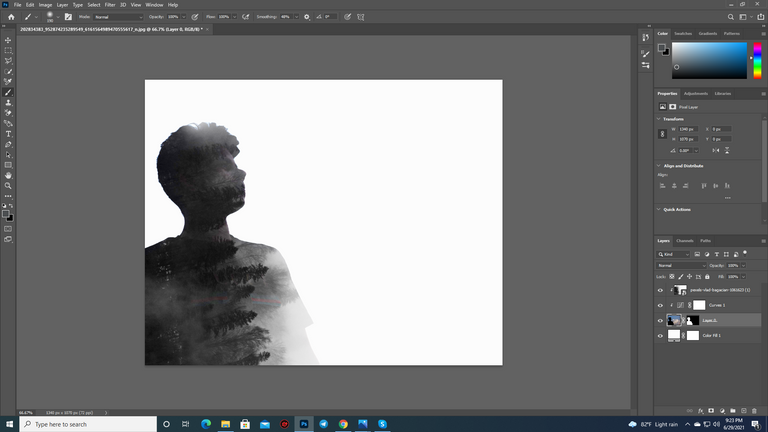
To add more details to the subject I selected the subject layer again and clicked on the adjustment layer icon and choose curves. I take the rightmost slider to the left and the leftmost slider to the right a little bit.And this is how the double exposure will be done so easily by following some simple steps. You guys can also try this at home and make your pictures more gorgeous. So that's it for today. See you soon in my next blog post. Till then stay safe stay healthy.
Your content has been voted as a part of Encouragement program. Keep up the good work!
Use Ecency daily to boost your growth on platform!
Support Ecency
Vote for Proposal
Delegate HP and earn more
Thanks @ecency