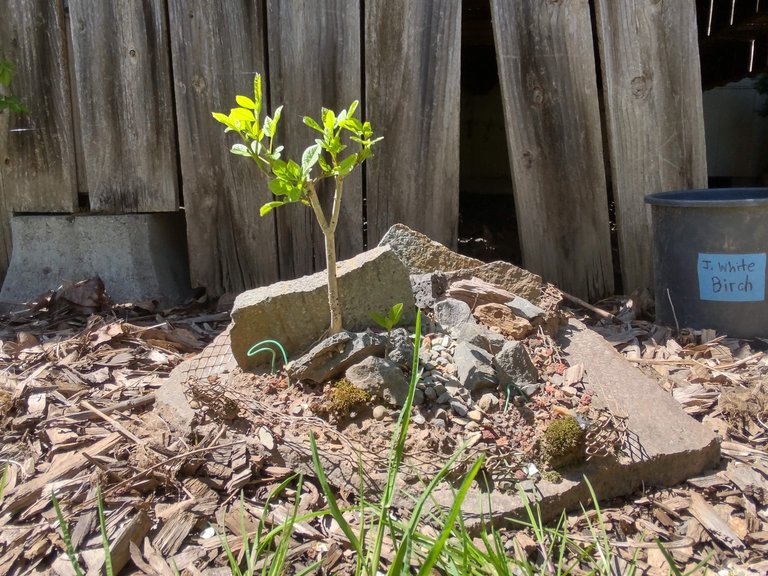
One of my older pet projects that has developed over the years is this Saikei. It is a miniature landscape featuring Ash trees growing in a mountainous rockslide.
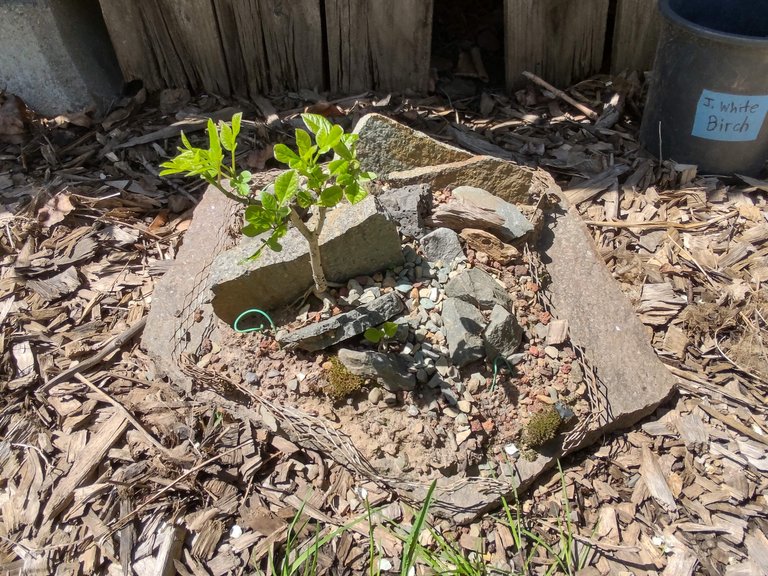
Originally it was designed on a flagstone with a clay mud wall around the perimeter, acting like the walls of a pot to keep the soil inside. Even after rebuilding the wall the last few years, it has continued to crumble away, leaving only the metal screen as a skeleton of the former wall.
Today I decided to work on a more permanent remedy, to rebuild the wall and improve the design of this saikei.
Preparing Materials and Tools
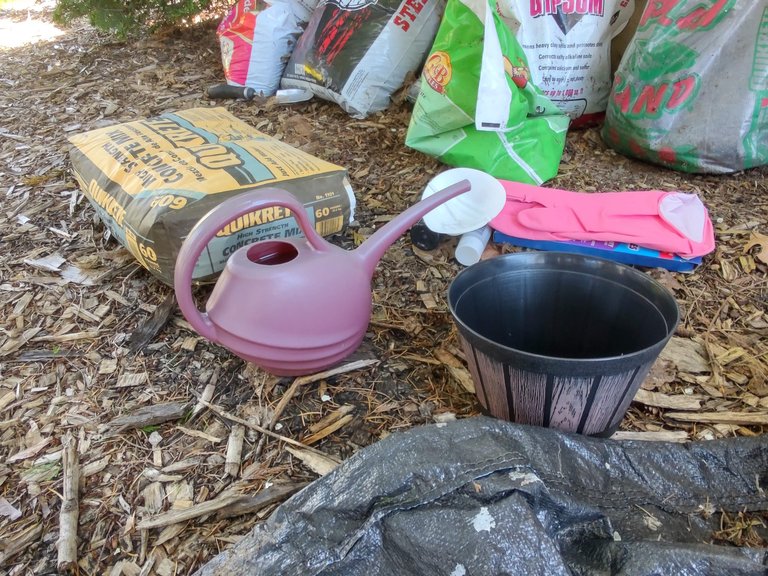
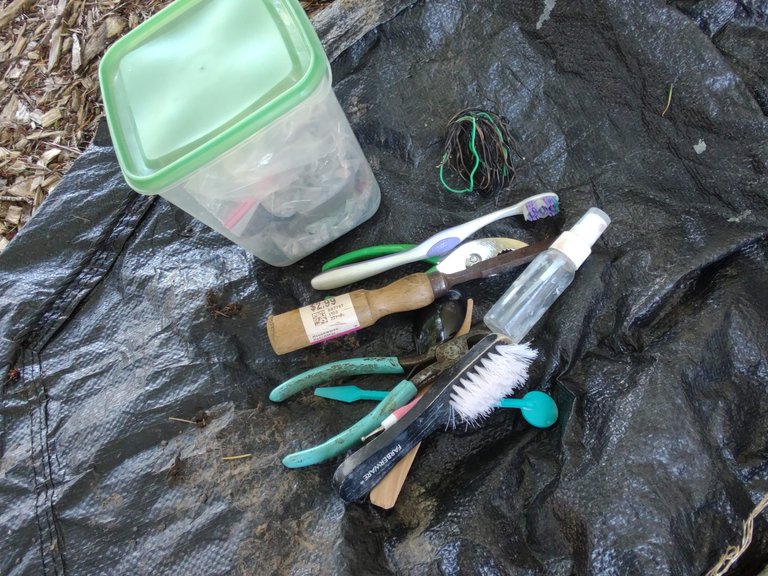
The new wall will be made of mixed concrete. This is my first time working with concrete, so I also made sure to use rubber gloves 🧤 and a dust mask for safety.
Various flat edge tools for forming the shape I had available as well for carving and scraping textures. Having many options makes it easier to find the tool that works best, and facilitates creativity.
Clearing the Space
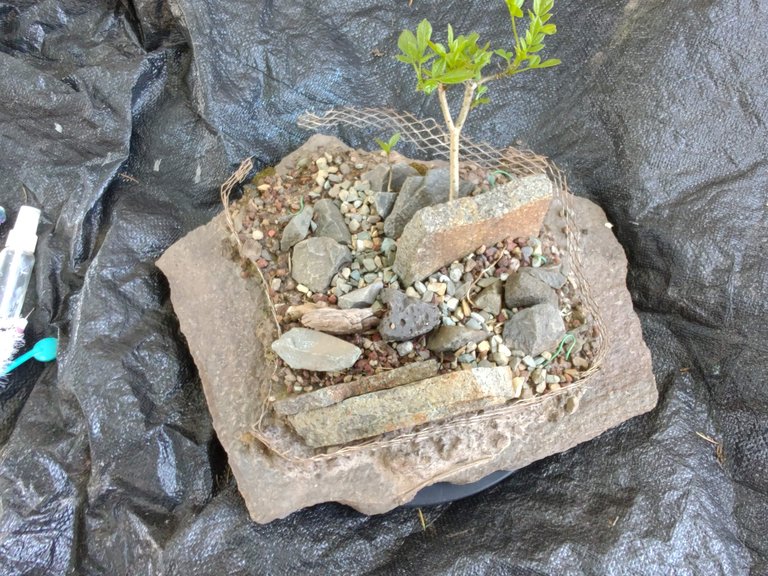
First things first. Prior to laying down any wet concrete, I used the chisel to hammer away all of the former mud wall still attached. By clearing the mud from both the interior and exterior of the metal screen wall, it ensures the new wall shall have a full, continuous contact around the entire perimeter. I should be able to fully encapsulate and hide all the metal pieces this way.
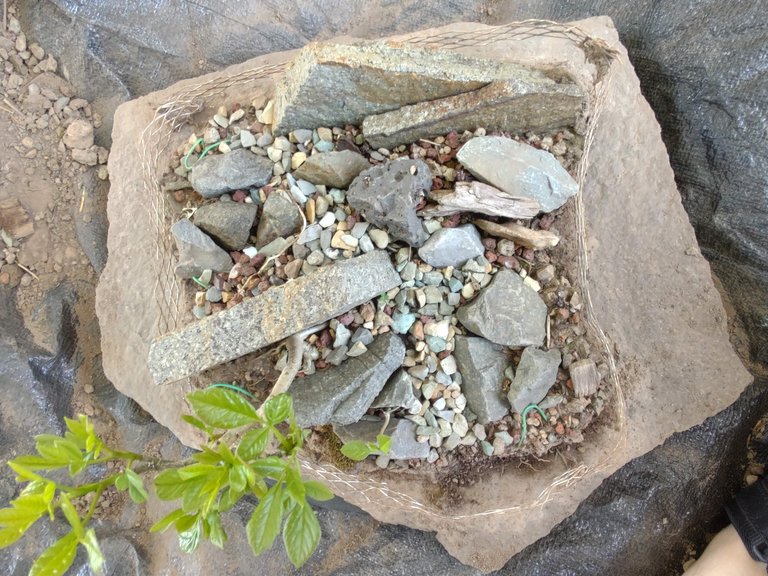
The metal screen split apart in a few places were the former mud eroded away, so I flexed the metal back into the desired shape. It bends as easily as wire. The ends are folded to help it squeeze onto neighboring pieces.
Preparing the Concrete
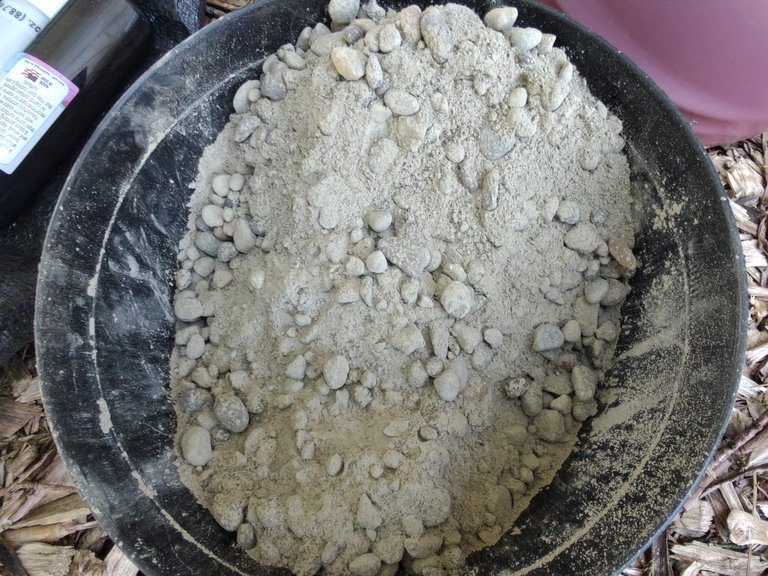
Being unfamiliar with the various types of concrete, this variety was labeled as strong for setting fence posts. However for the small craft project I am doing, I was unsatisfied with the high volume of small pea gravel rocks. These round rocks will make a bumpy surface, far too challenging to form a smooth edge from a putty texture I want to work with.
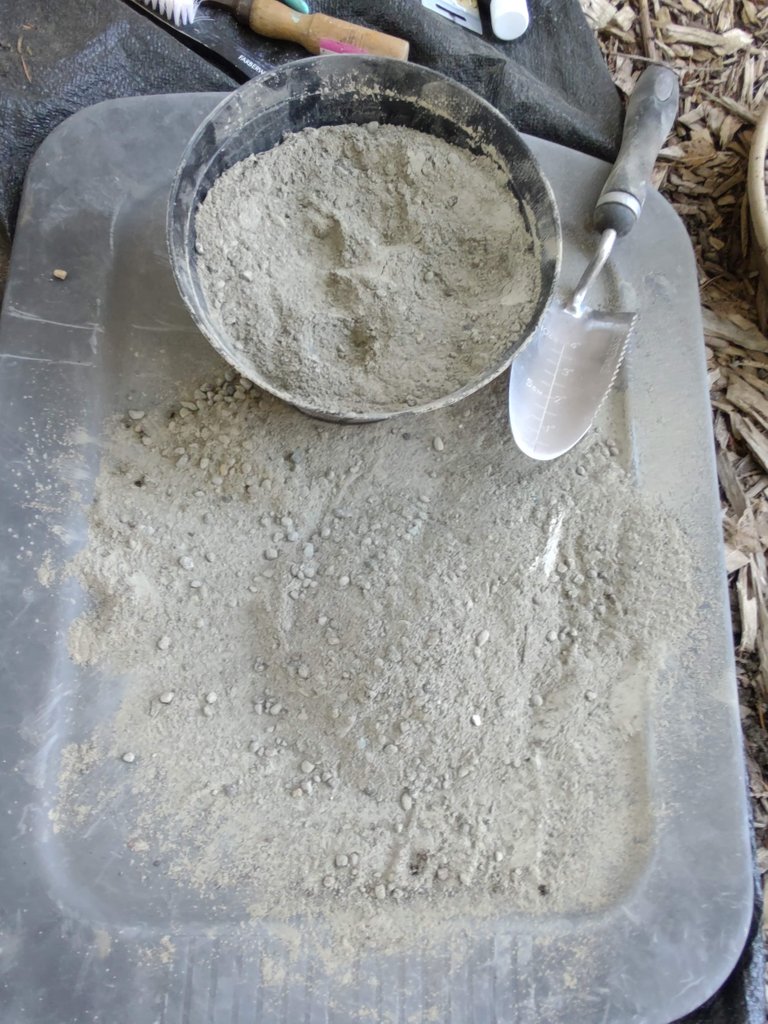
With my dust mask on I got out my 1/4 inch compost screen, and sifted the rock out from the concrete dust and sand.
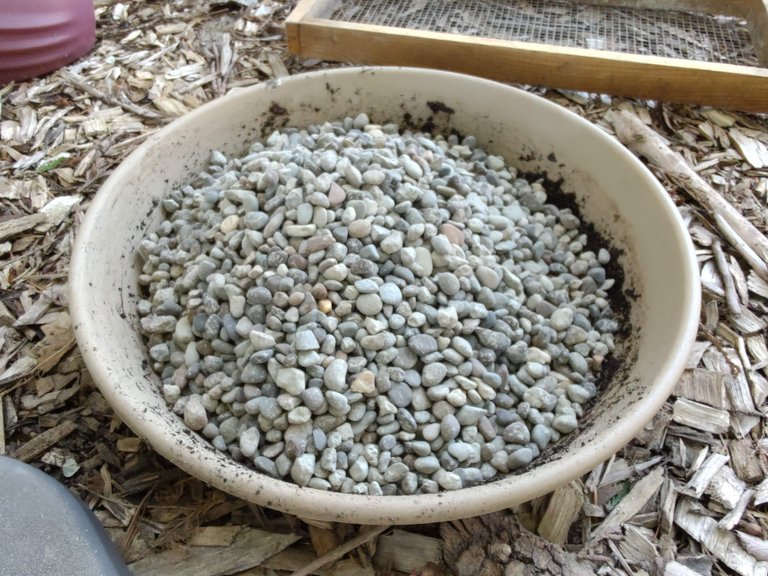
There was so much rock removed! At least 2:1 or maybe 3:1 parts rocks compared to fine particles.
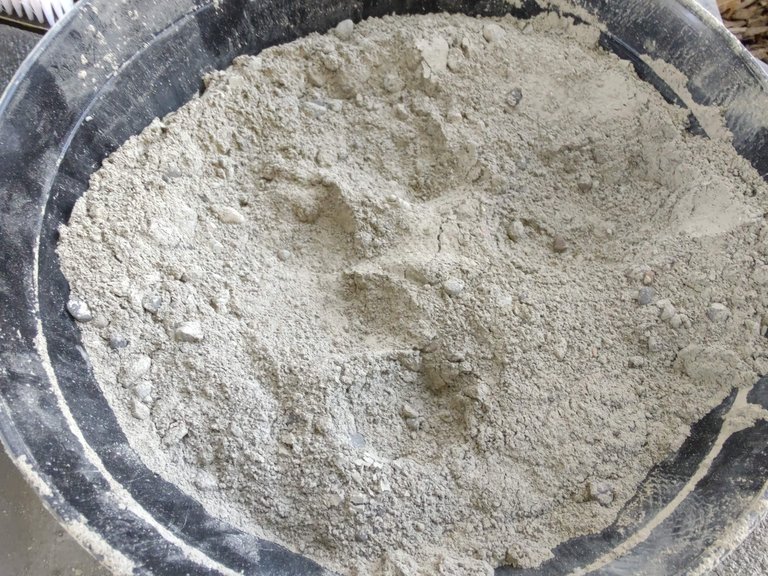
This is the remaining material. Smaller rock less than 1/4 inch in size now make up less than 50% of the total mixture, which should give me a smoother texture to work with, but will lower the overall strength.
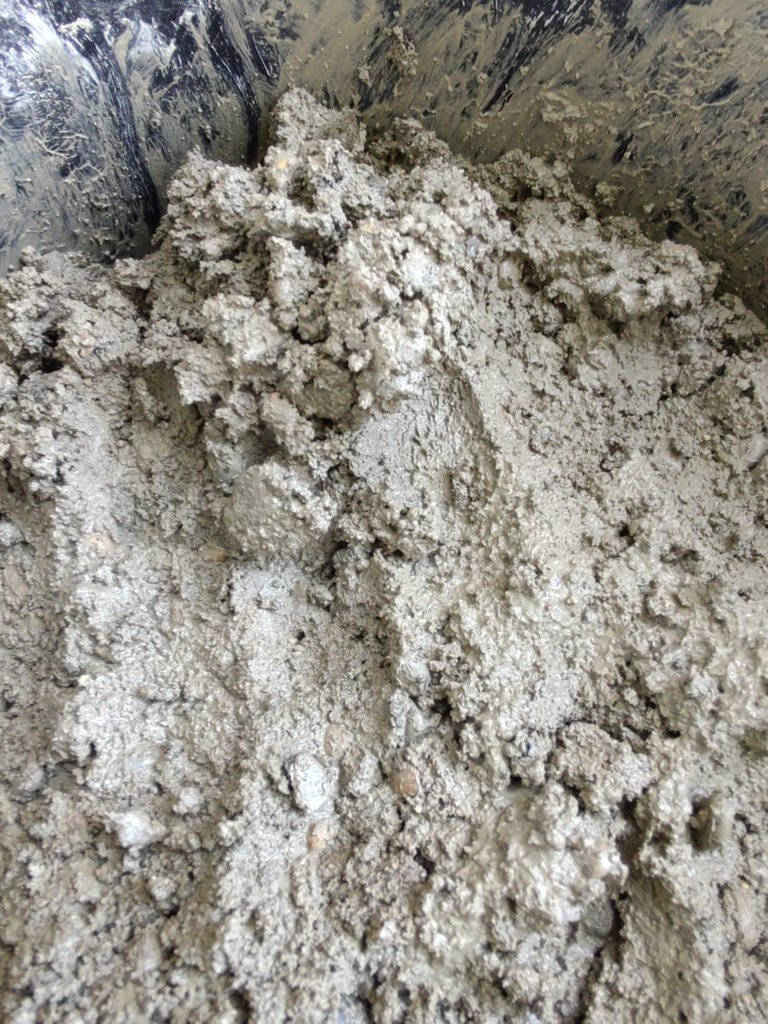
Now the fun part. Using the rubber gloves, I mixed the concrete by hand adding the water in bit by bit. It starts out feeling like pastry dough, snd I used the chisel to help scoop and scrape up dry bits from the bottom.
Too much water will ruin the strength of the entire mixture, so I want to avoid making a soupy, runny mess that has no structure integrity, and all the fine particles draining away. I manage to get it to a saturated mud like texture.
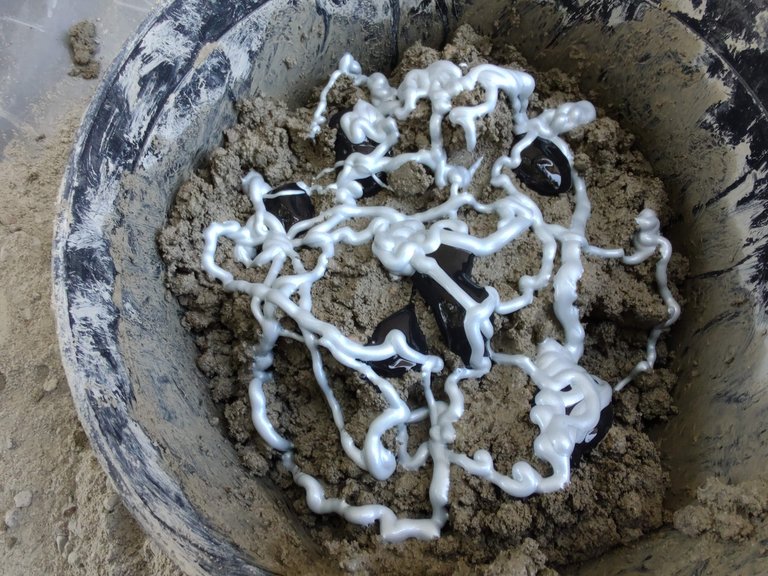
Two colors of acrylic paint were added: black and silver. Acrilic paint removes some of the porous nature of the concrete after it dries, and further strengthens it from the inside. It will slow down the drying time though. Hopefully it will darken the color slightly to blend in with the interior slate stones too. I do not spend too much time mixing it in, hoping for a slightly marbled effect.
Forming the Shape
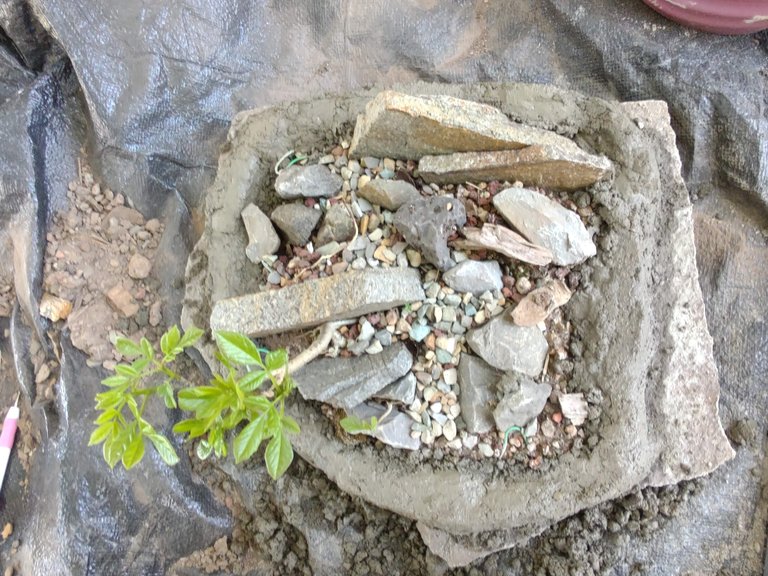
Using my gloved fingers, I globbed in a small amount at a time first to the inside, and then outside the metal screen. The wet concrete had the consistency of chunky peanut butter, but without the stickiness.
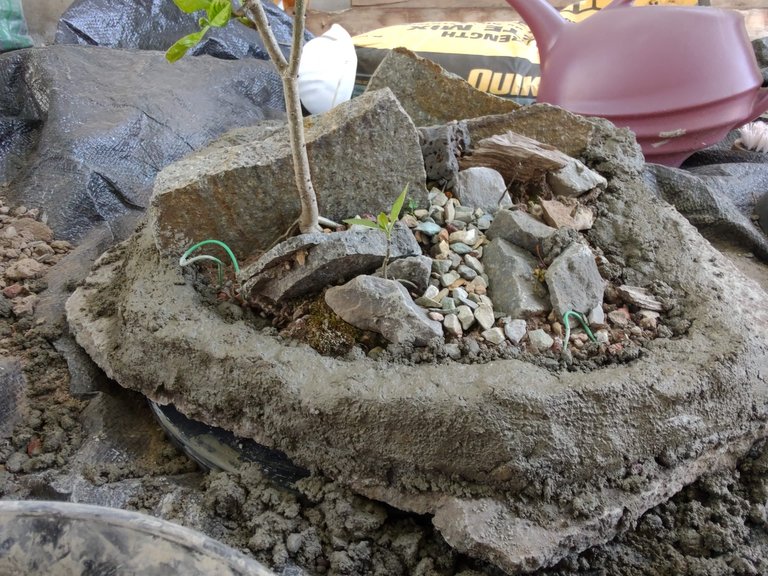
When I finished covering the screen, I was also able to consider building the wall up taller than it was before. Especially in the back I managed to increase the full height to around 2 inches.
Texturing the Design
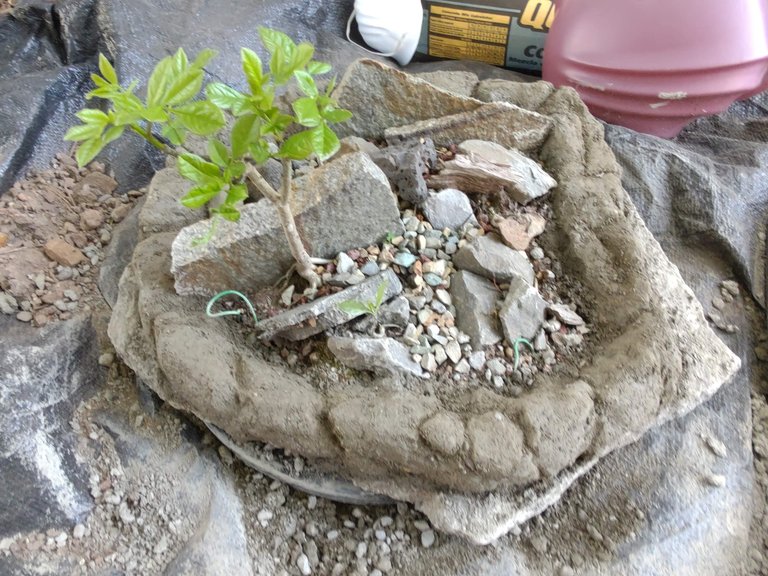
The chisel tool was very helpful at building the initial wall shape, but I did not like the boxy edges. It was looking more like a curb than a natural rock formations.
So I switched to the pallet knife tool and started digging out to exaggerate natural grooves and cracks.
Quickly I soon realized I forgot to prepare drainage holes, so I carved out a pair of tunnels under each wall
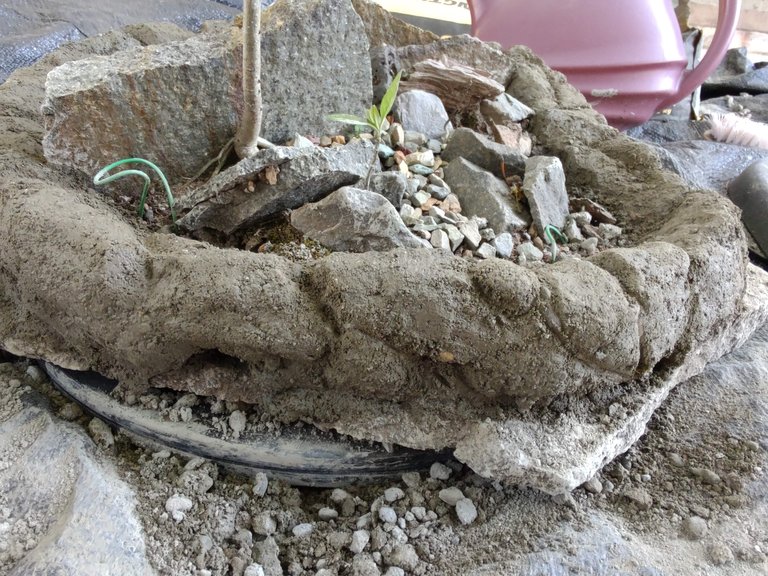
Any time I ran into large rocks while carving, I simply scraped them out, and turned the void into a deeper groove.
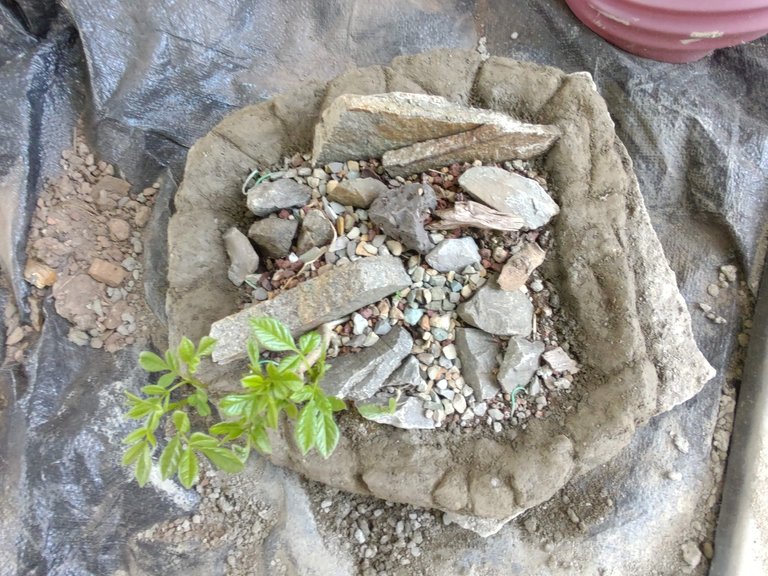
A simple wall was starting to take on the appearance of boulders, cliffs, caves, and stone precipices.
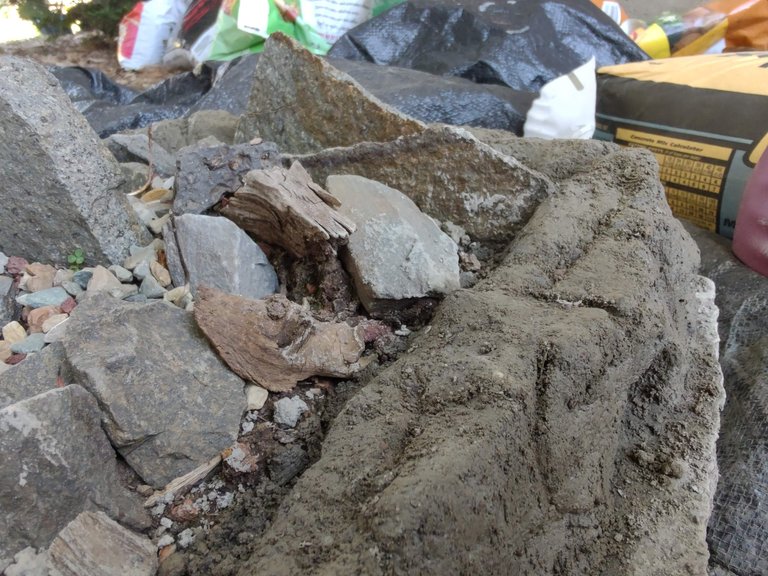
Some areas were so rough and sandy, it was not easy to maintain a smooth surface. Either by rubbing with the palette knife, adding more wet mixture, or sprinkling dry powder onto patchy areas, I was able to smooth out most areas. Pitted holes were easy enough to fill with powder, but some of the rough, sandy areas I cannot fully smooth.
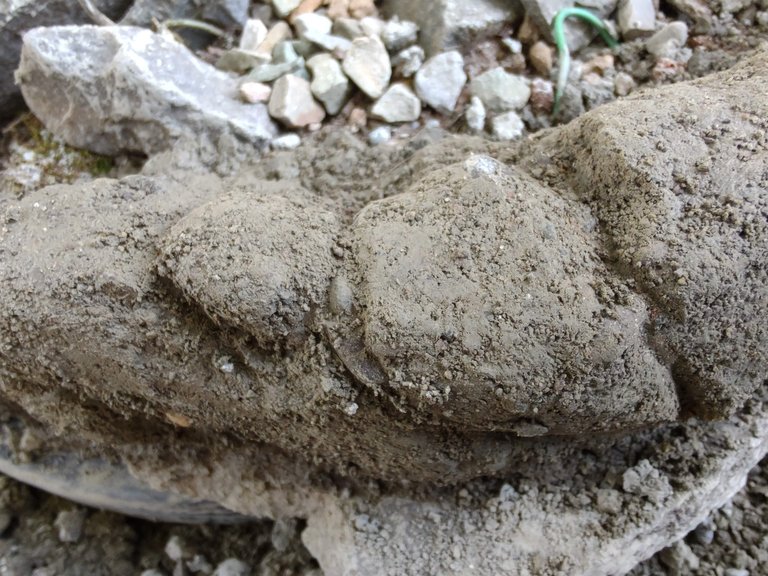
If I dislike this cornmeal texture, I might be able to use sand paper to scrape away the outer surface. Doing so will add surface scratches and possibly weaken the wall through.
Drying
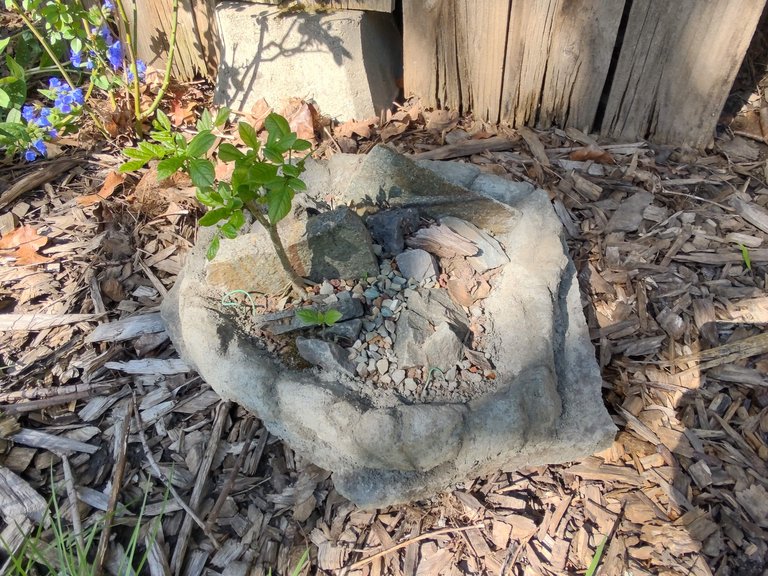
Here is the finished work after a day of drying. The weather was 80 degrees F, so things likely cured quickly. The basic color of the cement seems to blend in nicely with the foundation flagstone, though I wish it were slightly a shade darker. Especially with the shadows between the textured edges, it takes on the illusion of being darker on some surfaces than others areas.
Conclusion
Next time I can focus on the center of the saikei by building up the soil, decorative rocks, and adding in some additional seedlings. A bit of trimming to the dominant tree may be written in the stars as well.
Photos in this post are all #originalworks by @creativetruth, unless stated otherwise.
Find me on discord and chat with other tree growers, bonsai enthusiasts, and gardeners.

#flagstone #stone #gravel #cement #saikei #sand #gardening #design #ash #mountain #cliff #cave
Post Beneficiaries:
- 1% @mendezand
- 1% @cryptopie
This is my way of thanking each of you for your friendship and support. By sharing my talents on Hive, I can also share to help with your needs.
Let my success also grant you some happiness too.

That is really beautiful @creativetruth! It's been a long time since I've seen one of your bonsai masterpieces. This landscaped one is really special
The stone shape looks great! Did you have plan to add more green element such as moss? Here in my city popular to make like yours but with adding more green things
Good idea. In saikei, many elements can be added to mimic a landscape, they do not all have to be real. I have seen plastic grass used. Colored stone or blue epoxy to mimic rivers and lakes. Some people fill their scene with figurines of animals or fishermen. I have used deadwood and driftwood to look like fallen ancient logs.
Moss hasn't gotten to this one naturally yet, so if it does I'll have the option to trim it or let it go wild. The scene might become a hillside meadow or a jumanji mountain. Moss will probably take over, as it does with many of my other bonsai. The moss ends up being trimmed almost as much as the trees are in early Summer.
Such a beautiful post and beautiful project. I like that you made the wall more permanent to make your Saikei more permanent. Since this is on a flagstone, you could bring it indoors? or use as a focal point on the corner of a porch or in a garden. I just love it and would definitely find a special place for it 🙂
The flagstone is the heaviest part, and definitely heavy enough to leave it somewhere fairly permanent. I keep it out in the shade where it can get rainwater, and in the summer the stone under the roots should stay cool.
It would be fun to find a way to incorporate more stone for indoor plants. I always end up with tons of flies over my indoor seed trays, and then I remember adding sand and decorative stone on top works to prevent them from reproducing. Having real stone surfaces on table furniture for plants would look and feel awesome, but that would be super heavy when moving.