We've been producing podcasts for our clients here in the studio for about 4 years now.
We've made many mistakes, but have also learned a great deal along the way. From how to properly isolate the recording area, to how to tame reverb.
We've tried a number of microphones as well. From the Neumann TLM103s to the Røde NT5 small condensers. And while both these mics are of high quality, we were facing a few problems when recording podcasts specifically.
Plossives
Condenser mic mechanisms are very light weight. This is great for picking up very soft details in the voice or instrument, but also means they are very sensitive to breath and to plossives, which are bursts of air that come from the mouth when pronouncing "P"s, "T"s, "B"s.
Dymanic microphone mechanisms are a bit heavier, which means they are able to handle higher SPLs (Sound Pressure Levels) and less sensitive to plossives.
Bleed
Podcasts with two or more people can present a problem where microphone A picks up the sound from the source that is pointed at microphone B.
The result can be an unpleasant added reverb or phase shift, which is something we might discuss in a different post.
The most common problem, however, is when guests are speaking at the same time. With a
unwanted Reverb
Although our rooms are pretty well treated, condensers are still able to pick up some of the room tone, reverb or echo. It's barely noticeable, but since we do this professionally, we must address even the most minuscule details.
Because of these reasons, We decided to upgraded all our podcast microphones to Shure SM7Bs. In this video, we'll go over the reasons mentioned above that helped us make this purchase decision and how we'll be using this awesome microphone.
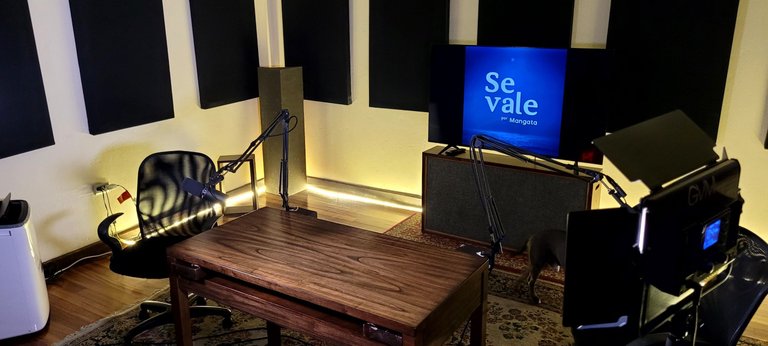
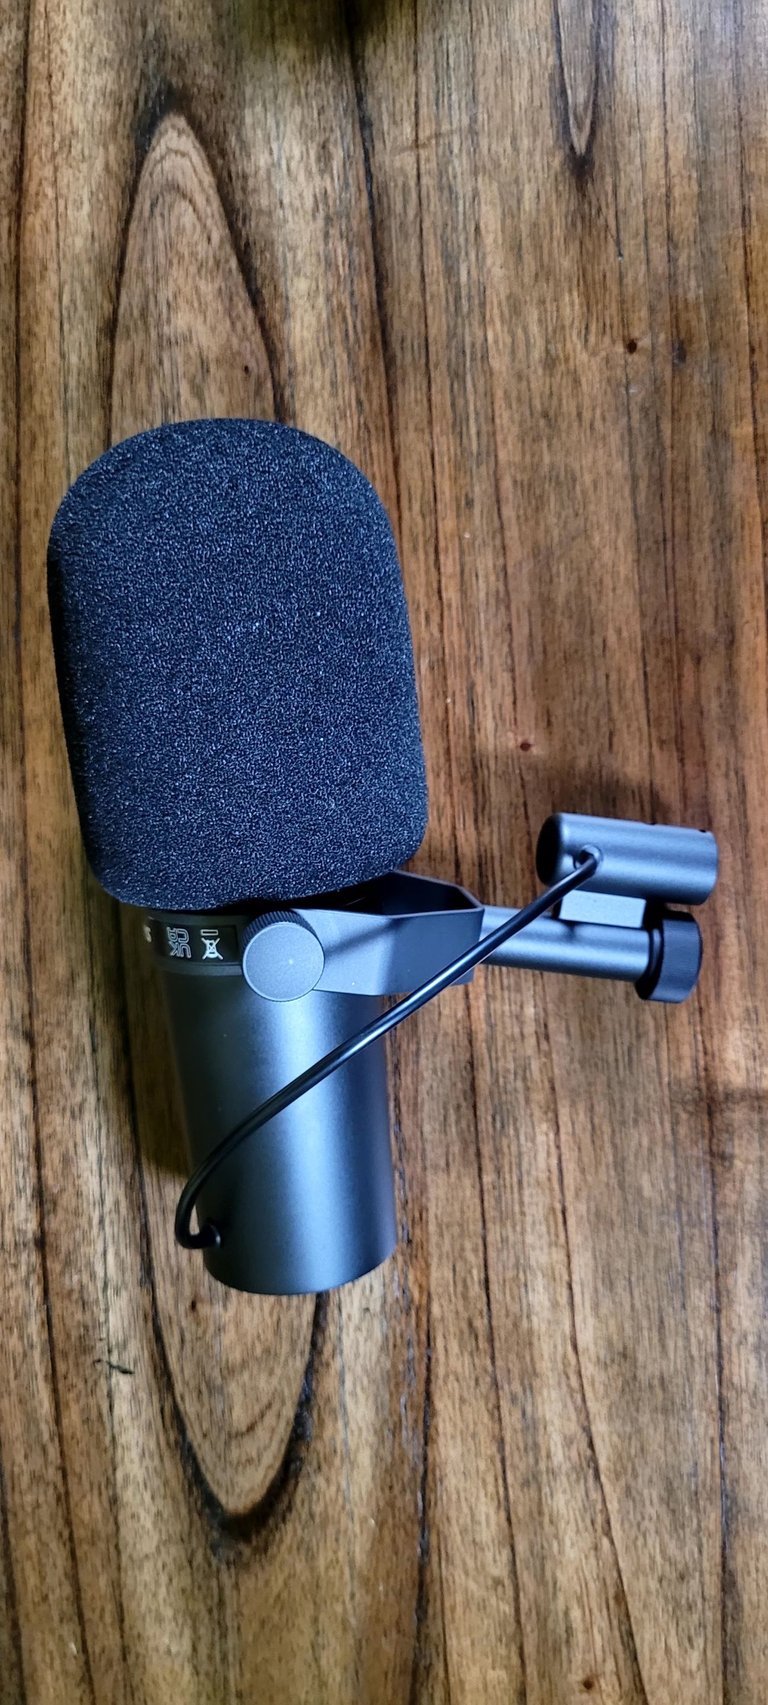
The microphones arrived today and they have already been put to the test. This is what the podcast room looks like behind the scenes with our brand new Shure SM7Bs.
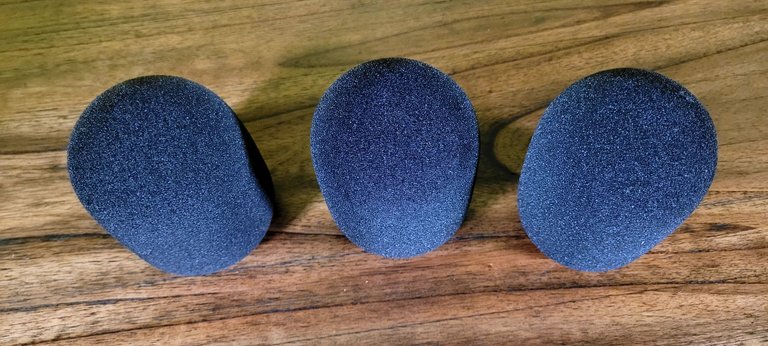
These are the wind screens that come with the microphones:
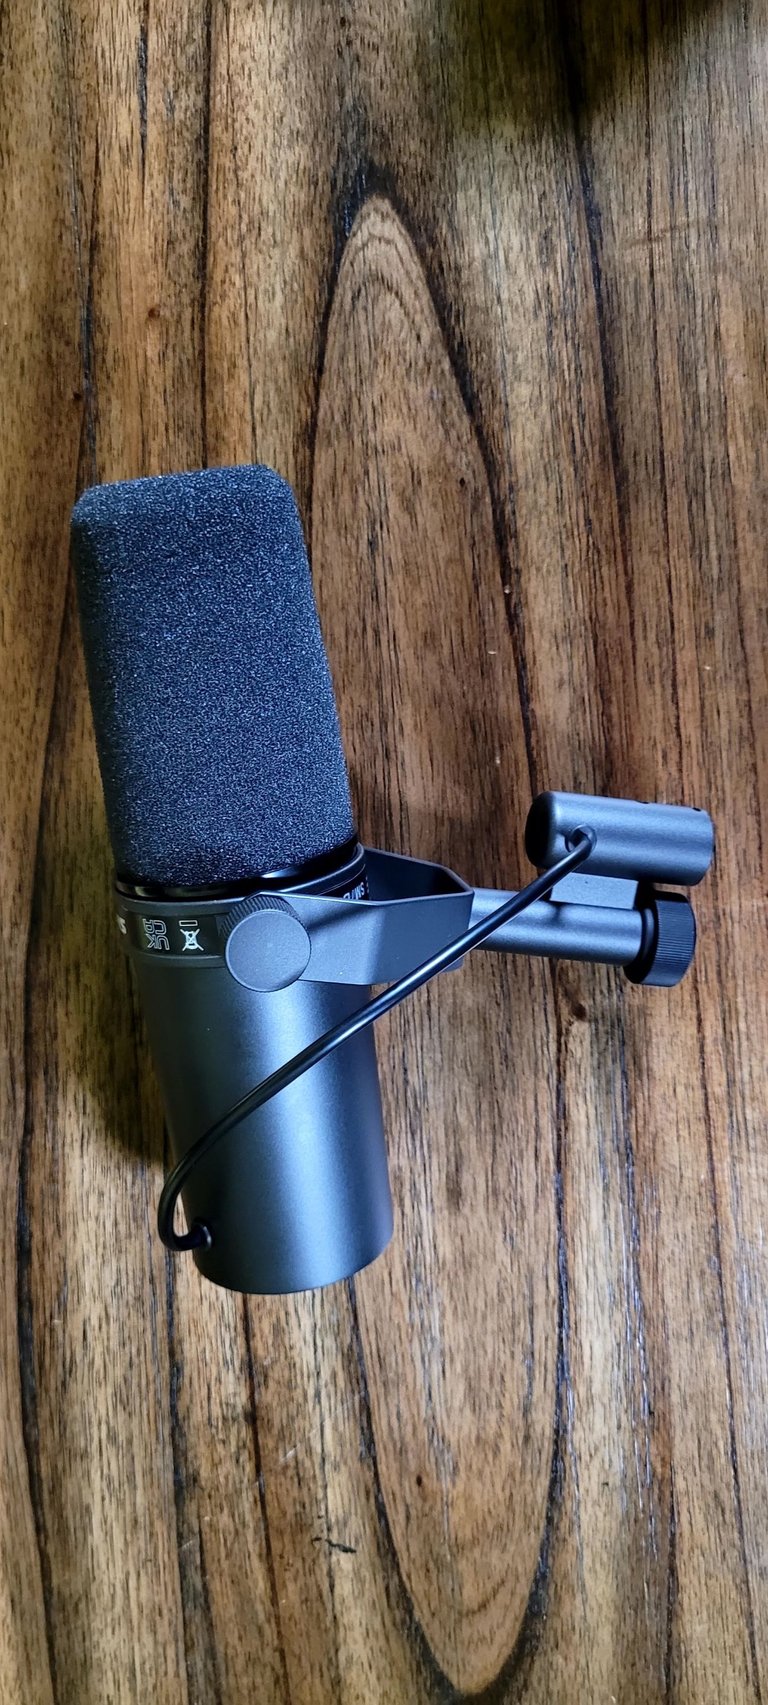
Removing them is quite easy and straight forward
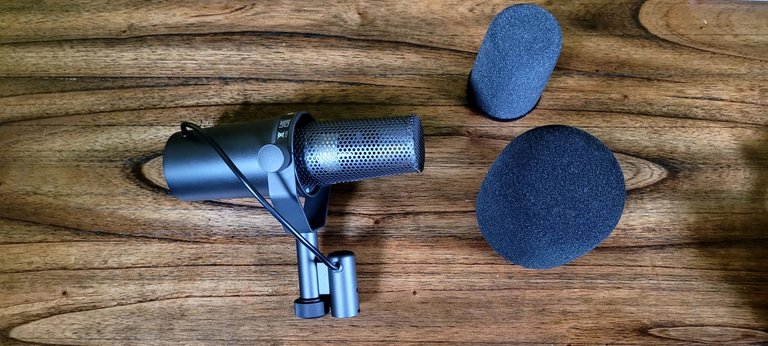
once removed, you can just as easily install the regular wind screen or the heavy duty wind screen.
This is what they look like.
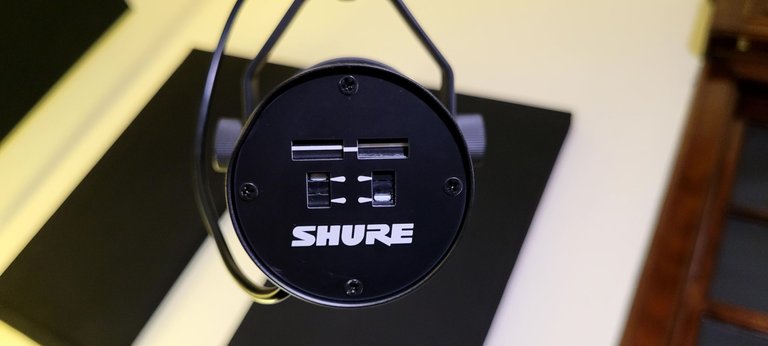
On the back of the microphone, you'll find two slits with toggle switches inside.
- The left one is for standard setting or low frequency roll off.
- the right one is for standard setting or midrange boost.
To avoid curious clients from fiddling the settings you can install this Shure branded aluminum back cover:
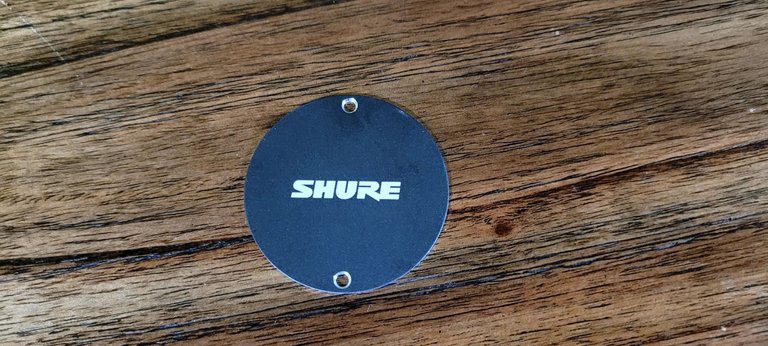
This will probably be used as a place for the show name or branding.

Thank you very much for stopping by and checking out our latest gear acquisition. We'll keep you posted on how we use these brand new mics, so stay tuned.

▶️ 3Speak
The campaign aims to onboard new application developers to grow our ecosystem. If you missed the presentation, you can watch it on YouTube.
You cast your vote for the proposal on Peakd, Ecency, or using HiveSigner.
Thank you!Dear @recording-box,May I ask you to review and support the Dev Marketing Proposal (https://peakd.com/me/proposals/232) we presented on Conference Day 1 at HiveFest?
Congratulations @recording-box! You received a personal badge!
Wait until the end of Power Up Day to find out the size of your Power-Bee.
May the Hive Power be with you!
You can view your badges on your board and compare yourself to others in the Ranking
Check out the last post from @hivebuzz:
Congratulations @recording-box! You received a personal badge!
Participate in the next Power Up Day and try to power-up more HIVE to get a bigger Power-Bee.
May the Hive Power be with you!
You can view your badges on your board and compare yourself to others in the Ranking
Check out the last post from @hivebuzz: