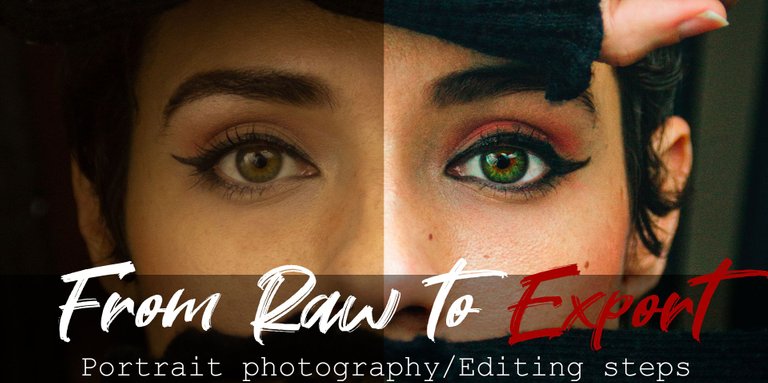
Hi Hive!
I'm back after a couple of weeks of personal organization. I'd like to say I've been taking pictures, but it was the least I did in these fifteen days.
Today I bring you a post with the steps I use to edit my portraits, I hope you like it. 🖤
Hola Hive!
Estoy de regreso luego de un par de semanas de organización personal. Quisiera decir que estuve haciendo fotos, pero fue lo menos que hice en estos quince días.
Hoy les traigo un post con los pasos que utilizo para editar mis retratos, espero que les guste. 🖤

I start with the original file. The model is Daphne, a great friend who I hadn't seen for a long time. I told her to take pictures in her house and she didn't hesitate to accept hahaha.
I used the back of a chair as a background, because I wanted those lines behind her.
Camera: Canon T3.
Lens: Canon FD 50mm 1.4.
Software: Adobe Photoshop.
Comienzo con el archivo original. La modelo es Daphne, una gran amiga a la que tenía mucho tiempo sin ver. Le dije para hacer fotos en su casa y no dudó en aceptar jajaja.
Utlicé la parte de atrás de una silla como fondo, porque quería esas líneas detrás de ella.
Cámara: Canon T3.
Lente: Canon FD 50mm 1.4.
Software: Adobe Photoshop.
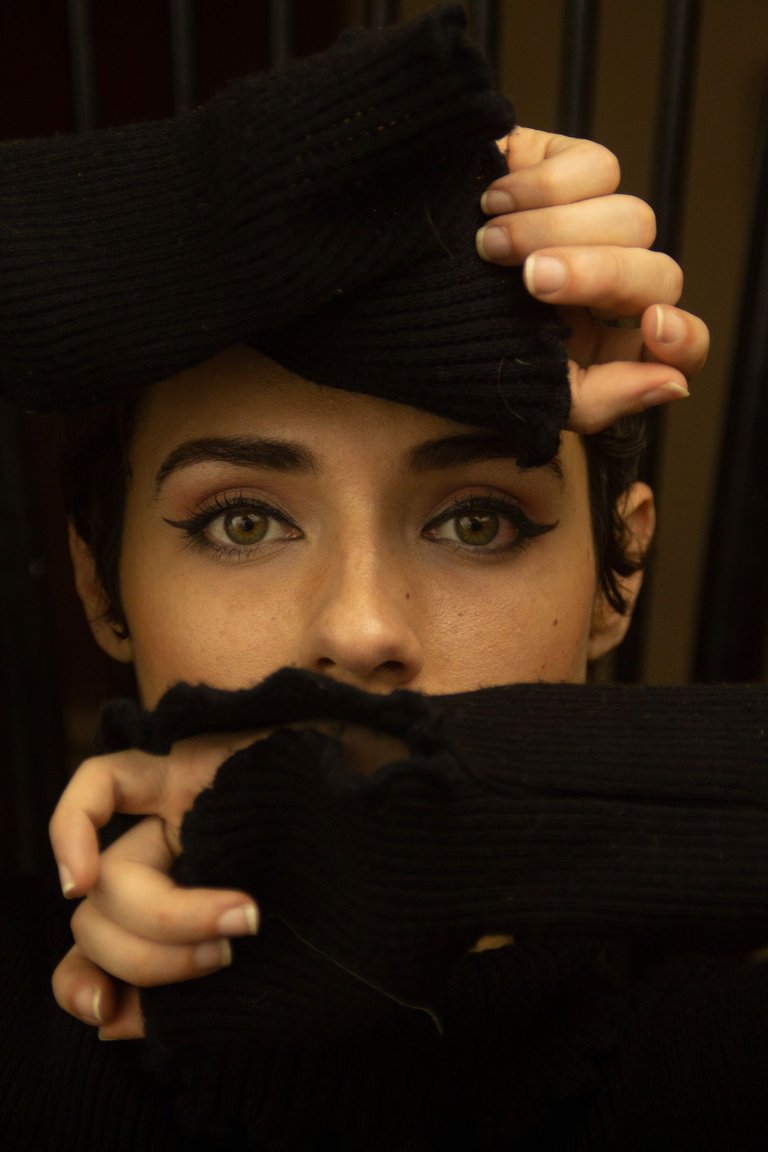
I launched the image directly into Photoshop and the first thing that always opens is Camera Raw. There I adjusted the cropping of the shot because I wanted Daphne's look in the center of the image.
In Camera Raw I always adjust the exposure, shadows, highlights and the temperature of the image a bit. I try not to do too much to the photo in this step, but this shot turned out to be darker than I wanted, so I fixed it early in the process.
Lancé la imagen directamente en Photoshop y lo primero que siempre se abre es Camera Raw. Allí ajusté el recorte de la imagen porque quería la mirada de Daphne en el centro de la imagen.
En Camera Raw siempre ajusto un poco la exposición, las sombras, las iluminaciones y la temperatura de la imagen. Intento no hacer mucho en la foto en este paso, pero esta imagen resultó estar más oscura de lo que quería, así que lo arreglé desde el principio del proceso.
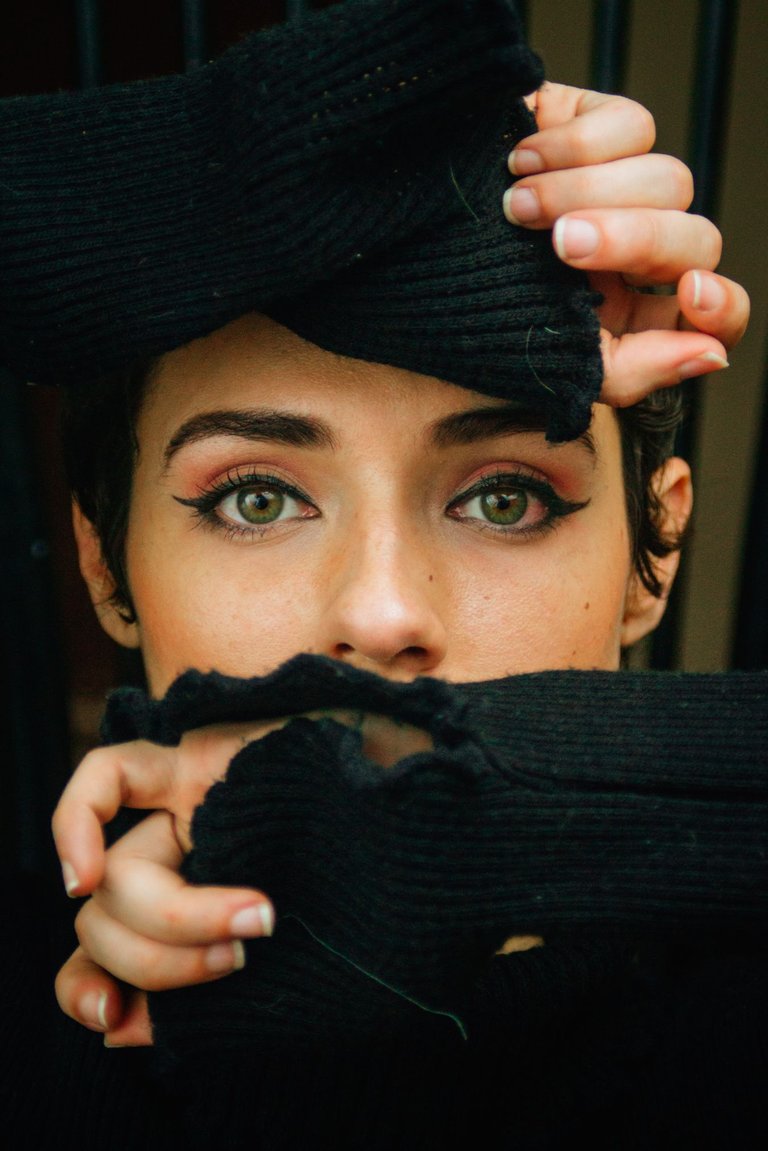
Once I am satisfied with the editing in Camera Raw I open the image as a Smart Object in Photoshop. There I create a layer I call "Details" (always name your layers, it helps you to be better organized), in which I basically remove distractions or elements I don't want in the final picture.
I use the Healing Brush tool and the Clone Stamp to make all the changes.
Una cez que estoy conforme con la edición en Camera Raw abro la imagen como Objeto Inteligente en Photoshop. Allí creo una capa a la que llamo "Detalles" (siempre usen nombre en sus capas, los ayuda a estar mejor organizados), en la que básicamente quito distracciones o elementos que no quiero en la fotografía final.
Utilizo las herramienta Pincel Corrector y el Tampón de Clonar para realizar cualquier cambio.
The next step is always skin editing using Local Dodge and Burn. I consider it one of the best methods for editing skin, as it doesn't remove or hide textures and I like that. I hate to see a face with no textures.
I do the Dodge and Burn using Curves, raising/lowering the exposure and creating an Inverted Layer Mask. Then I paint with a white brush at 100% opacity and 1% flow. Magic.
El siguiente paso siempre es la edición de la piel usando el Dodge and Burn Local. Lo considero uno de los mejores métodos para editar la piel, ya que no elimina ni oculta las texturas y eso me gusta. Detesto ver un rostro sin texturas.
El Dodge and Burn lo hago utilizando las Curvas, subiendo/bajando la exposición y creando una Máscara de capa invertida. Luego pinto con un pincel blanco en 100% de opacidad y 1% de flujo. Magia.
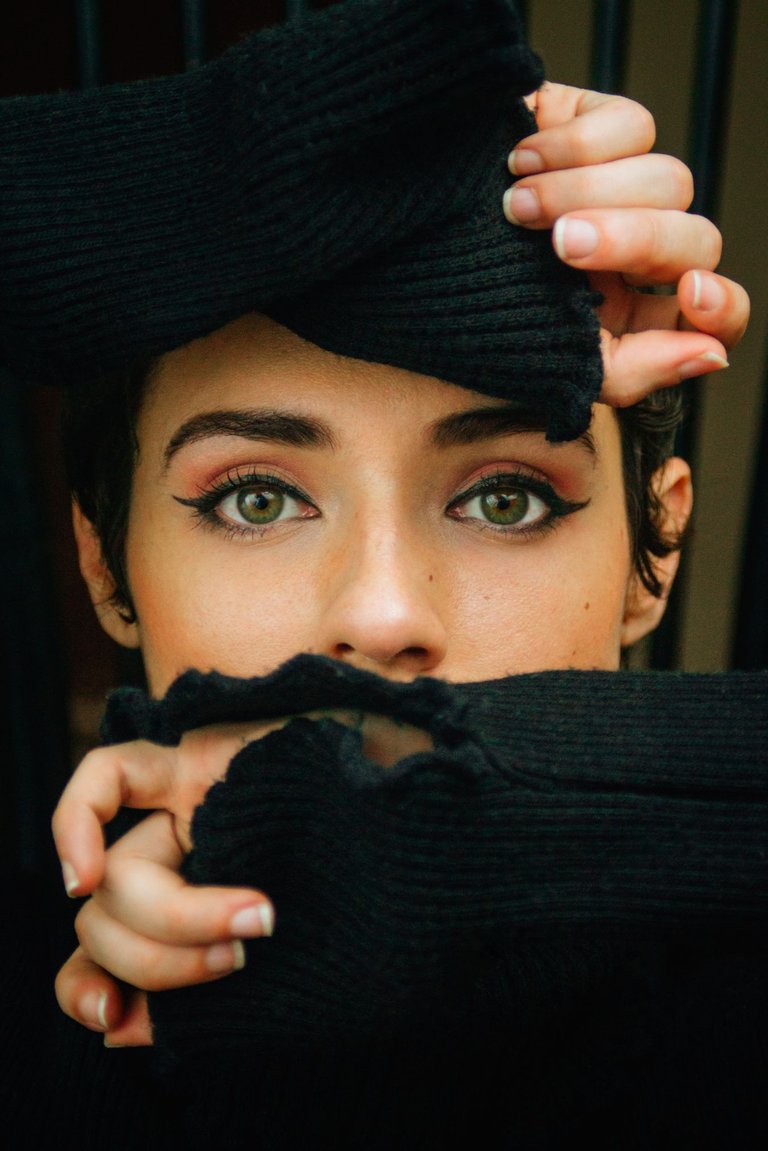
Now I go with the Global Dodge and Burn. The purpose of this step is to give a "3D" effect to the face, improving the shadows and highlights, and I take the opportunity to edit the eyes.
To do this I go to Layer > New Layer > Soft Light Mode and click on "Fill with 50% gray". In this new layer I use a white brush for highlights and black for shadows, at 100% opacity and between 1 and 2% flow. The 2 I use it for elements of the environment if necessary, and the face always with 1.
Ahora voy con el Dodge and Burn Global. El propósito de este paso es darle un efecto "3D" al rostro, mejorando las sombras y las iluminaciones, y aprovecho a editar los ojos.
Para ello voy a Capa > Nueva Capa > Modo Luz Suave y hago click en "Rellenar con 50% gris". En esta nueva capa utilizo un pincel blanco para iluminaciones y negro para sombras, en 100% de opacidad y entre 1 y 2% de flujo. El 2 lo utilizo para elementos del ambiente de ser necesario, y el rostro siempre con 1.
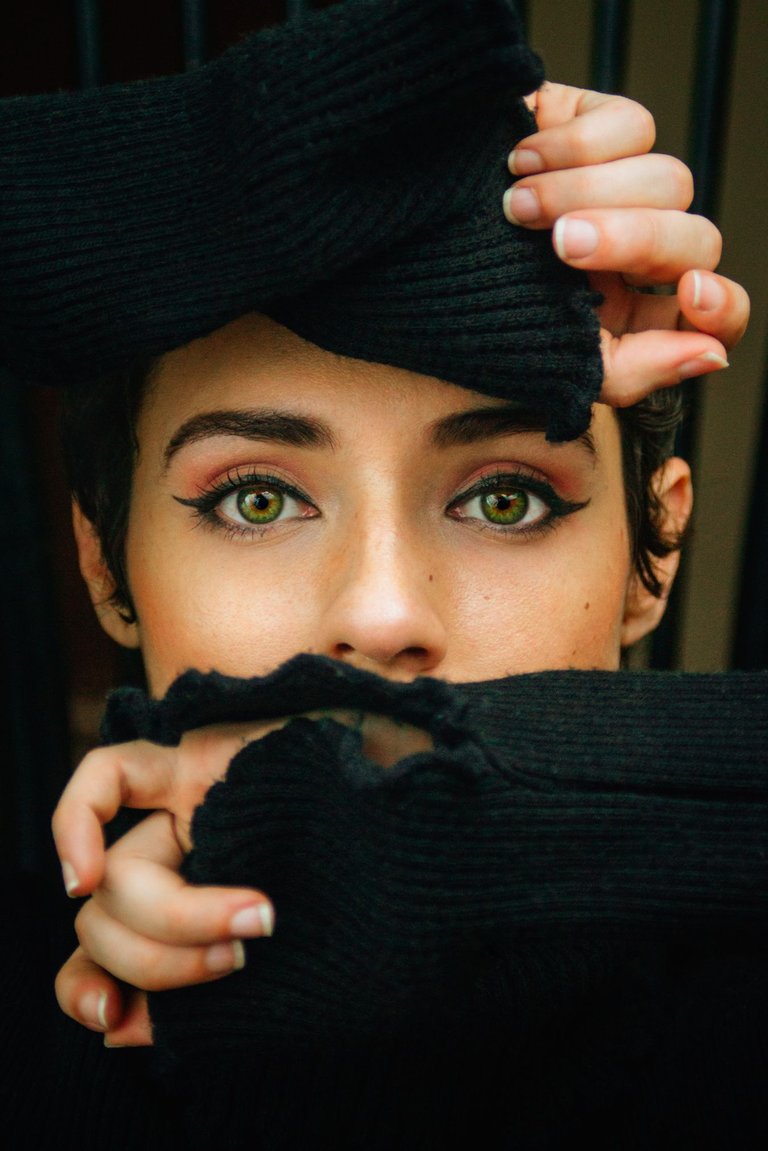
Daphne's make-up was a bit lost due to the poor lighting of the photo, so in this step I took care of highlighting it.
I enhanced the eyeliner by darkening the photo quite a bit with Curves, then applying an Inverted Layer mask and painting around the eyes.
For the eyeshadows and blush I used a Color Fill adjustment layer with a light pink tone, with an inverted Layer Mask and at 60% opacity. I painted with a white brush in the areas where I wanted the tone.
El maquillaje que se hizo Daphne se perdió un poco por culpa de la deficiente iluminación de la foto, así que en este paso me encargué de resaltarlo.
El delineado lo resalté oscureciendo bastante la foto con Curvas, luego aplicando una Máscara de capa invertida y pintando al rededor de los ojos.
Para las sombras de ojos y el rubor utilicé una capa de ajuste de Relleno de Color con un tono rosa claro, con su Máscara de Capa invertida y a un 60% de opacidad. Pinté con un pincel blanco en las áreas donde quería el tono.
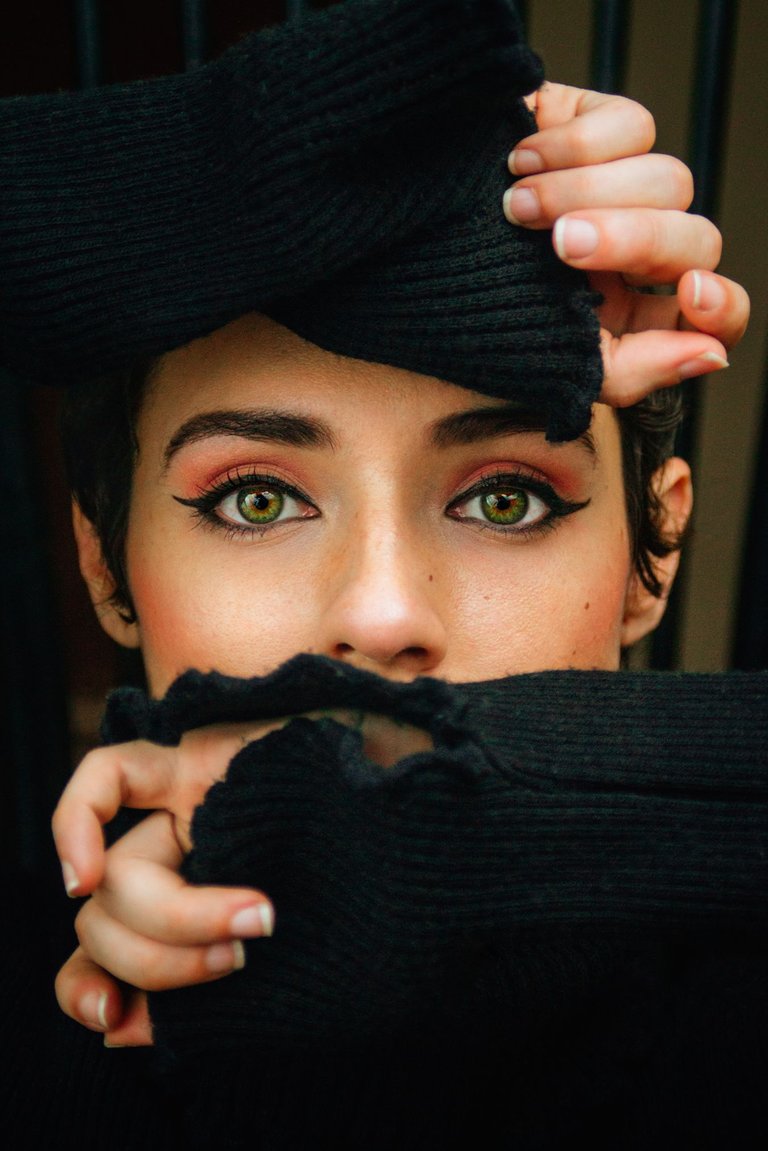
My favorite part of any editing process, Color Correction. For this I use several layers of adjustments, depending on the image: Selective Color, Curves and sometimes a Gradient Map.
Mi parte favorita en todo proceso de edición, la Corrección de Color. Para ello utilizo varias capas de ajustes, dependiendo de la imagen: Corrección Selectiva, Curvas y algunas veces un Mapa de Degradado.
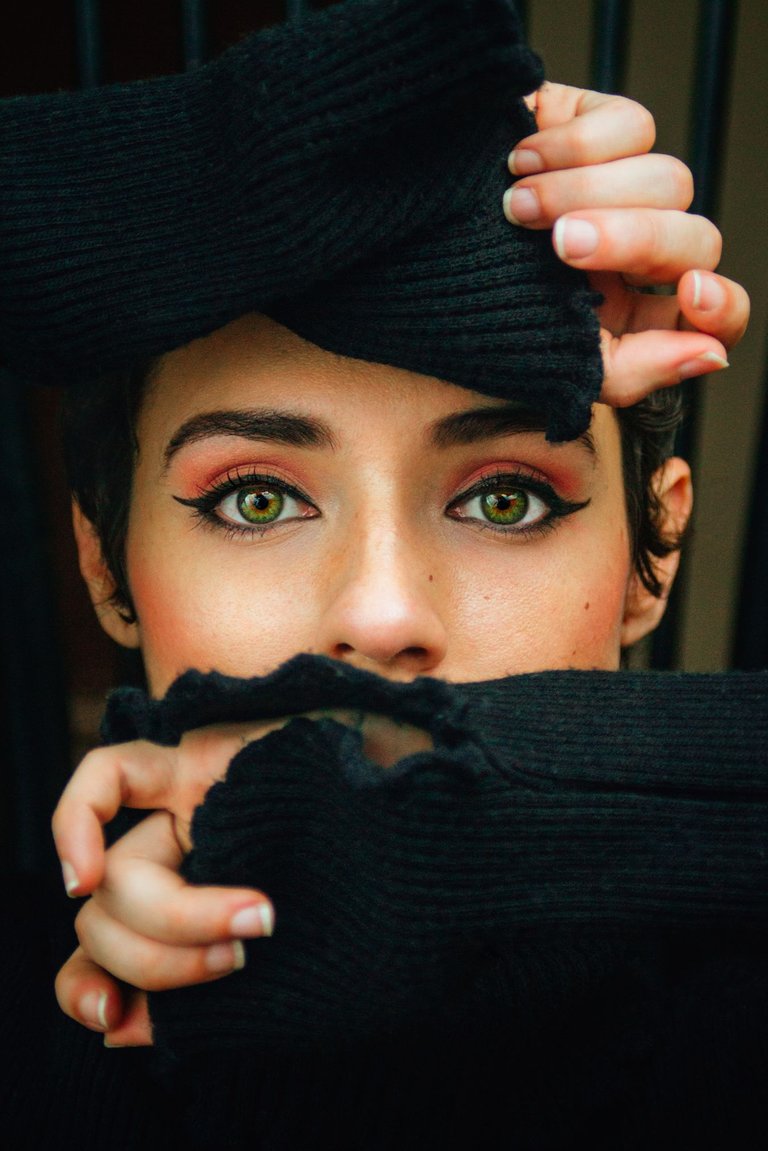
And finally, I do a second round of Color Correction, I apply a little sharpening in some key parts of the image (eyes, nose, some detail) and if the image requires it, I add a vignette.
Y bueno, por último hago una segunda ronda de Corrección de Color, aplico un pequeño enfoque en algunas partes claves de la imagen (ojos, nariz, algún detalle) y si la imagen lo amerita le agrego viñeta.
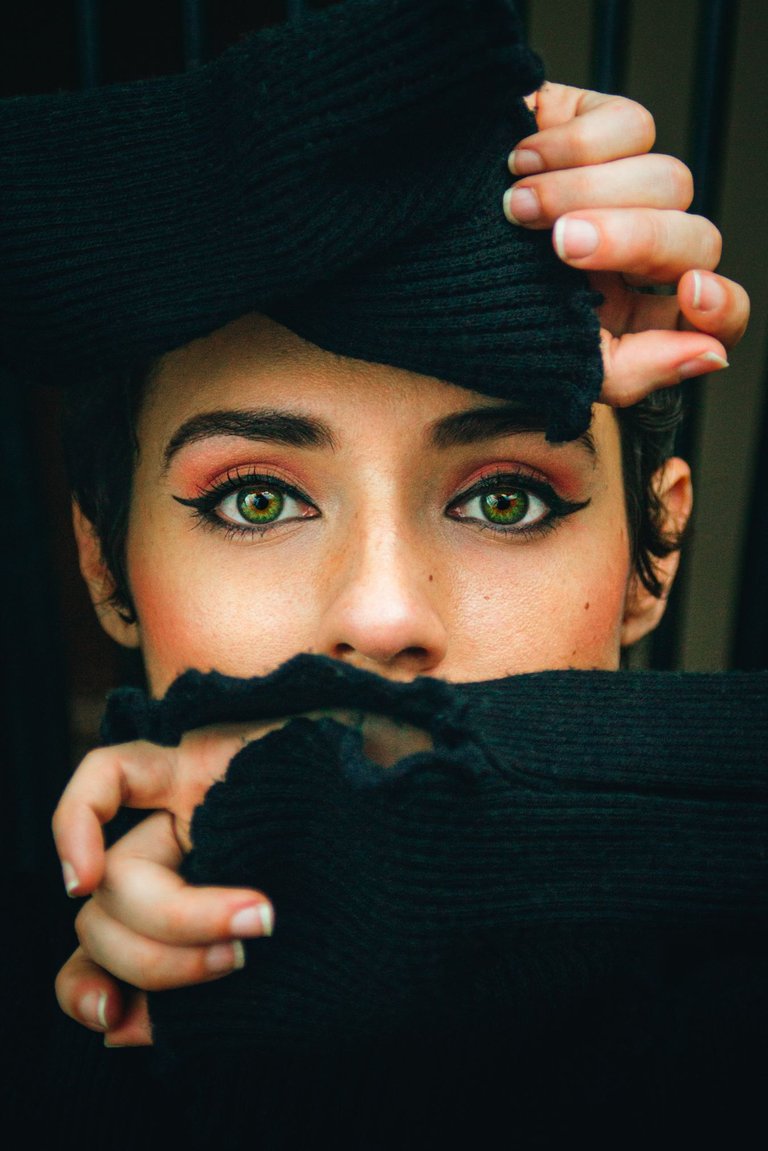
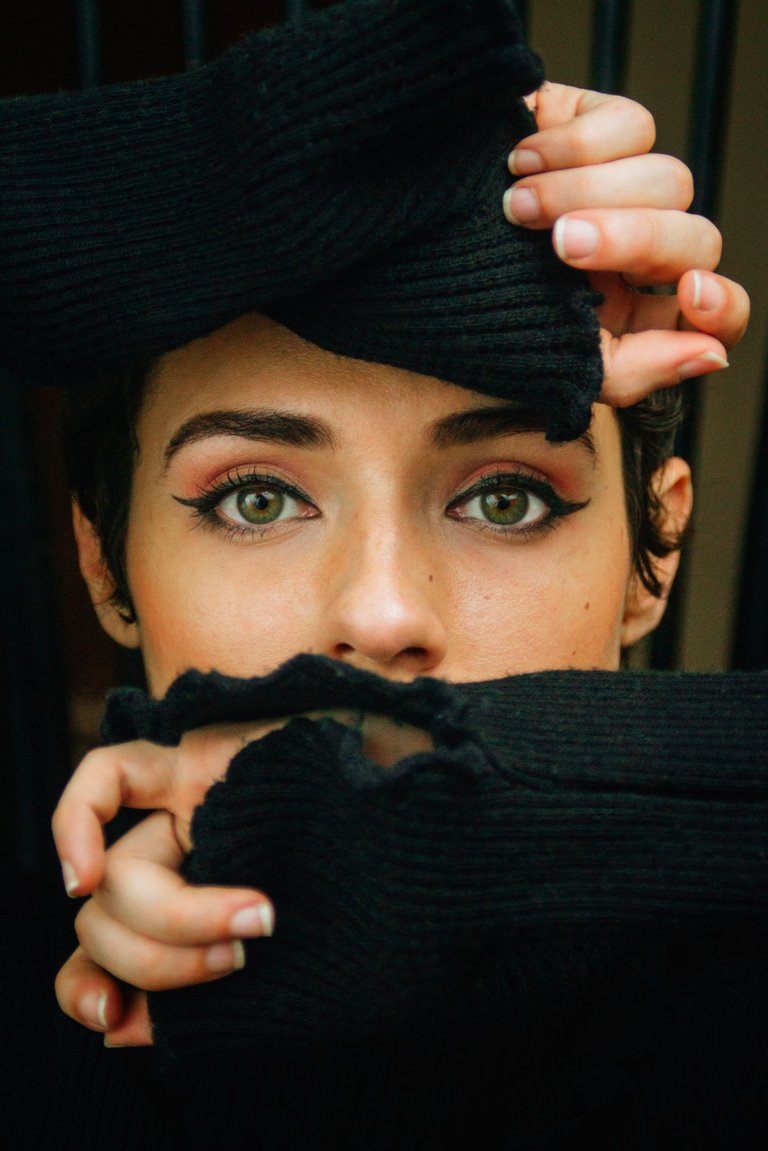
And that's it. We have a final image. I have been refining this editing process little by little over time, practicing whenever I can.
Now I leave you a couple of before and after shots so you can see the difference.
Y listo. Tenemos imagen final. Este proceso de edición lo he ido refinando poco a poco con el paso del tiempo, practicando cada vez que puedo.
Ahora les dejo un par de antes y después para que vean la diferencia.
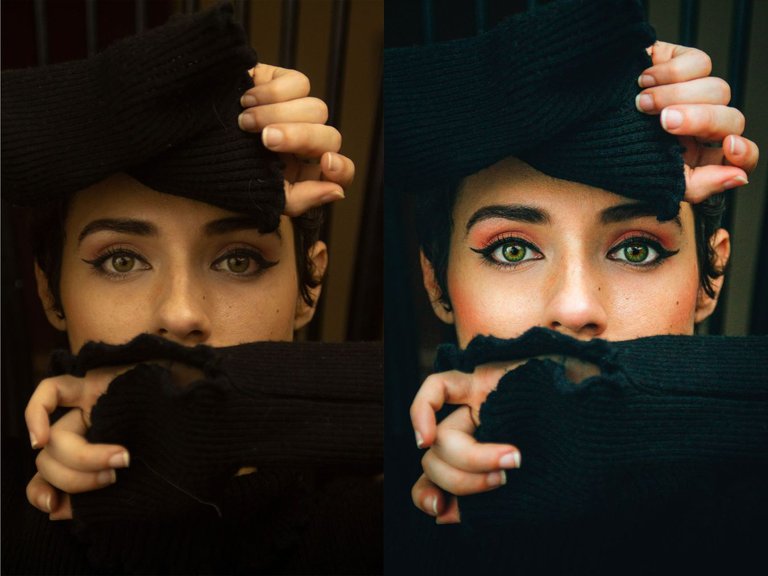
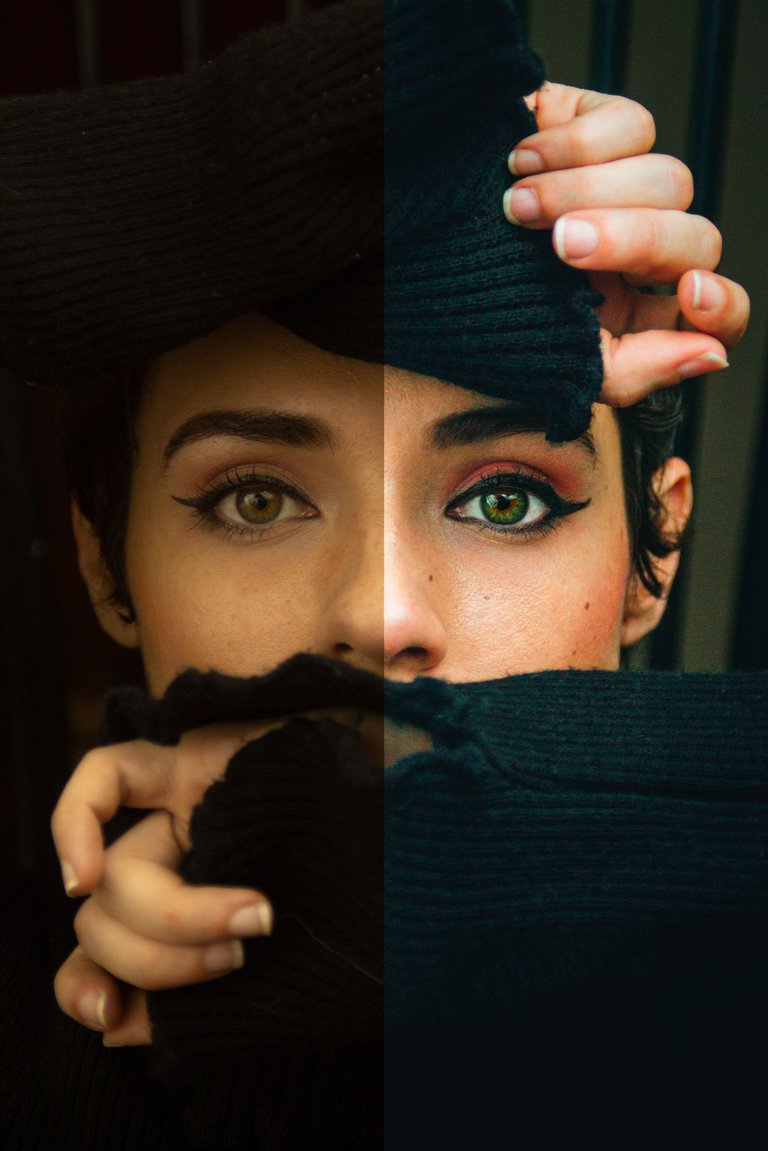

That's all for today. Thank you very much for reading this post, this week I'll be posting almost every day, so if you want to keep seeing this style of content, don't forget to follow me.
See you in the next post!
Eso es todo por hoy. Muchísimas gracias por leerme, esta semana estaré publicando casi todos los días, así que si quieres seguir viendo este estilo de contenido, no olvides seguirme.
¡Nos vemos en el próximo post!

You can always choose to be kind!


All collages/headers were edited in Adobe Photoshop.
¡La próxima vez deberías escoger una modelo que no sea tan bonita, porque así es difícil concentrarse en el proceso de edición! 😉
Yo hago mucho edición de rostros, pero sin ningún conocimiento y uso Gimp. Sé que este tiene mucho en común con Photoshop, pero voy a tener que sentarme a estudiarlo seriamente, porque el resultado es impresionante.
¡Felicitaciones!
Photoshop es una maravilla, pero hay que tratarlo con respeto e ir poco a poco o podrías sentirte agobiado con todo lo que puedes hacer.
Te lor recomiendo muchísimo, especialmente conociendo que ya tienes nociones de edición y que te gusta editar.
Muchísimas gracias <3
De hecho, yo empecé editando en Photoshop en la época que usaba Mac y luego sobre Windows. Pero desde que me pasé a Linux estoy editando en GIMP que tiene muchísima calidad y se ha inspirado en muchas de las herramientas de Photoshop... El problema está cuando uno hace las cosas sin conocerlas a fondo. Ese conocimiento que tienes y aplicas fue lo que más me gustó de tu publicación. 😉
¡Felicidades! Esta publicación obtuvo upvote y fue compartido por @la-colmena, un proyecto de Curación Manual para la comunidad hispana de Hive que cuenta con el respaldo de @curie.
Si te gusta el trabajo que hacemos, te invitamos a darle tu voto a este comentario y a votar como testigo por Curie.
Si quieres saber más sobre nuestro proyecto, acompáñanos en Discord: La Colmena.
The rewards earned on this comment will go directly to the person sharing the post on Twitter as long as they are registered with @poshtoken. Sign up at https://hiveposh.com.
Congratulations @enderlouis! You have completed the following achievement on the Hive blockchain and have been rewarded with new badge(s) :
Your next target is to reach 2750 upvotes.
You can view your badges on your board and compare yourself to others in the Ranking
If you no longer want to receive notifications, reply to this comment with the word
STOPCheck out the last post from @hivebuzz: