Turning Three Hours into 23 Seconds
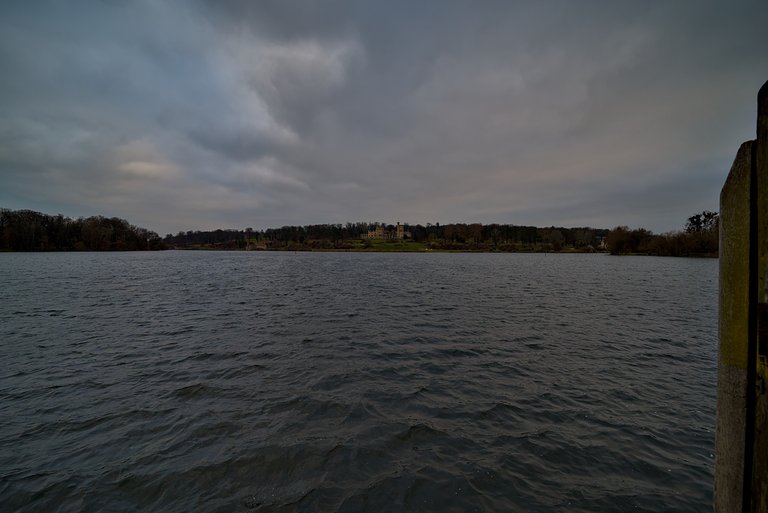
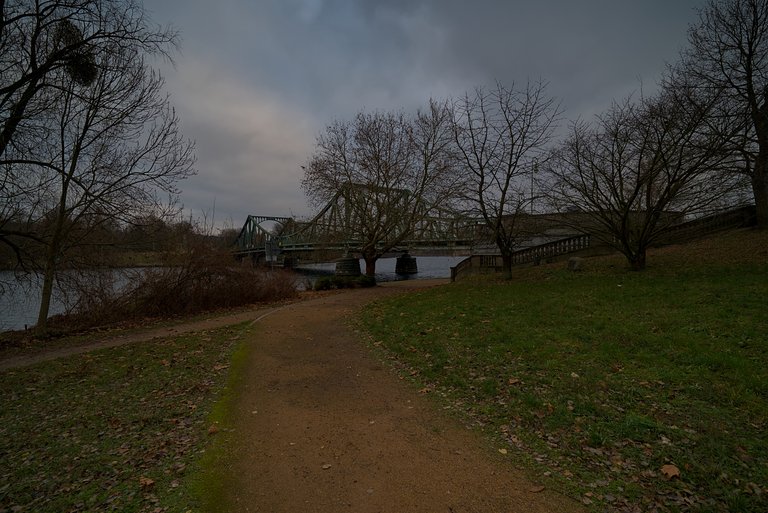
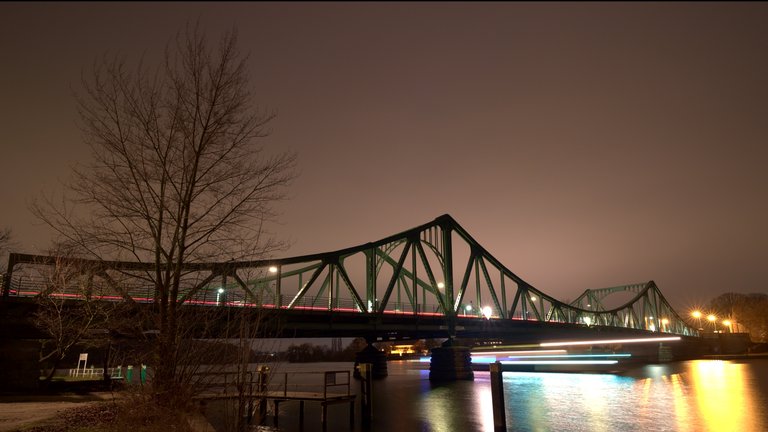
Greetings friends of time-lapse photography. The day before yesterday I took a trip to Glienicke Bridge. The weather forecast promised that the grey skies would clear. A quick glance out of the window confirmed this. Blue sky and a few fast-moving clouds in the sky. The perfect conditions for an exciting timelapse. I got into the car and battled my way through Berlin's rush-hour traffic towards Potsdam. During the journey, the clouds got thicker and thicker. When I arrived at the bridge, everything was grey and gloomy again, as it had almost always been in recent weeks.
Seid gegrüßt Freunde der Zeitrafferfotografie. Vorgestern unternahm ich einen Ausflug zur Glienicker Brücke. Die Wettervorhersage versprach, dass der graue Himmel aufreißt. Ein kurzer Blick aus dem Fenster bestätigte das. Blauer Himmel und einige schnell am Himmel ziehende Wolken. Die perfekten Voraussetzungen für ein spannendes Timelapse. Ich setzte mich ins Auto und quälte mich durch den Berliner Berufsverkehr Richtung Potsdam. Während der Fahrt wurde die Wolkendecken immer dichter. Als ich an der Brücke ankam, war alles wieder grau und düster, wie in den letzten Wochen fast immer.
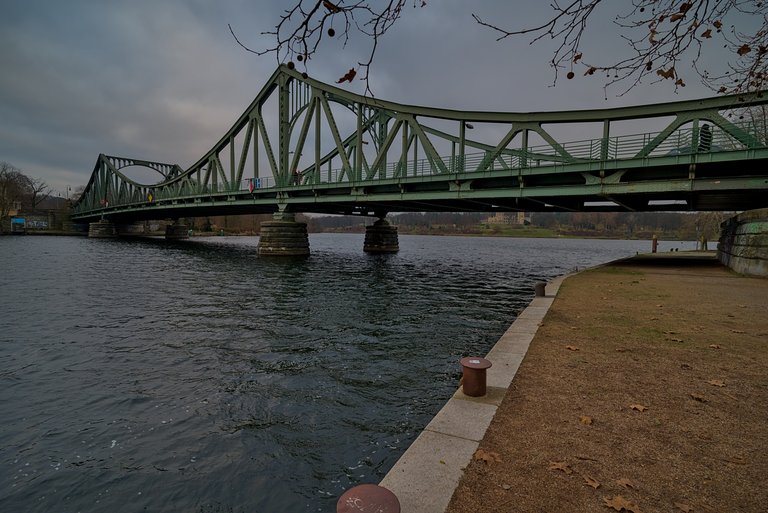
My first impulse after a tour of the bridge was to go back home. But then I stayed. Things don't always go as planned. In the end, it was better to stand in the cold for three hours and concentrate on working on the timelapse than to sit at home and be annoyed by the adverse circumstances. Even if the result didn't turn out the way I had imagined, I was finally outside with the camera again. The therapeutic value was also quite high. It wasn't raining, I had coffee with me and I made friends with two dogs.
Mein erster Impuls nach einem Rundgang an der Brücke war, wieder nach Hause zu fahren. Ich bin dann doch geblieben. Es läuft eben nicht immer alles wie geplant. Letztendlich war es dann auch besser drei Stunden in der Kälte zu stehen und mich auf die Arbeit am Timelapse zu konzentrieren als zu Hause zu sitzen und mich über die widrigen Umstände zu ärgern. Auch wenn das Ergebnis nicht so geworden ist, wie ich mir das vorgestellt hatte, war ich endlich mal wieder mit der Kamera draußen. Der therapeutische Wert war dann auch recht groß. Es regnete nicht, ich hatte Kaffee dabei und ich freundete mich mit zwei Hunden an.

Setup
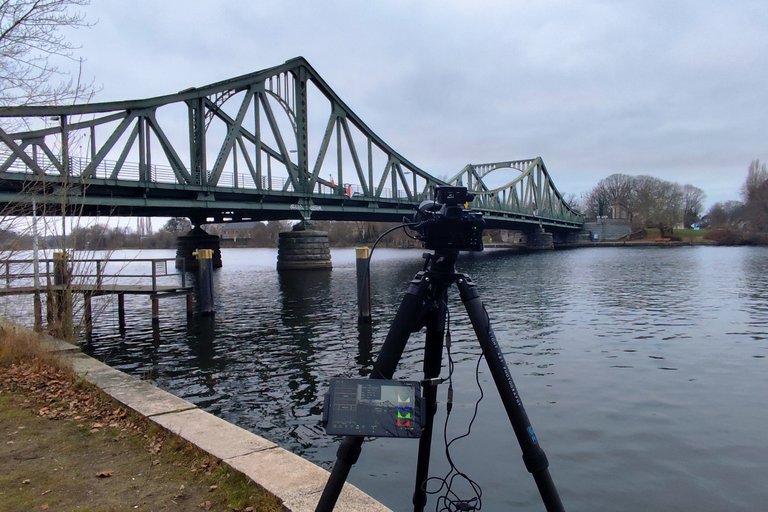
First I set up the tripod. Timelapse shots don't work without a stable tripod, especially when you're working with long exposure times. I then mounted the Nikon Z 5 with the Viltrox 16/1.8 on the tripod, aligned the camera to the desired image section and focussed on the bridge. I set the aperture to 5.6 and the ISO to 100 and the exposure mode to "M". I set the time to 1/30 second. The result was a little too bright, so I set 1/60 second. This was the starting point for the series of pictures I wanted to take.
I then plugged the interval trigger into the hot shoe and connected it to the camera with a cable. I then attached a heating sleeve to the lens to prevent the front lens from fogging up. I supplied the heater and the camera with power via a power bank. I then attached my tablet to the tripod and set up a Wi-Fi connection between the camera and tablet.
Zuerst stellte ich das Stativ auf. Ohne stabiles Stativ gelingen Timelapseaufnahmen nicht, vor allem, wenn man mit langen Belichtungszeiten arbeitet. Danach montierte ich die Nikon Z 5 mit dem Viltrox 16/1.8 auf dem Stativ, richtete die Kamera auf den gewünschten Bildausschnitt aus und fokussierte auf die Brücke. Ich stellte die Blende auf 5.6 und den ISO auf 100. Der Belichtungsmodus stand auf "M". Als Zeit wählte ich 1/30 Sekunde. Das Ergebnis war etwas zu hell, ich stellte also 1/60 Sekunde ein. Dies war der Ausgangspunkt für die Serie von Bildern, die ich aufnehmen wollte.
Danach steckte ich den Intervallauslöser auf den Blitzschuh und verband diesen über ein Kabel mit der Kamera. Anschließend befestigte ich eine Heizmanschette am Objektiv damit die Frontlinse nicht beschlägt. Die Heizung und die Kamera versorgte ich über eine Powerbank mit Strom. Ich befestigte dann mein Tablet am Stativ und stellte eine WLAN Verbindung zwischen Kamera und Tablet her.

Taking the Pictures
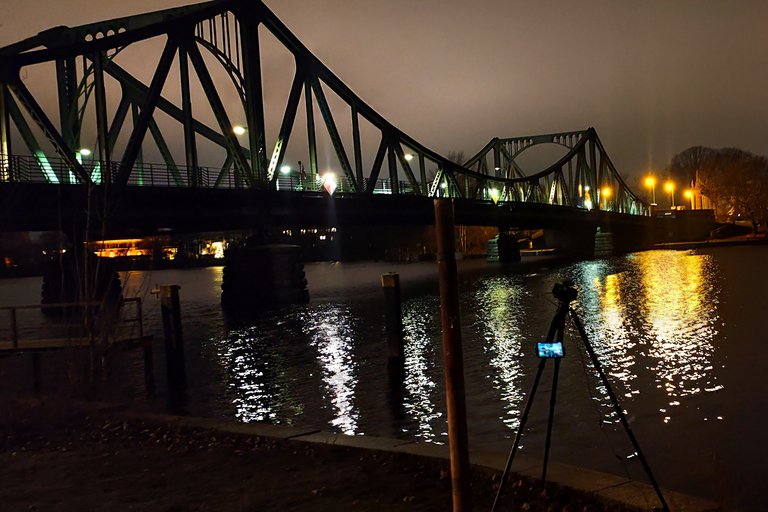
Shooting a timelapse from day to night, or vice versa, makes it necessary to constantly adjust the exposure to the changing light conditions. In principle, you could adjust the exposure time and ISO on the camera without any tools. However, this is very difficult and imprecise. You can hardly judge it properly with the naked eye and you would only have very little time between two pictures to change the settings. For this reason, I used the tablet with the QDSLRDashboard software to adjust the exposure time and ISO. The first image taken serves as a reference. After every 3 pictures, the tablet measures the brightness and then adjusts the settings accordingly. I had set a default longest exposure time of 13 seconds and a maximum ISO of 3200. As it got darker, the exposure time was then gradually increased to the set 13 seconds and when this was reached, the ISO was increased. You could also include the aperture, but this is usually not a good idea because the depth of field and possibly the focus (focus breathing) would change.
I set the LRTimelapse timer to "Timelapse" and an interval of 3.8 seconds and started shooting. I set the number of images to "unlimited". After all, I didn't know exactly how long I wanted to stand in the cold and what would happen on and under the bridge. The attentive reader will now be wondering how I intend to shoot exposure times of up to 13 seconds with an interval of 3.8 seconds. Of course that's not possible. This is where one of the great strengths of the LRTimelapse Timer comes into play: interval ramping. During the shoot, I extended the interval in several steps. You select a time span for the change and a new value for the interval. In the first step, I increased the interval to 10 seconds within 10 minutes. When the exposure time was then at 5 seconds, I increased it again to 16 seconds in 10 minutes. I took a total of 1016 pictures. After almost three hours, I packed up my equipment and drove home.
Die Aufnahme eines Timelapse vom Tag zur Nacht, oder auch umgekehrt, macht es erforderlich, die Belichtung permanent an die sich ändernden Lichtverhältnisse anzupassen. Grundsätzlich könnte man die Belichtungszeit und den ISO an der Kamera ohne irgendwelche Hilfsmittel anpassen. Das ist allerdings sehr schwierig und unpräzise. Mit bloßem Auge kann man das kaum richtig beurteilen und außerdem hätte man nur sehr wenig Zeit zwischen zwei Bildern um die Einstellungen zu verändern. Aus diesem Grund habe ich das Tablet mit der Software QDSLRDashboard verwendet um die Belichtungszeit und den ISO anzupassen. Das erste aufgenommene Bild dient als Referenz. Nach jeweils 3 Bildern misst das Tablet die Helligkeit und passt dann die Einstellungen entsprechend an. Ich hatte als Vorgabe eine längste Belichtungszeit von 13 Sekunden und einen maximalen ISO von 3200 eingestellt. Bei zunehmender Dunkelheit wurde dann zuerst die Belichtungszeit schrittweise auf die eingestellten 13 Sekunden verlängert und als diese dann erreicht waren der ISO erhöht. Man könnte auch die Blende mit einbeziehen, das ist allerdings meist keine gute Idee weil sich die Schärfentiefe sowie unter Umständen der Fokus (Focus Breathing) ändern würden.
Den LRTimelapse Timer stellte ich auf "Timelapse" und ein Intervall von 3,8 Sekunden und startete die Aufnahmen. Die Anzahl der Bilder stellte ich auf "unlimited". Ich wusste schließlich noch nicht so genau, wie lange ich in der Kälte stehen wollte und was so alles auf und unter der Brücke passieren würde. Der aufmerksame Leser wird sich jetzt fragen, wie ich mit einem Intervall von 3,8 Sekunden Belichtungszeiten bis 13 Sekunden aufnehmen will. Das geht natürlich nicht. An dieser Stelle kommt eine der großen Stärken des LRTimelapse Timers ins Spiel, das Intervall Ramping. Während der Aufnahmen verlängerte ich in mehreren Schritten das Intervall. Dabei wählt man ein Zeitspanne für die Veränderung und einen neuen Wert für das Intervall. Im ersten Schritt hatte ich innerhalb von 10 Minuten das Intervall auf 10 Sekunden erhöht. Als dann die Belichtungszeit bei 5 Sekunden war, wieder in 10 Minuten auf 16 Sekunden. Insgesamt habe ich 1016 Bilder aufgenommen. Nach fast drei Stunden packte ich meine Ausrüstung zusammen und fuhr nach Hause.

Post Processing
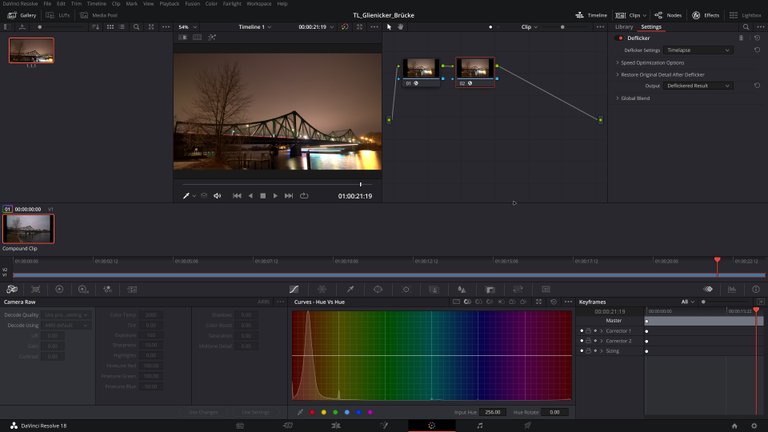
When I got home, I copied the RAW images to the computer and converted them to DNG format. I opened the DNG images in DaVinci Resolve and created a timeline. By adjusting the exposure and changing the light in the scene, the video would flicker. The "Deflickr" module removes the flickering completely. The next step was to correct the white balance. I had set this to 8000 K to match the situation before sunset. However, this value does not come close to matching the lighting situation in the dark. Here I set a value of 3500 K. Using a copy of the timeline, I slowly faded in the new value. A sudden change in the white balance would look terrible. I also activated the "Colour Stabilizer" module. I also adjusted the contrast, saturation and a few other things. I then added a zoom effect and exported the video.
Zu Hause angekommen kopierte ich die RAW Bilder auf den Computer und konvertierte diese ins DNG Format. Die DNG Bilder öffnete ich in DaVinci Resolve und erstellte eine Timeline. Durch die Anpassung der Belichtung und durch die Veränderung des Lichts in der Szene würde das Video flackern, Das Modul "Deflickr" entfernt das Flackern vollständig. Als nächstes galt es den Weißabgleich zu korrigieren. Ich hatte diesen auf 8000 K eingestellt, passend zur Situation vor dem Sonnenuntergang. Dieser Wert passt allerdings nicht annähernd zur Lichtsituation in der Dunkelheit. Hier stellte ich einen Wert von 3500 K ein. Mit einer Kopie der Timeline blendete ich den neuen Wert langsam ein. Eine sprunghafte Änderung des Weißabgleichs würde schrecklich aussehen. Zusätzlich aktivierte ich dann noch das Modul "Colour Stabilizer". Darüber hinaus passte ich Kontrast, Sättigung und einige andere Sachen an. Ich stellte dann noch einen Zoom-Effekt ein und exportierte das Video.

Glienicker Brücke

Aufnahme um 1900 / Photo taken around 1900
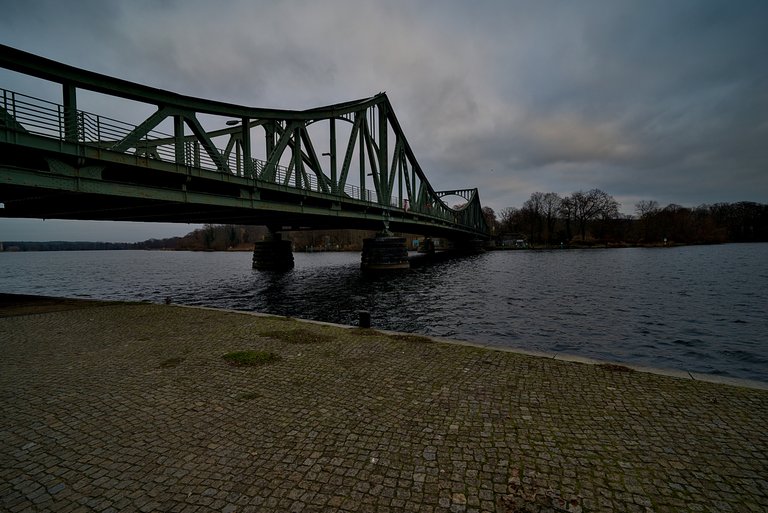
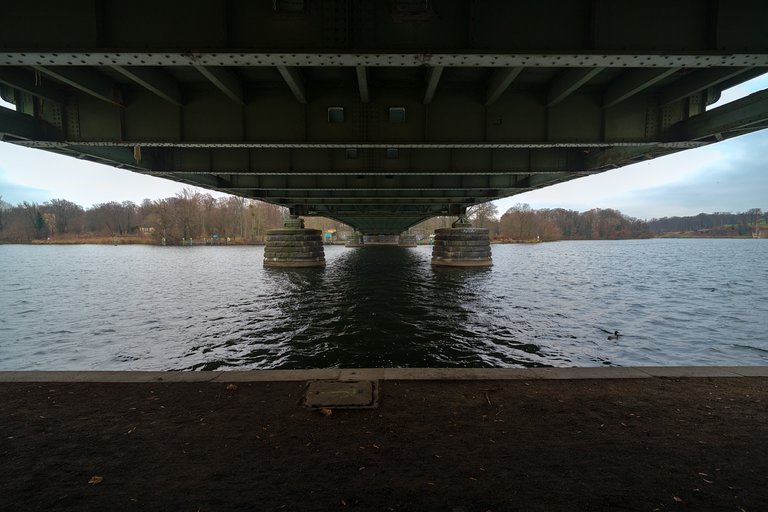
The Glienicke Bridge connects Berlin and Potsdam via the Havel. The bridge was built in its current form by the GDR in 1949. The old bridge from 1906 was destroyed during the Second World War. The state border between Berlin and Brandenburg runs through the centre of the bridge. If you stand on the bridge, you can see this immediately. The road surface and the colour with which the bridge is painted change. I will never understand something so crazy. Any sane person would commission a company to paint the bridge and simply split the costs between the state of Berlin and the state of Brandenburg.
Until 1989, the GDR's state border ran across the bridge. The bridge was only used by the allied forces and diplomats. And for the exchange of agents between East and West. As this exchange of spies sometimes attracted a lot of attention in the media, some people will probably be familiar with the bridge. In any case, I like travelling to such historic places, even if the photos simply show a bridge.
Die Glienicker Brücke verbindet über die Havel Berlin und Potsdam. In der heutigen Form wurde die Brücke von der DDR im Jahr 1949 gebaut. Die alte Brücke aus dem Jahr 1906 wurde im Zweiten Weltkrieg zerstört. In der Mitte der Brücke verläuft die Landesgrenze zwischen Berlin und Brandenburg. Wenn man auf der Brücke steht, sieht man das sofort. Der Straßenbelag und die Farbe, mit der die Brücke gestrichen ist, ändern sich. So etwas Beklopptes werde ich nie verstehen. Jeder geistig gesunde Mensch würde ein Unternehmen mit dem Streichen der Brücke beauftragen und die Kosten einfach zwischen dem Land Berlin und dem Land Brandenburg aufteilen.
Bis 1989 verlief die Staatsgrenze der DDR über die Brücke. Die Brücke wurde nur noch von den alliierten Streitkräften und Diplomaten benutzt. Und zum Austausch von Agenten zwischen Ost und West. Da dieser Austausch der Spione zuweilen große Aufmerksamkeit in den Medien erregte, dürfte dem Einen oder Anderen, die Brücke wohl bekannt sein. Ich bin jedenfalls gerne an solch geschichtsträchtigen Orten unterwegs, auch wenn in den Aufnahmen dann einfach nur eine Brücke sichtbar wird.


WHAT IS LIGHT PAINTING?

LICHTKUNSTFOTO
If you like my art visit www.lichtkunstfoto.de for more Light Art Photography and informations about Light Painting. Join me on Flickr Twitter


For more great Light Art Photography, Light Painting and inspiration check these light painters: @marlasinger666 @fadetoblack @fastchrisuk @dawnoner @oddballgraphics @martbarras @stepko @rod.evans.visual @yo-hoho @maxpateau @gunnarheilmann @neilru75 @maximepateau @ryuslightworks @lightstabeu @candelart @lacelight

WE ARE LIGHT PAINTERS

To help and support the LightPainters community here on Hive I would appreciate your delegation of HivePower. Any amount is appreciated. It does not require much to get started, we are happy for any gesture. @lightpainters
How to delegate?
Delegate 50HivePower, [50HP]
Delegate 250HivePower, [250HP]
Delegate 500HivePower, [500HP]
Delegate 1000HivePower, [1000HP]
All the Hive Power will help to upvote the artist's contribution as part of the LightPainters community.
Danke für den sehr informativen Beitrag. Die Zeitrafferaufnahme finde ich sehr gelungen, mit schönen Übergang in den dunklen Abend. Ich glaube jetzt bin ich motiviert, meine Kamera auch mal wieder aus der Tasche zu holen. 😊
Ich bin gespannt auf Deine Ergebnisse.Danke @stepko. 😊
Cool, thanks for the info about DaVinci Resolve pal, I'll give that software a try.
There is a free version and there are some useful videos about processing holy grail timelapses.
Tolle Aufnahmen und was für ein historischer Ort, die Brücke kam in vielen Krimis vor und war zu geteilten Zeiten ein mystischer Ort. Ich erinnere mich noch. Als Kind habe ich mit meinem Opa immer im Glienicker Park Fußball gespielt.
Weiter sind wir ja nicht gekommen. Und nach Maueröffnung dann ist erste Mal über die Brücke nach Potsdam zu fahren war schon ein interessantes Gefühl.
Danke. Es freut mich, wenn ich mit meiner Arbeit Erinnerungen wecken kann.
Das steckt sehr viel Arbeit drin, was viele nicht so einschätzen. Ich bin völlig Begeistert vom Ergebnis, vielen Dank für die Arbeit und zeigen.
Danke.
Die viele Arbeit macht das ja erst interessant. Die Befriedigung ist ungleich größer, als wenn ich nur einmal auf den Auslöser drücke und das Bild ist fertig.
Congratulations @lichtkunstfoto! You have completed the following achievement on the Hive blockchain And have been rewarded with New badge(s)
Your next target is to reach 42000 upvotes.
You can view your badges on your board and compare yourself to others in the Ranking
If you no longer want to receive notifications, reply to this comment with the word
STOPCheck out our last posts: