Perceived Knowledge
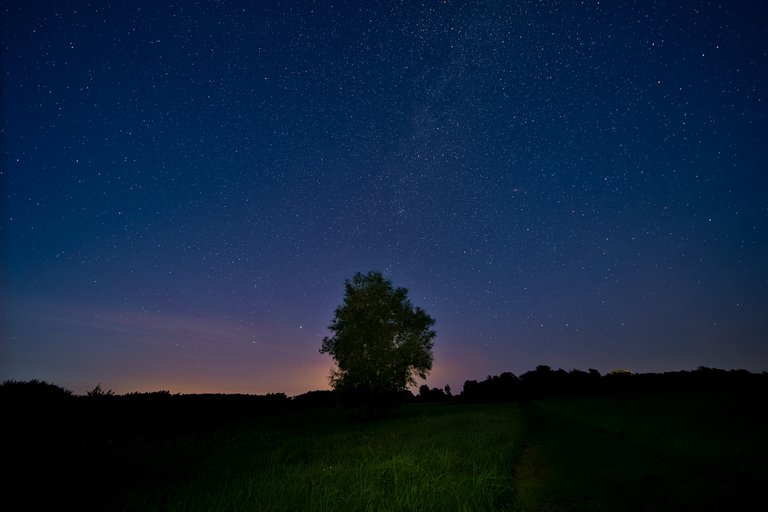
Greetings friends of darkness. If I were to ask 100 photographers whether image noise increases when you increase the ISO value, 100 would probably agree with this statement. After all, this statement can easily be compared with your own experience, at least supposedly. If I take a picture in daylight with ISO 100 and 1/500 of a second, the picture is very low in noise. If I expose at ISO 3200 with 20 seconds, you can see more or less image noise, depending on the camera used. In any case, more than in the first picture. However, this is not due to the higher ISO value, but on the one hand to the longer exposure time and above all to the fact that there was much, much less light to excite the sensor. So in order to be able to make a well-founded statement about this, the conditions, especially the available light, must be the same.
Seid gegrüßt Freunde der Dunkelheit. Wenn ich 100 Fotografen fragen würde, ob das Bildrauschen stärker wird, wenn man den ISO-Wert erhöht, würden wahrscheinlich 100 dieser Aussage zustimmen. Diese Aussage lässt sich schließlich ganz leicht mit den eigenen Erfahrungen abgleichen, zumindest vermeintlich. Wenn ich bei Tageslicht ein Bild mit ISO 100 und einer 1/500 Sekunde aufnehme, ist das Bild sehr rauscharm. Wenn ich mit ISO 3200 mit 20 Sekunden belichte, sieht man mehr oder weniger starkes Bildrauschen, abhängig von der verwendeten Kamera. Auf jeden Fall stärker als beim ersten Bild. Das liegt aber nicht am höhereren ISO-Wert, sondern zum einen an der längeren Belichtungszeit und vor allem daran, das es viel, viel weniger Licht gab, welches den Sensor anregt. Um also eine fundierte Aussage dazu treffen können, müssen die Voraussetzungen, vor allem das vorhandene Licht, gleich sein.

Prerequisites and Basic Considerations
Basically, this question is only important in low light or astrophotography. If there is a lot of light or I can control the light by switching the torch to a higher setting and I expose correctly, i.e. I do not subsequently brighten the image in image processing, it is ultimately usually irrelevant what ISO value I set on the camera.
When photographing stars, however, it is very important whether the image is more noisy at ISO 6400 than at ISO 800 with subsequent adjustment of the exposure in post-processing. First of all, the brightness of the stars and the scene around them is specified. Next, the lens has the largest possible aperture. This is usually the aperture you will set when photographing the starry sky at night. Depending on the focal length, the maximum exposure time is limited by the rotation of the earth. We don't want to take star trails here but round stars in the picture, as in the cover picture. For this picture I had screwed the Laowa 12/2.8 to the Nikon D750. The maximum exposure time according to the NPF rule is 21.8 seconds. I had set 25 seconds on the camera. I didn't want to make a two-metre print of the image.
So the brightness of the scene, aperture and exposure time are not variable. The only way to control the brightness in the image is to change the ISO value. With the "wisdom" from the title in mind, one is quickly inclined to set a lower ISO value and take the picture too dark. After all, you can easily make it brighter in image processing. Ultimately, this is not necessarily a good idea.
Grundsätzlich ist diese Frage nur in der Low Light oder Astrofotografie von Bedeutung. Wenn es viel Licht gibt bzw. das Licht von mir gesteuert werden kann in dem ich die Taschenlampe in eine höhere Stufe schalte und ich richtig belichte, also das Bild in der Bildbearbeitung nicht nachträglich aufhelle, ist es letztendlich meist egal, welchen ISO-Wert ich an der Kamera einstelle.
Beim Fotografieren der Sterne ist es allerdings sehr von Bedeutung, ob das Bild bei ISO 6400 stärker rauscht als bei ISO 800 mit nachträglicher Anpassung der Belichtung im Post Processing. Vorgegeben ist zuerst einmal die Helligkeit der Sterne und der Szene drum herum. Als nächstes hat das Objektiv eine größtmögliche Blende. Gewöhnlicherweise wird man genau diese einstellen, wenn man den nächtlichen Sternenhimmel fotografiert. Abhängig von der Brennweite, ist die maximale Belichtungszeit durch die Erdrotation begrenzt. Wir wollen hier keine Star Trails aufnehmen sondern runde Sterne im Bild, wie im Titelbild. Für dieses Bild hatte ich das Laowa 12/2,8 an die Nikon D750 geschraubt. Die nach der NPF Regel maximale Belichtungszeit beträgt 21,8 Sekunden. Ich hatte 25 Sekunden an der Kamera eingestellt. Ich wollte keinen zwei Meter großen Print von dem Bild machen.
Also Helligkeit der Szene, Blende und Belichtungszeit sind nicht variabel. Die einzige Möglichkeit, die Helligkeit im Bild zu steuern besteht in der Veränderung des ISO-Wertes. Mit der "Weisheit" aus dem Titel im Hinterkopf ist man schnell geneigt, einen kleineren ISO-Wert einzustellen und das Bild zu dunkel aufzunehmen. Das kann man ja schließlich in der Bildbearbeitung ganz einfach heller machen. Letztendlich ist das nicht unbedingt eine gute Idee.

Test
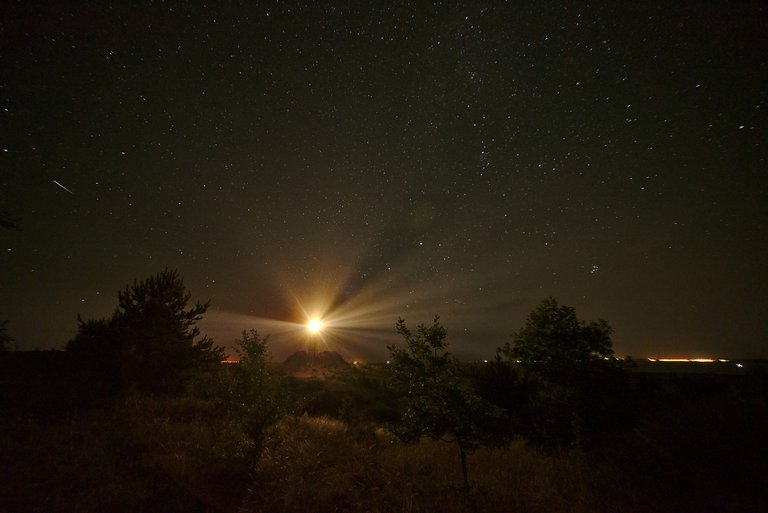
To test how strong the image noise is with my Nikon Z5 at different ISO values, I exposed for 20 seconds each. Starting with ISO 3200 as a reference, I increased the ISO value in whole steps from ISO 100 to the highest possible value (100, 200, 400, 800, 1600, 3200, 6400, 12800, 25600, 51200). I then adjusted the exposure of the images in Darktable to the image with ISO 3200 (ISO 100 +5EV, ISO 200 +4EV ... ISO 6400 -1EV. ISO 12800 - EV etc.). No further adjustments such as denoising were made. You can see the results in a crop from the centre of the image in the following pictures.(
Um zu testen, wie stark das Bildrauschen mit meiner Nikon Z5 bei unterschiedlichen ISO-Werten ist, habe ich mit je 20 Sekunden belichtet. Ausgehend von ISO 3200 als Referenz habe ich den ISO-Wert in ganzen Schritten von ISO 100 bis zum größtmöglichen Wert erhöht (100, 200, 400, 800, 1600, 3200, 6400, 12800, 25600, 51200). Die Bilder hab ich dann in Darktable in der Belichtung an das Bild mit ISO 3200 angepasst (ISO 100 +5EV, ISO 200 +4EV ... ISO 6400 -1EV. ISO 12800 - EV usw.). Es erfolgten keine weiteren Anpassung wie Entrauschen. Die Ergebnisse in einem Crop aus der Bildmitte seht ihr in den folgenden Bildern.
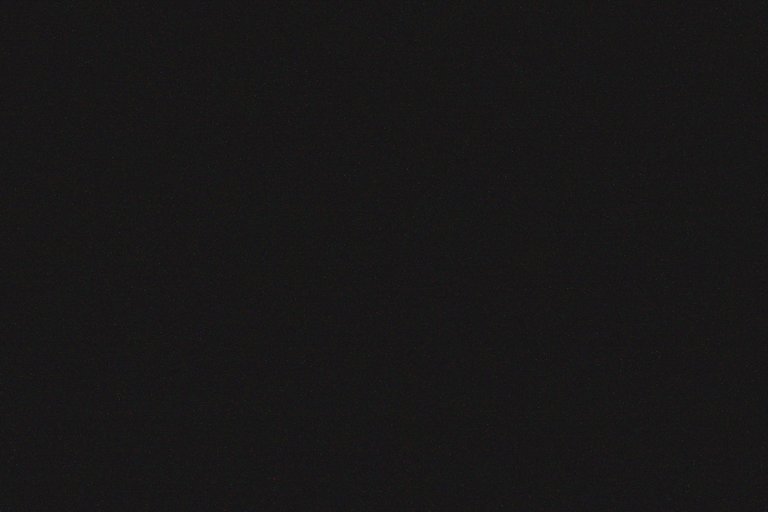
ISO 100

ISO 200
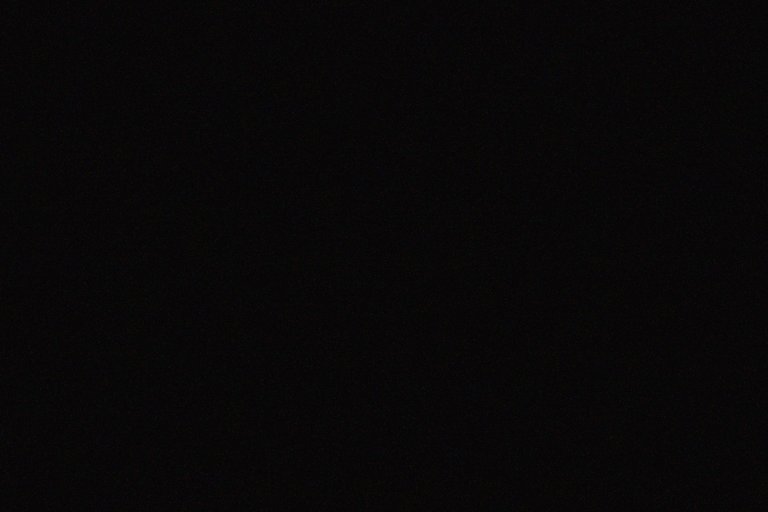
ISO 400

ISO 800
ISO 1600

ISO 3200

ISO 6400
ISO 12800

ISO 25600

ISO 51200
Ohh, what happened? The image with ISO 100 is so noisy that it can't be saved in image processing. Even with aggressive profile denoising plus RAW denoising plus astro denoising, the image looks like this:
Ohh, was ist passiert? Das Bild mit ISO 100 rauscht derart stark, dass es in der Bildbearbeitung nicht mehr zu retten ist. Selbst mit aggressivem Profilentrauschen plus RAW-Entrauschen plus Astro-Entrauschen sieht das Bild so aus:
In the range from ISO 800 to the highest possible value, the level of image noise is identical. It is slightly stronger at ISO 400 and significantly stronger at ISO 200. From ISO 400 upwards, there is no visible image noise with the Profile Noise module in Darktable. Even at ISO 200 the image would still be acceptable. The image noise therefore does not increase when the ISO value is increased. In reality, the exact opposite happens. With some cameras (Fuji), the image noise is not higher even at low ISO values, but in no case lower. With Canon cameras, the noise is equally strong in the range of ISO 1600 and higher. Below that, it increases. With Sony cameras, the limit is ISO 800.
Im Bereich von ISO 800 bis zum höchsten möglichen Wert ist die Stärke des Bildrauschen identisch. Bei ISO 400 ist es ein wenig stärker, bei ISO 200 deutlich stärker. Ab ISO 400 aufwärts sind mit dem Modul Profilentrauschen in Darktable ohne sichtbares Bildrauschen. Auch bei ISO 200 wäre das Bild noch akzeptabel. Das Bildrauschen wird also nicht stärker wenn man den ISO-Wert erhöht. In der Realität passiert genau das Gegenteil. Bei einigen Kameras (Fuji) ist das Bildrauschen auch bei kleinen ISO-Werten nicht stärker, aber in keinem Fall geringer. Bei Canon Kameras ist das Rauschen im Bereich von ISO 1600 und höher gleich stark. Darunter nimmt es zu. Bei Sony Kameras liegt die Grenze bei ISO 800.

What does this mean in Practice
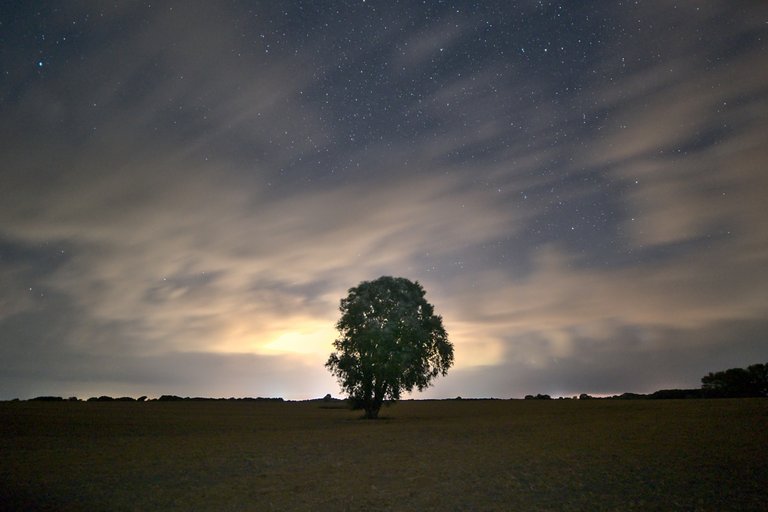
I took the cover picture at ISO 800 and corrected it by +1EV in image processing. If I had taken the picture at ISO 1600 and not corrected it, the results would have been identical. With lower ISO values and stronger correction, the image noise would be stronger. Taking the picture with an ISO value higher than 1600 and then correcting the exposure downwards afterwards would not be a good idea, as there is a risk of burning out bright areas. And the result would not be any better in terms of image noise. In addition, the dynamic range decreases the higher the ISO value is. Weak signals are amplified, bright areas are then maximised until they are burnt out. This means that the difference between dark areas and bright areas in which the pattern can still be recognised is reduced.
Das Titelbild habe ich mit ISO 800 aufgenommen und in der Bildbearbeitung um +1EV korrigiert. Hätte ich das Bild mit ISO 1600 aufgenommen und nicht korrigiert, wären die Ergebnisse identisch. Bei kleineren ISO-Werten und stärkerer Korrektur wäre das Bildrauschen stärker. Das Bild mit einem höheren ISO-Wert als 1600 aufzunehmen und die Belichtung dann nachträglich nach unten zu korrigieren, wäre keine gute Idee, weil die Gefahr besteht, dass helle Bereiche ausbrennen. Und das Ergebnis würde, was das Bildrauschen betrifft, dadurch auch nicht besser. Außerdem nimmt der Dynamikumfang ab umso höher der ISO-Wert ist. Schwache Signale werden verstärkt, helle Bereiche dann maximal bis sie ausgebrannt sind. Somit wird der Unterschied zwischen dunklen Bereichen und hellen Bereichen, in denen noch Zeichnung zu erkennen ist geringer.

This article can and should only be a suggestion to test the noise behaviour of your own camera and use it accordingly in astrophotography. Even with a different Nikon Z5, the results may differ. And accepting my findings without checking them is no better than continuing to believe that the image noise would increase at higher ISO values. With this in mind, good light at all times.
Dieser Beitrag kann und soll nur Anregung sein, das Rauschverhalten der eigenen Kamera selbst zu testen und entsprechend in der Astrofotografie anzuwenden. Selbst mit einer anderen Nikon Z5 können die Ergebnisse abweichen. Und meine Erkenntnisse ungeprüft zu übernehmen ist nicht besser als weiterhin zu glauben, dass das Bildrauschen bei höheren ISO-Werten stärker werden würde. In diesem Sinne allzeit gutes Licht.



WHAT IS LIGHT PAINTING?

LICHTKUNSTFOTO
If you like my art visit www.lichtkunstfoto.de for more Light Art Photography and informations about Light Painting. Join me on Flickr Twitter


For more great Light Art Photography, Light Painting and inspiration check these light painters: @marlasinger666 @fadetoblack @fastchrisuk @dawnoner @oddballgraphics @martbarras @stepko @rod.evans.visual @yo-hoho @maxpateau @gunnarheilmann @neilru75 @maximepateau @ryuslightworks @lightstabeu @candelart @lacelight

WE ARE LIGHT PAINTERS

To help and support the LightPainters community here on Hive I would appreciate your delegation of HivePower. Any amount is appreciated. It does not require much to get started, we are happy for any gesture. @lightpainters
How to delegate?
Delegate 50HivePower, [50HP]
Delegate 250HivePower, [250HP]
Delegate 500HivePower, [500HP]
Delegate 1000HivePower, [1000HP]
All the Hive Power will help to upvote the artist's contribution as part of the LightPainters community.
Wow, what a great post with so much information and opportunities to learn how to photograph the starry sky. Thank you very much for it, I also have a Nikon D750 and have already had several, I can say poorly successful shootings of the starry sky. But, I am persistent and will try with these settings that I read here.
I am glad my post is helpful. I wish you a dark sky and bright stars in your photos.
❤️
Wow, this is so so beautiful!
Thanks
Great explanation!
Thanks
!BEER
View or trade
BEER.BEERHey @lichtkunstfoto, here is a little bit of from @thehockeyfan-at for you. Enjoy it!Learn how to earn FREE BEER each day by staking your
BEER.Congratulations @lichtkunstfoto! You have completed the following achievement on the Hive blockchain And have been rewarded with New badge(s)
Your next target is to reach 40000 upvotes.
You can view your badges on your board and compare yourself to others in the Ranking
If you no longer want to receive notifications, reply to this comment with the word
STOP