In my little series on photo retouching in Luminar Neo, I encouraged readers to send me photos as sources for retouching. In this case, @krakonos sent me an example of a blurry photo with a sharpness request.
Sharpening a photo is a tool that perhaps all image editors have. And different editors handle it differently. Technically, the way it works is that the program looks for edges in the image, places where one surface merges into another. And then it replaces the smooth transition that it judges to be blurry with a sharp one. It then depends on the parameter settings how the algorithm looks for blurry areas, how it evaluates them, and what it ends up doing.
Of course, algorithms can't do everything, they certainly can't reconstruct the original content perfectly. For example, a sign that's blurred because it's out of focus will be in focus after software sharpness is applied, but we won't get the original sign.
So let's see how Luminar Neo fared when it came to focusing.
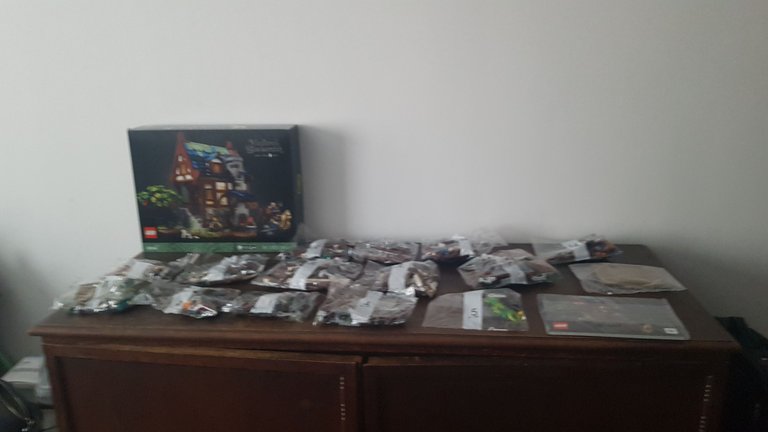
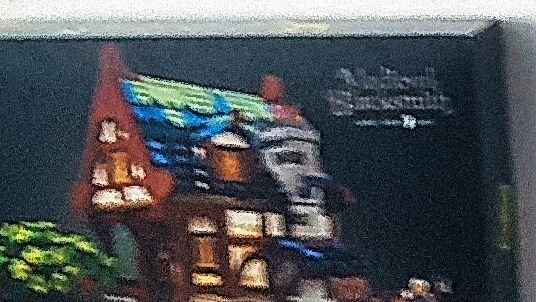
Original photo:
Ve svém drobném seriálu o editaci fotek v programu Luminar Neo jsem vybídnul čtenáře, aby mi poslali nějaké fotky jako zdroj pro editaci. @krakonos mi v tomto případě poslal jeden příklad nezaostřené fotky s požadavkem na zaostření.
Zaostřování fotky je nástroj, který je snad ve všech grafických editorech. A různé editory s ním zacházejí různě. Technicky je to tak, že program v obrázku vyhledává hrany, tj. místa, kde jedna plocha přechází v druhou. A potom ten plynulý přechod, který vyhodnotil jako rozmazaný, nahradí ostrým. Záleží pak na nastavení parametrů, jak ten algoritmus vyhledává neostrá místa, jak je vyhodnotí a co z toho nakonec udělá.
Algoritmy samozřejmě nedokážou všechno, rozhodně nedokážou rekonstruovat bezezbytku původní obsah. Například nápis, který se vlivem neostrosti změnil na rozmazaný flek, bude po softwarovém zaostření ostrý flek, ale původní nápis už nedostaneme.
Pojďme se tedy podívat, jak při ostření dopadl Luminar Neo.
Původní fotka:
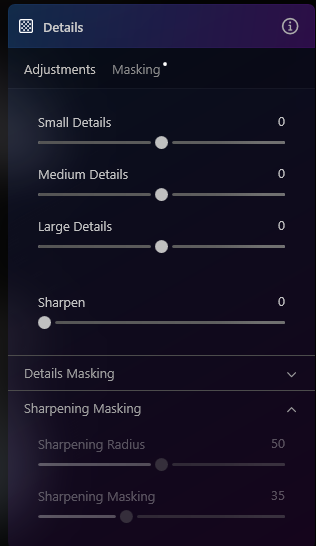
The standard sharpening tool has the usual appearance in Luminar Neo. It allows you to set the level of detail, the amount of sharpening, and the masking, a parameter that affects the search and edge processing mentioned above. For the purposes of this article, I chose a very intense effect, which also resulted in an increase in the graininess of the image.
Standardní nástroj pro doostřování má v Luminar Neo obvyklý vzhled. Je možné v něm nastavit zvýraznění detailů, míru doostření a "maskování", což je parametr, který má vliv na zmíněné vyhledávání a zpracování hran. Pro účely tohoto článku jsem zvolil velmi intenzivní efekt, který vžak měl za následek i zvýšení zrnitosti snímku.
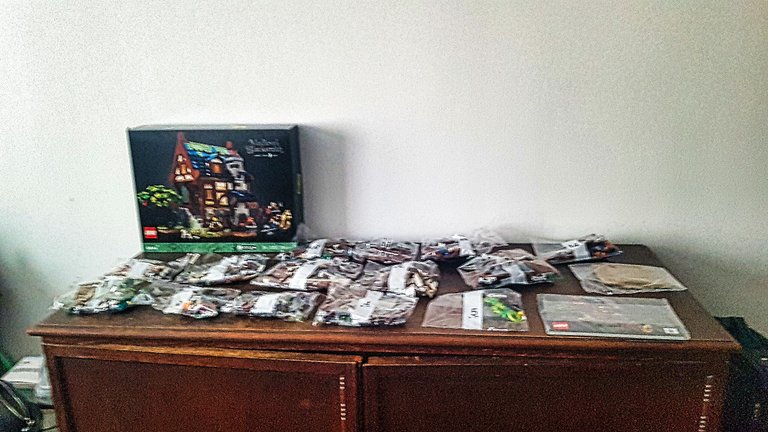
Original:
Sharpened:
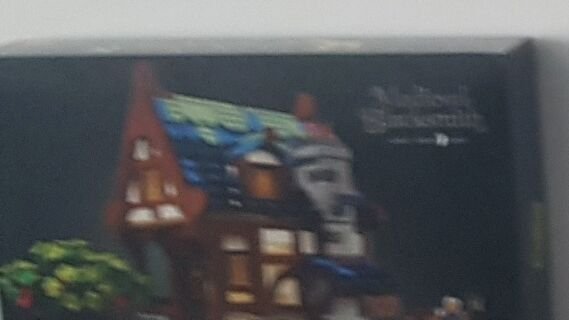
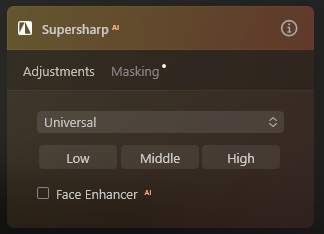
Anyway, let's move on. Luminar Neo has one more module that comes at an extra cost and it is called "SuperSharpAI". The AI in the name suggests that it is powered by artificial intelligence. So let's see how it handled the problem:
Nicméně pokračujme. Luminar Neo má ještě jednen modul, který je za příplatek, a jmenuje se "SuperSharpAI". AI v jeho názvu napovídá, že je poháněný umělou inteligencí. Tak se tedy podívejme, jak si s problémem poradil:
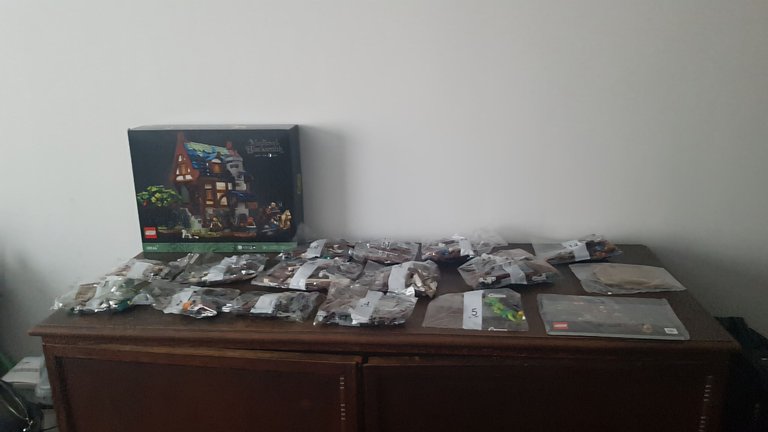
Original

Sharpened:

It is quite obvious that the SuperSharpAI module gave better results. At least the sharpening was done without increased noise and graininess.
Software sharpening is sometimes rocket science. And we can't expect miracles from it. In this case, I wanted to demonstrate its effects and deliberately used an intense (and perhaps even excessive) parameter setting. In photographic practice, it is best to have your photos in focus at the time of exposure, and to use these tools sparingly, only really for fine-tuning. No tool can save a completely out-of-focus photo.
At worst, you can get out of focus with artistic intent 😊 😊
Je celkem očividné, že modul SuperSharpAI dosáhl lepších výsledků. Přinejmenším doostření se obešlo bez zvýšeného šumu a zrnitosti.
Softwarové doostřování je někdy věda. A nemůžeme od toho chtít zázraky. V tomto případě jsem chtěl demonstrovat jeho účinky a úmyslně jsem použil intenzívní (a možná až přehnané) nastavení parametrů. Ve fotografické praxi je nejlepší způsob mít zaostřené fotky už při expozici a tyto nástroje používat střídmě, jen opravdu pro doladění. Vyloženě neostrou fotku žádný nástroj nezachrání.
V nejhorším případě se dá z neostrosti udělat umělecký záměr 😊 😊
V některém z příštích dílů bych chtěl ukázat některé z nástrojů na editaci portrétu. Jestli máte vhodný model nebo modelku, kterým chcete zalichotit upravenou fotkou nebo jestli chcete prezentovat sami sebe, pošlete mi předlohu do komentářů.

https://skylum.com/luminar

Thank you for taking the time to read this post, if you have any questions, criticisms or suggestions I would appreciate it if you would throw them in the comments box
Translated with www.DeepL.com/Translator (free version)


Díky, dnes nebo zítra použiju.
@pavelsku, I'm refunding 0.218 HIVE and 0.105 HBD, because there are no comments to reward.