I was bored yesterday because my husband was on the night shift. I didn’t want to watch TV (ugh, nothing good on), and I wasn’t ready to read a book because, let’s be real, if I start, I don’t stop. You know how it goes....eight hours fly by, and suddenly it’s morning, and I’ve forgotten to sleep. Not great when I have work the next day!
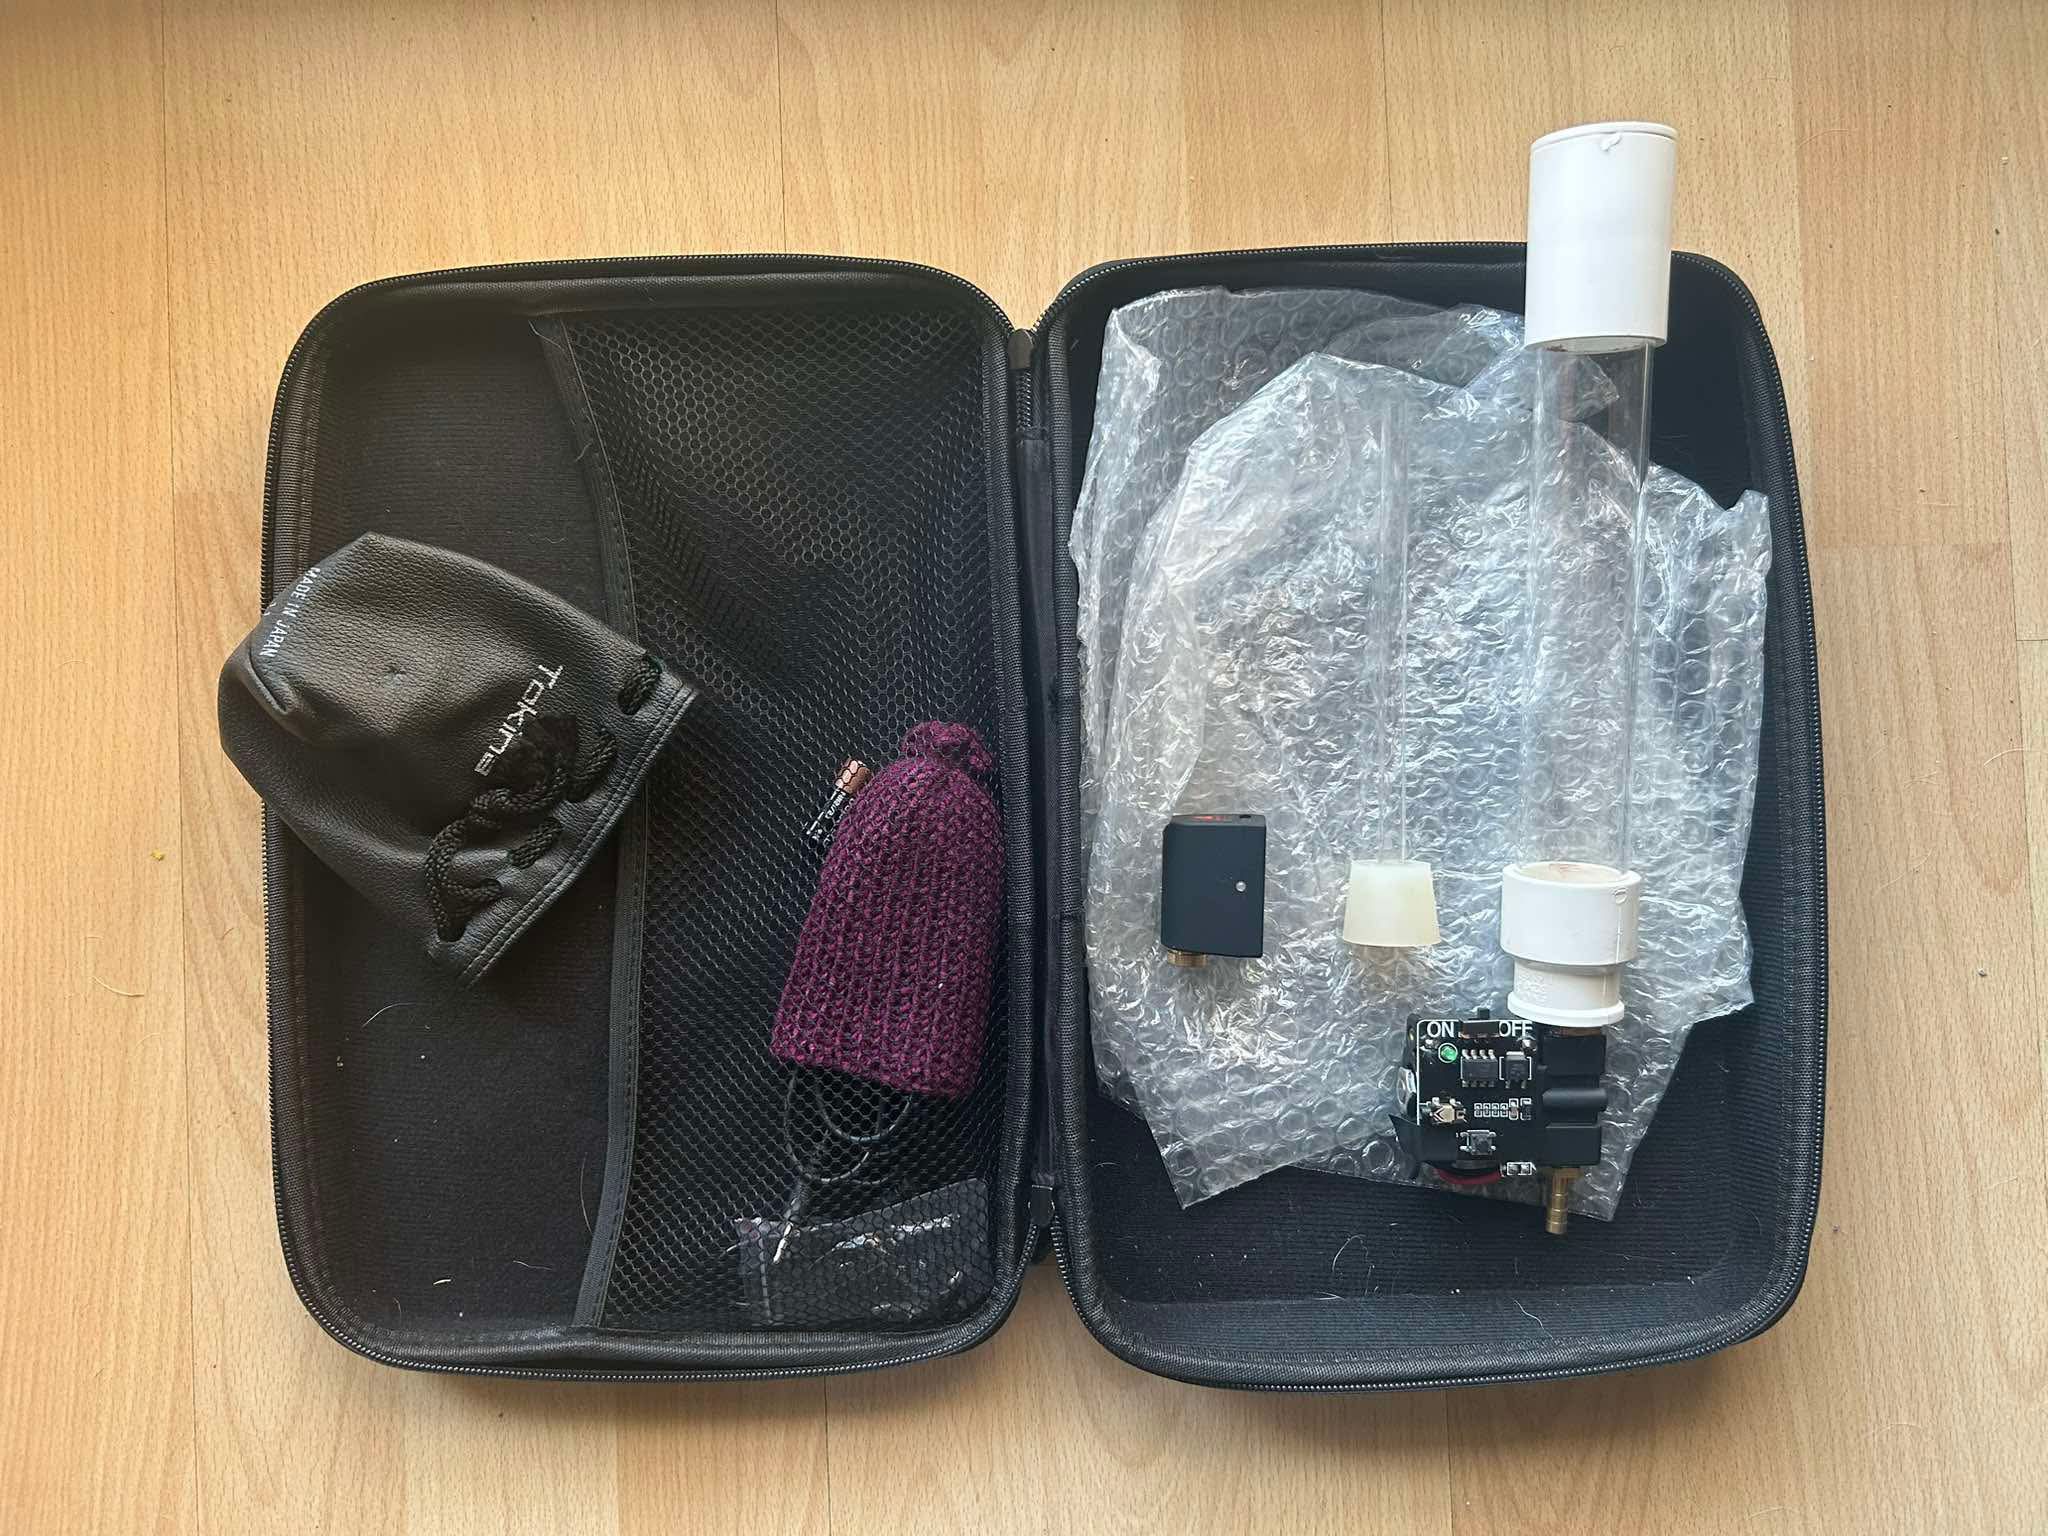
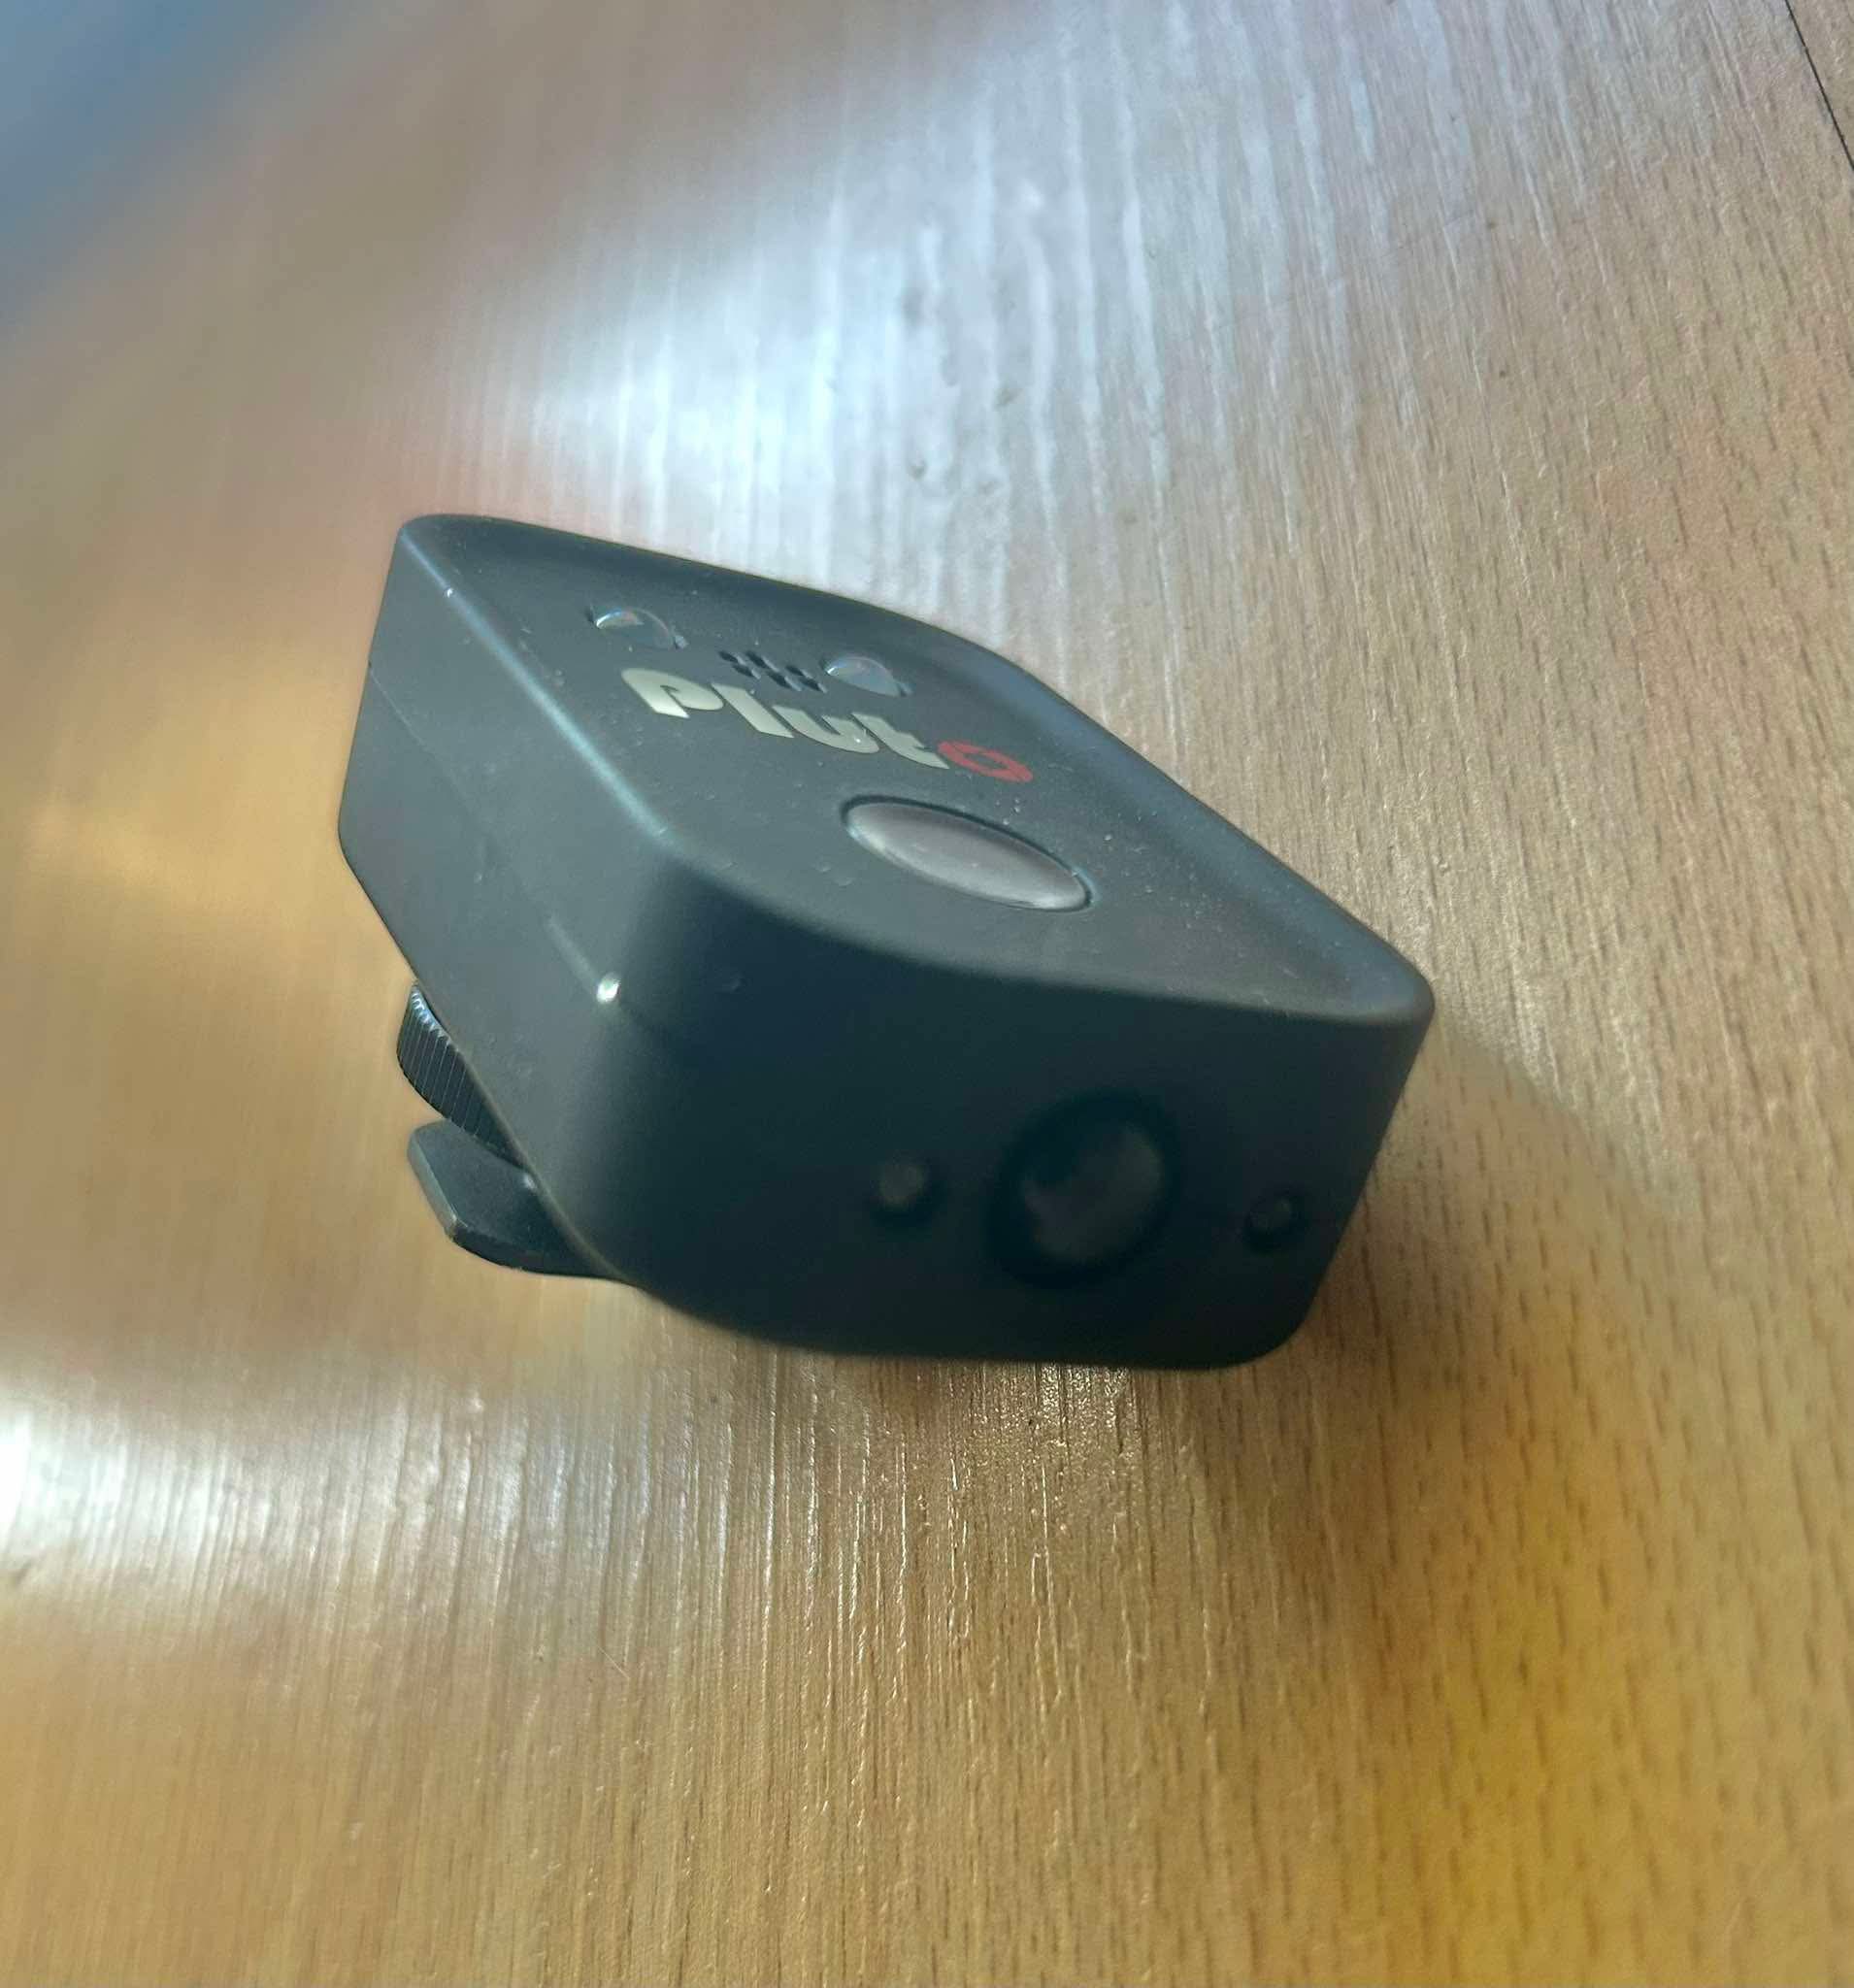
So, I grabbed my camera, found my Pluto Trigger & Water Drop Kit, and started making pictures. Sounds exciting, right? Well, kind of. It’s just not as fun doing it alone. I usually do this with my husband because, let’s face it, he’s way better at setting everything up. But I wanted to prove to myself that I could do it solo—and maybe even take some amazing photos without his help.
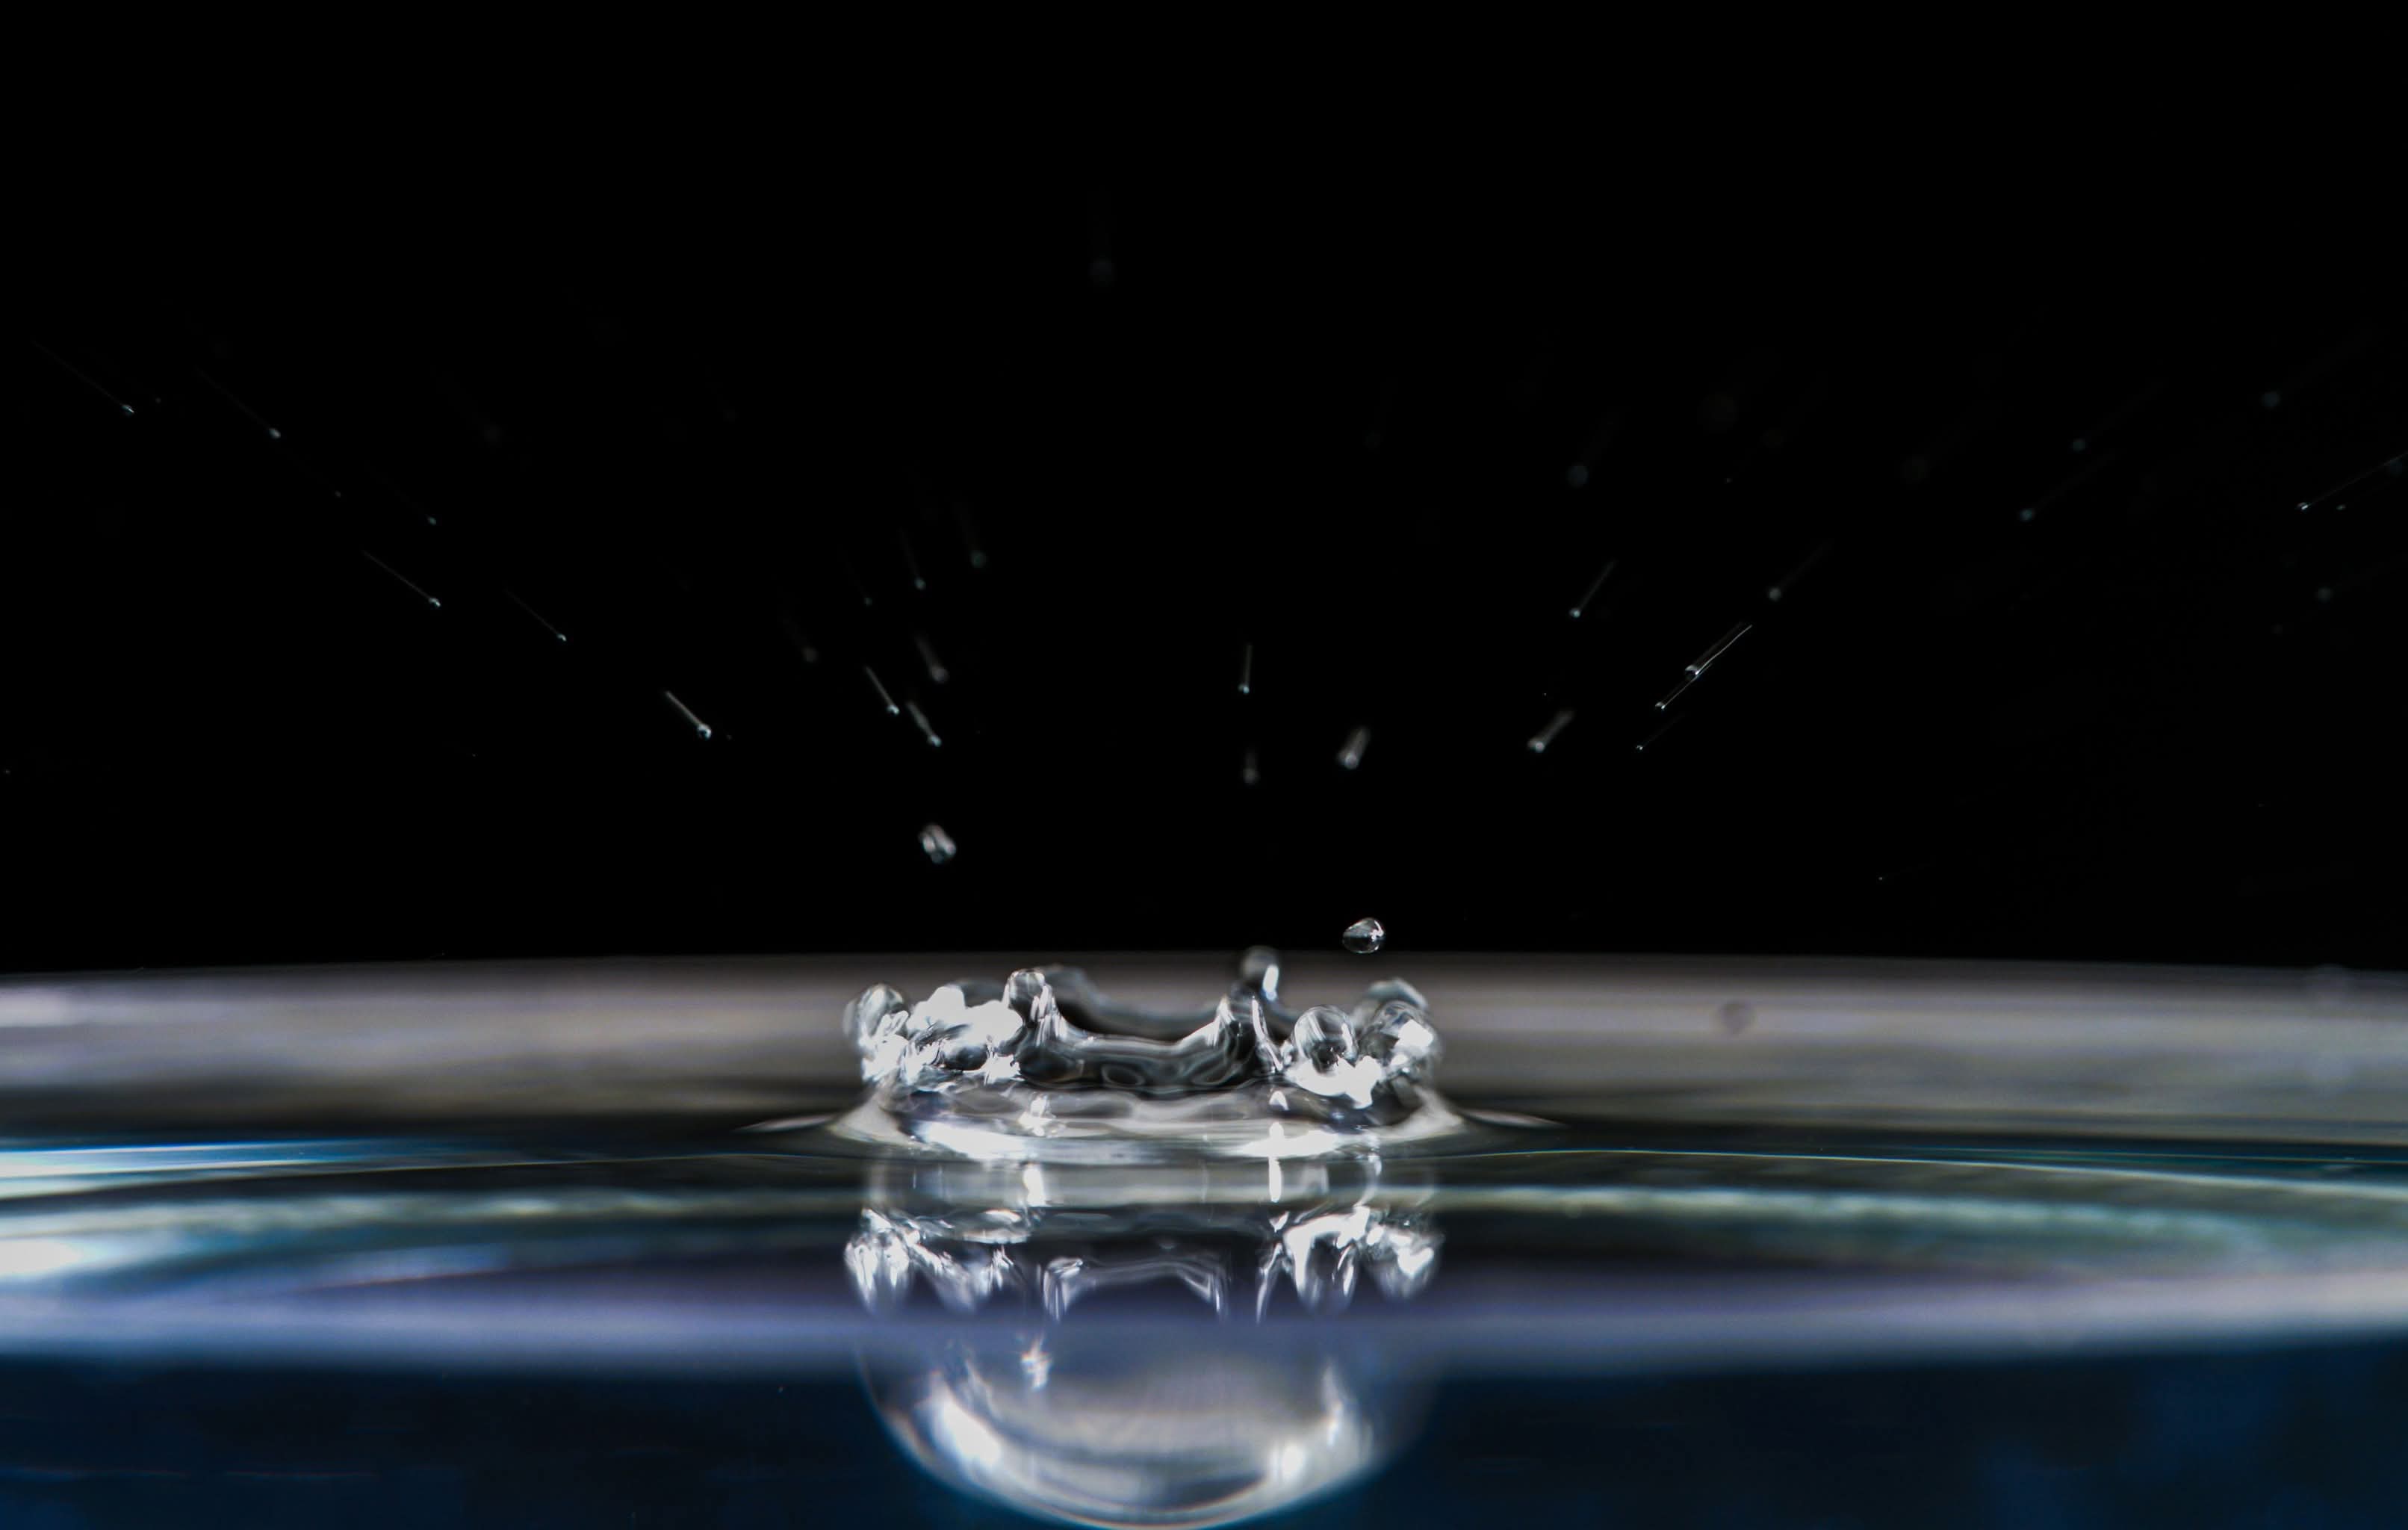
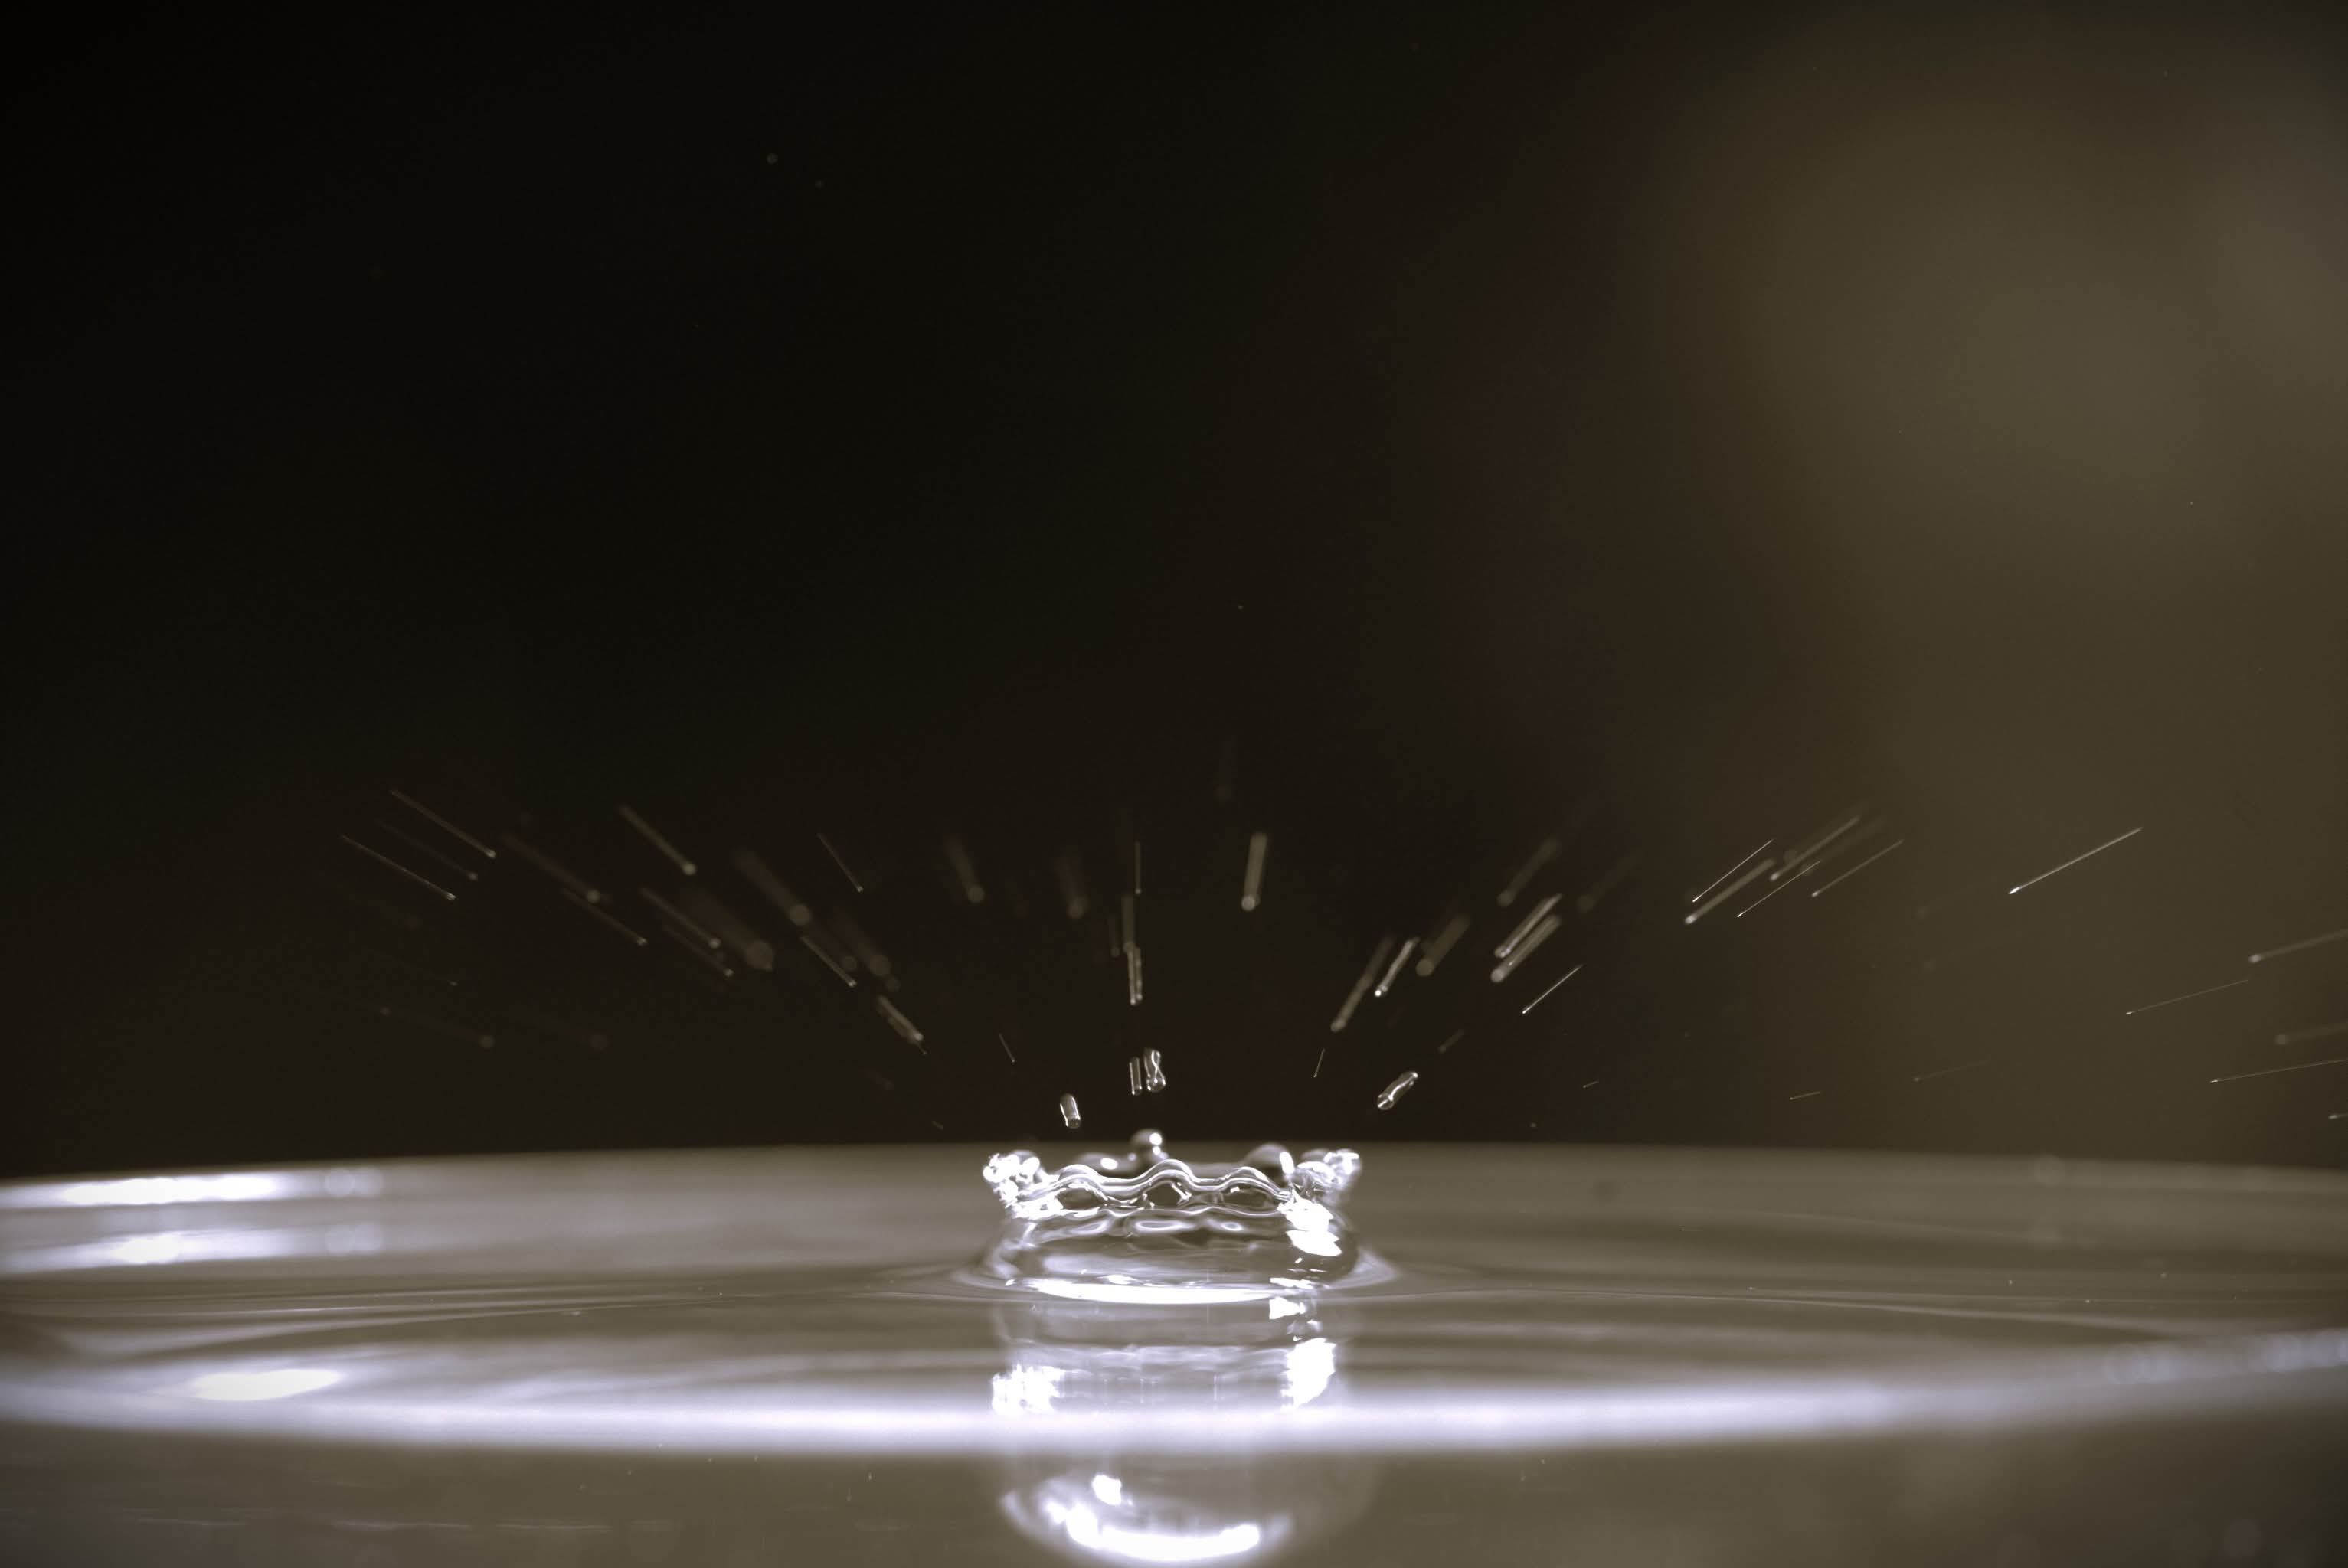
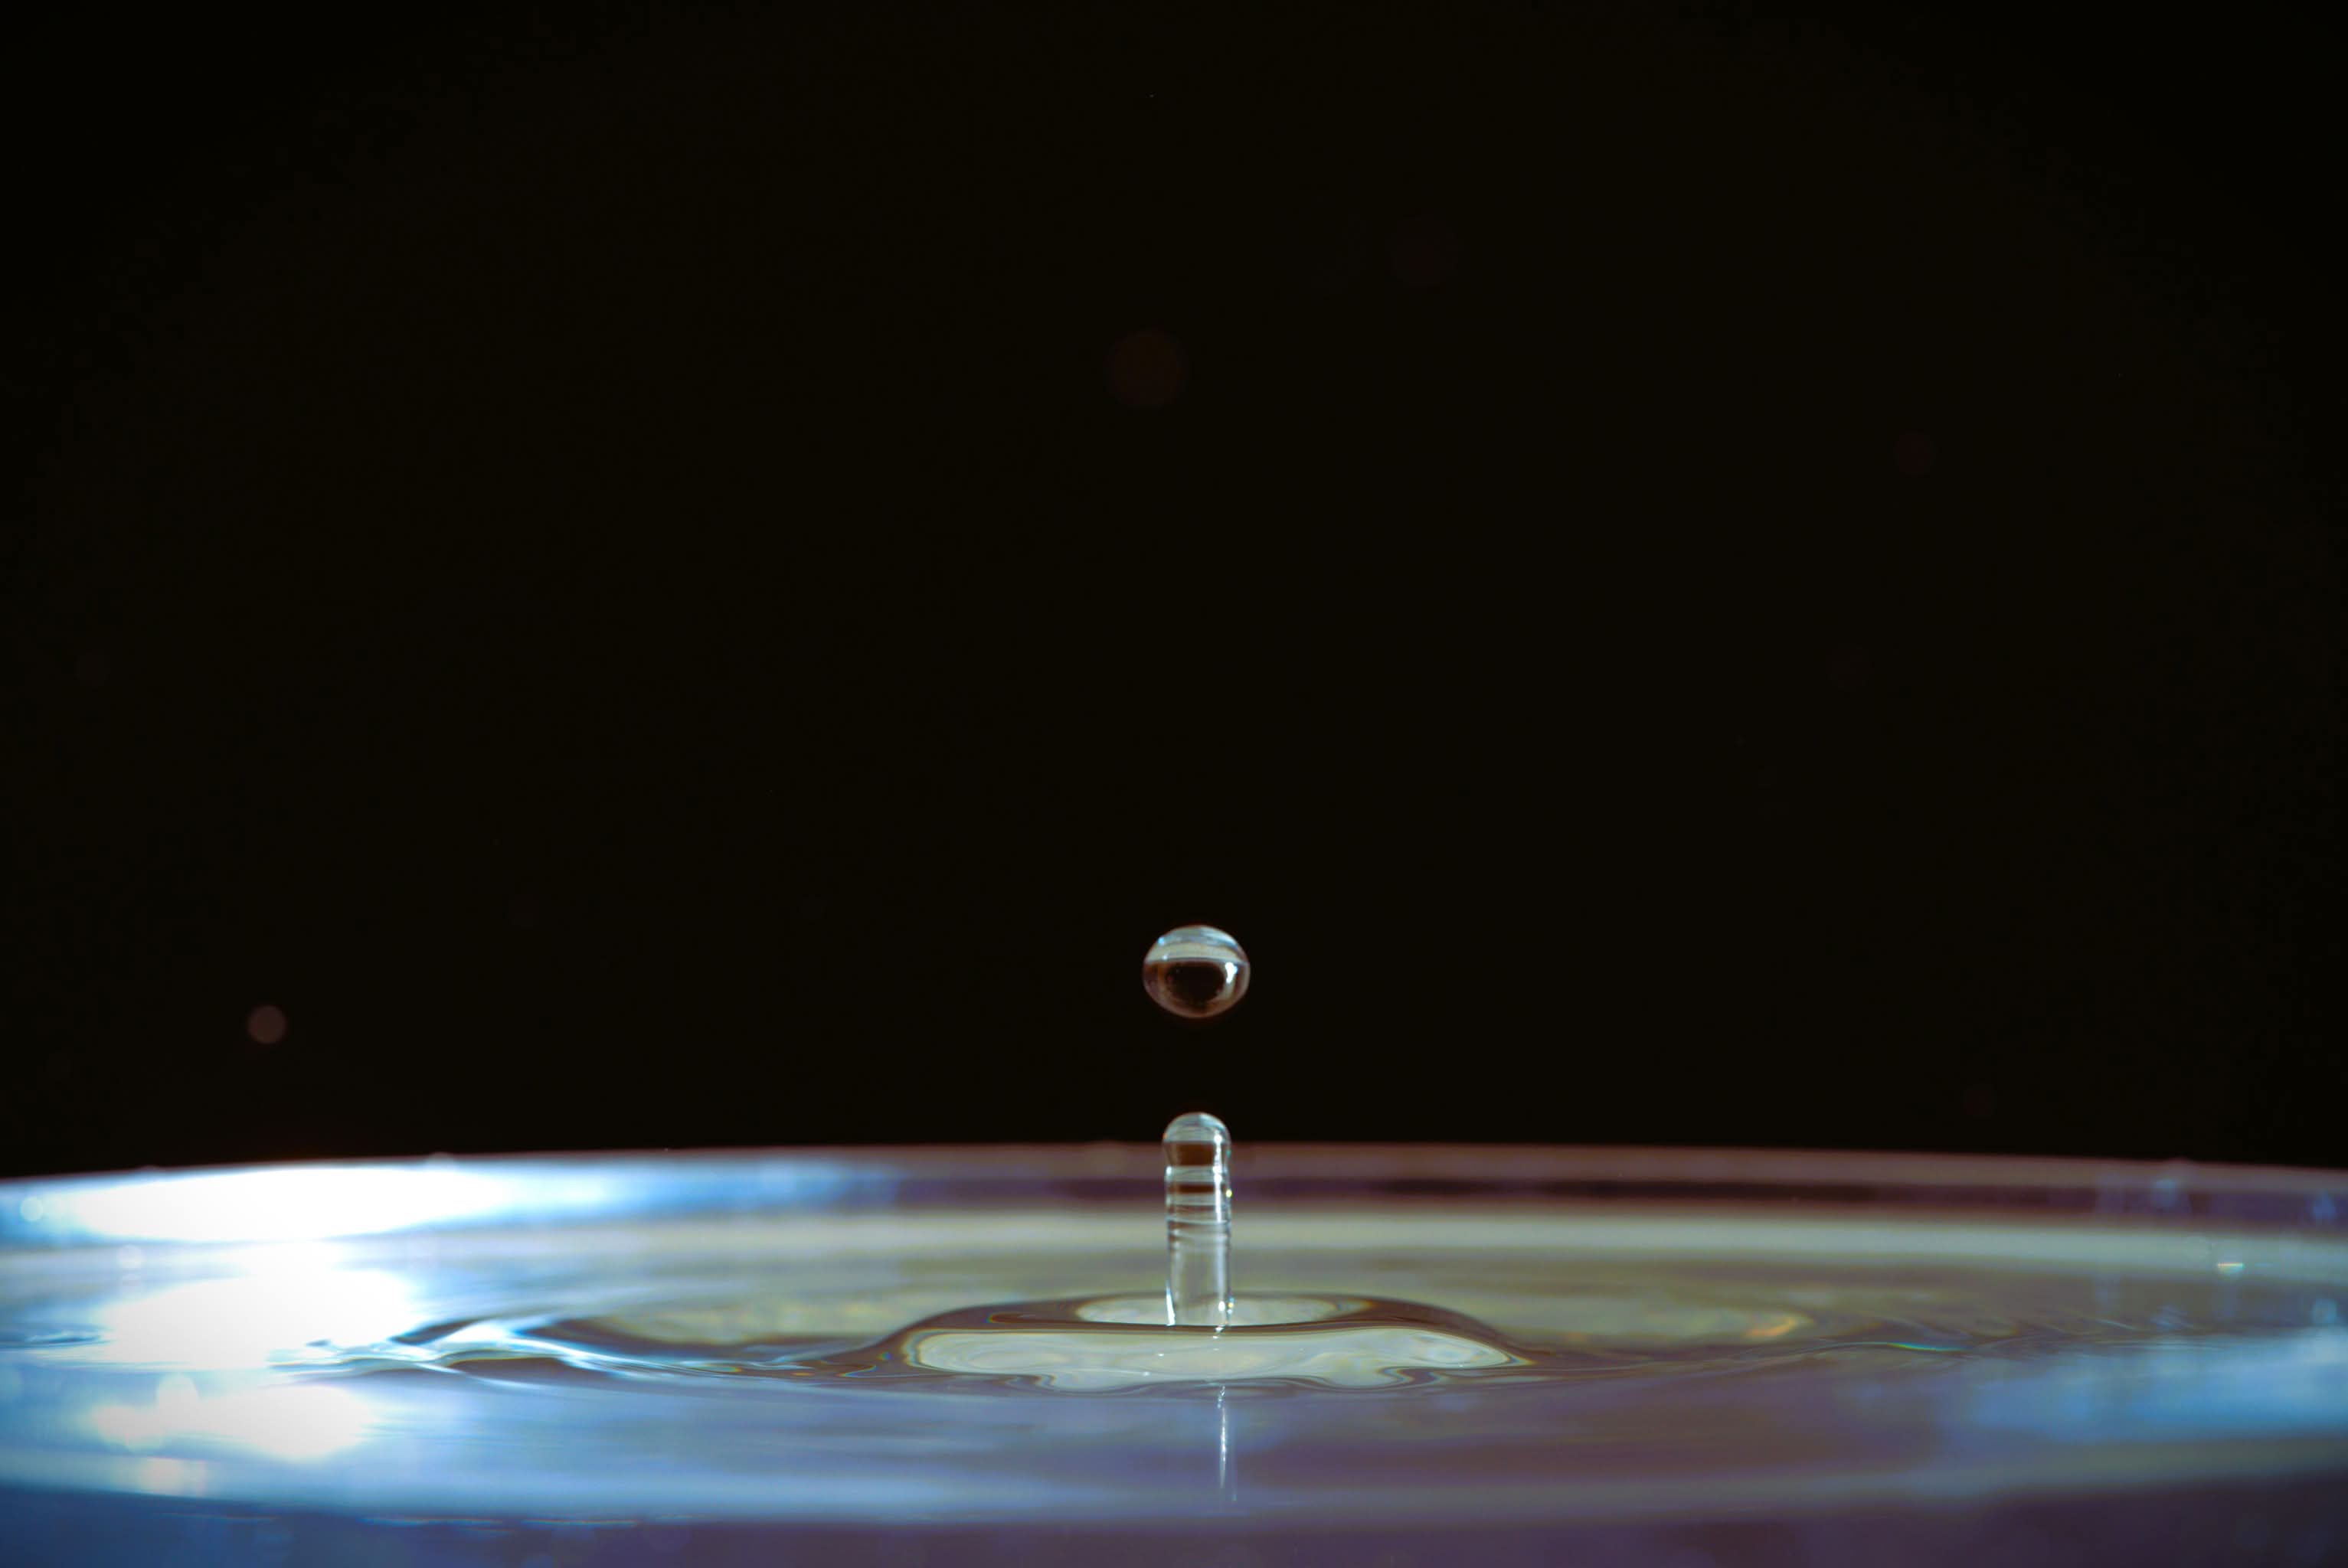
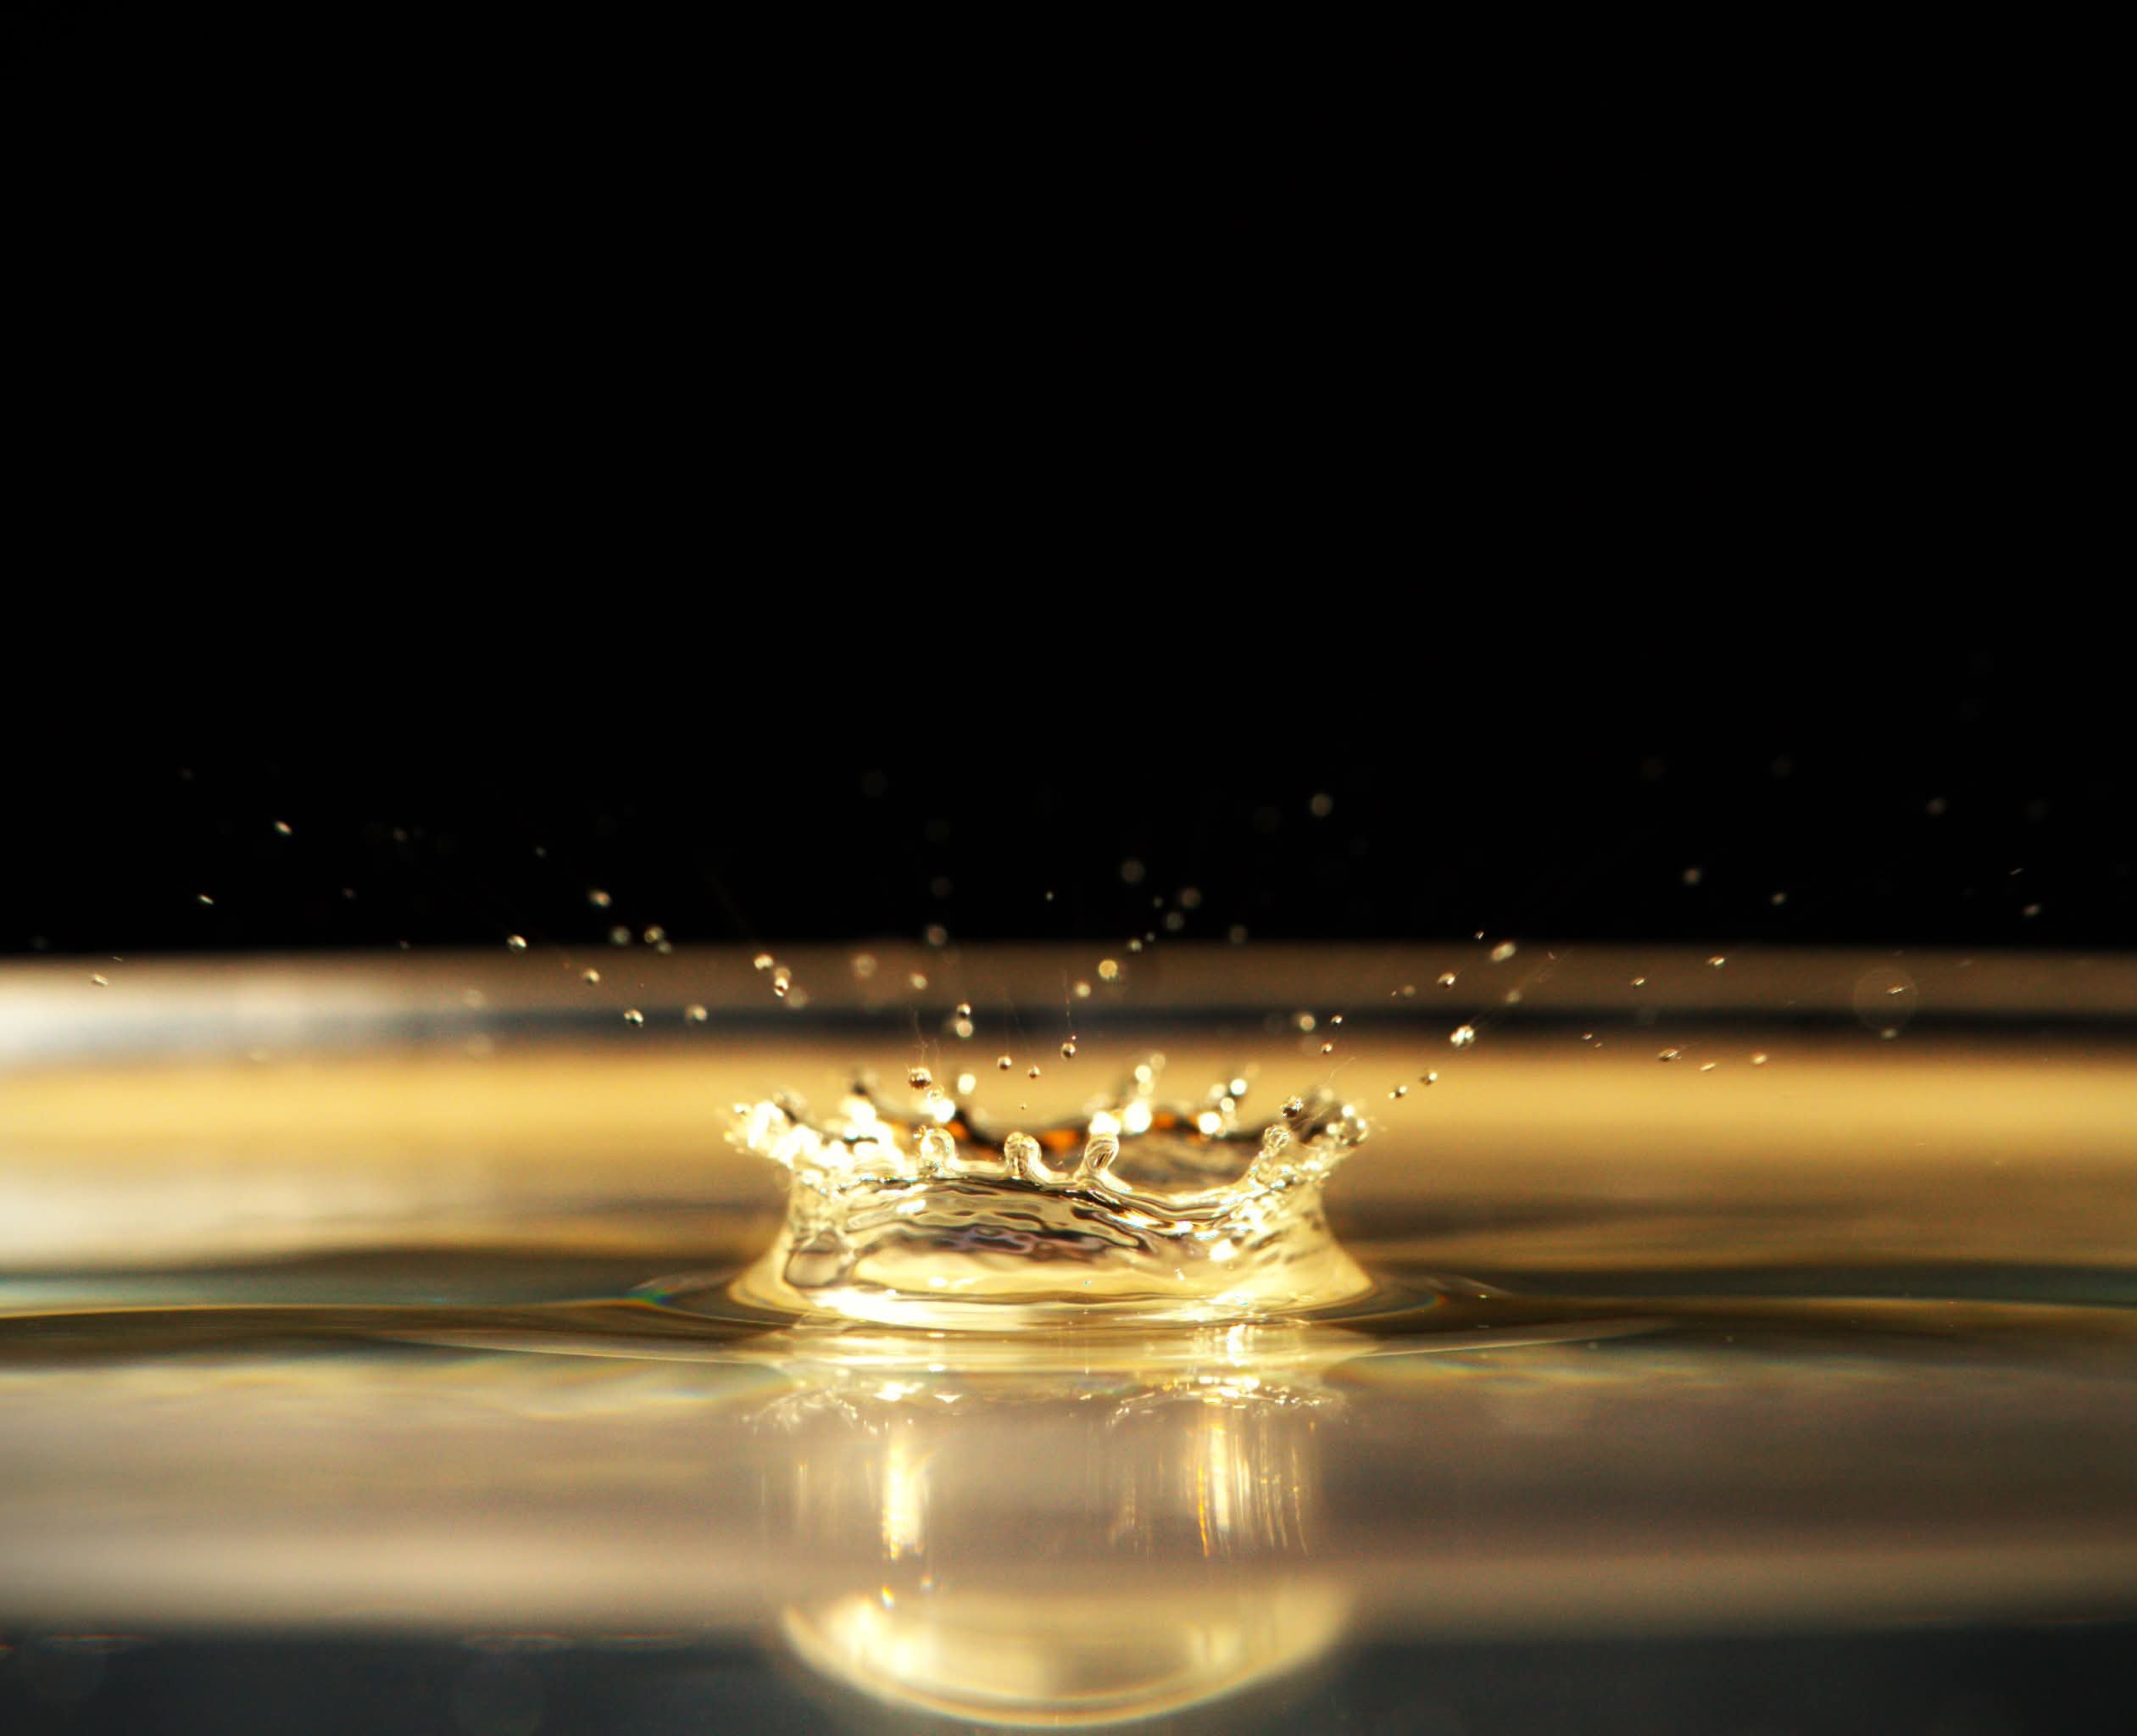
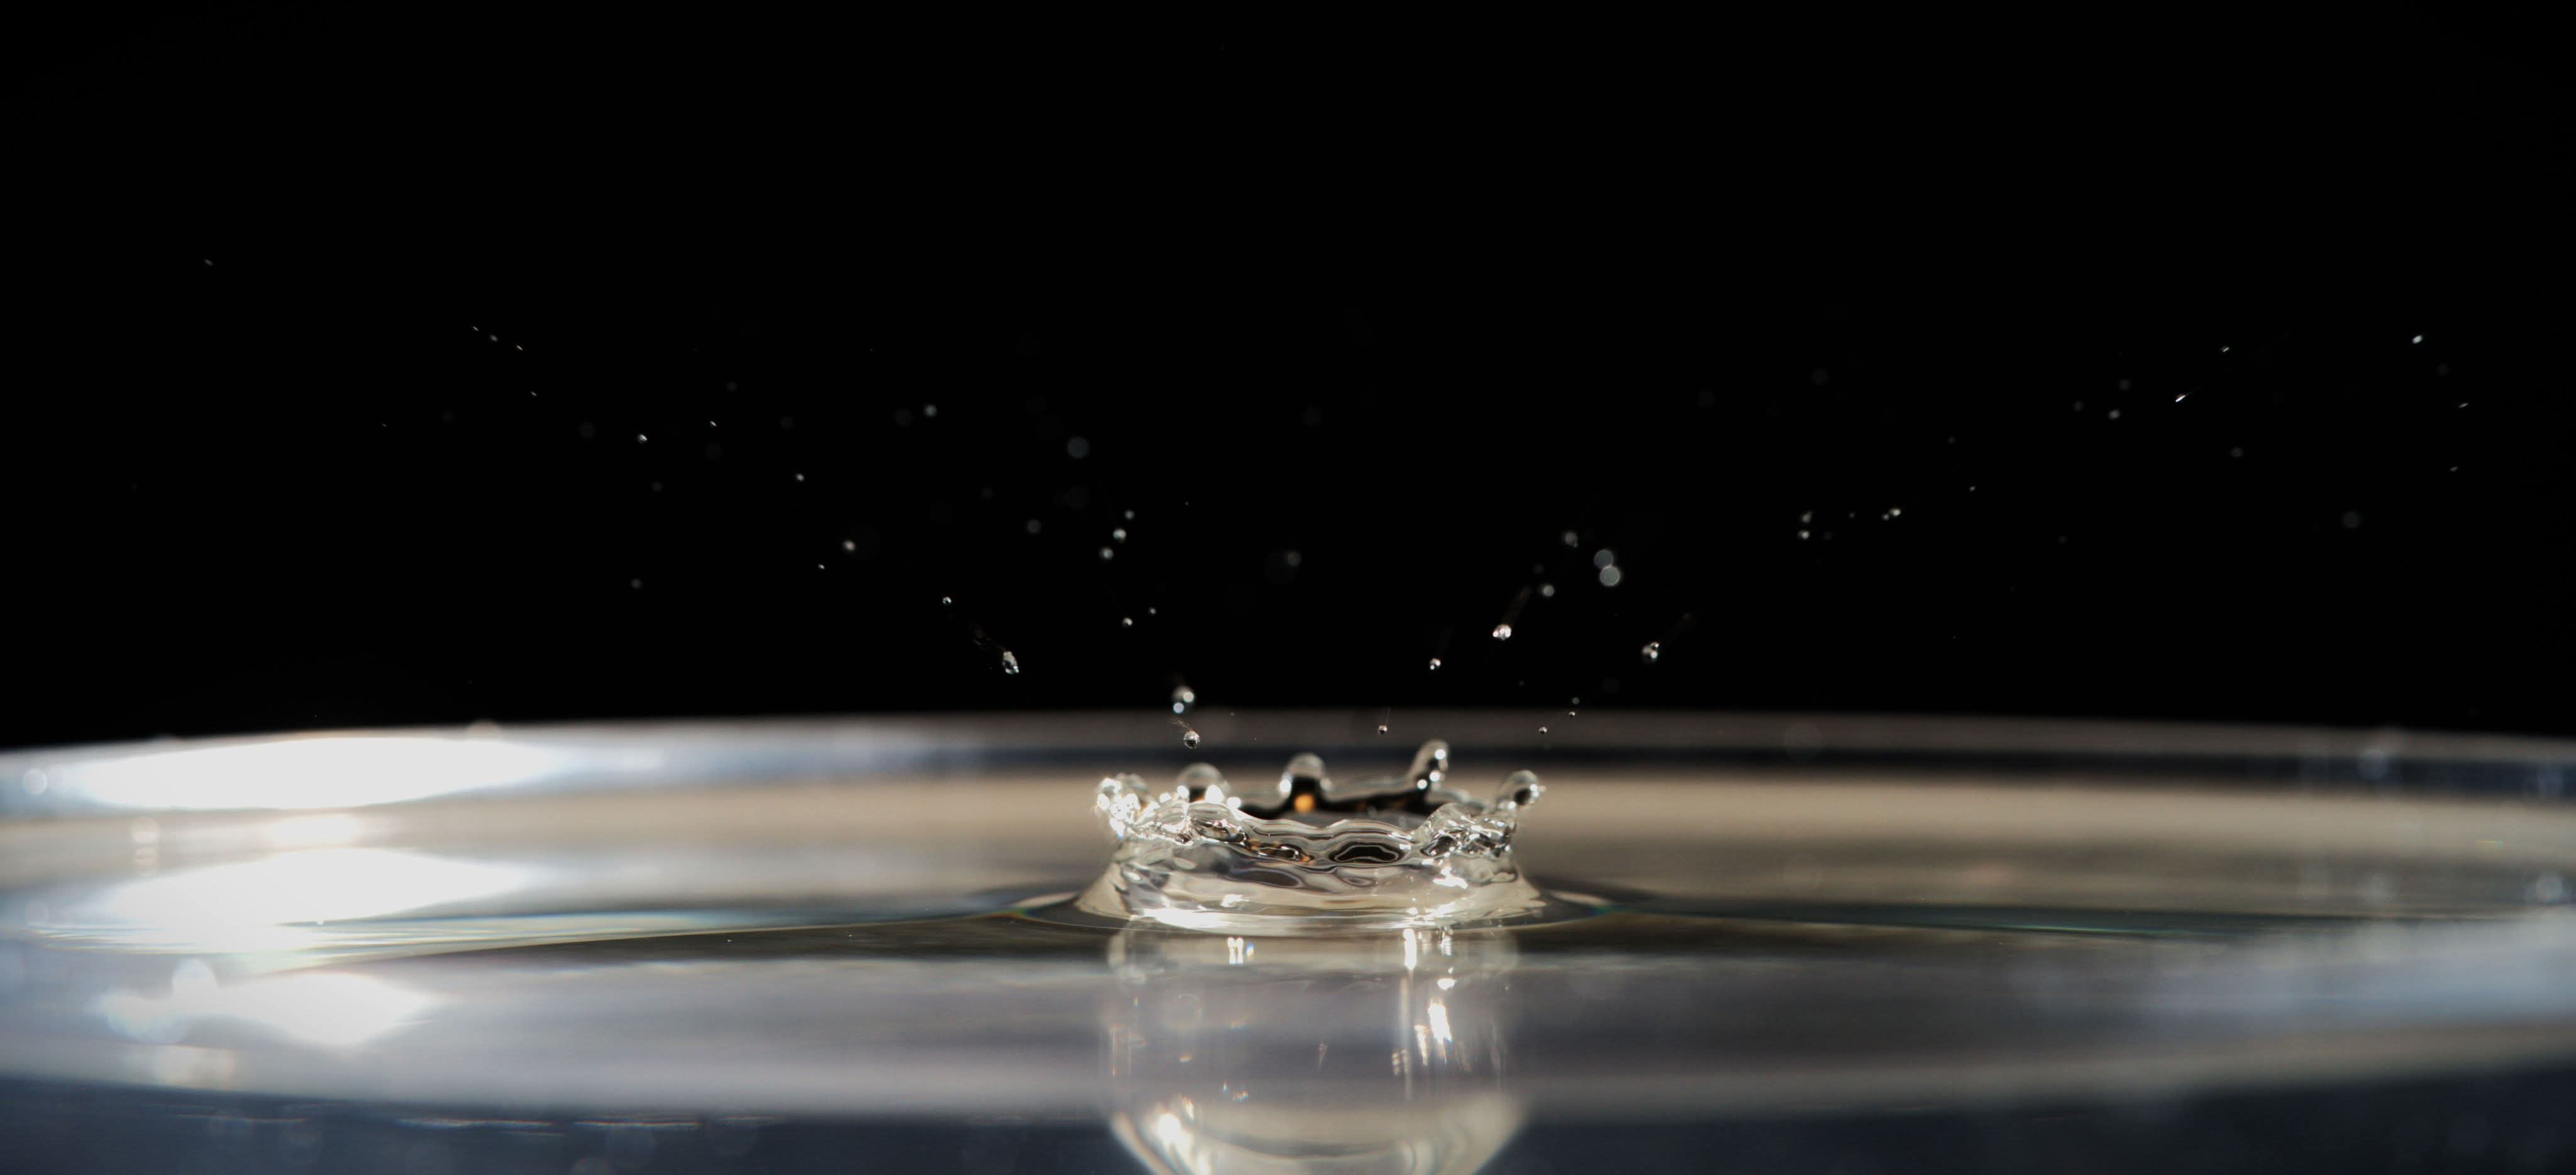
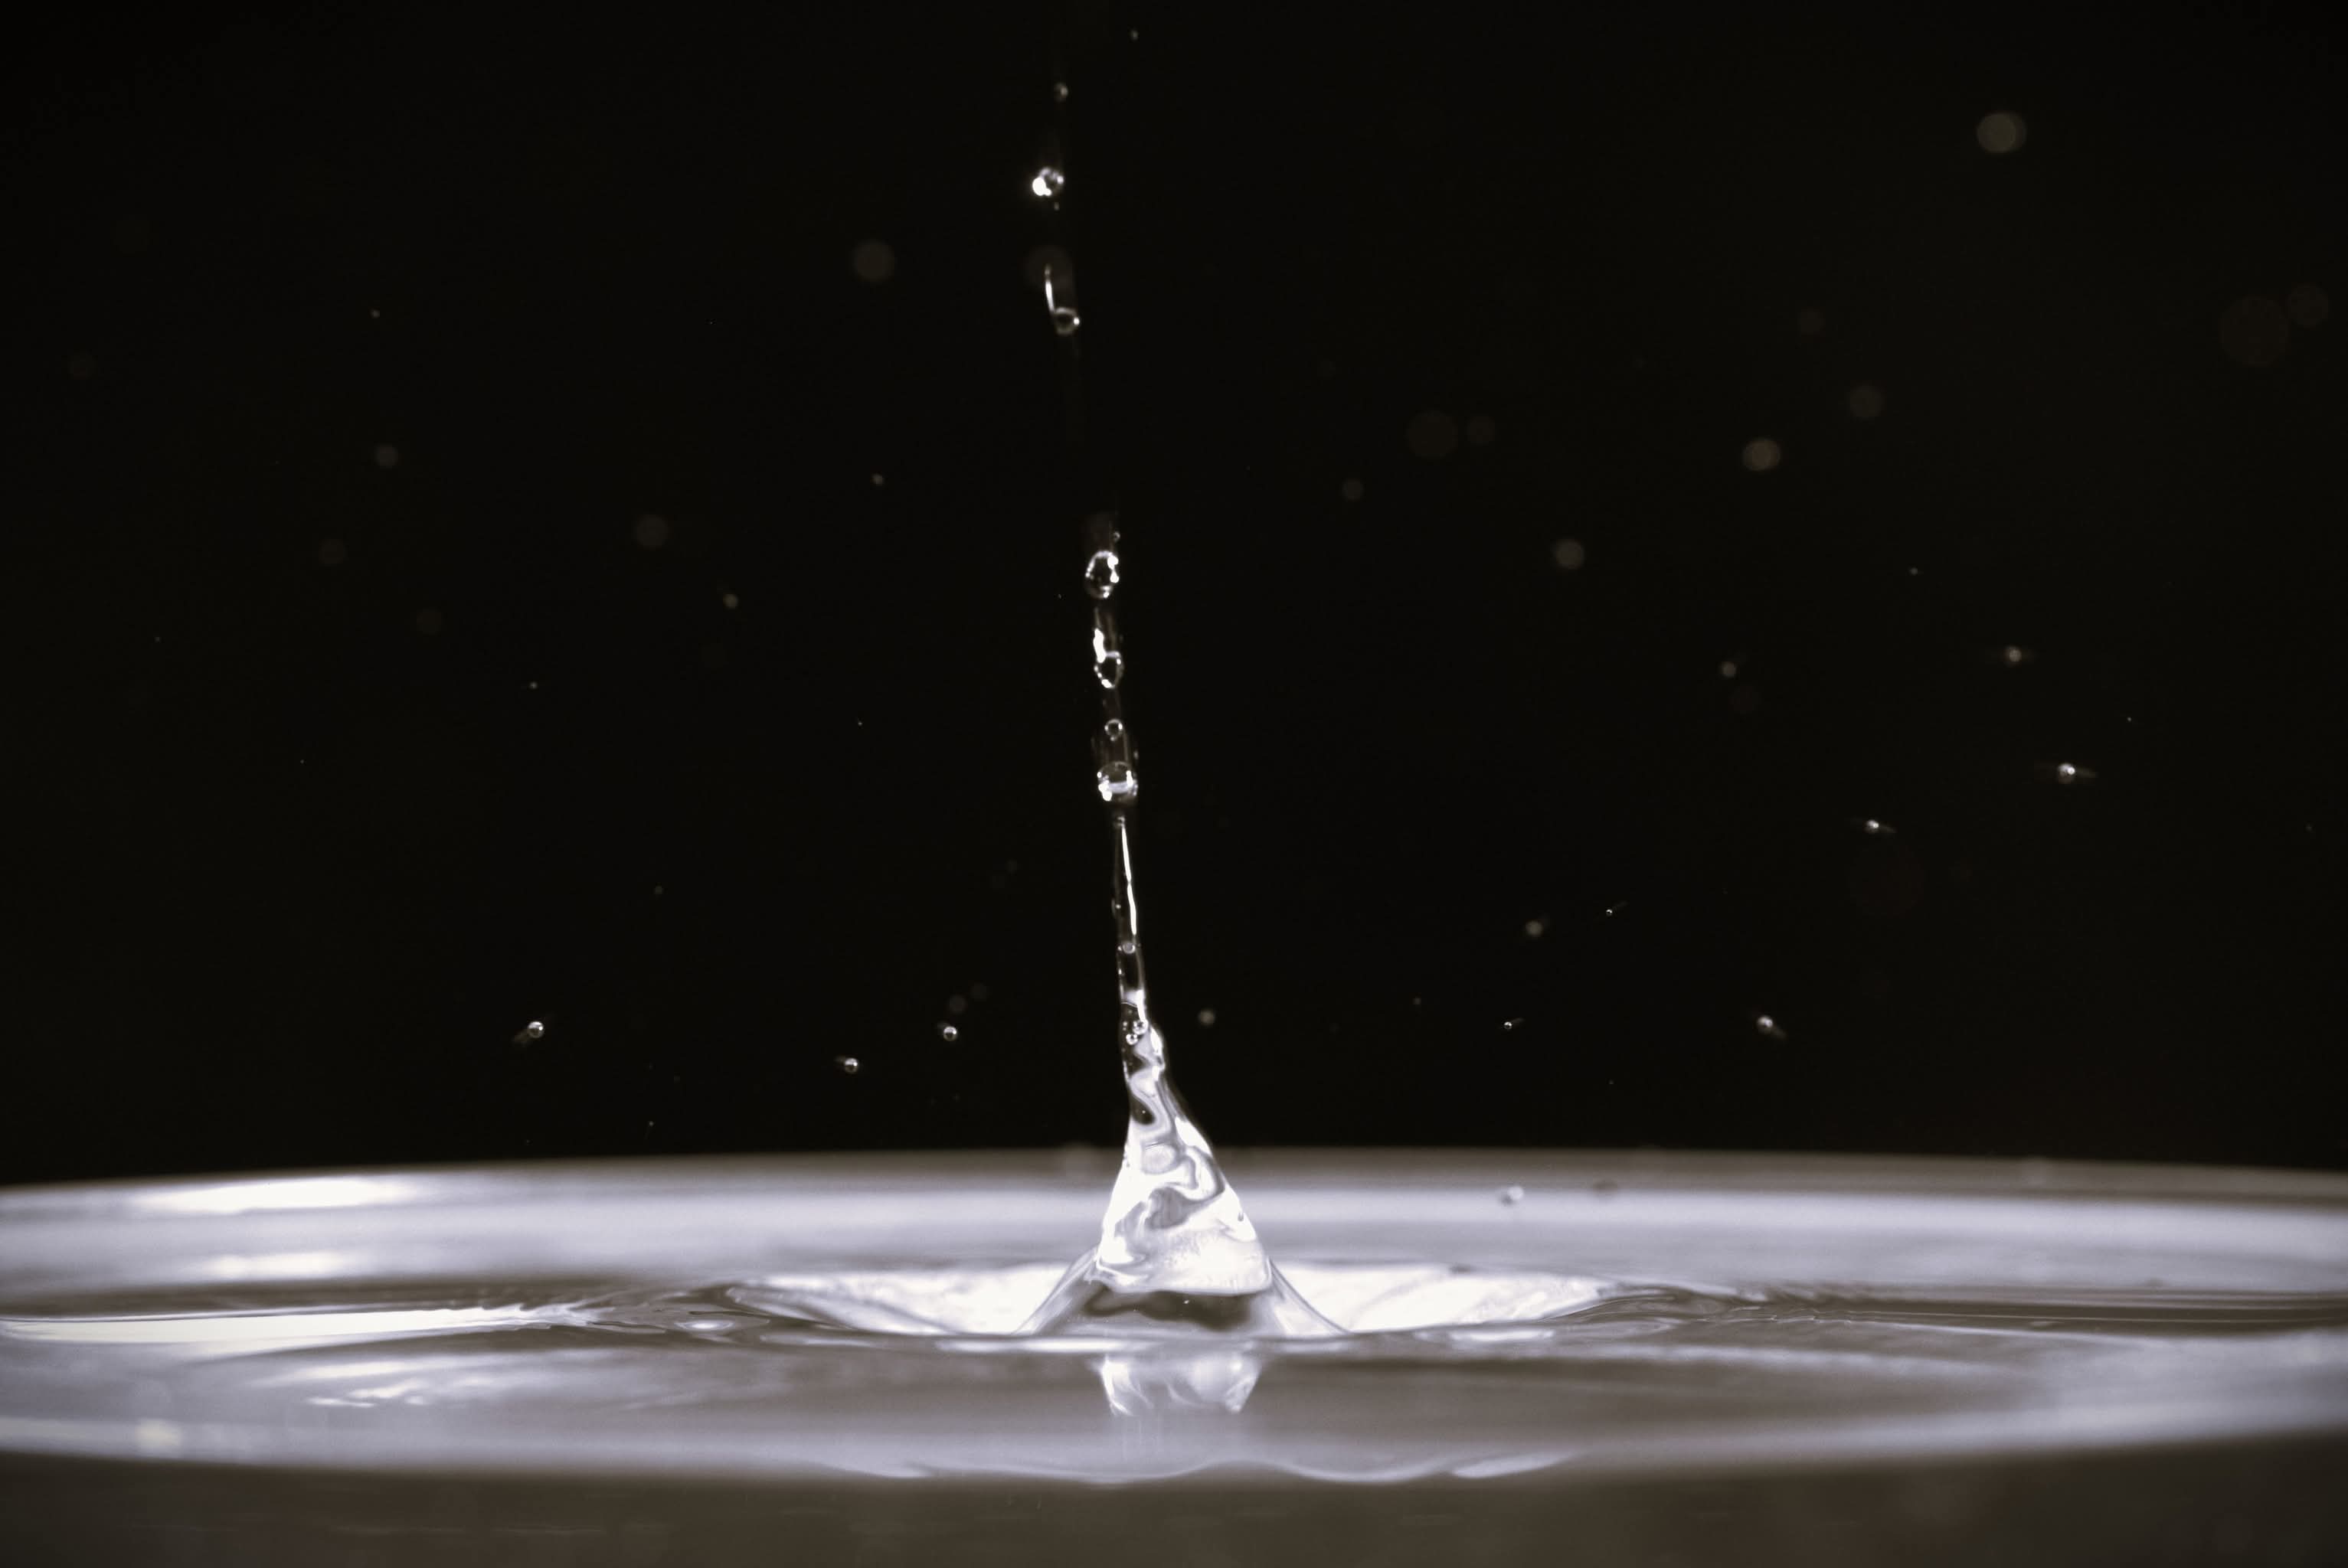
Spoiler alert: I’m not super happy with how they turned out. I mean, they’re okay, but I wanted them to be WOW. Like, “Hang it on the wall!” level.
Still, I want to share them with you and get your honest opinion. I think I’ve got a lot to learn, but hey, that’s part of the fun, right? My husband, of course, is always happy to help when it comes to photography. He said the photos were “good.” Just good. I wanted “great” or “awesome” or maybe even a “you nailed it!” But nope, just “good.” Ugh, not quite the reaction I was hoping for, but hey, I’ll take it. It just means there’s room to grow, right?
But hey, at least I can proudly say I did it all by myself! Let me tell you how I made these photos, it’s actually pretty fun, and you should try it too!
How to Make Cool Water Drop Photos with Pluto Trigger
Here’s the step-by-step guide to creating water drop magic:
1 - what you need
A camera (preferably one with manual settings)
A Pluto Trigger & Water Drop Kit (fancy name, but it’s easy to use)
A shallow tray filled with water
A lamp or soft light source
A colorful background (or just plain black for a dramatic look)
Patience... lots of it!
2 - setting up the scene
First, place the tray of water on a flat surface. This is your splash zone. Then, attach the Water Drop Kit above the tray. Make sure it’s centered. Next, pick a background. I went with black to make the splashes pop, but you can experiment with anything...patterns, textures, even shiny foil.
3 - lighting is everything
Position a lamp or light source to the side of the tray. Use a diffuser (or even a thin white sheet) to soften the light. This prevents harsh shadows and makes the water drops sparkle. Trust me, lighting can make or break your photo!
Step 4 - connect the camera, Pluto Trigger, and Water drop kit
Here’s where I got stuck. I fiddled with the kit, stared at the camera, and even read the manual...Hjea...still, I couldn’t figure it out.
So, I called my husband. Here’s how it went:
Me: “Hey, love...”
Him: (without missing a beat) “What do you need? Or better yet, what did you do wrong this time?” ( He knew what I was doing) 🙂
Me: “Listen, I didn’t want to call you, but how the heck do I connect the camera, Pluto Trigger, and water drop kit? Help me, genius.”
Him: (laughing) “Alright, let me save the day. Again.”
He explained it step-by-step (and yes, I took notes so I could share with you):
Connect the Pluto Trigger to your camera. Use the cable that came with the trigger and plug it into your camera’s remote shutter port.
Sync the water drop kit to the Pluto Trigger. There’s a small cable for this too—plug it into the port marked “drop.”
Set the timing in the *Pluto Trigger app (iPhone, Android, it doesn't matter). This lets you control when the water drops fall and when your camera takes the photo.
Once everything was connected, it was finally time to shoot.
4 – Let’s shoot!!
Take a few test shots to check the timing, focus, and lighting. Adjust as needed. This part can get a little frustrating, but once you nail it, it’s SO satisfying! I didn’t nailed it this time...Not so how I want it...but...still not bad...
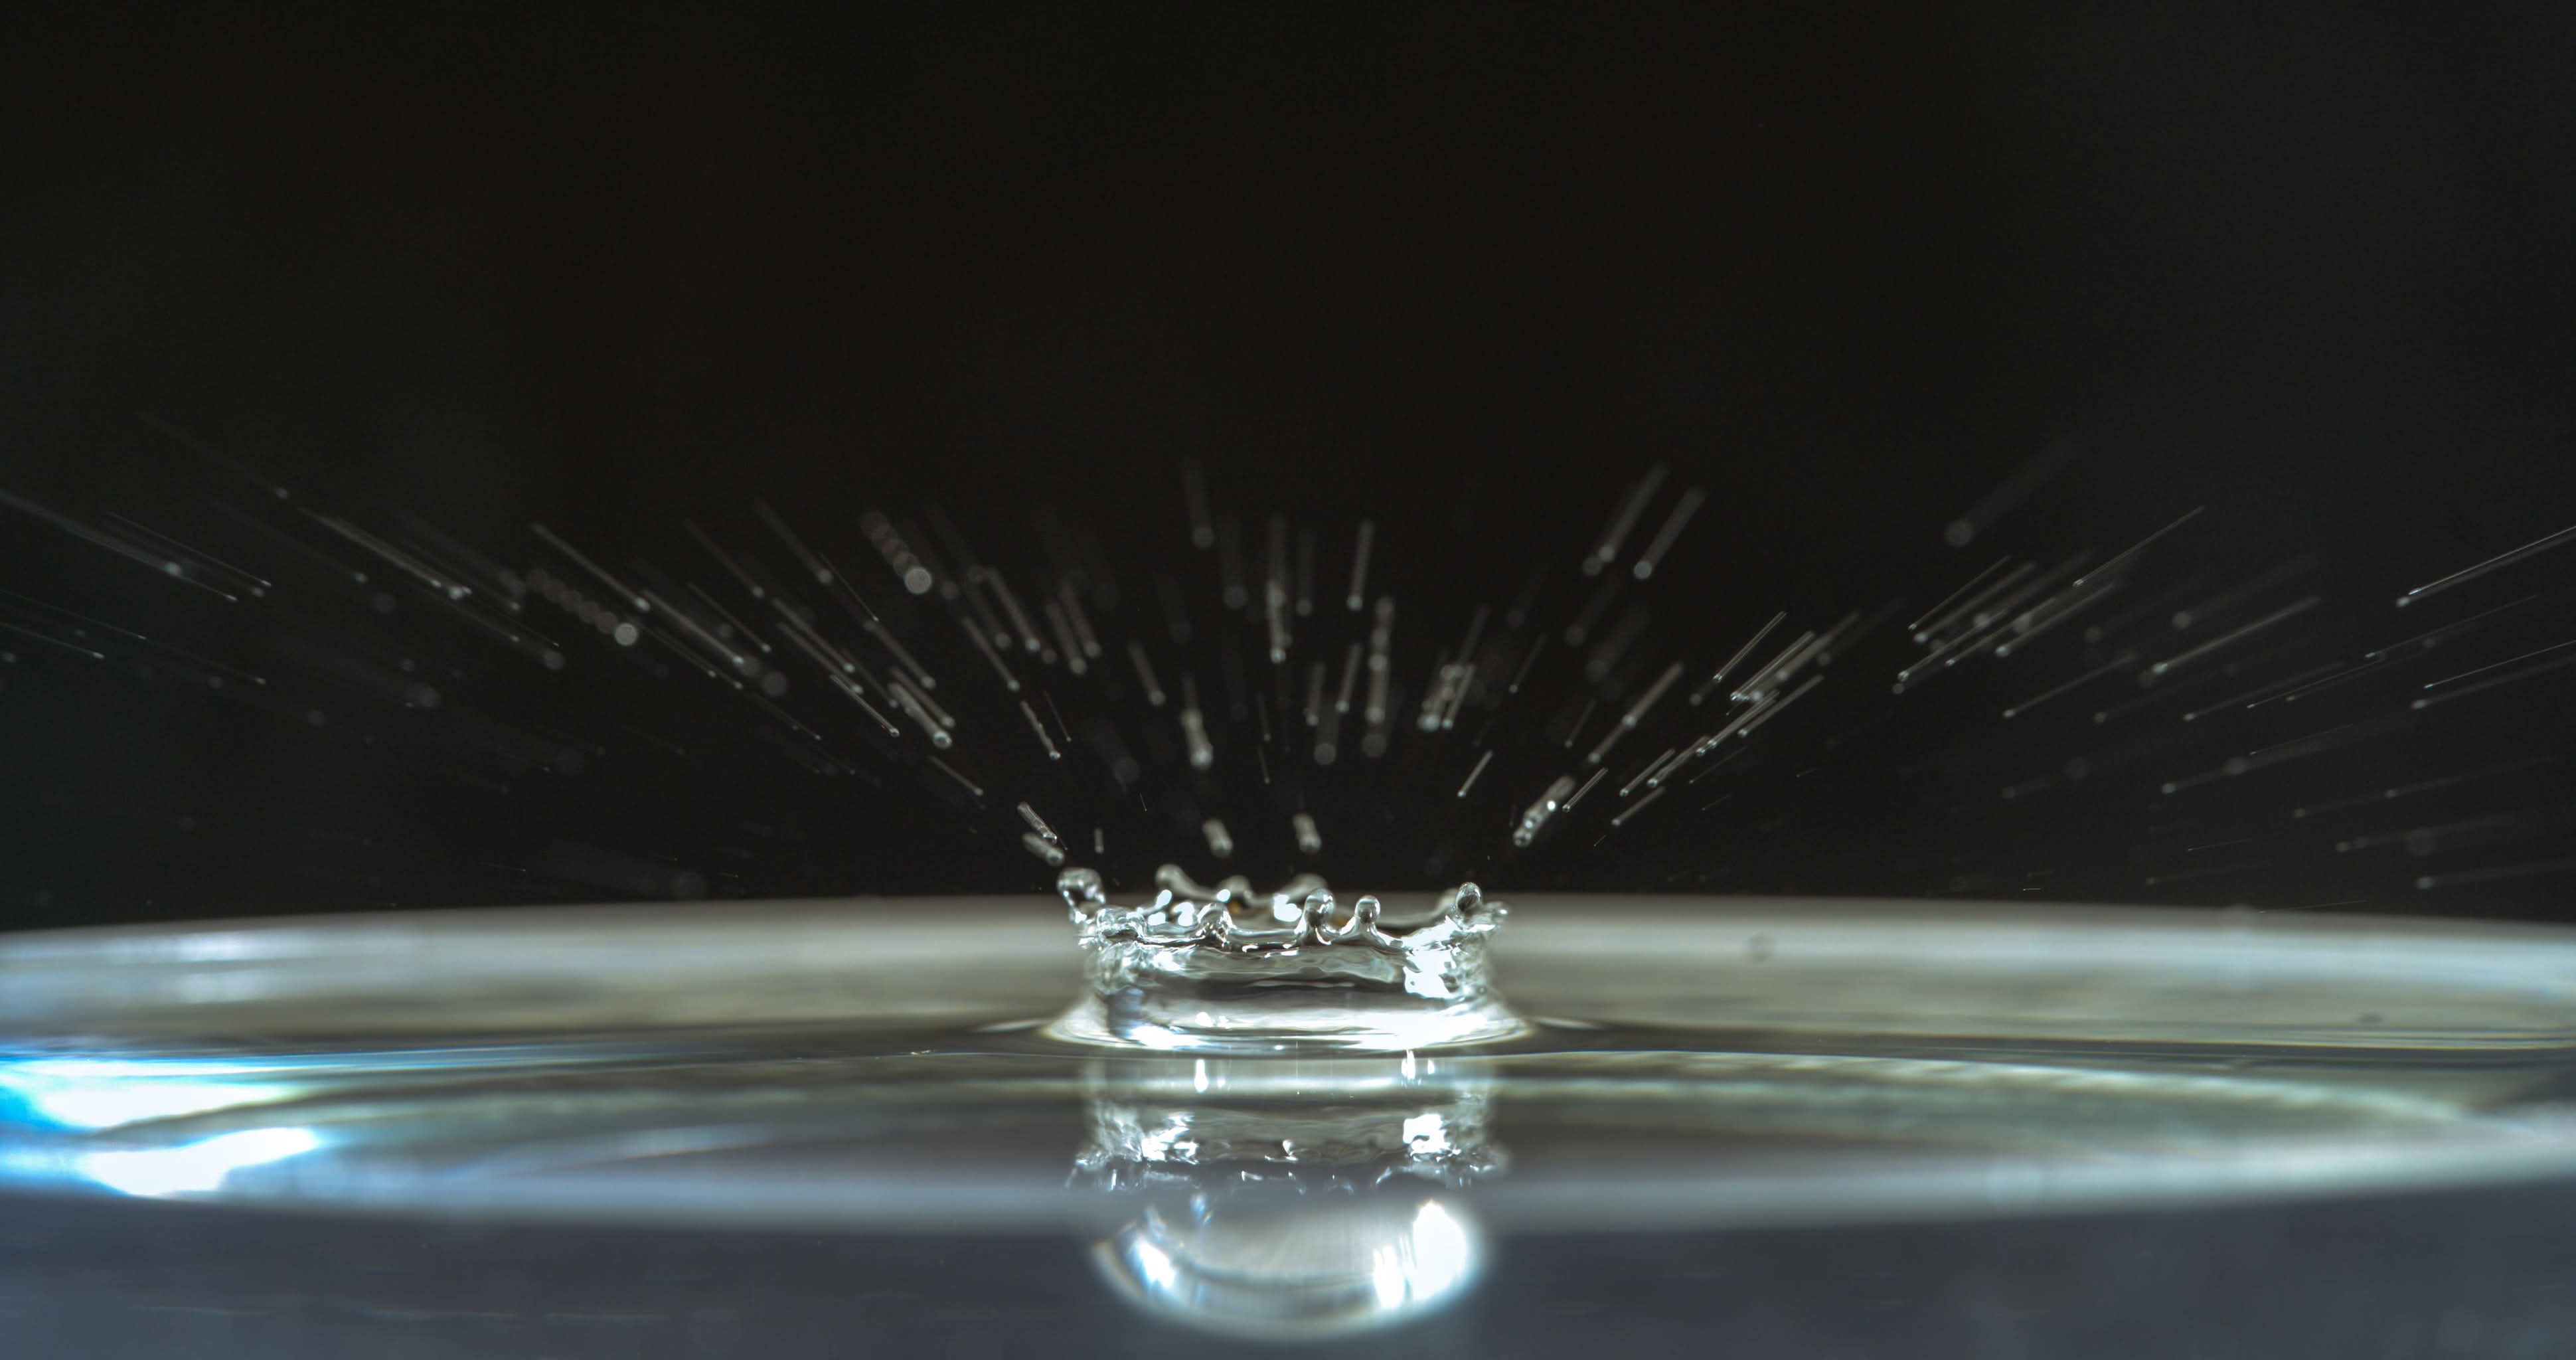
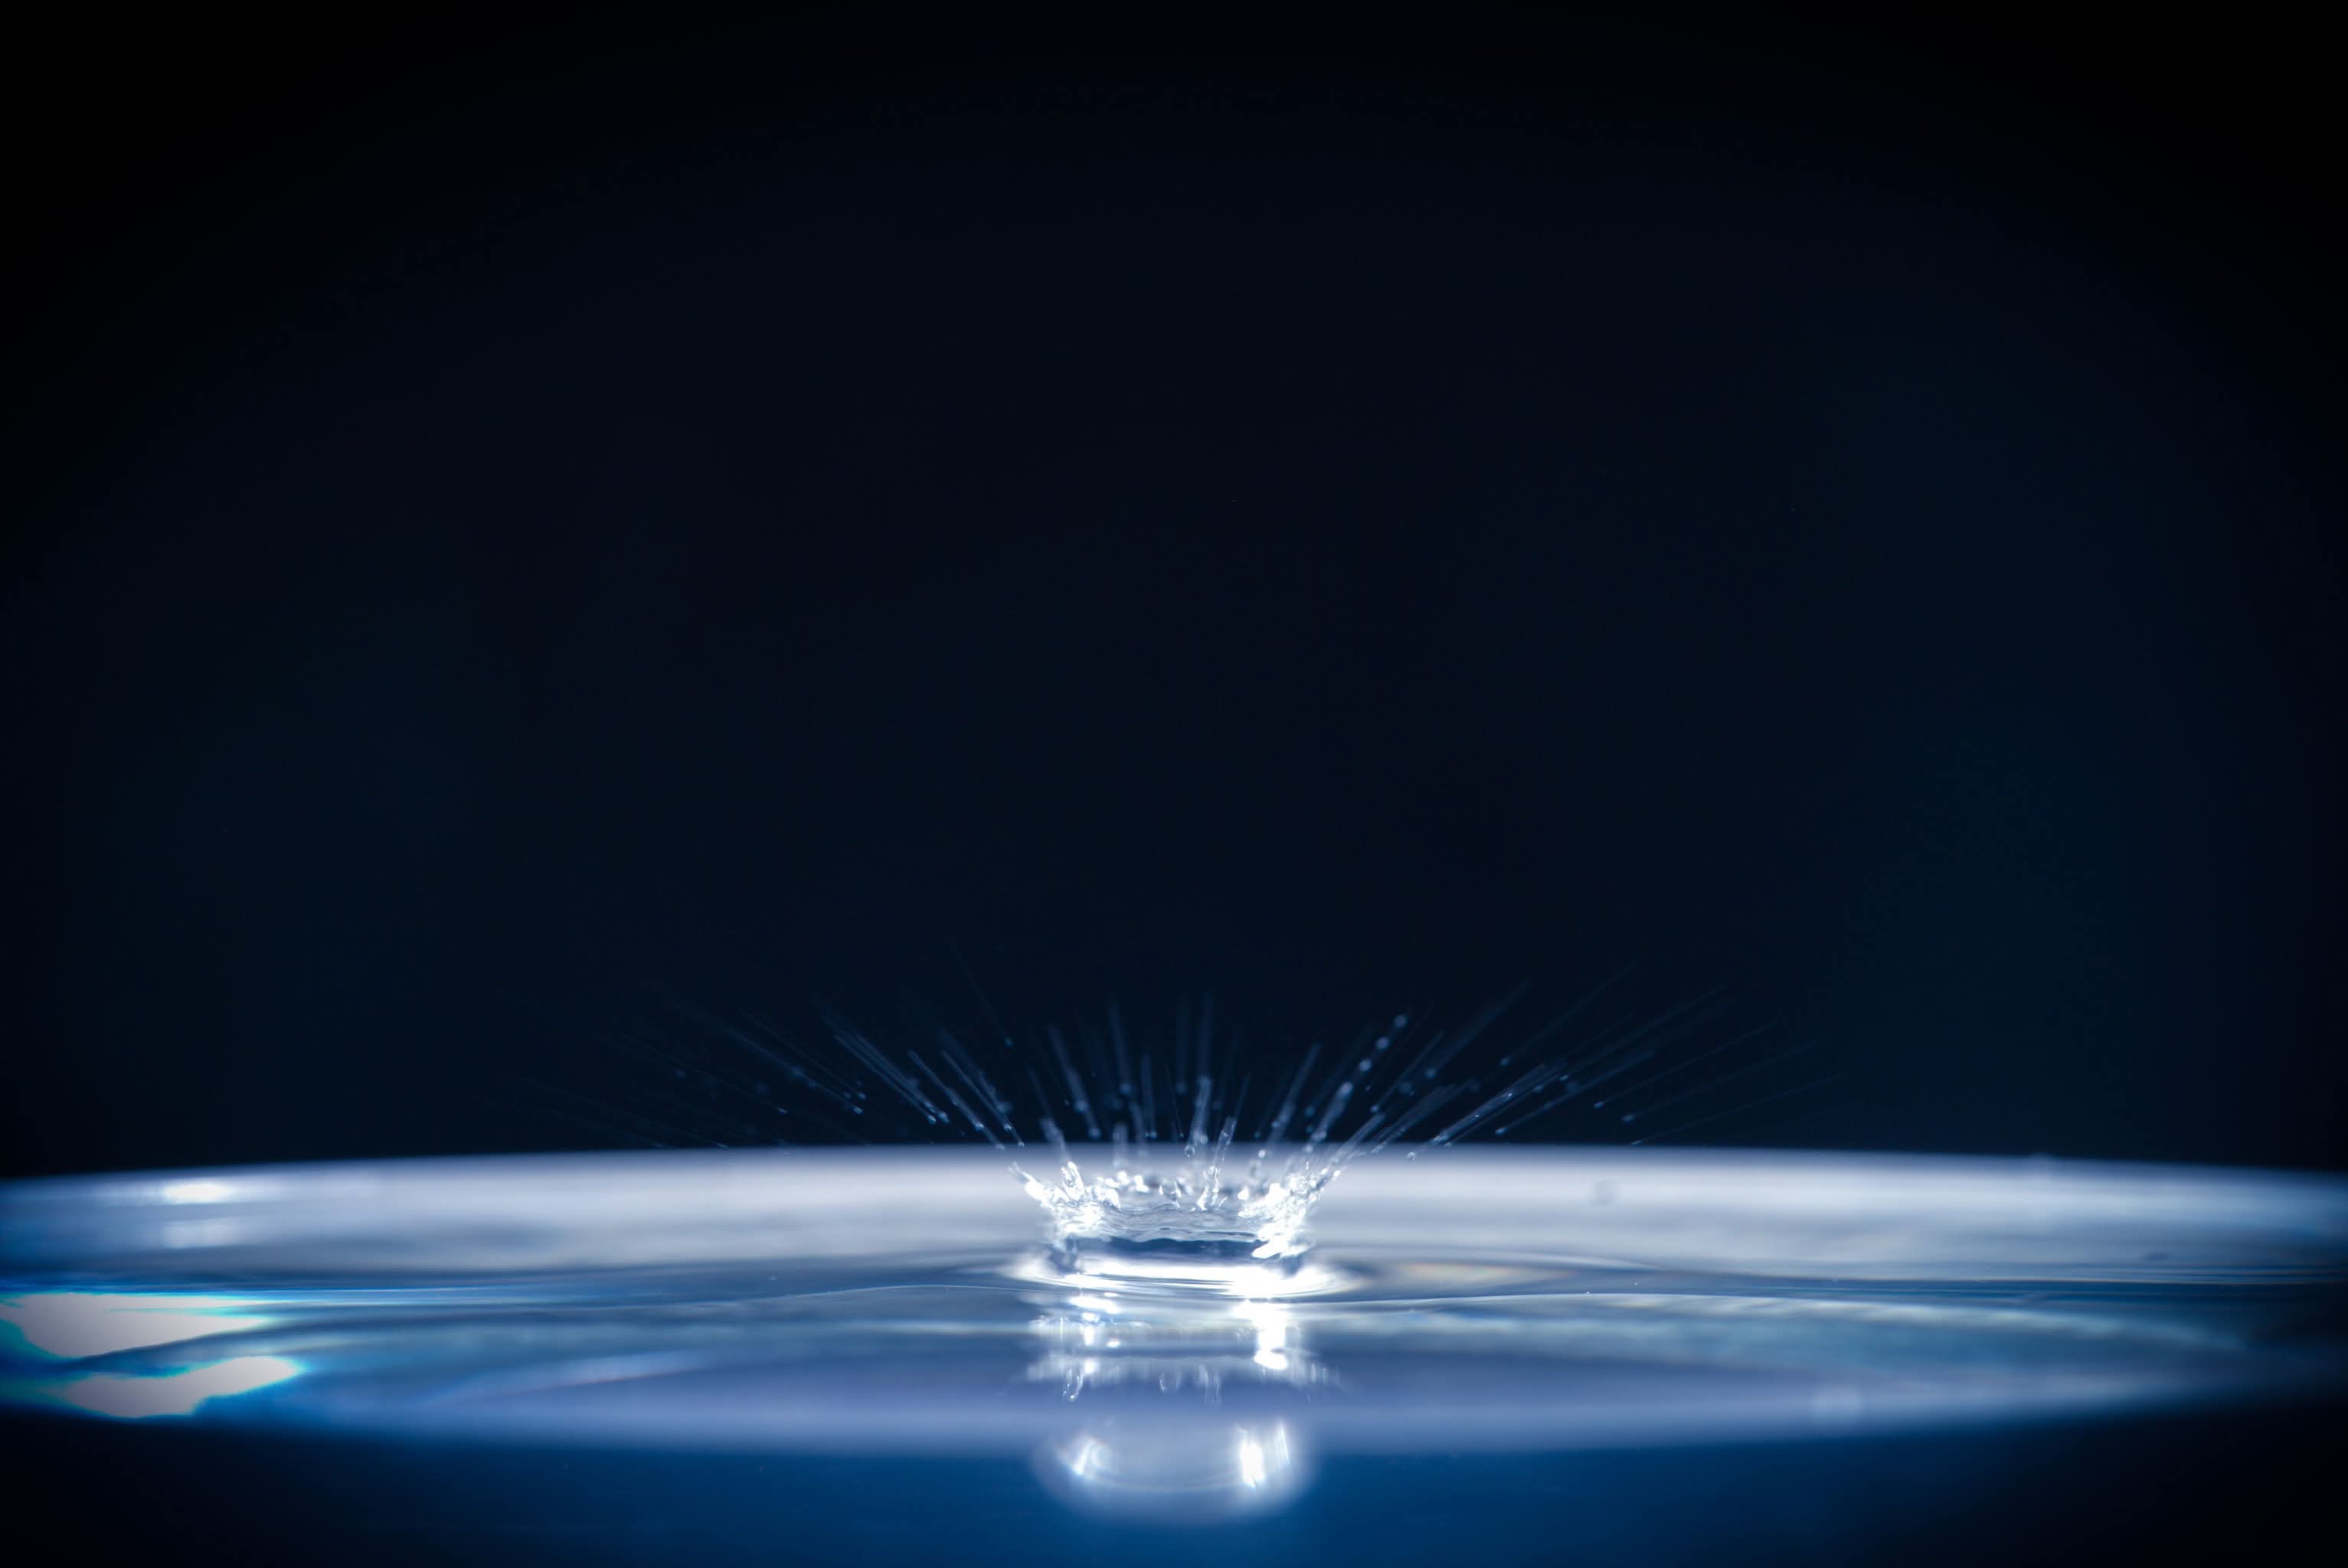
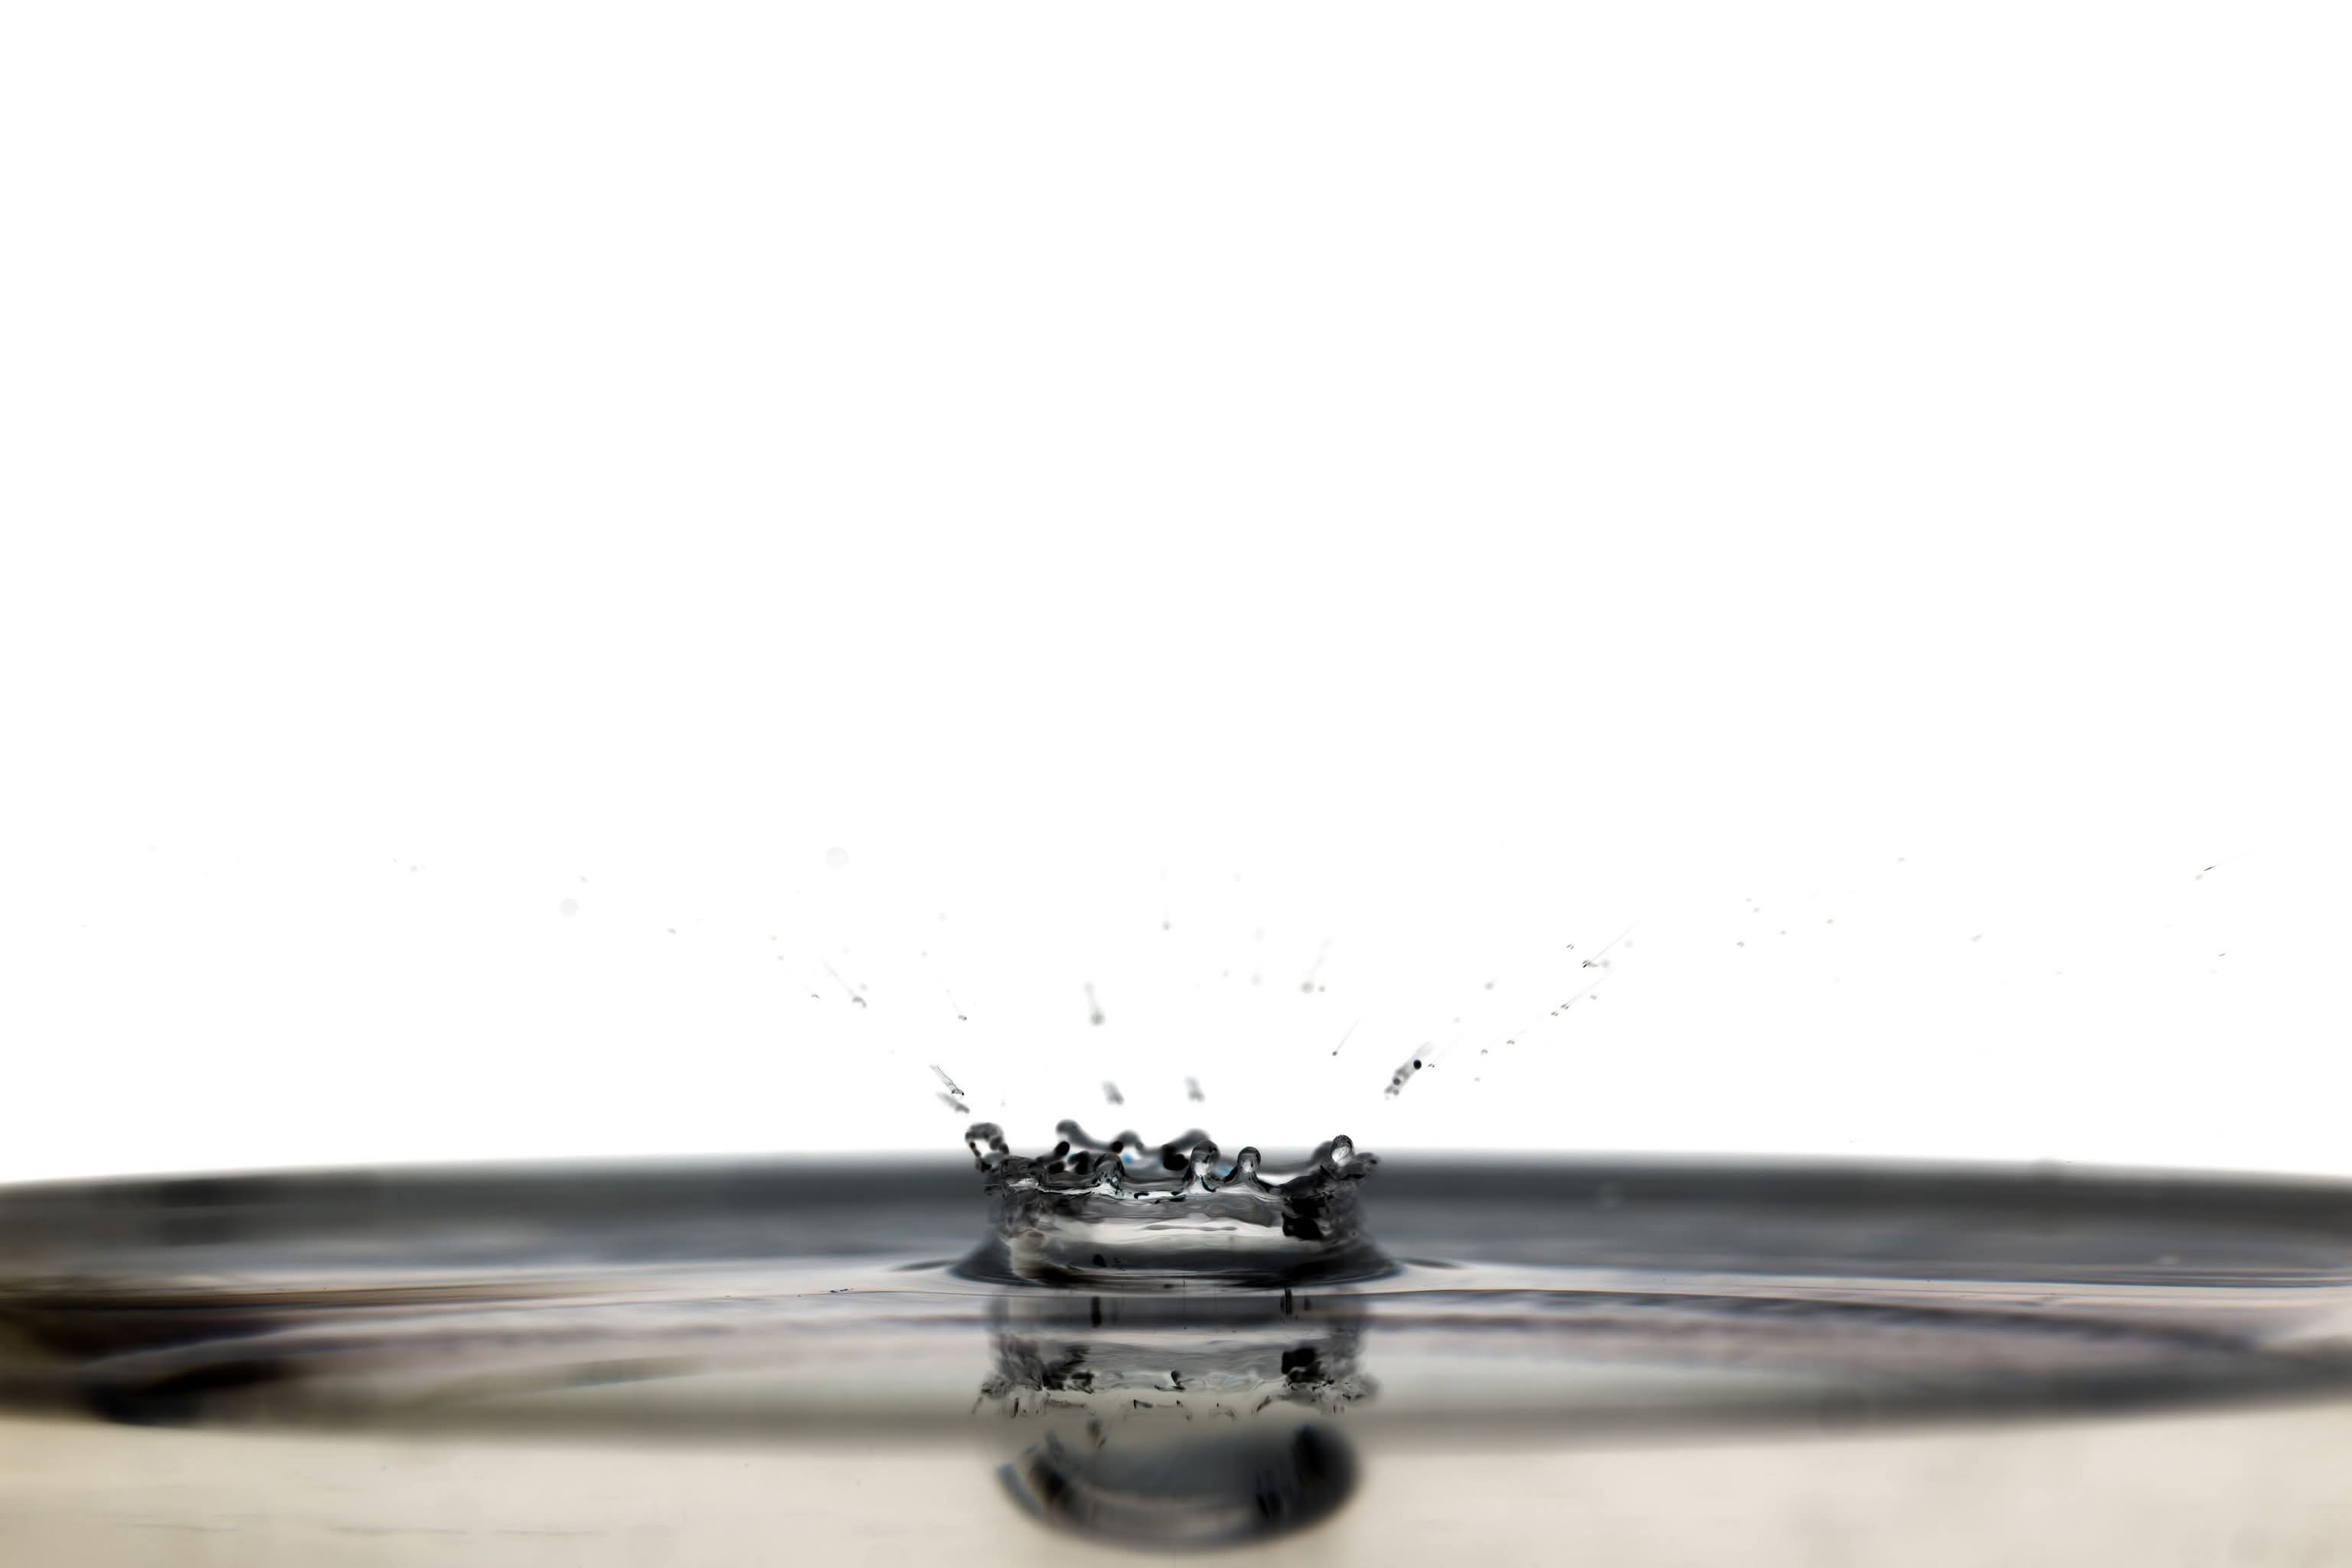
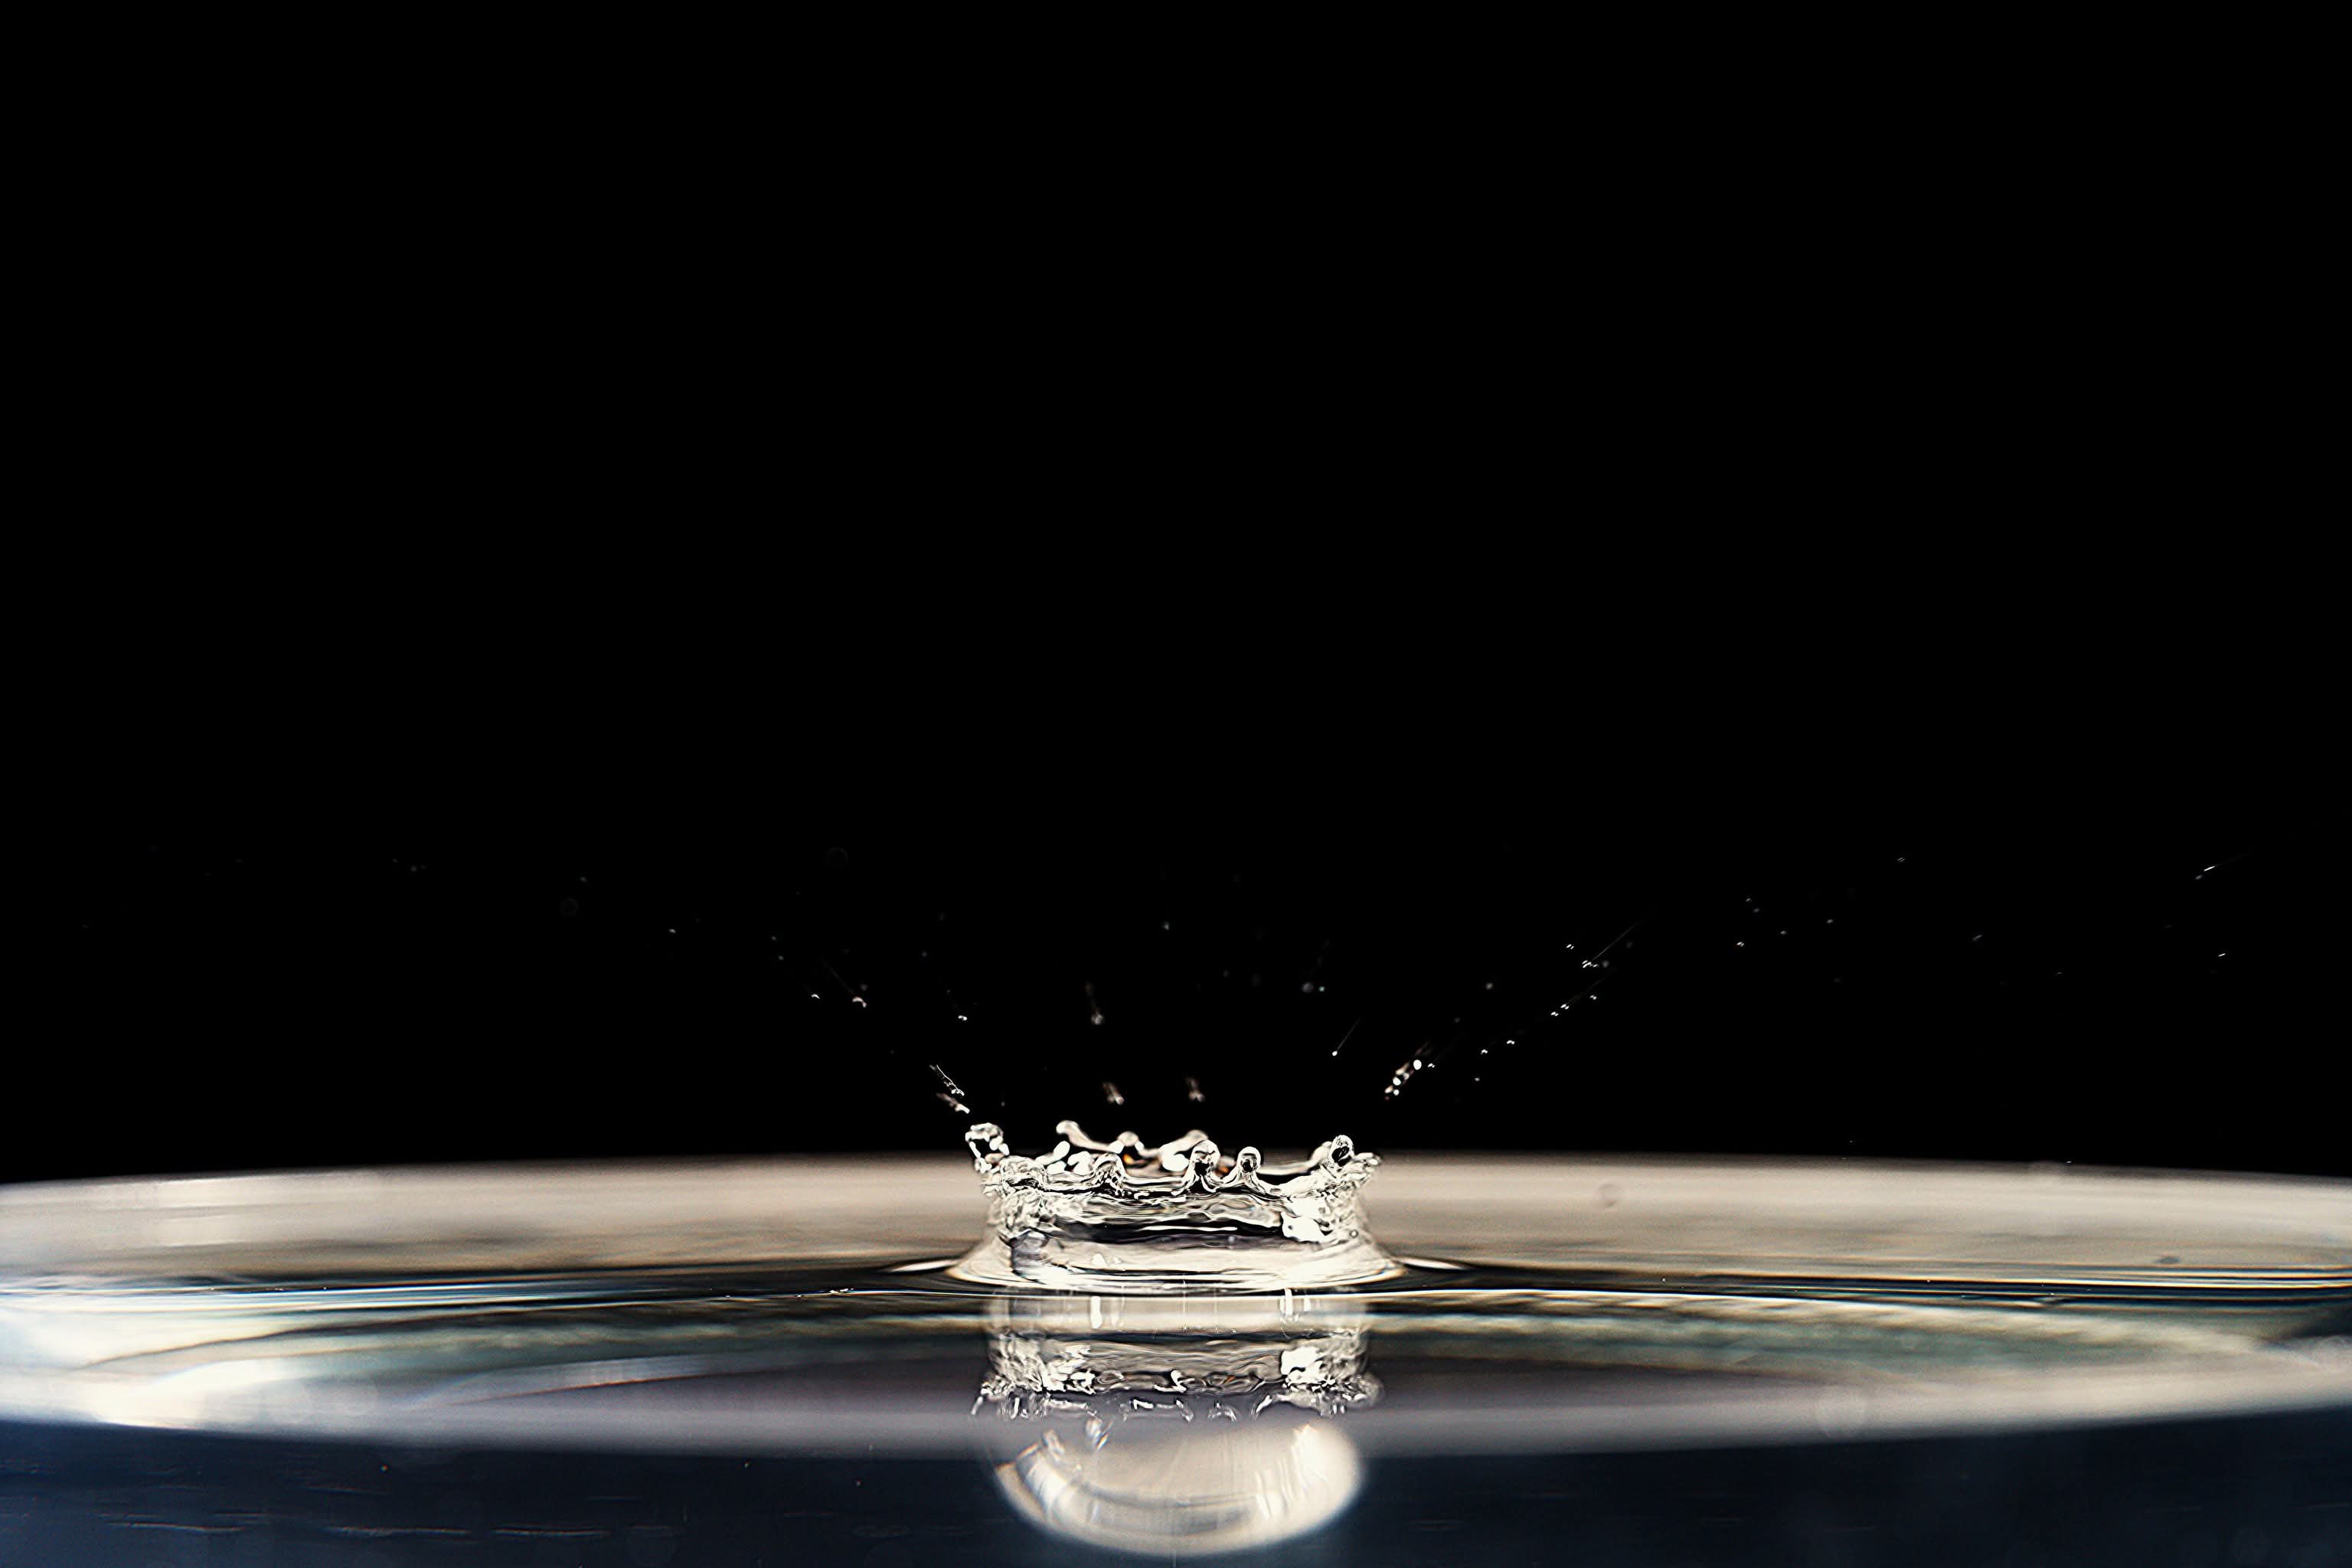
My results
After an hour of splashing water everywhere (pro tip: keep a towel handy!), I got a few decent shots. My favorite part was seeing the different shapes the drops created...crowns, ripples, and even little “dancers.”
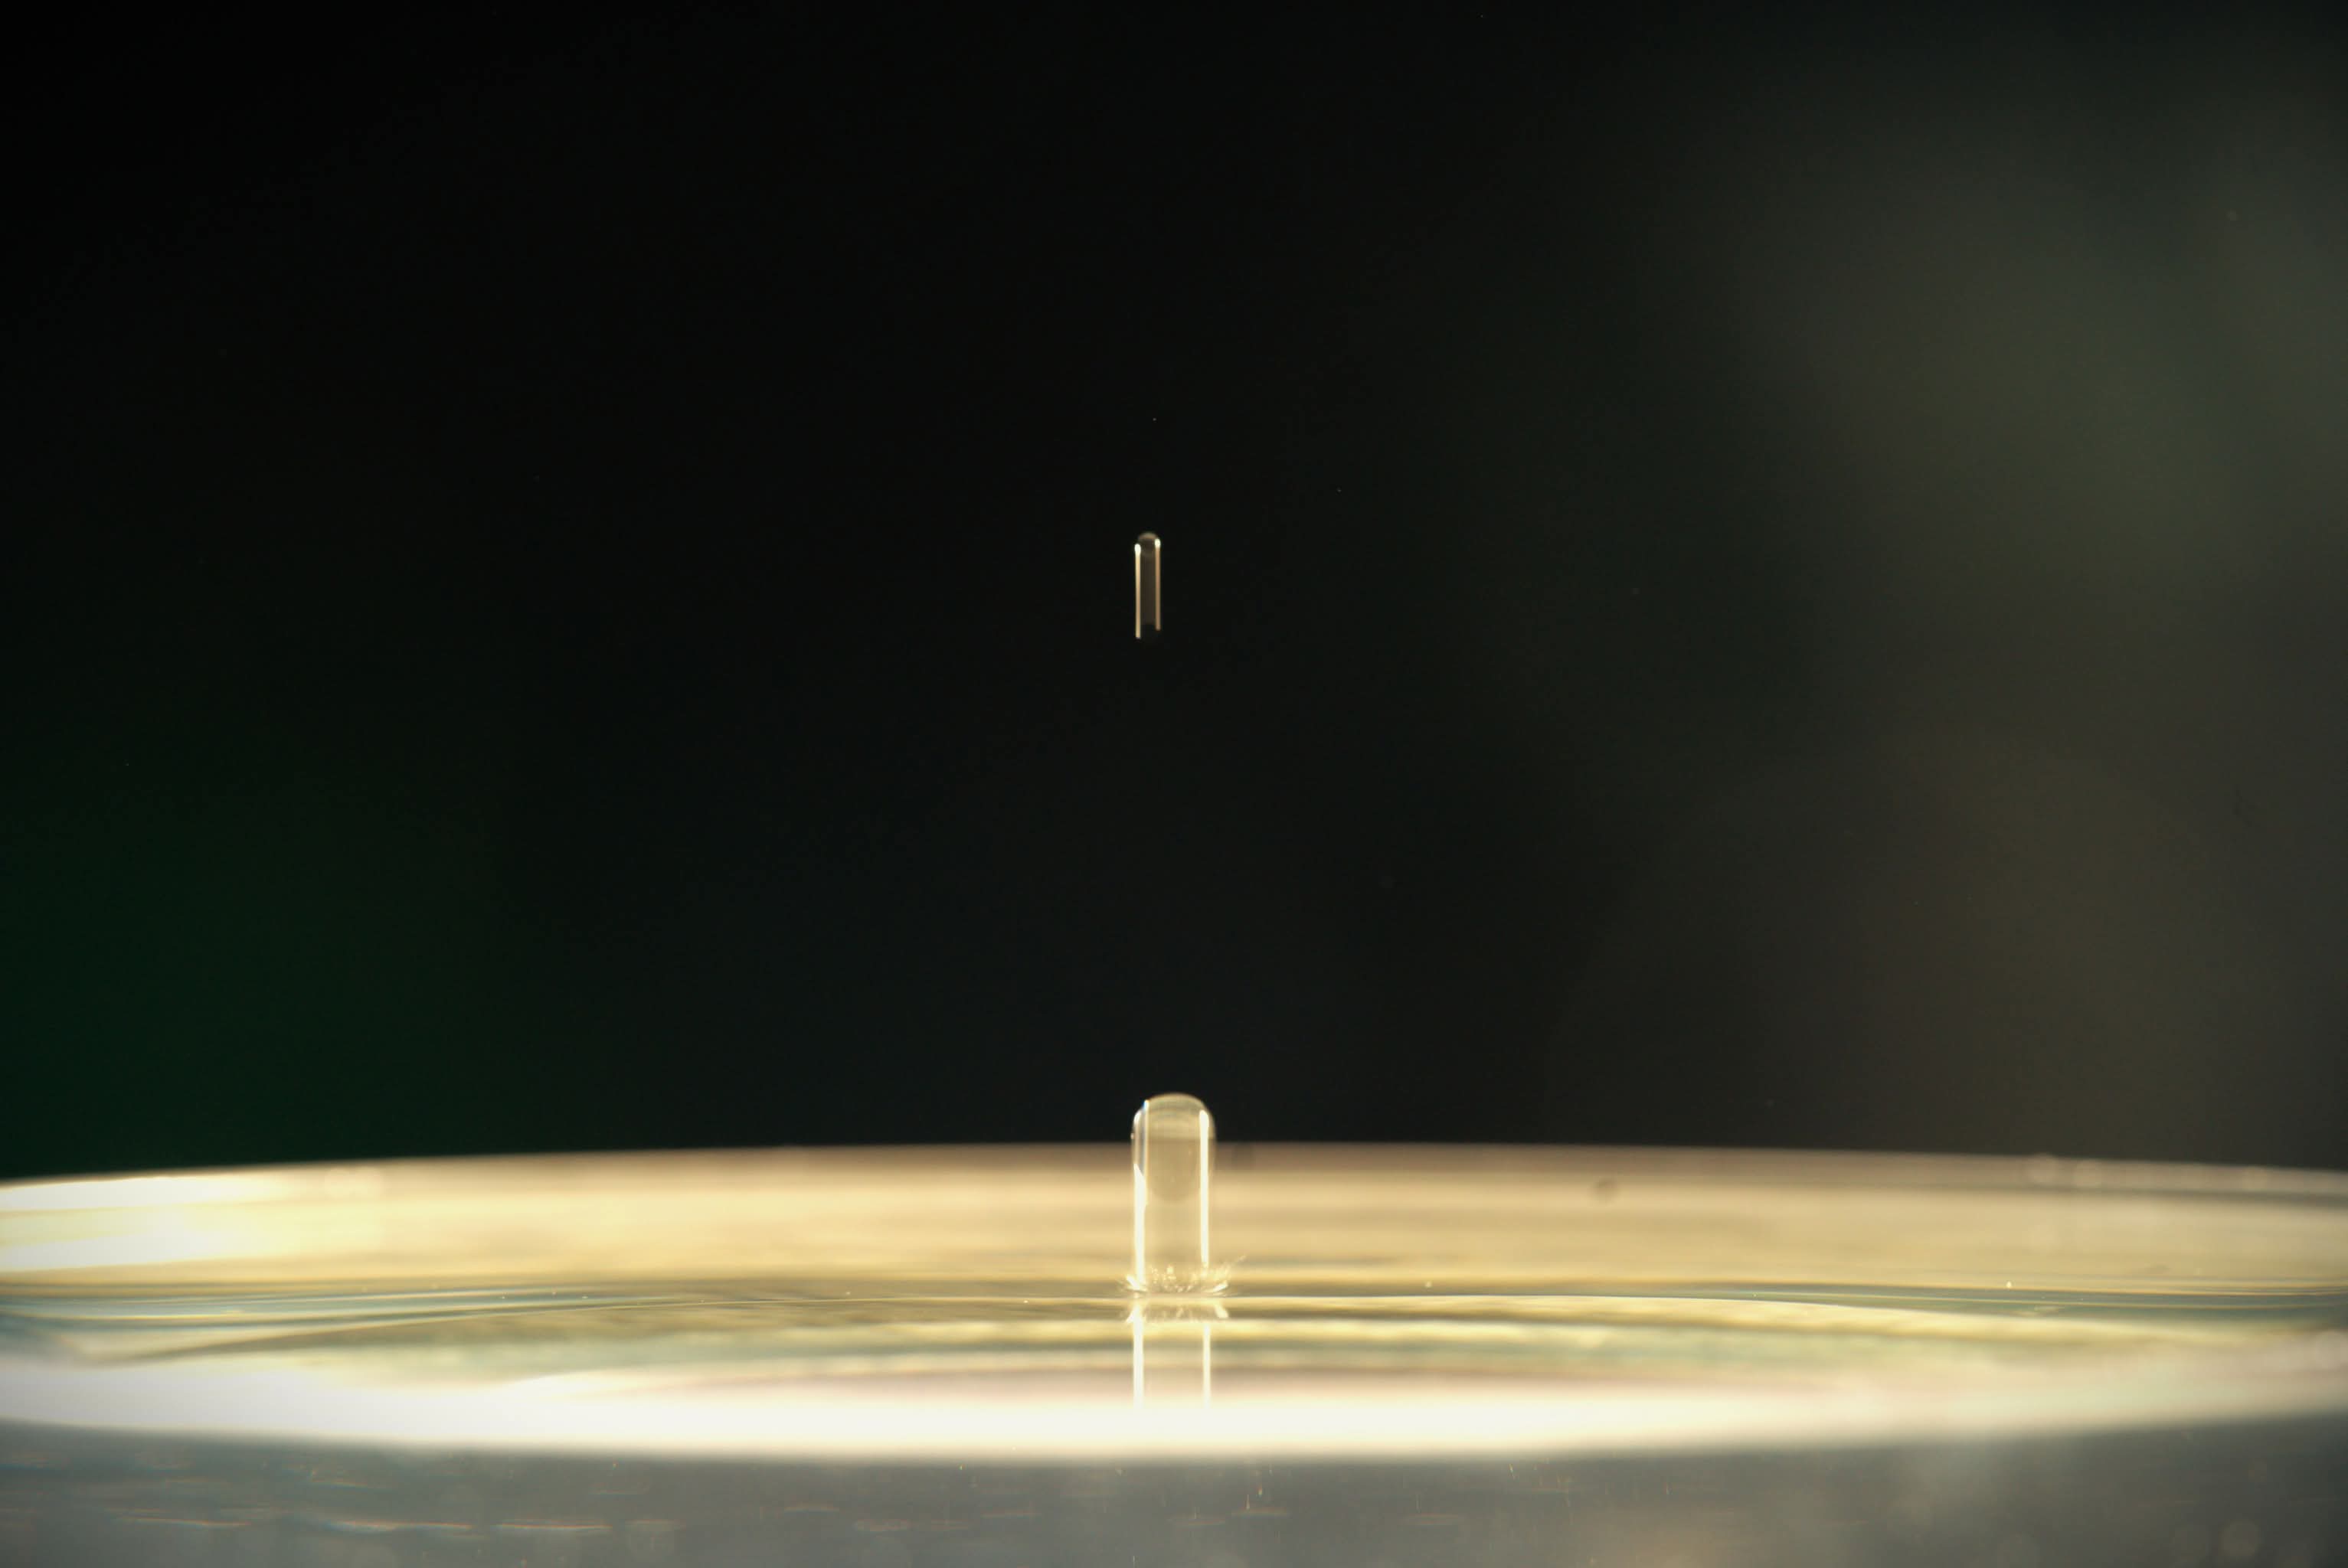
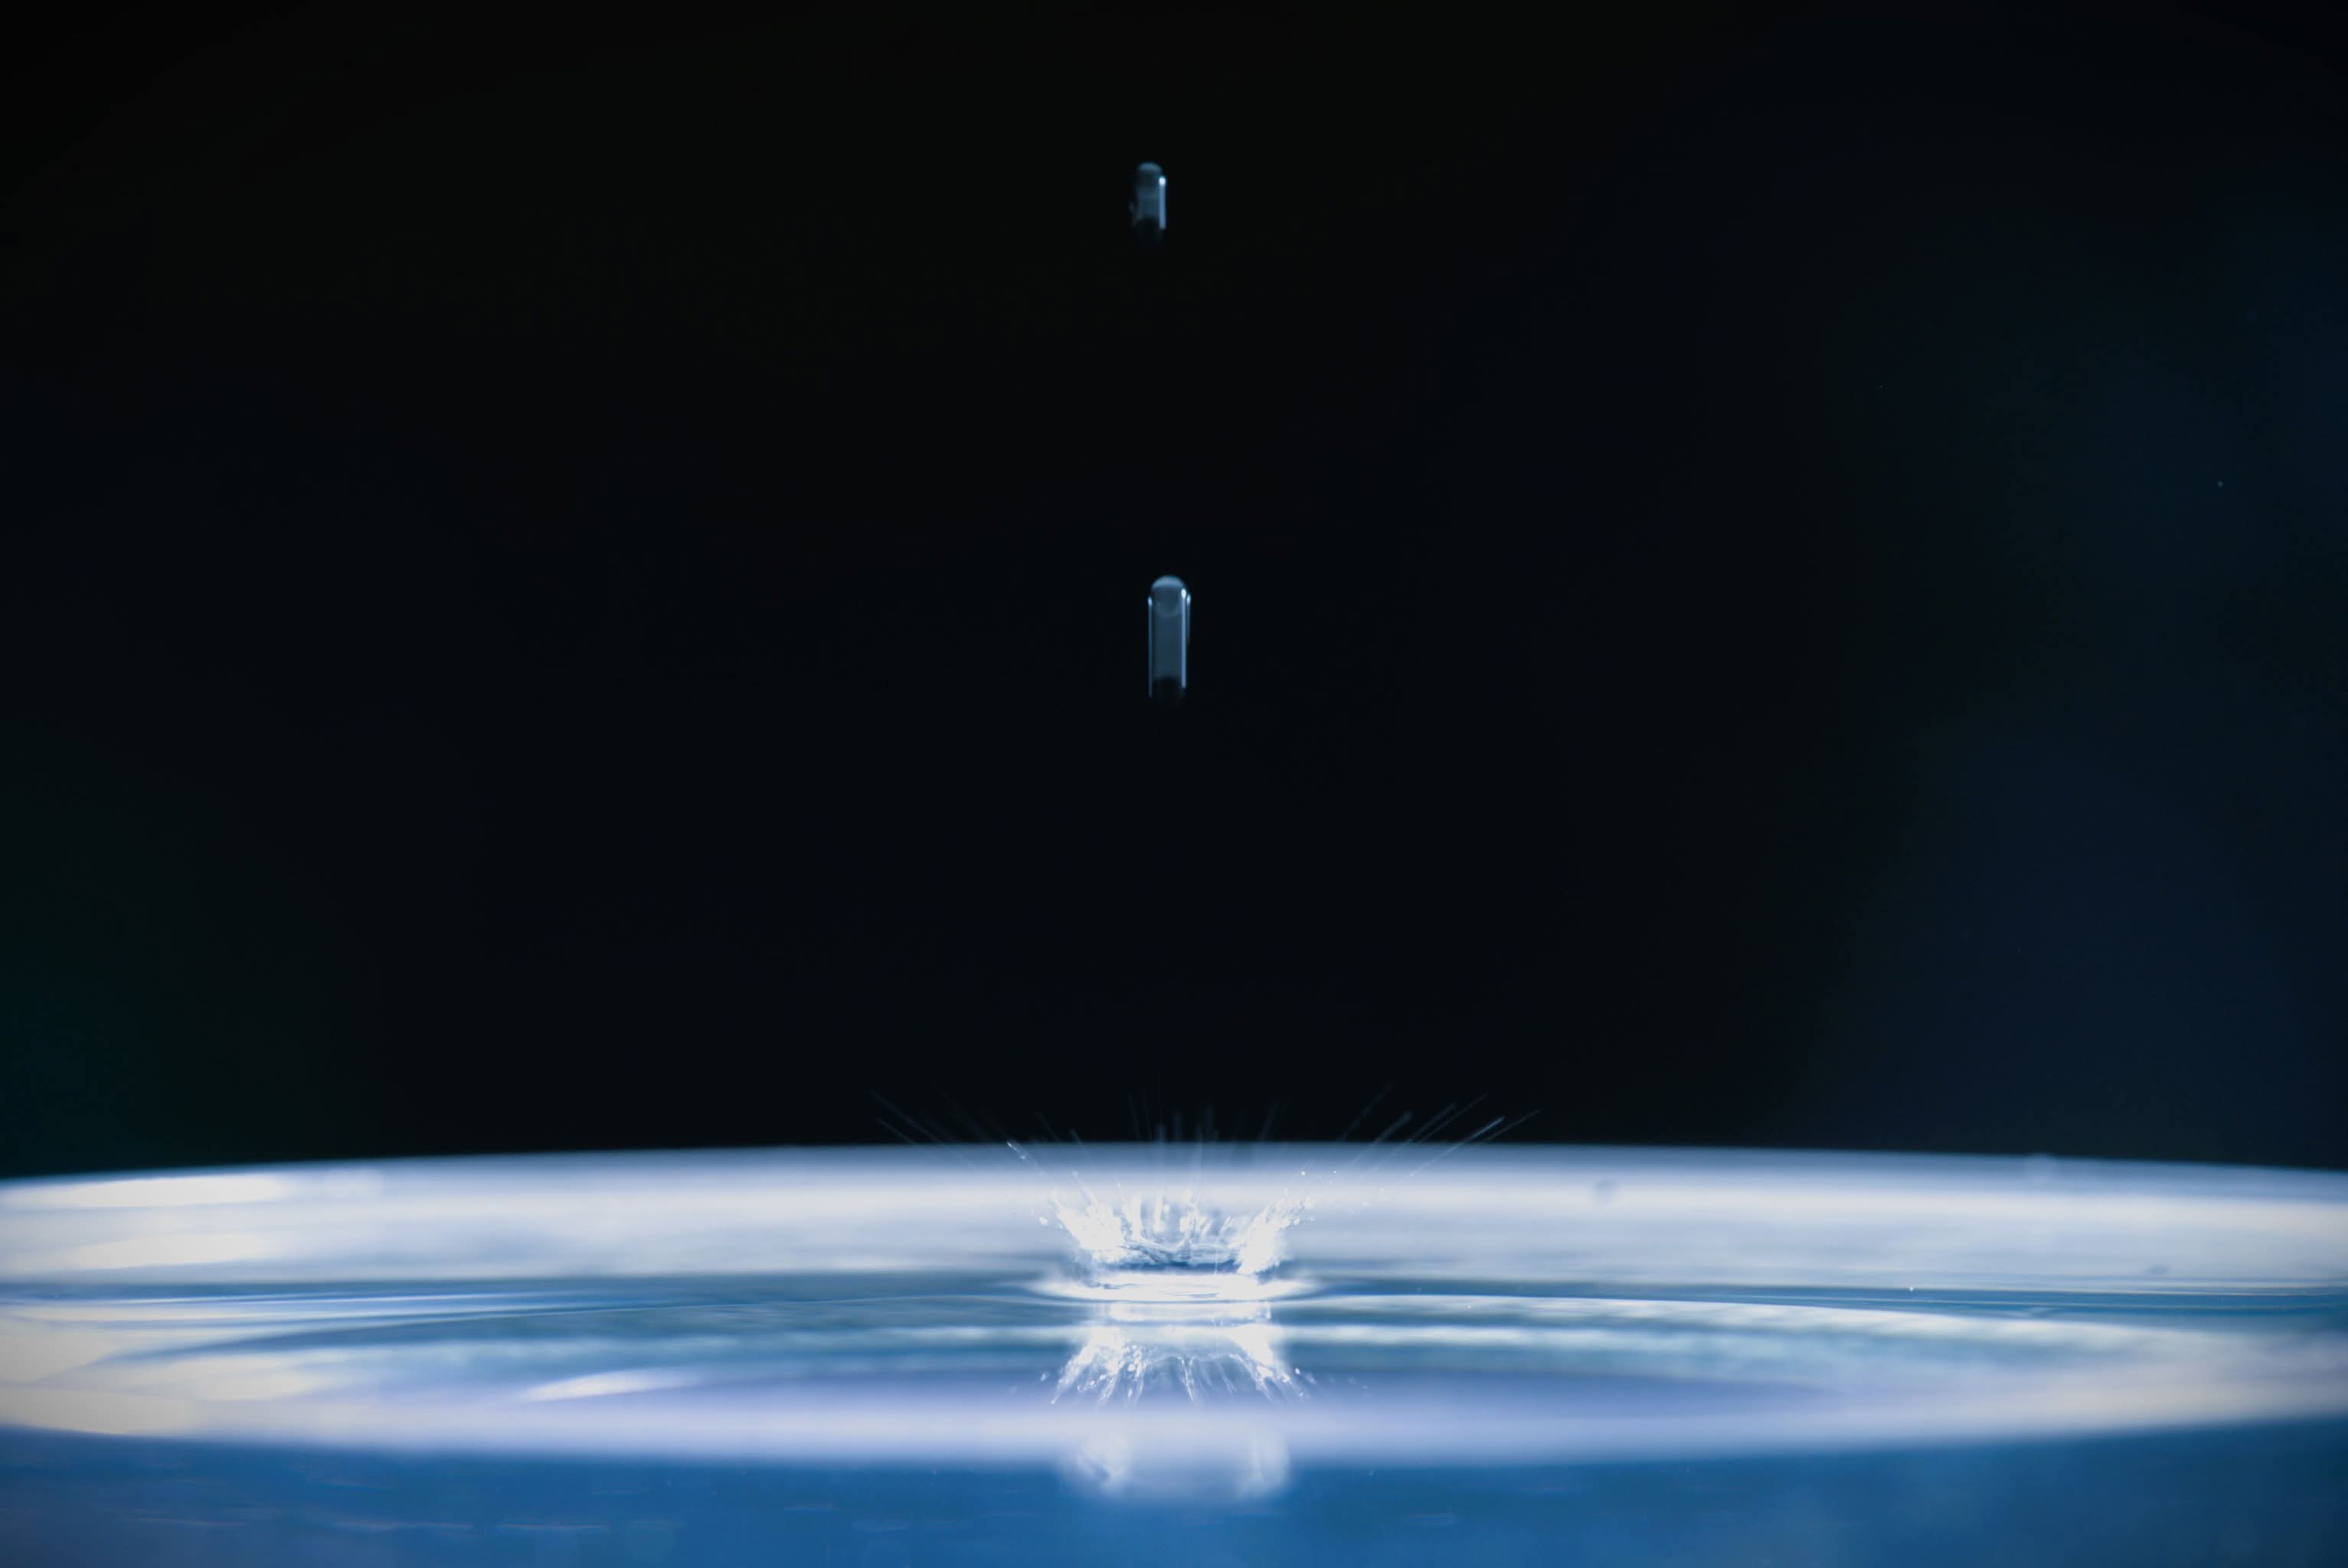
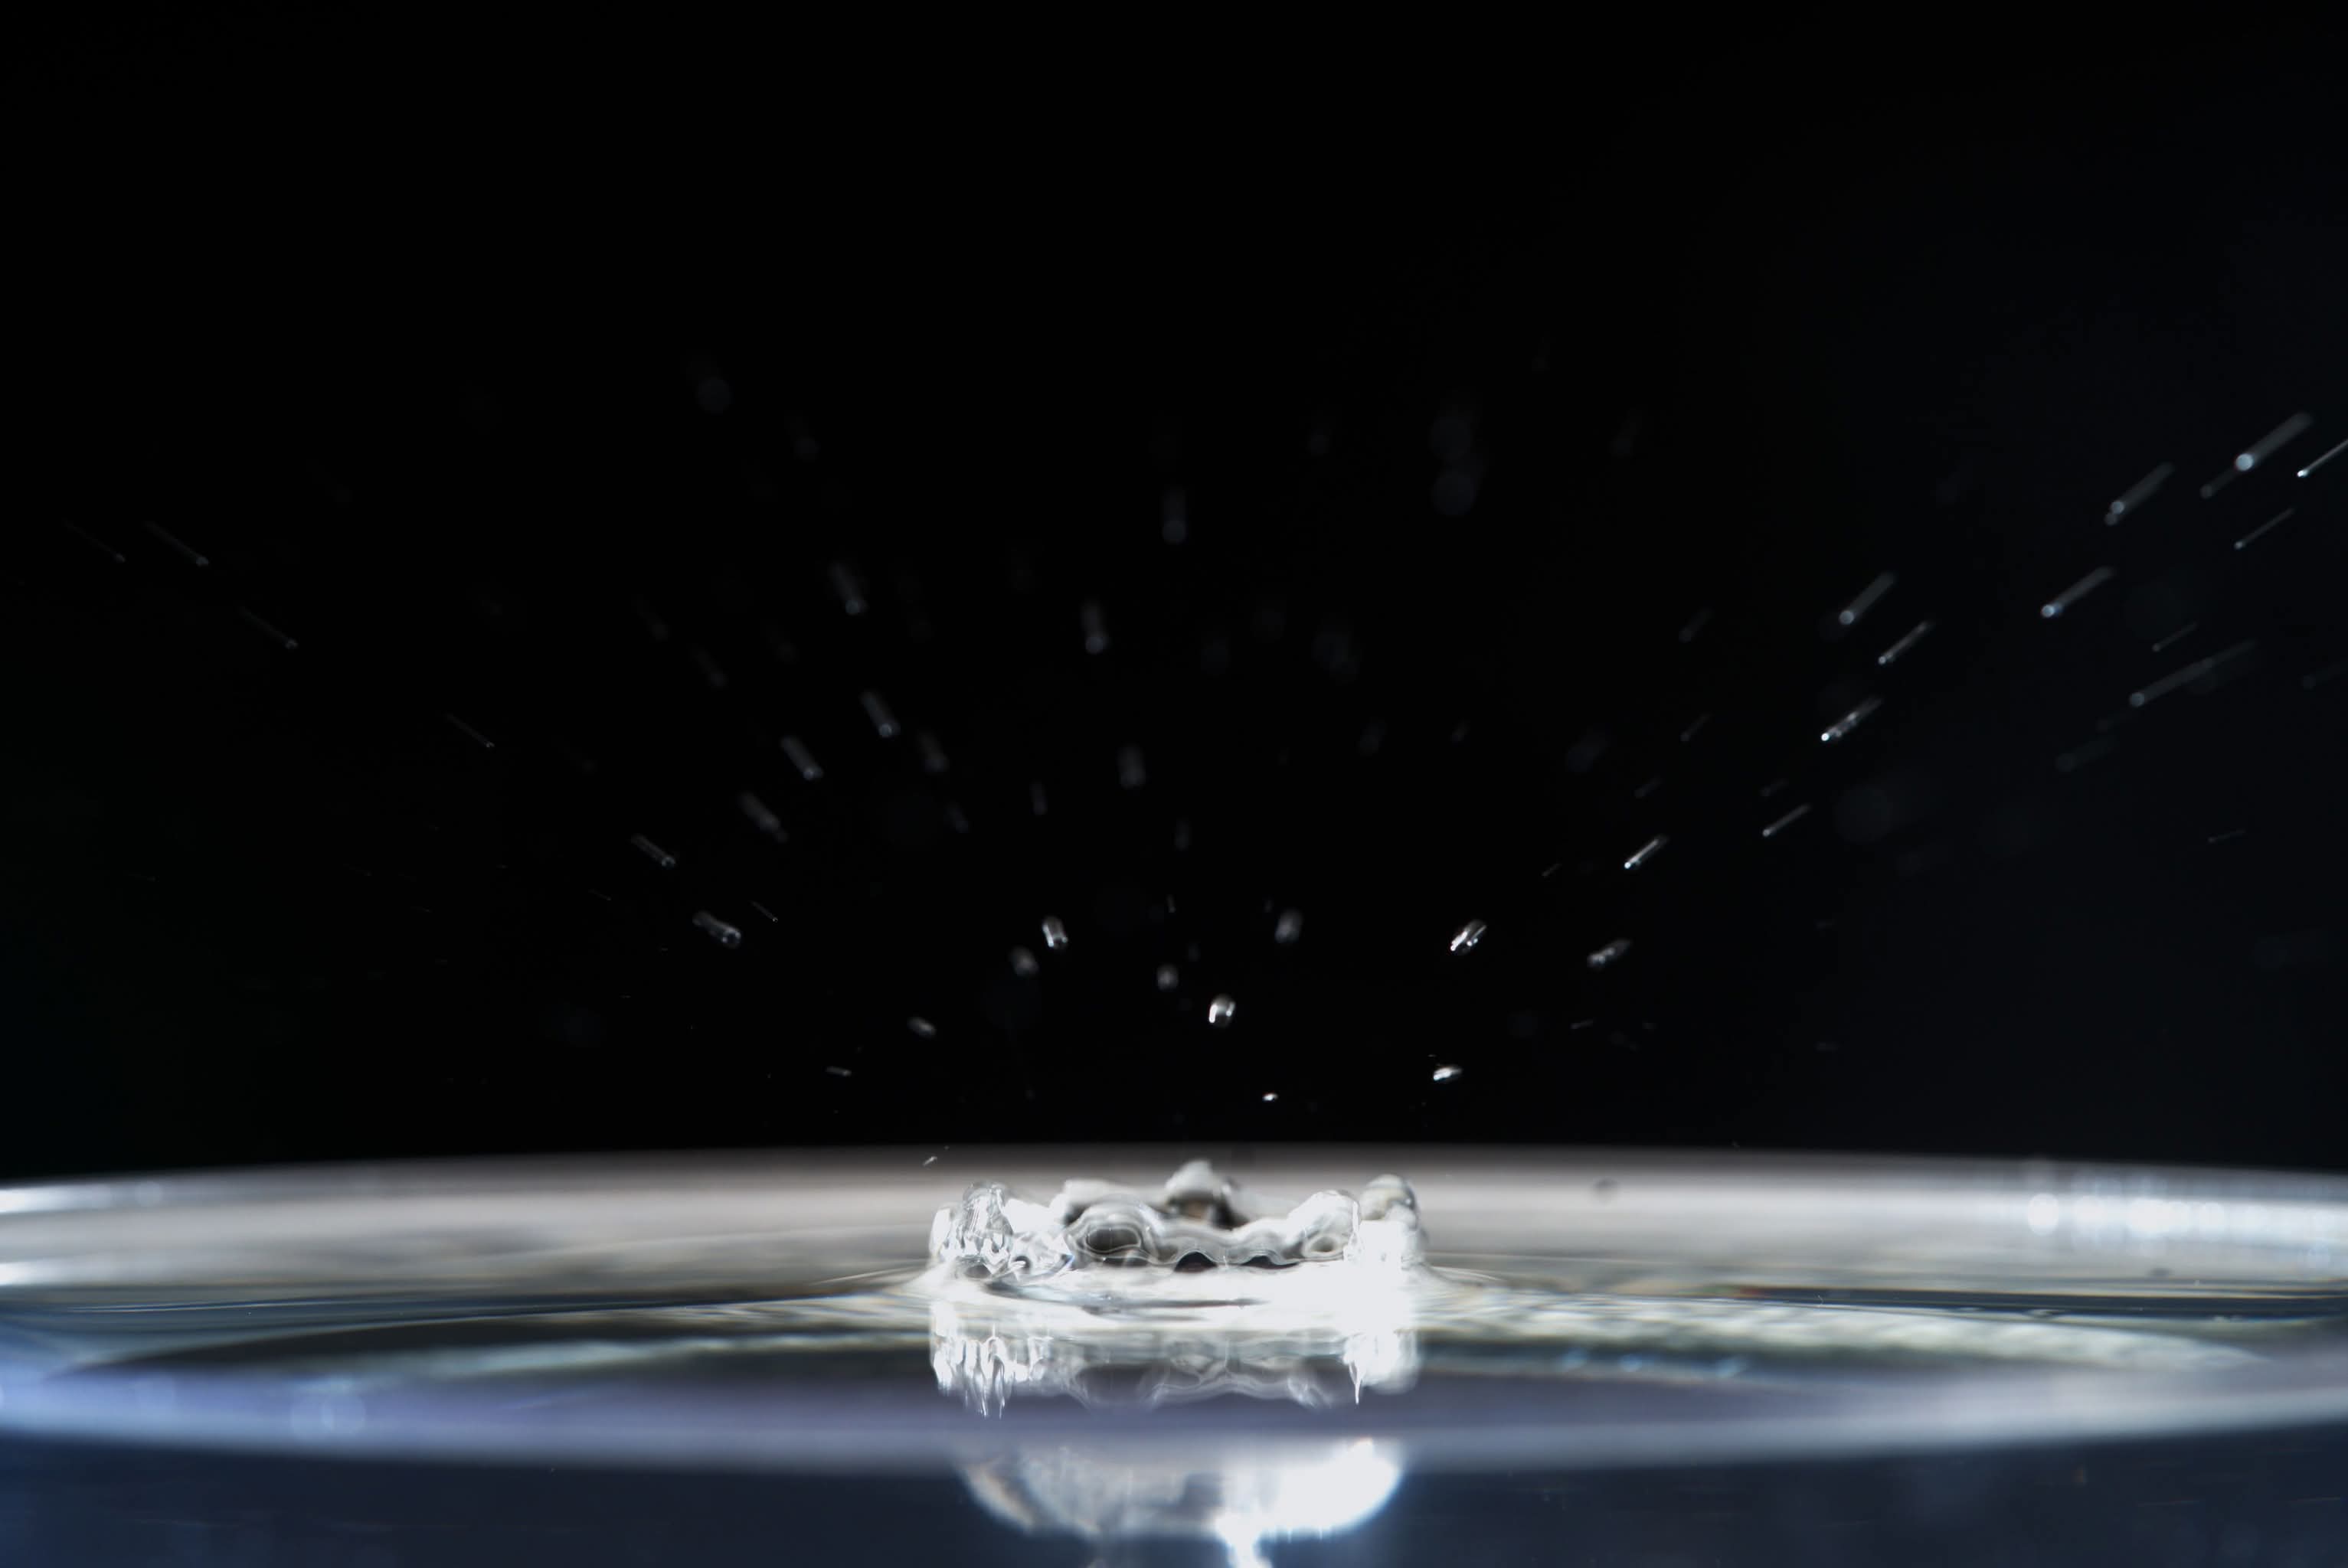
I’d love to hear your thoughts on my photos. Be honest...just don’t crush my spirit too hard, okay? 😂 If you’ve ever tried water drop photography, share your tips with me. Let’s make this a fun learning experience!
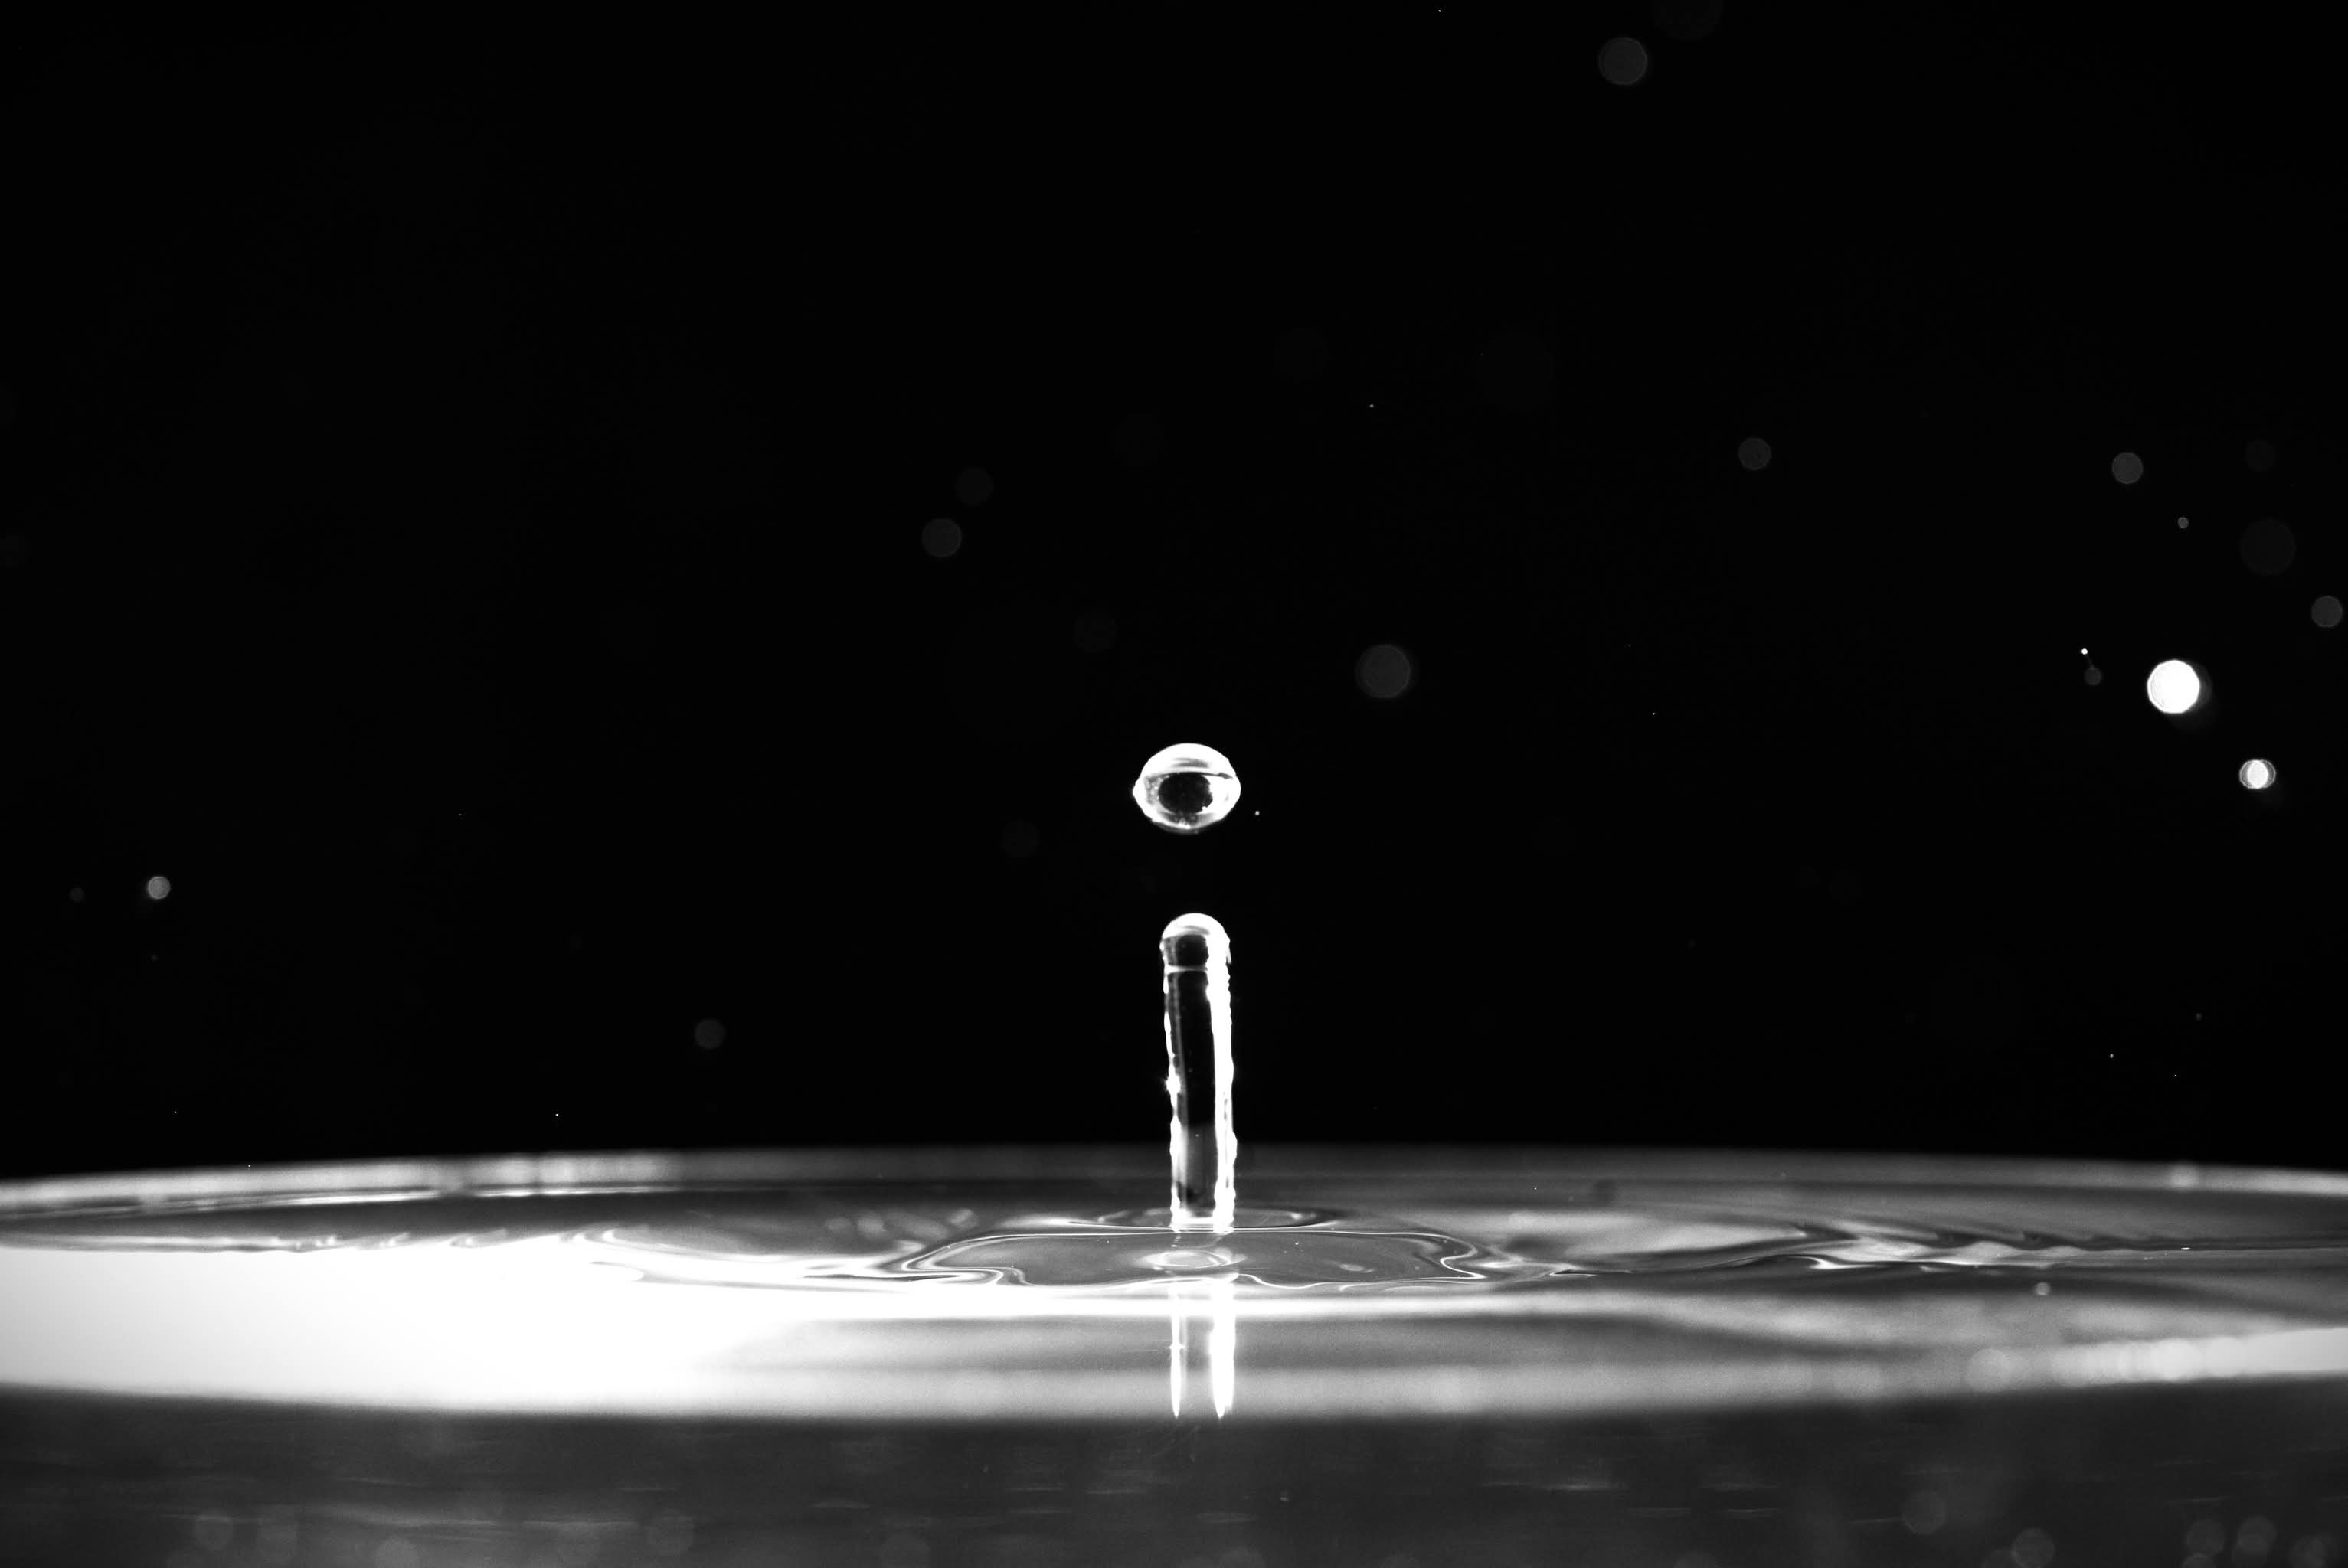
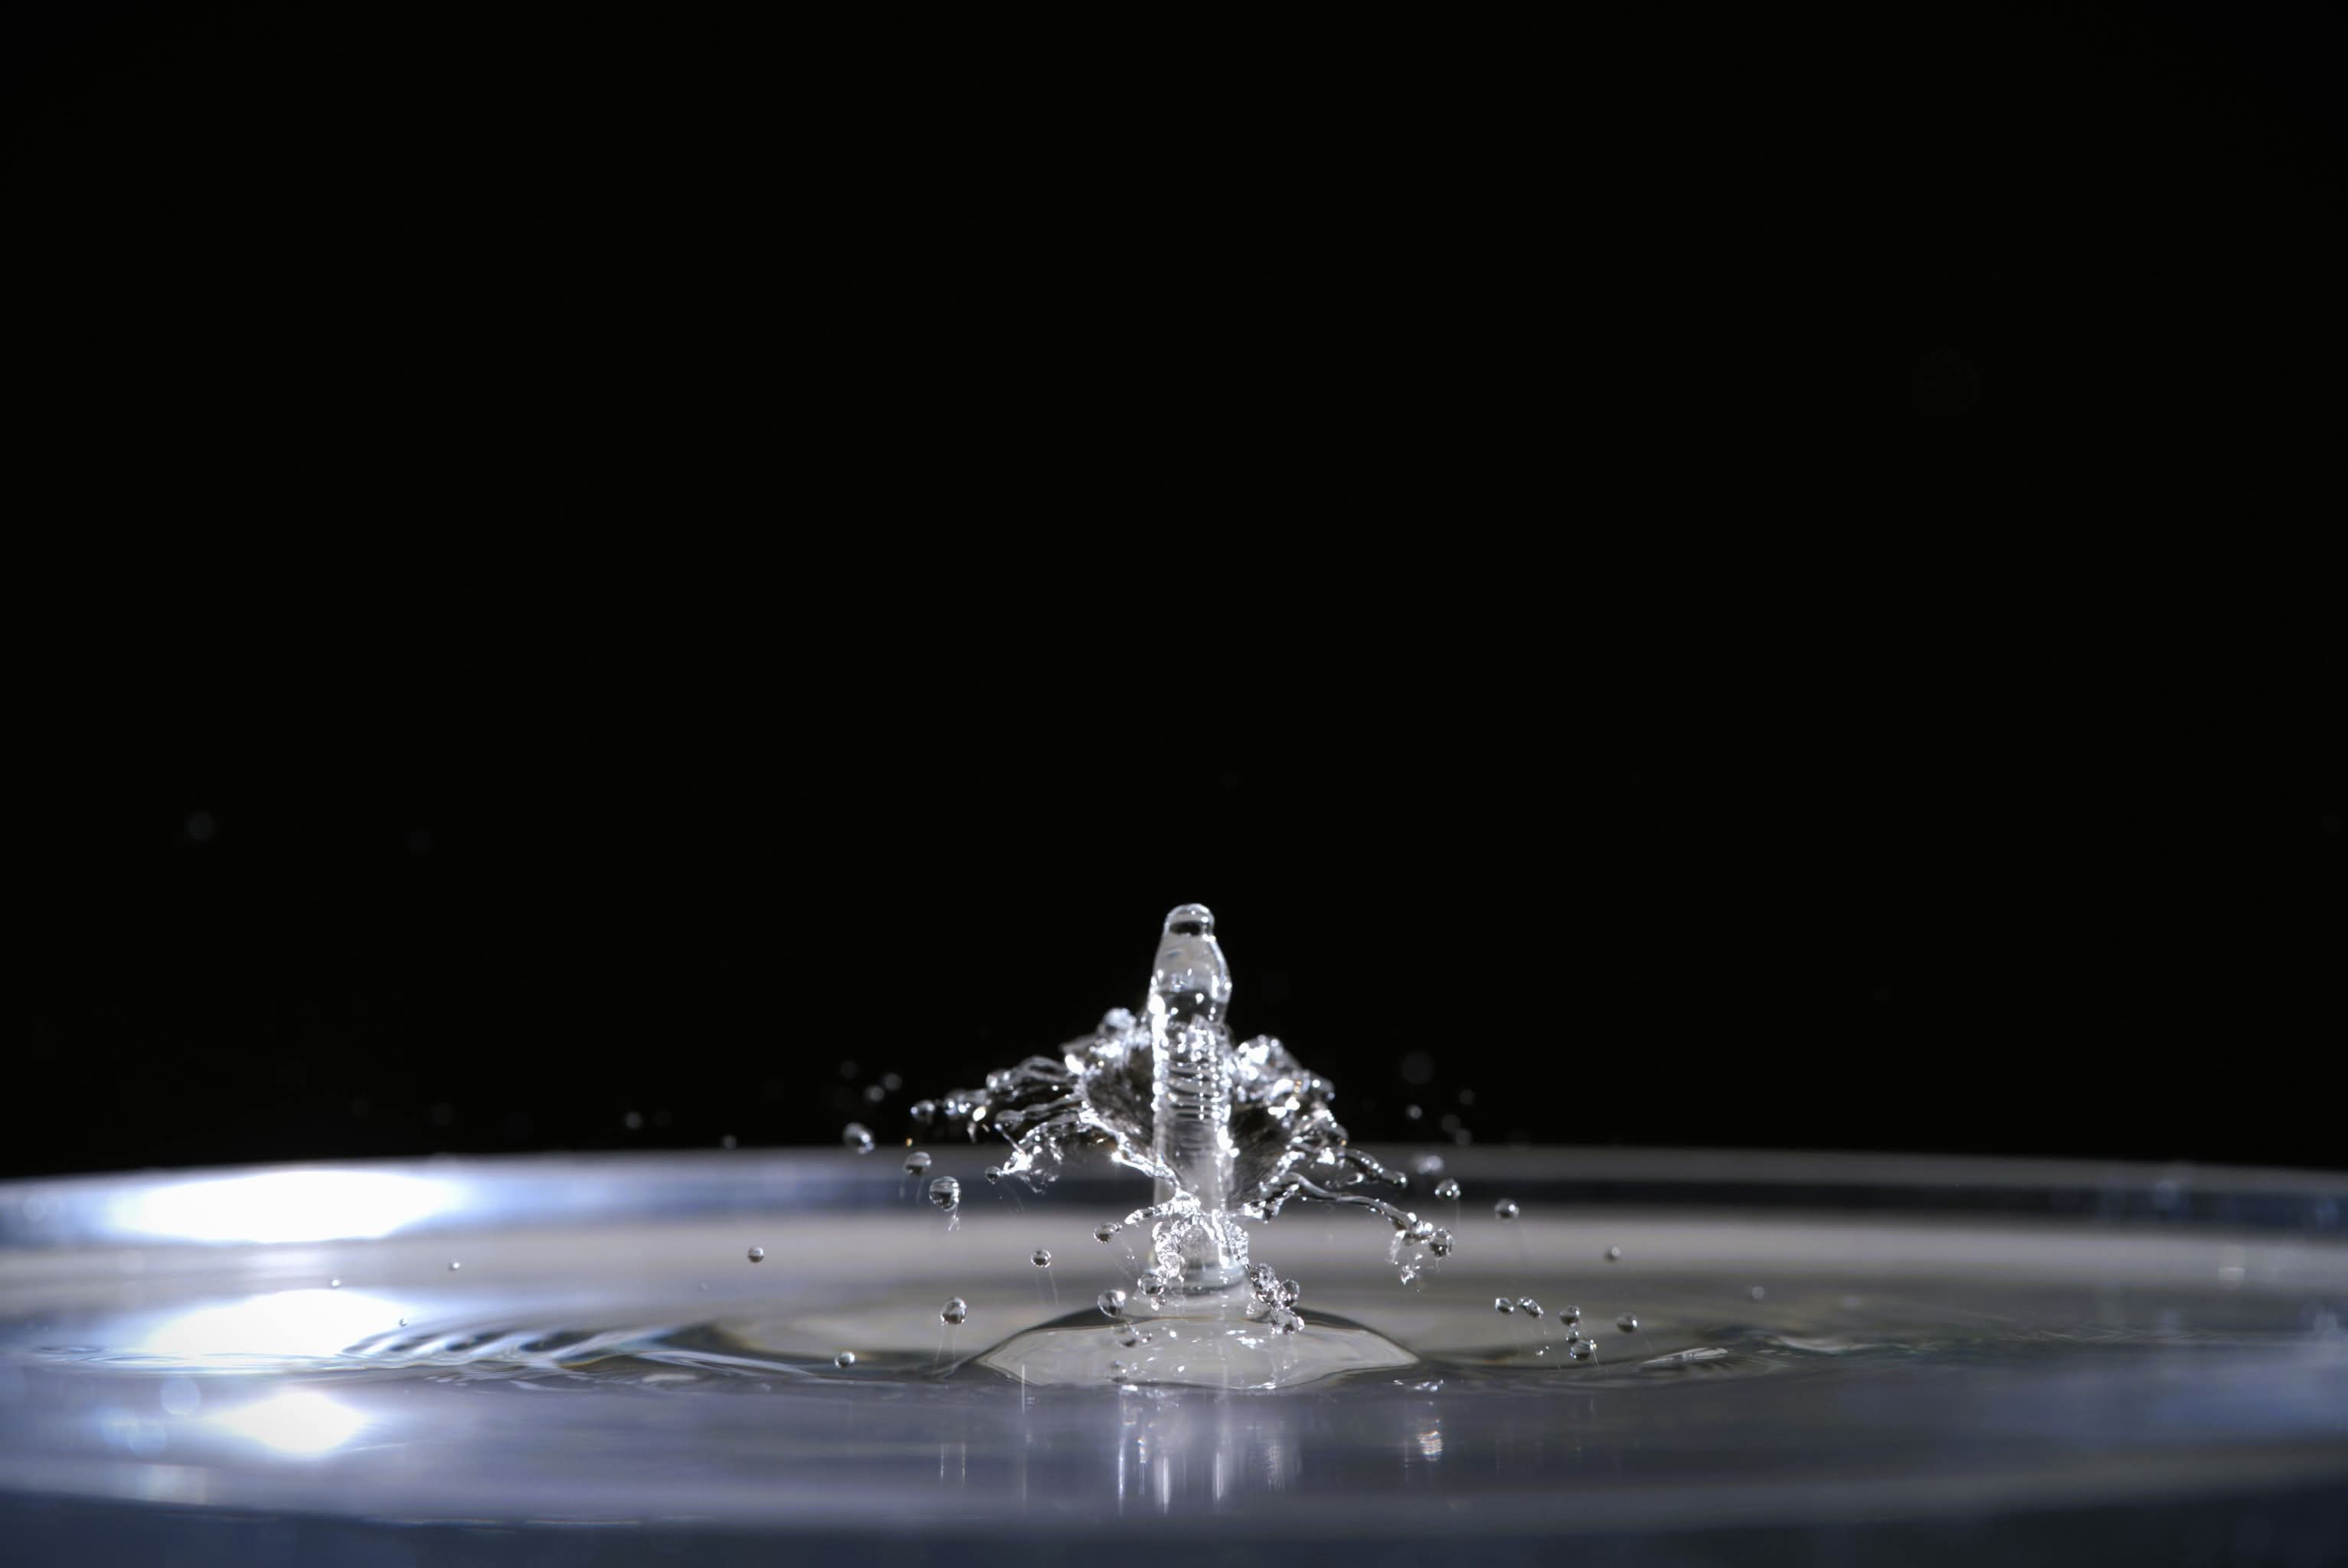
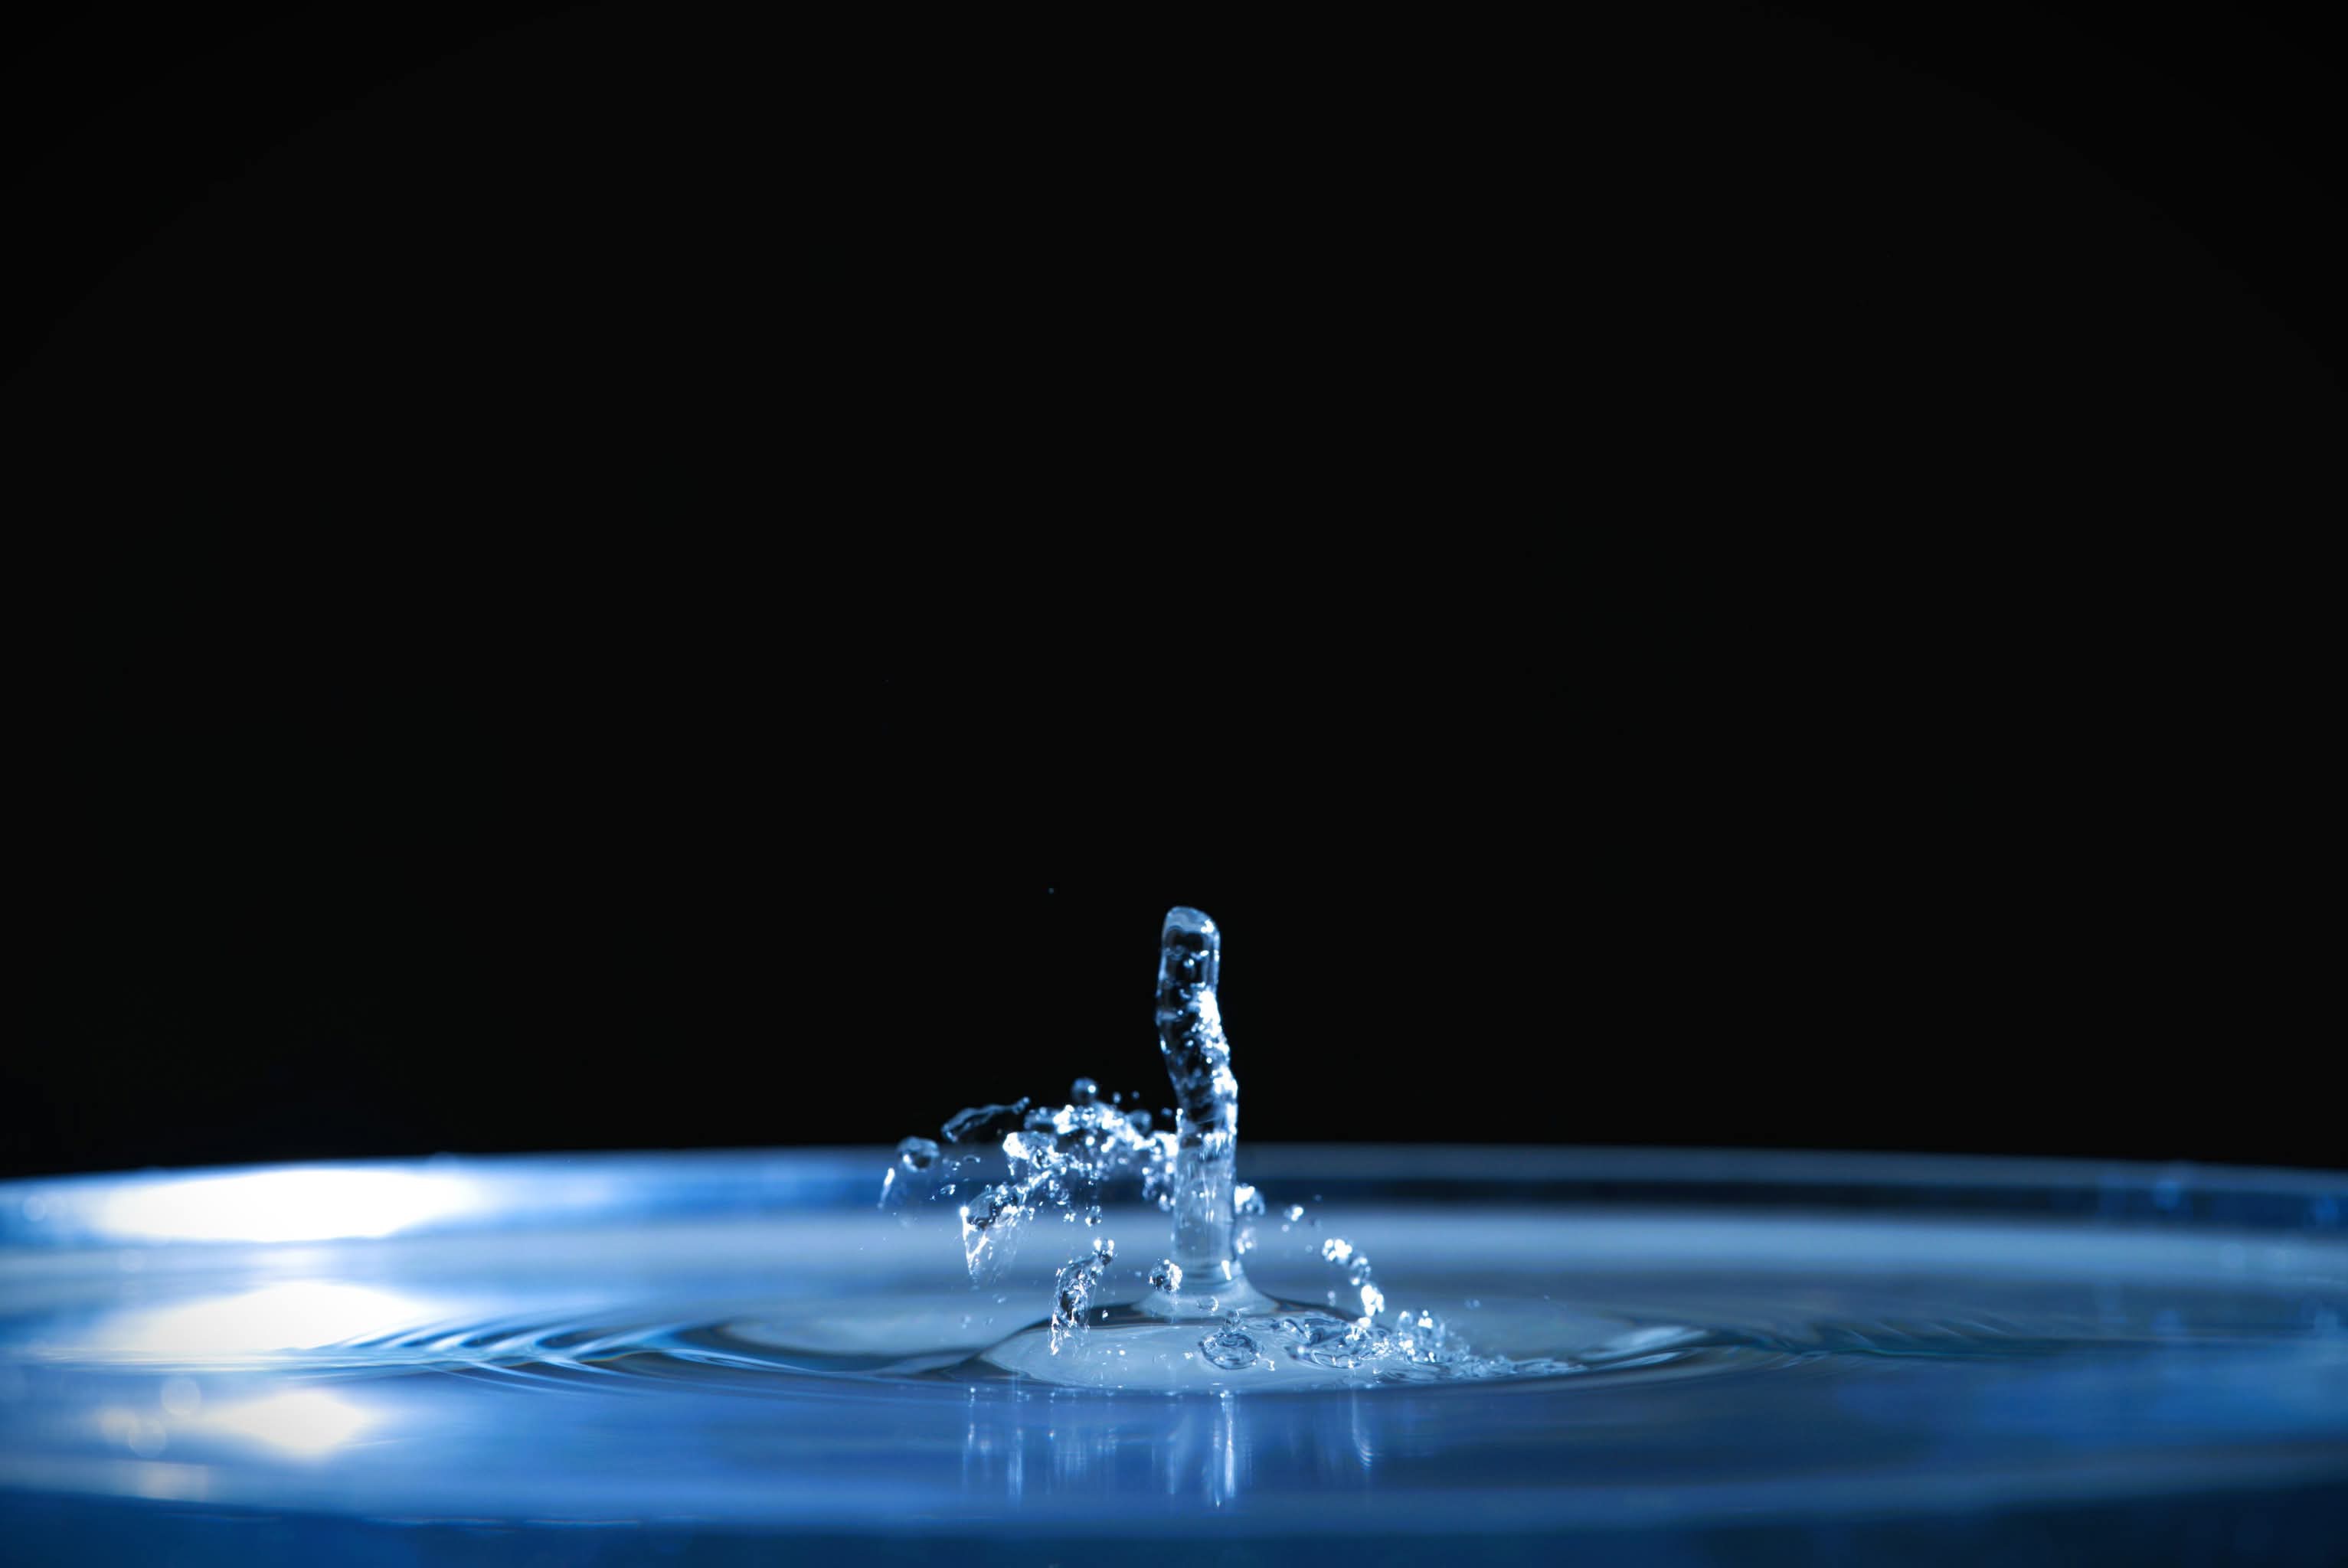
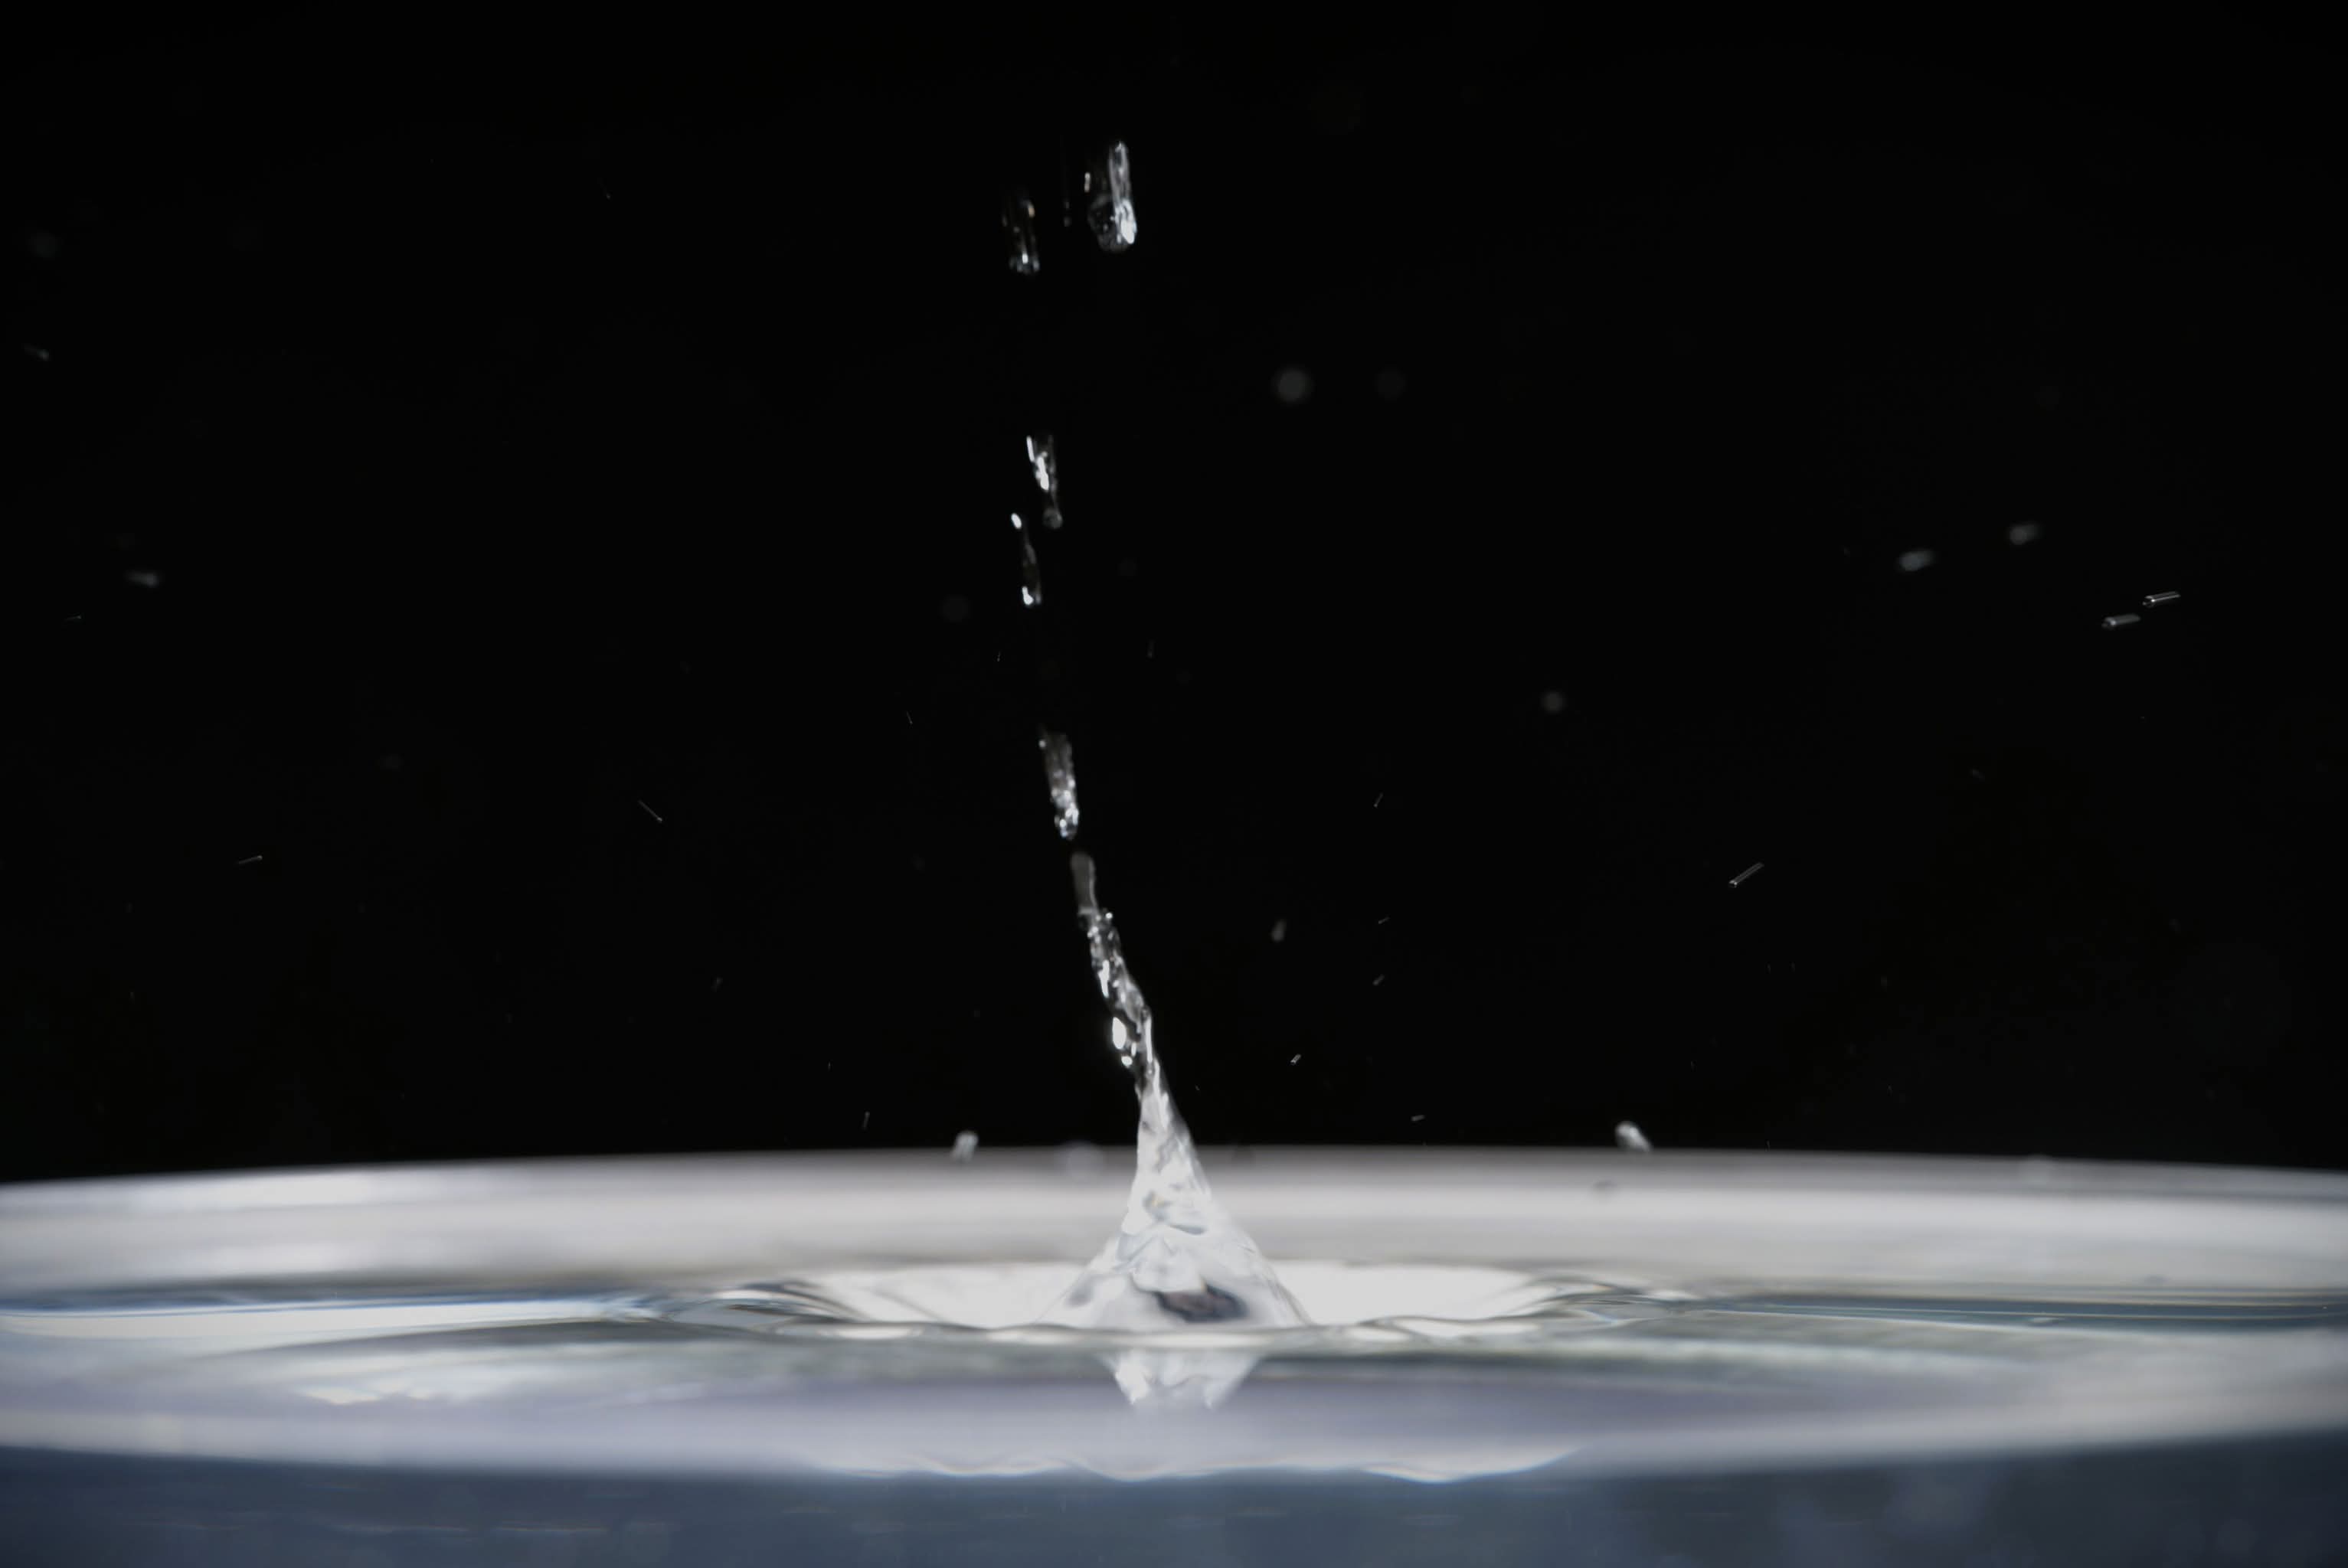
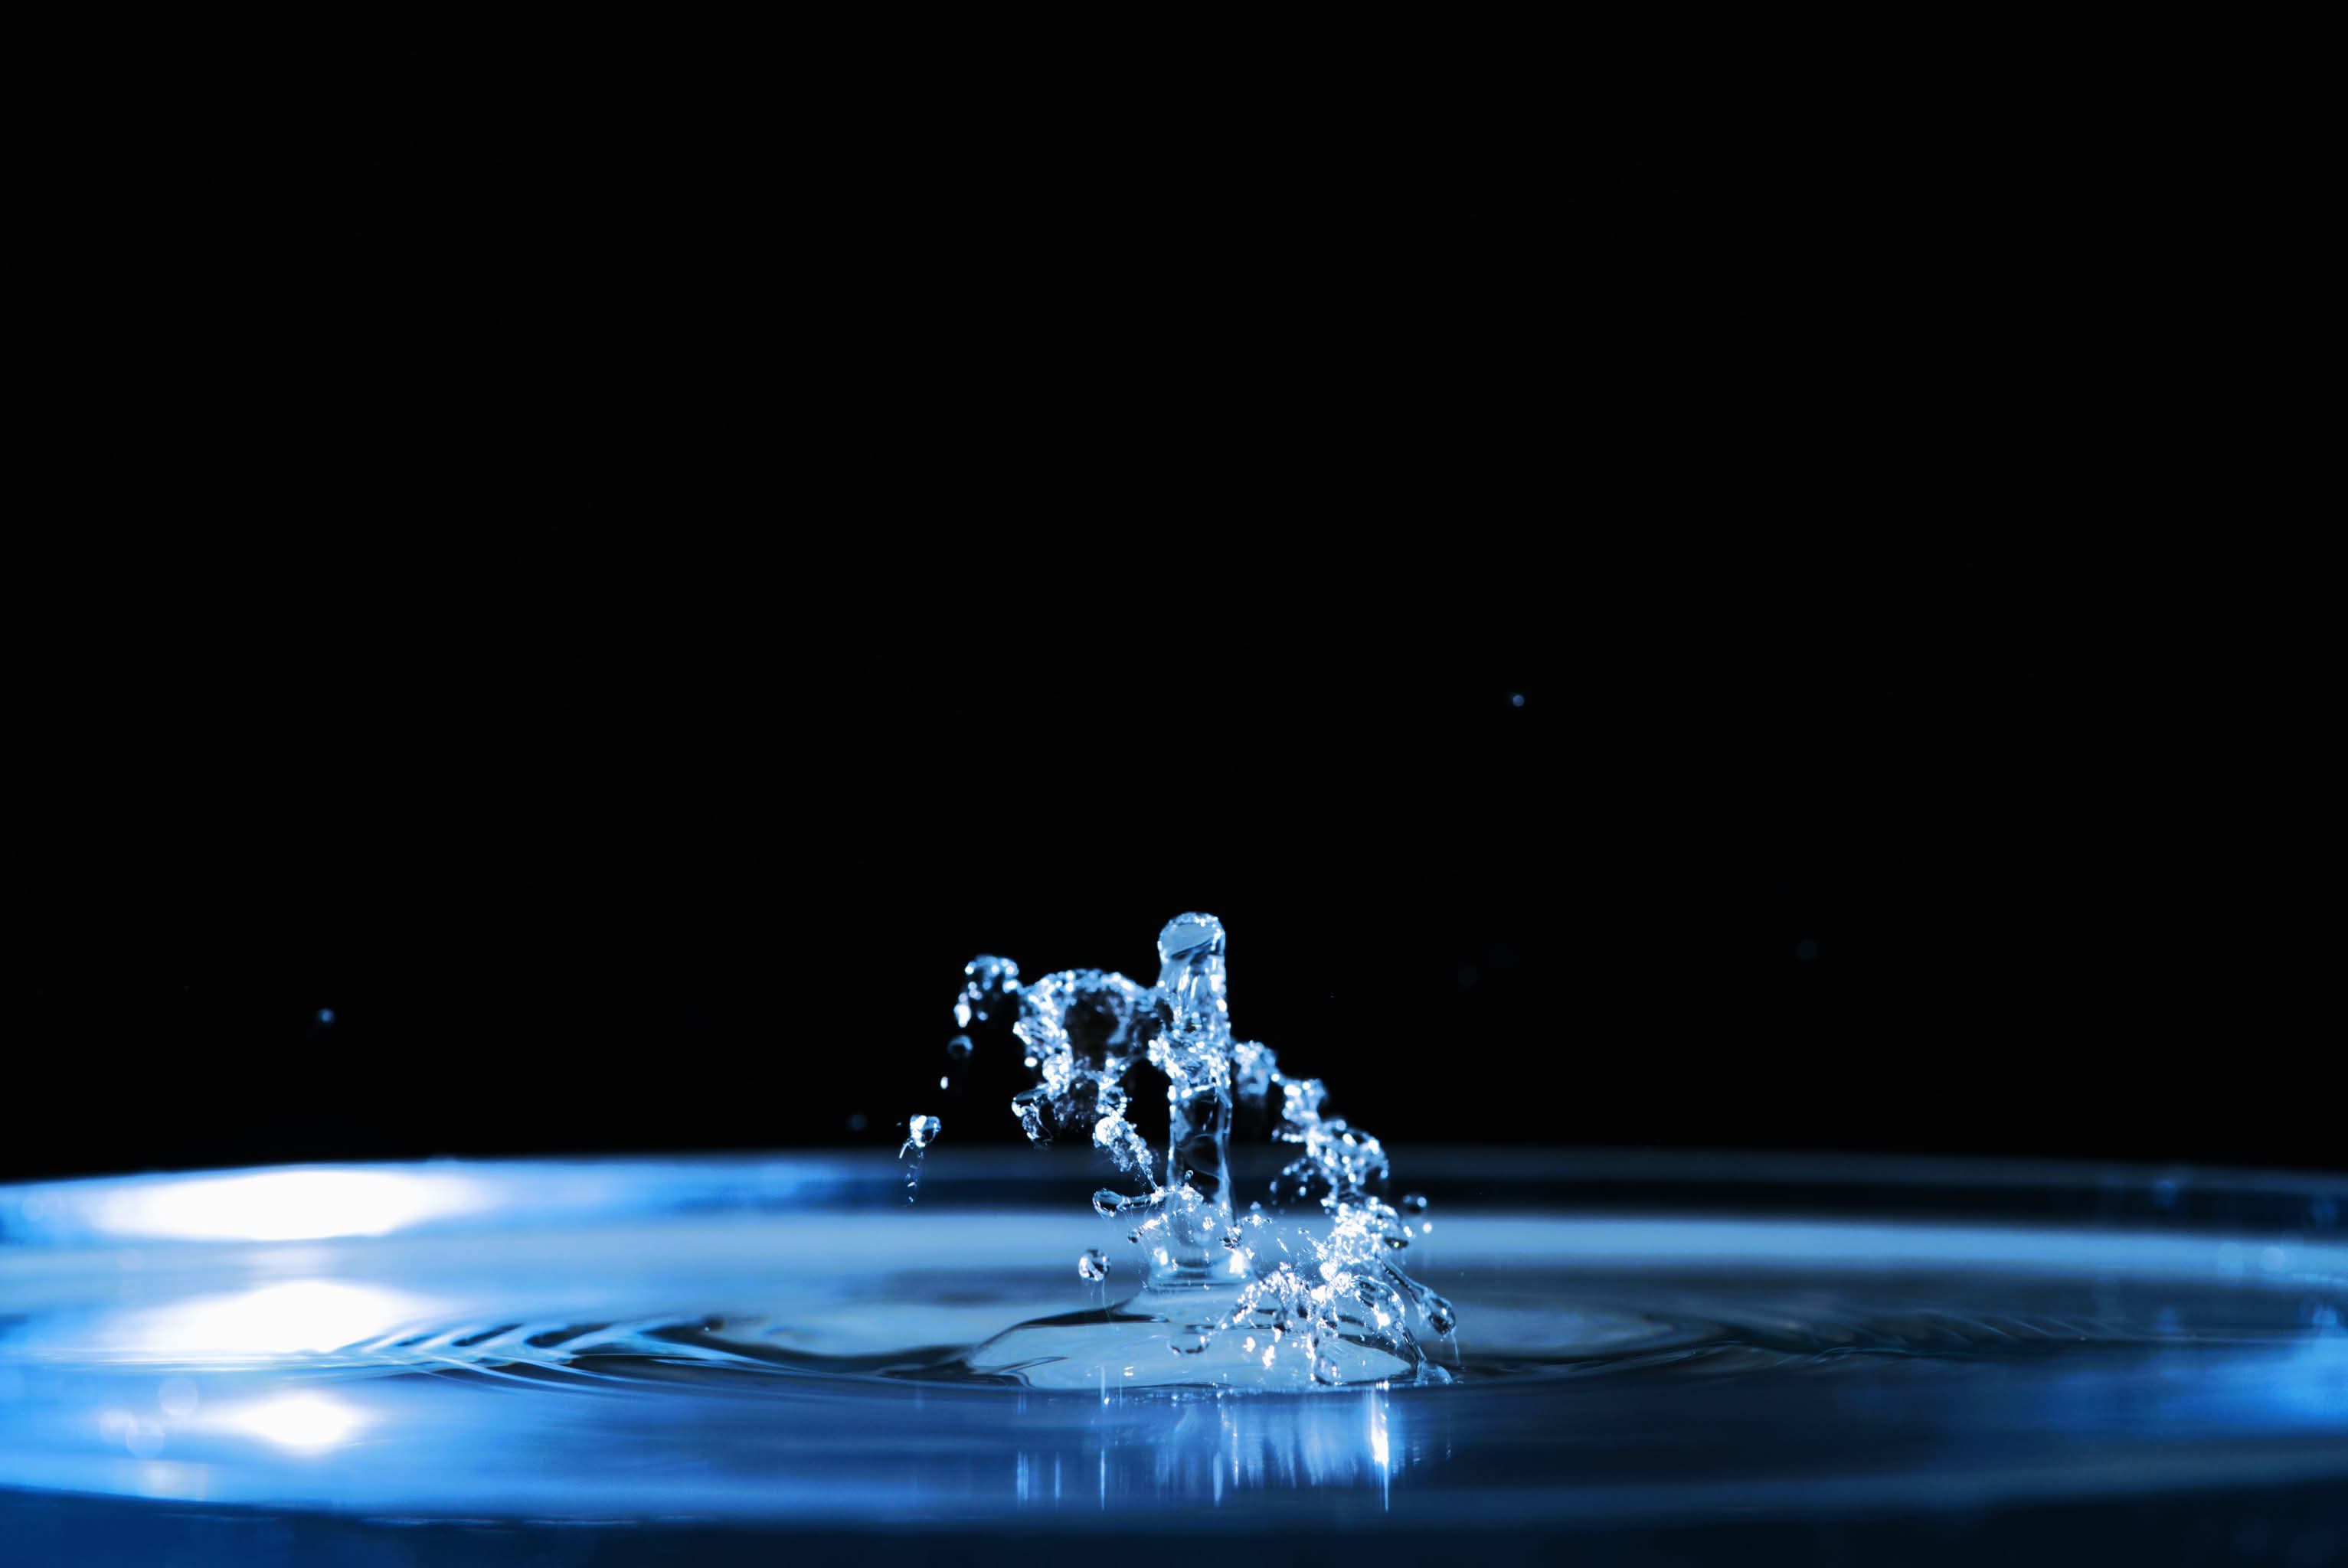
And if you’re looking for something creative to do next time you’re bored, grab a camera, some water, and Pluto Trigger, and give this a shot. It’s messy, it’s tricky, but it’s also so much fun. Plus, you can always tell yourself, “I’m an artist!” 😊
“What I like about photographs is that they capture a moment that’s gone forever, impossible to reproduce.” – Karl Lagerfeld
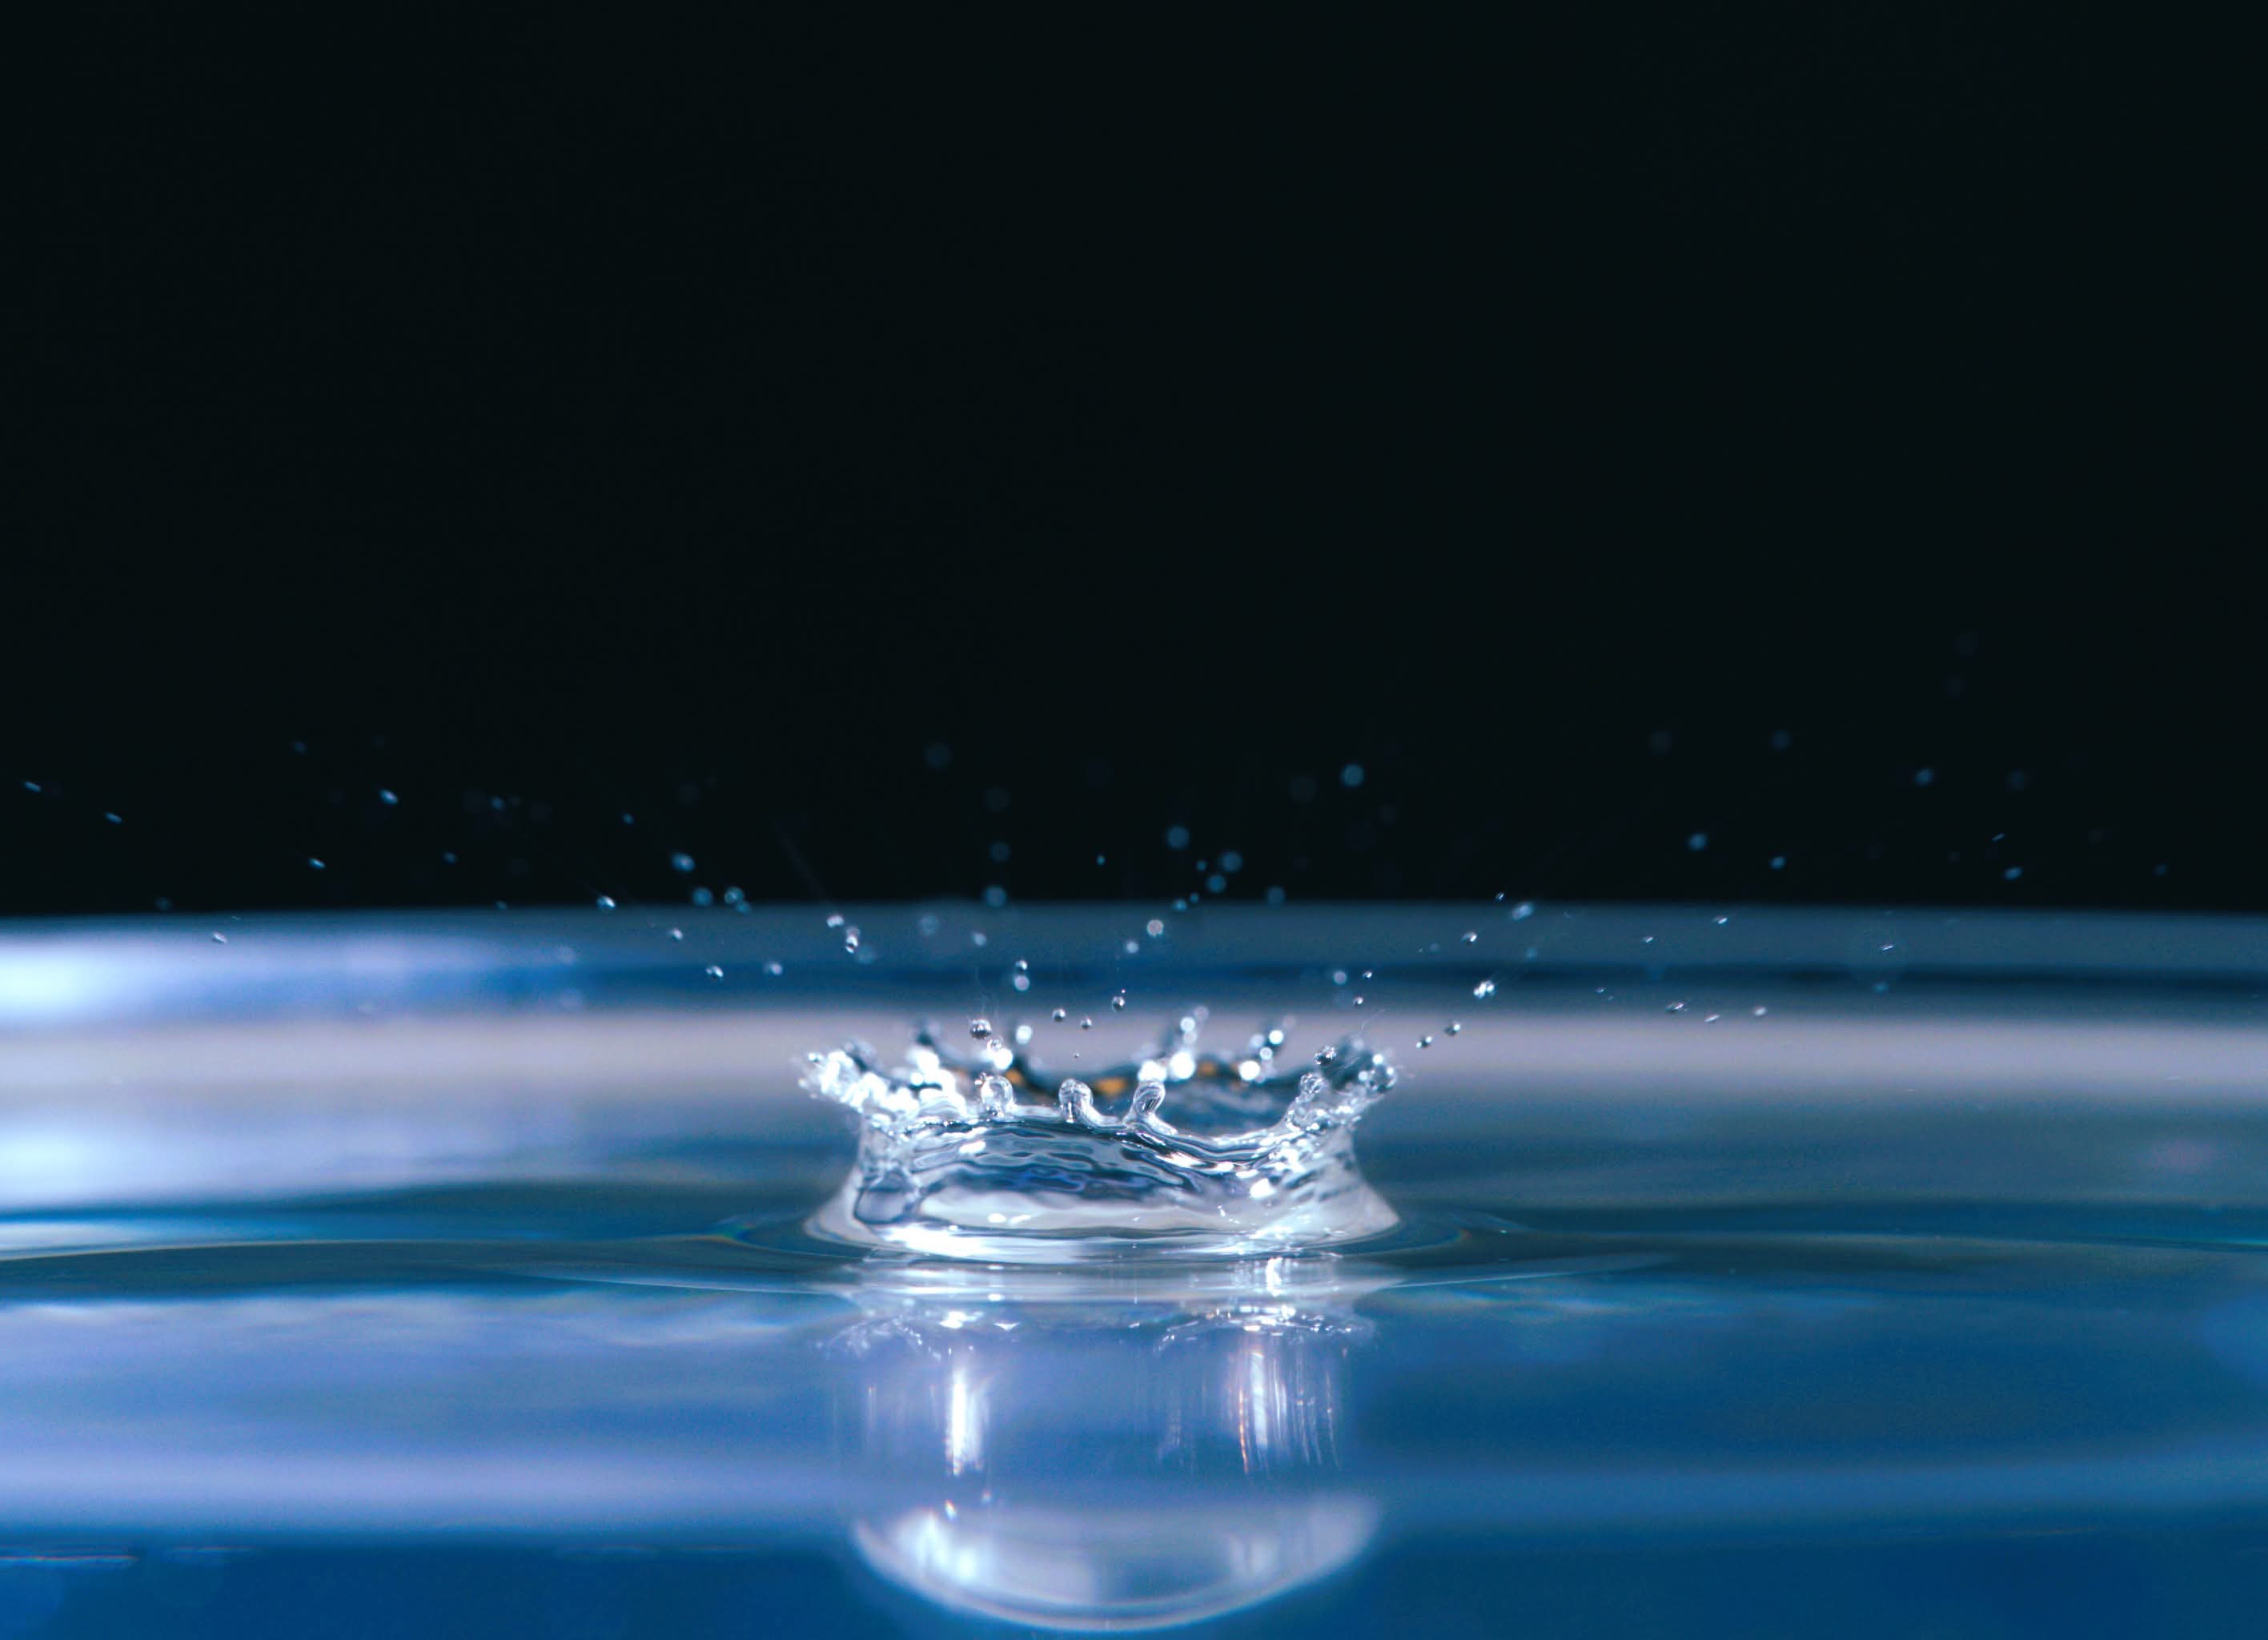
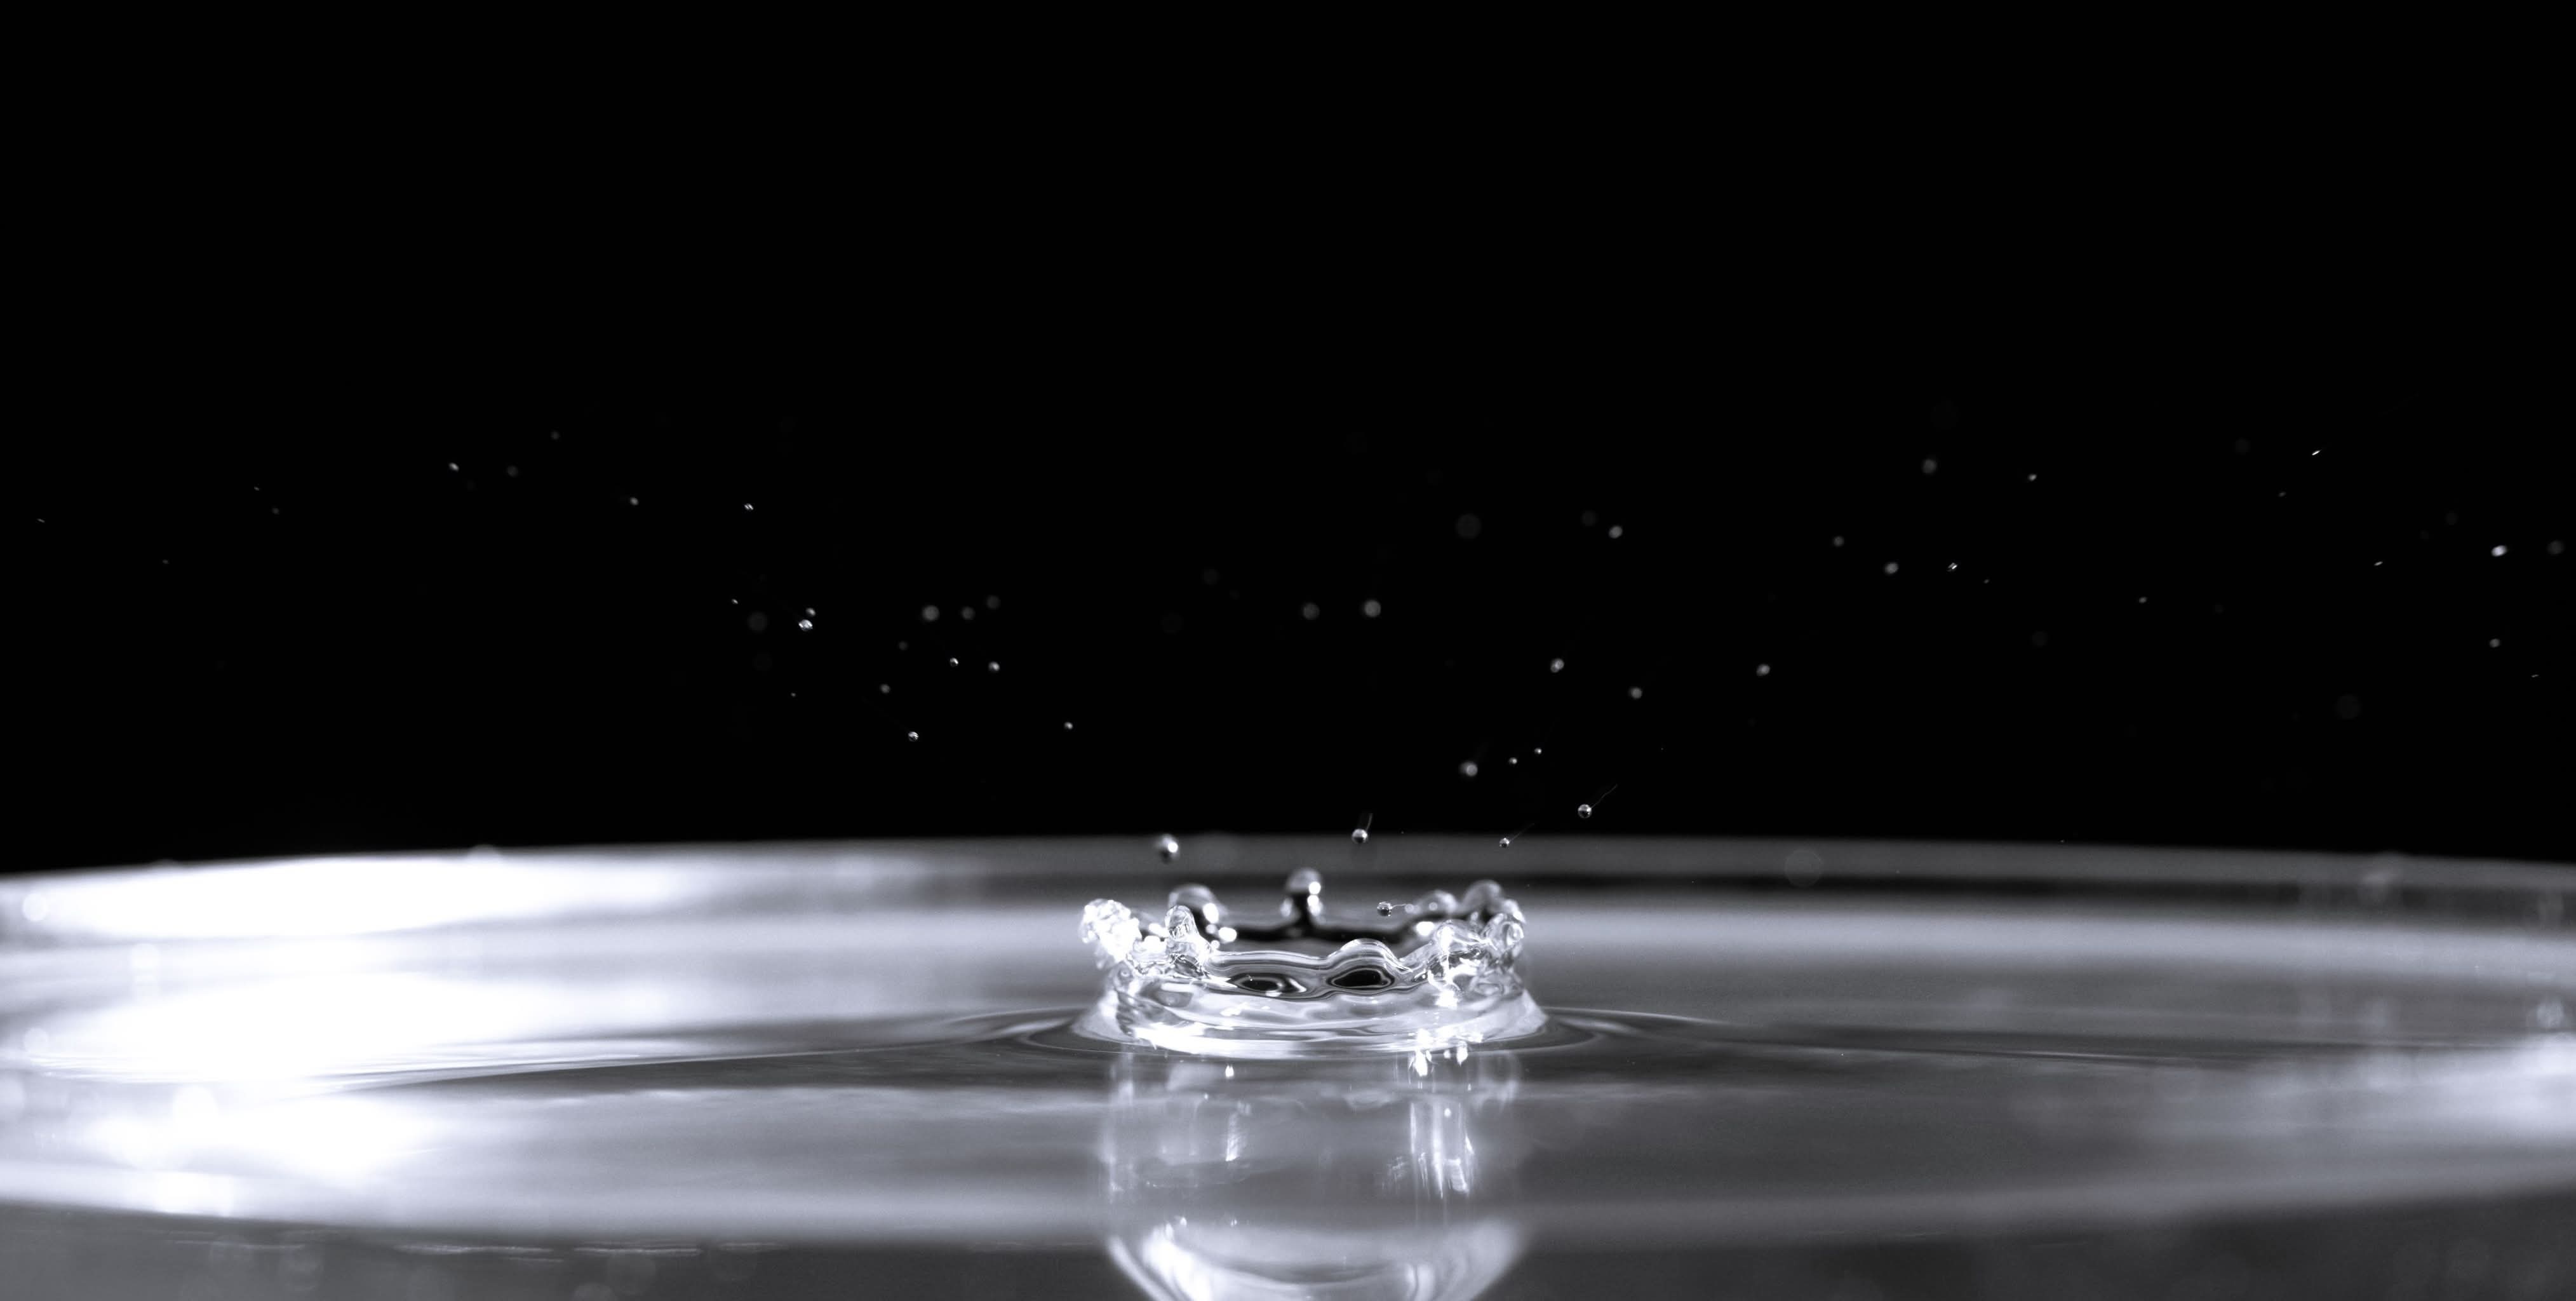
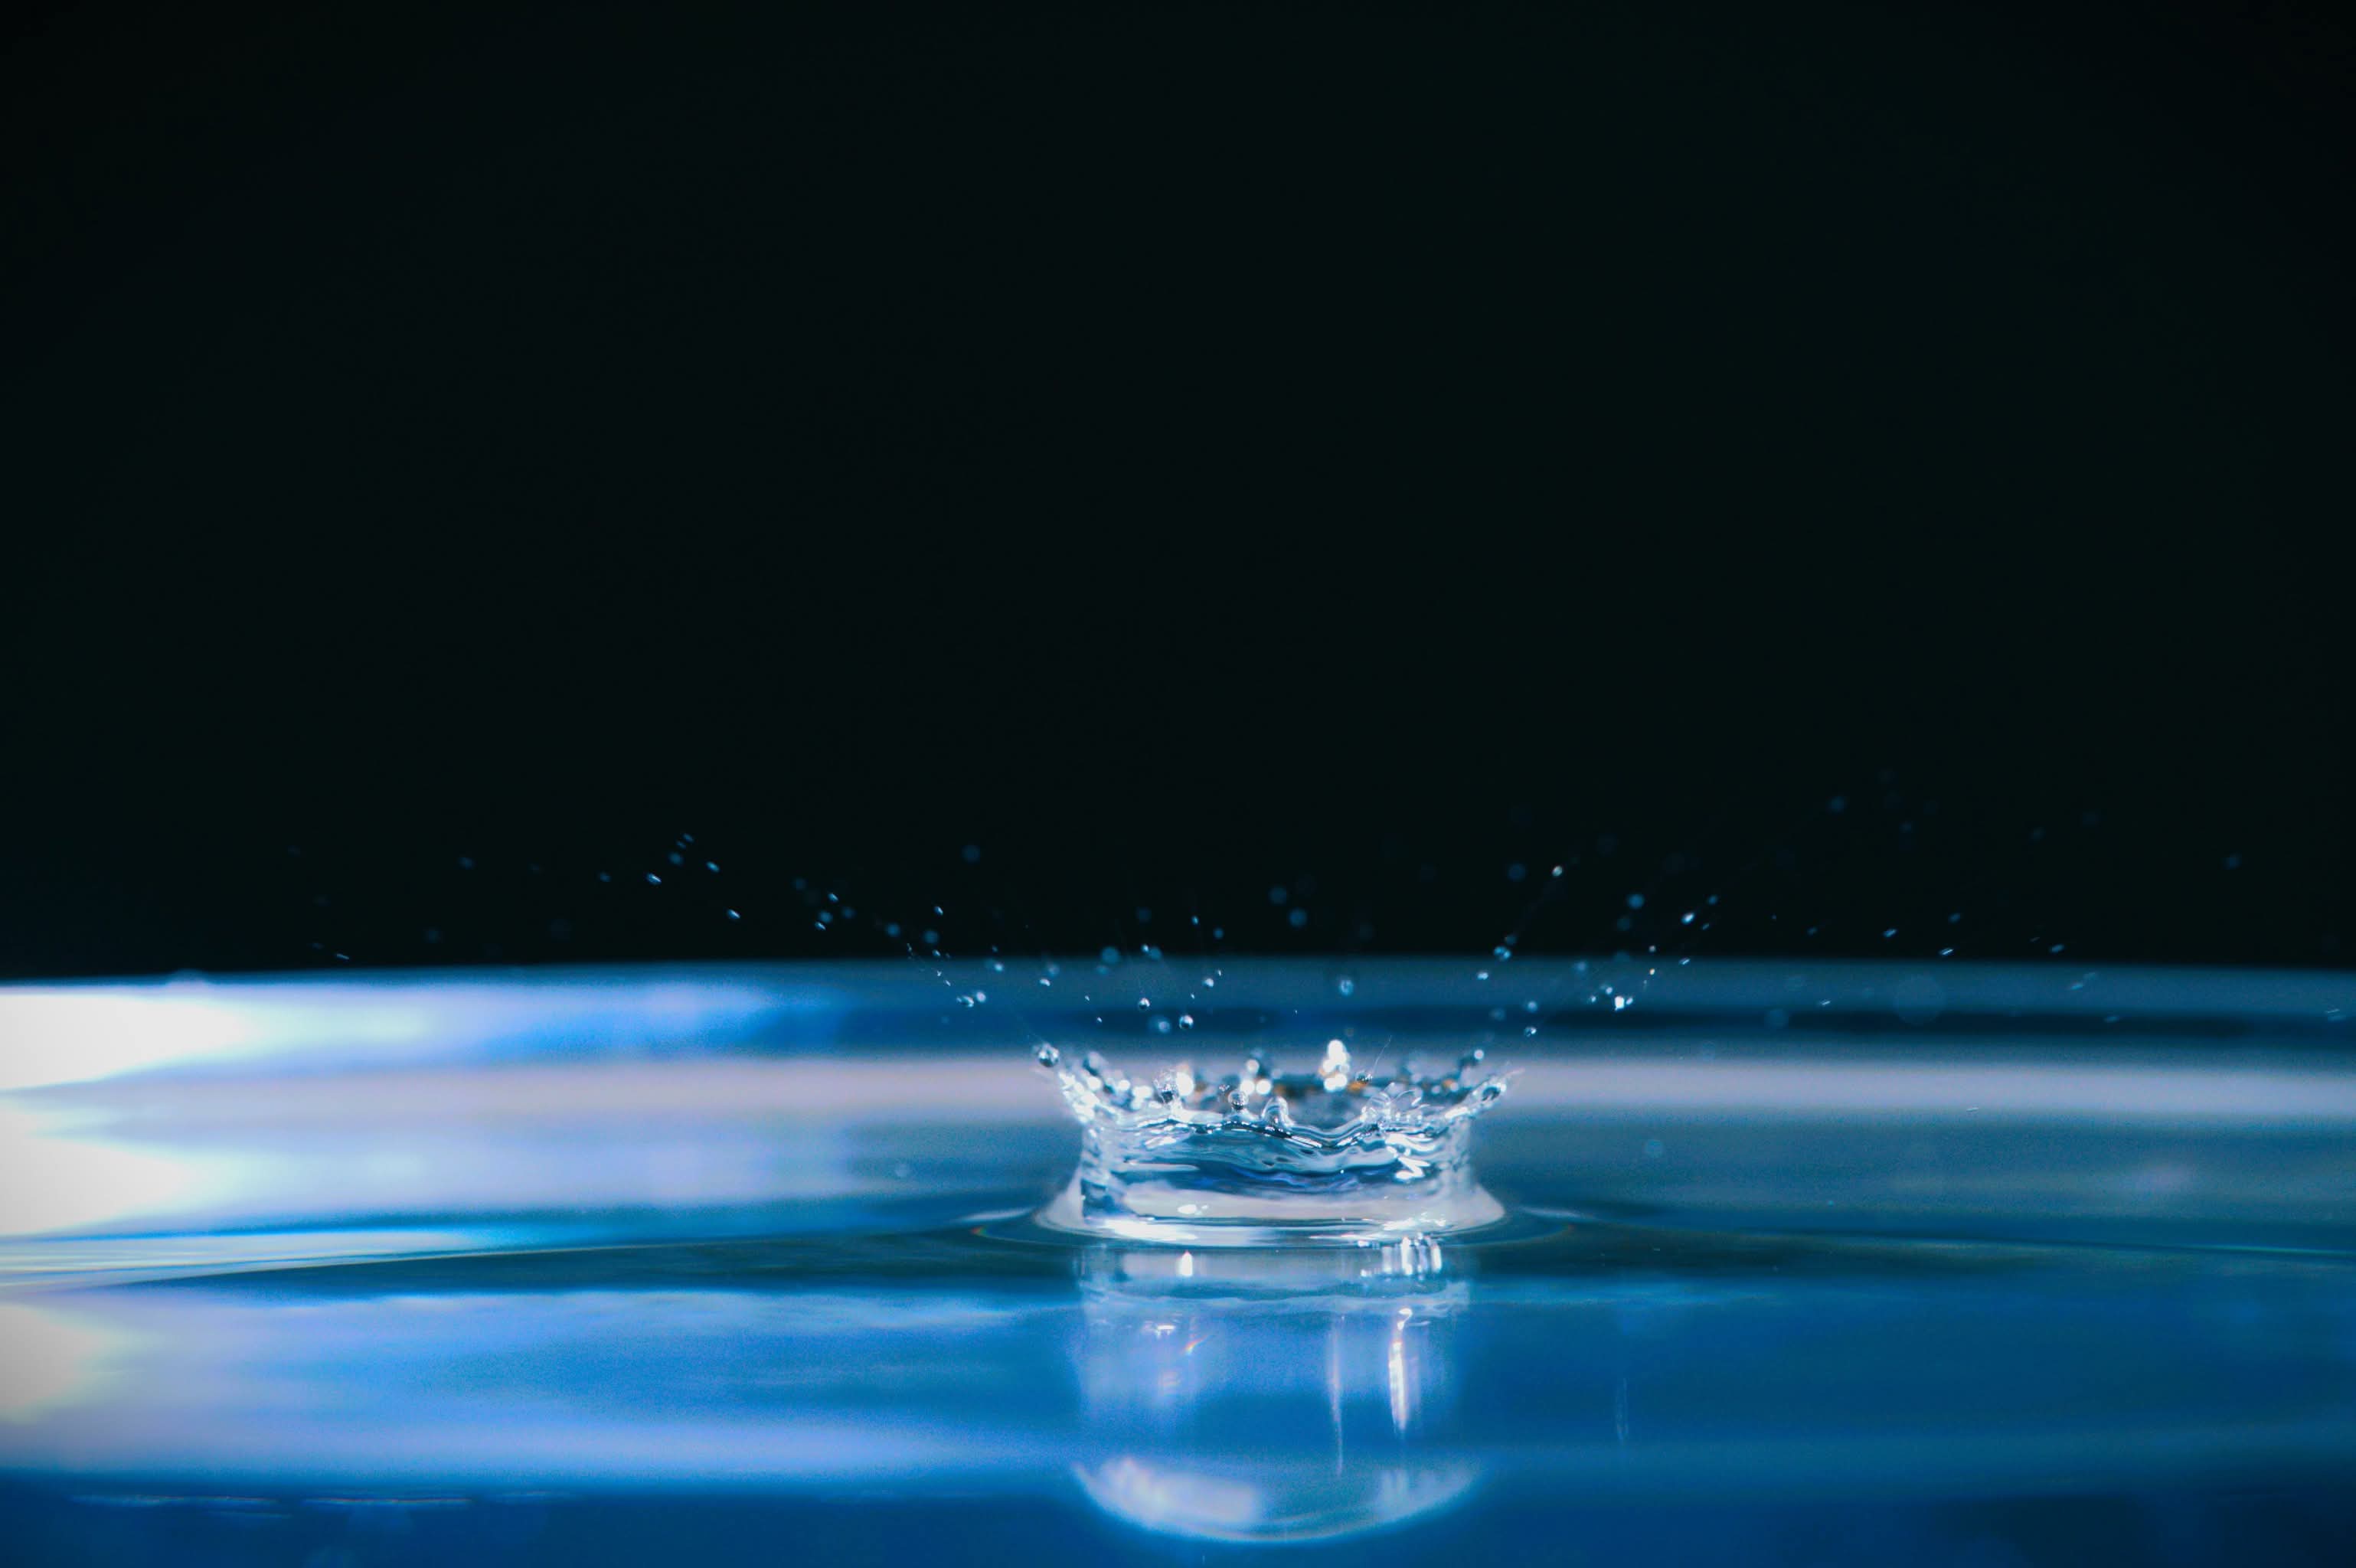
With love, @tinabrezpike ❤️
Wow. I love this. What a stunning pictures 🤩
Thank you, but still, they are not perfect 😂
The more you try better gets 😄
Apparently 😂
first i thought Pluto Trigger is a motion sensor trigger, but it is actually connected to the Water drop kit and "just" delays the shot few milliseconds that it takes for the drop to fall.
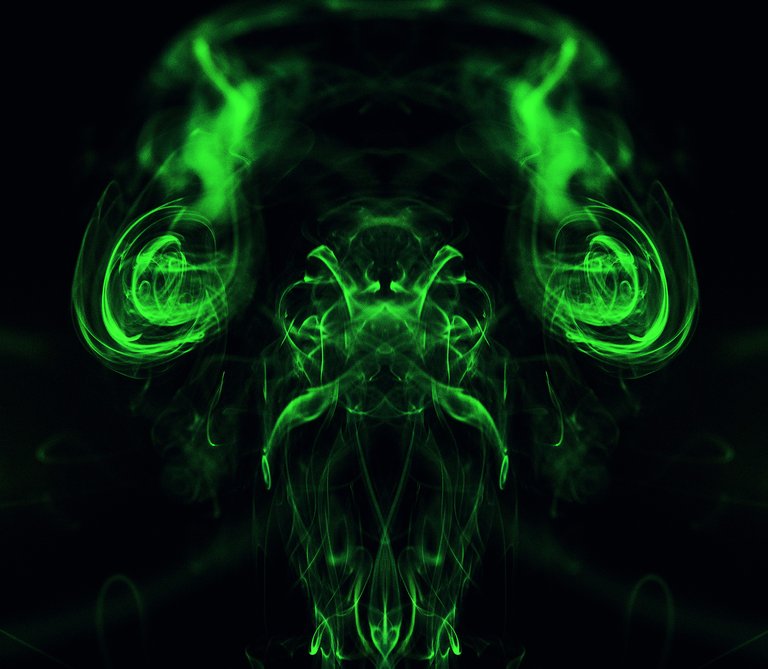
Tried something pretty similar but does not need all that equipment :D Smoke photography :D and it adds extra fun if you like to play with editing (idea for your next project :) )
some shots feel like you didn't have enough light so the shutter speed was not fast enough for the drops (those drops that splash out).
Another idea? not sure how complicated it would be. An aquarium type of bowl (flat sides) and positioning the camera straight with the water level, so you could get the drop below the water level and above the water level.
and i feel that to go from good to great is a bit of luck and a lot of light play.
I love smoke photography ❤️ we have been planning for a long time now to buy dry ice. I saw some fantastic photos, and I want to try this :) Oooh, that's a great idea to try above and below the water level. I will definitely try this. 👌 you are right about light. My husband also told me that :) I’m grateful for any advice, so thank you :) I will be back with my next attempts 😂
this one was i think incense stick. dry ice is cool but not cheap and a bit of a hustle to play with.
I know it is freaking expensive, and I don't even know where to buy it. We need to do research😂 but I will definitely try it one day…😂
One of the drops looked like a i
Ooooh yes, I didn't even realize 😂
Great, great, great dear @tinabrezpike, wowwwww
!DIY
Thank u ❤️❤️
You are welcome dear ❤️
Wow, what beautiful photos you have achieved with something as simple as a drop of water. It is incredible what can be achieved with experience and practice. Thank you for your post. I give you my humble vote.
Oh, thank you very much ❤️ I'm glad you like it. Yes, you can make some great shapes, and I can do this all day, but there is no more place in my SD card 😂
They're very beautiful. I didn't know droplets of water shot with a camera can come out so nicely
@tipu curate
Upvoted 👌 (Mana: 65/75) Liquid rewards.
Thank u so much ❤️ You can make so much with water, especially if you are experimenting with different colors…just wow. But, at the moment, Im on a mission to make better photos than my husband 😂 Look what he did( with my help, of course) 😂
Manipulating the colors brings a newer perspective and a different form of beauty to it. Seems like you're enjoying doing this with him lol.
It's nice to have something that we love both :) its never boring 😂
Really great work, the water drop photos are amazing. You are a good photographer, no doubt.
Thank u so much ❤️
I think they turned out super cool! Maybe this is just warming you up for the 'Hang on the Wall' shot to come?!
Thank u ❤️ Im learning, so I believe with time, there will be new photos on my wall 😂
You can query your personal balance by
!DIYSTATSCongratulations @tinabrezpike! You have completed the following achievement on the Hive blockchain And have been rewarded with New badge(s)
Your next target is to reach 2250 replies.
You can view your badges on your board and compare yourself to others in the Ranking
If you no longer want to receive notifications, reply to this comment with the word
STOP