![]()

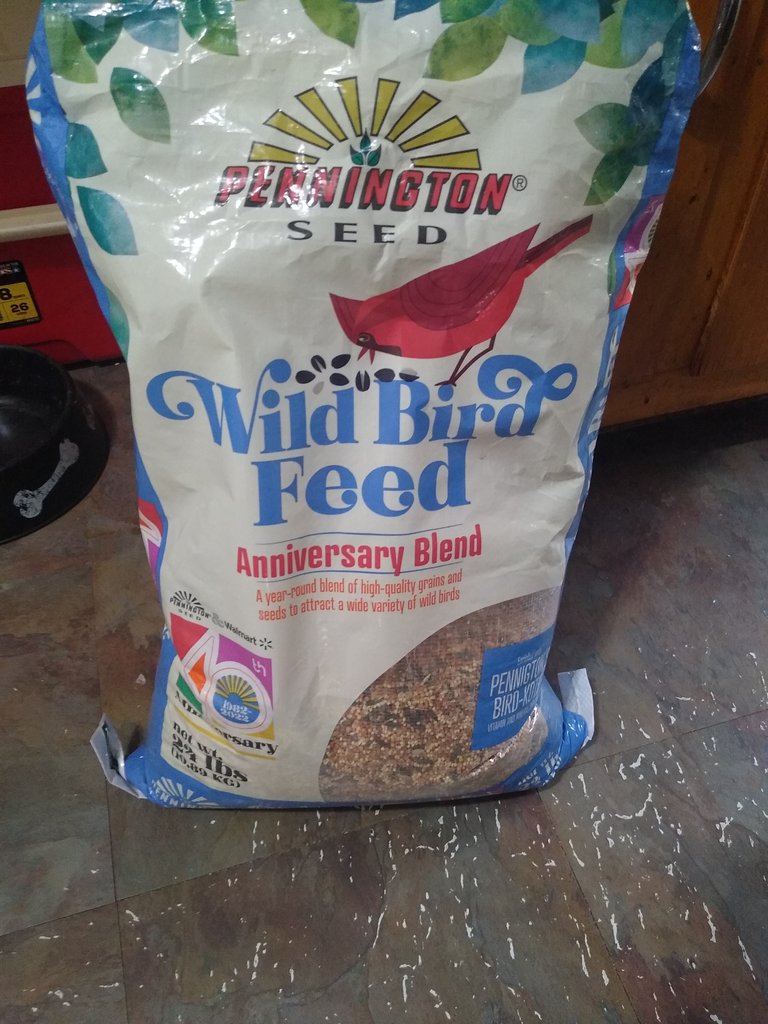
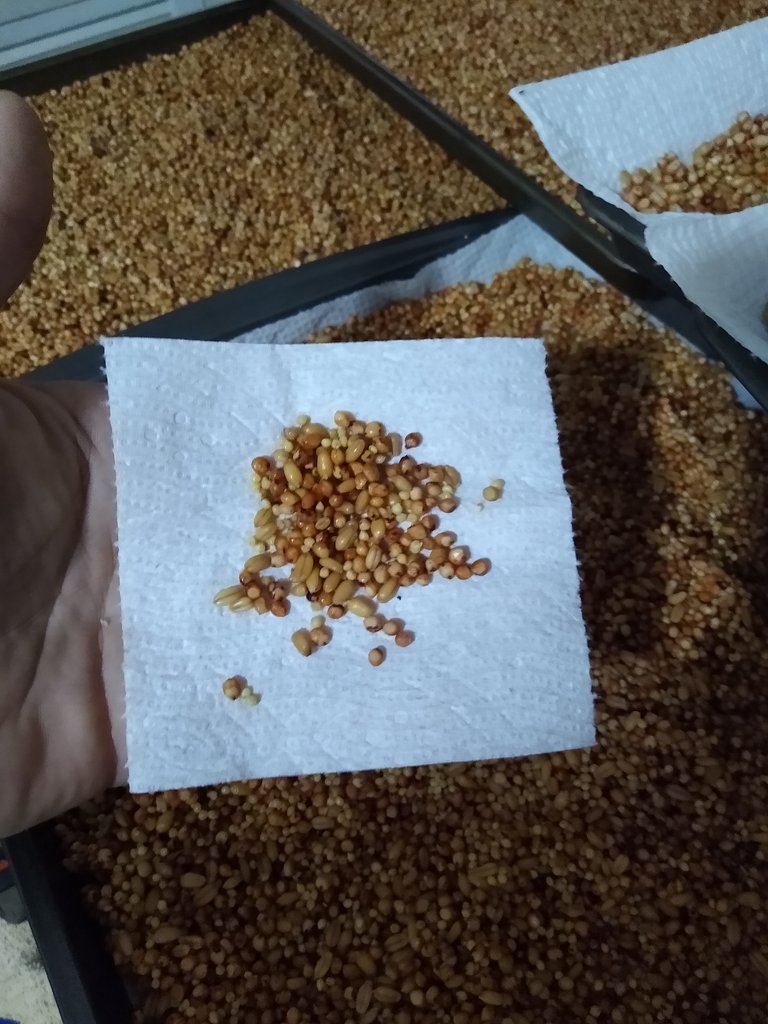
First thing you'll need is to choose your grain spawn. Grain spawn is something you'll need for the mycelium to colonize on and give the nutrients it will need. Most people use the organic Rye berries but I chose to go with wild bird seed because it is very cheap and you can find it at any store with an outdoor/garden section. What I was looking for was the seed without cracked corn and I found this at my local Walmart for around 15 dollars for a 24lb bag. 👇
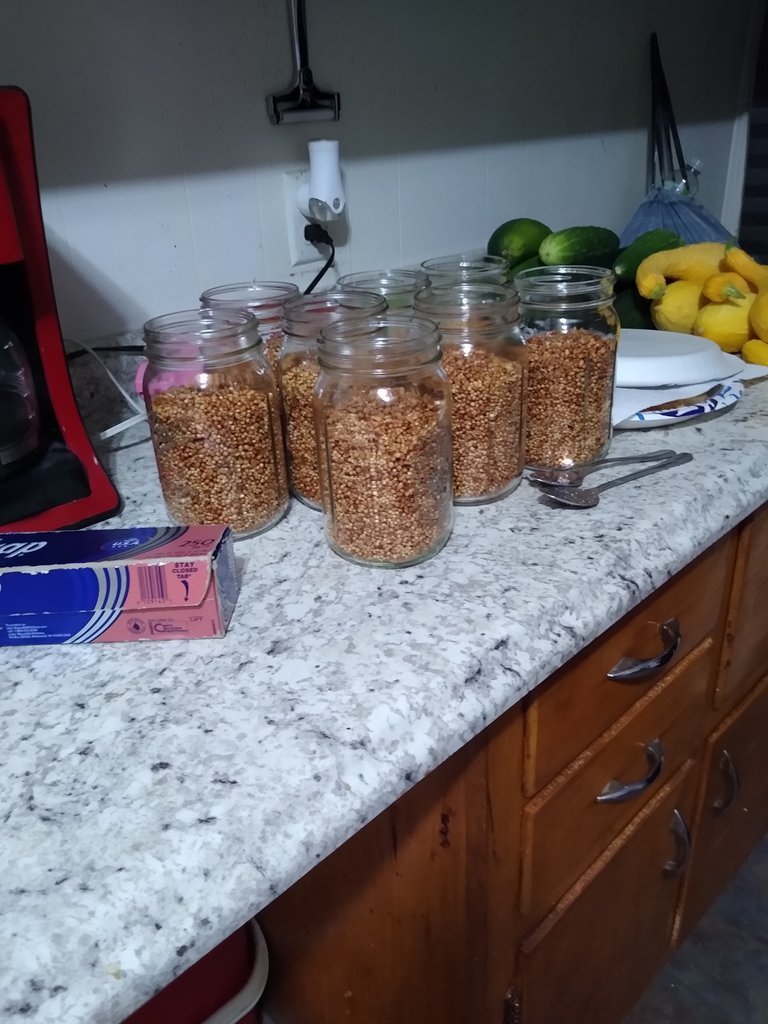
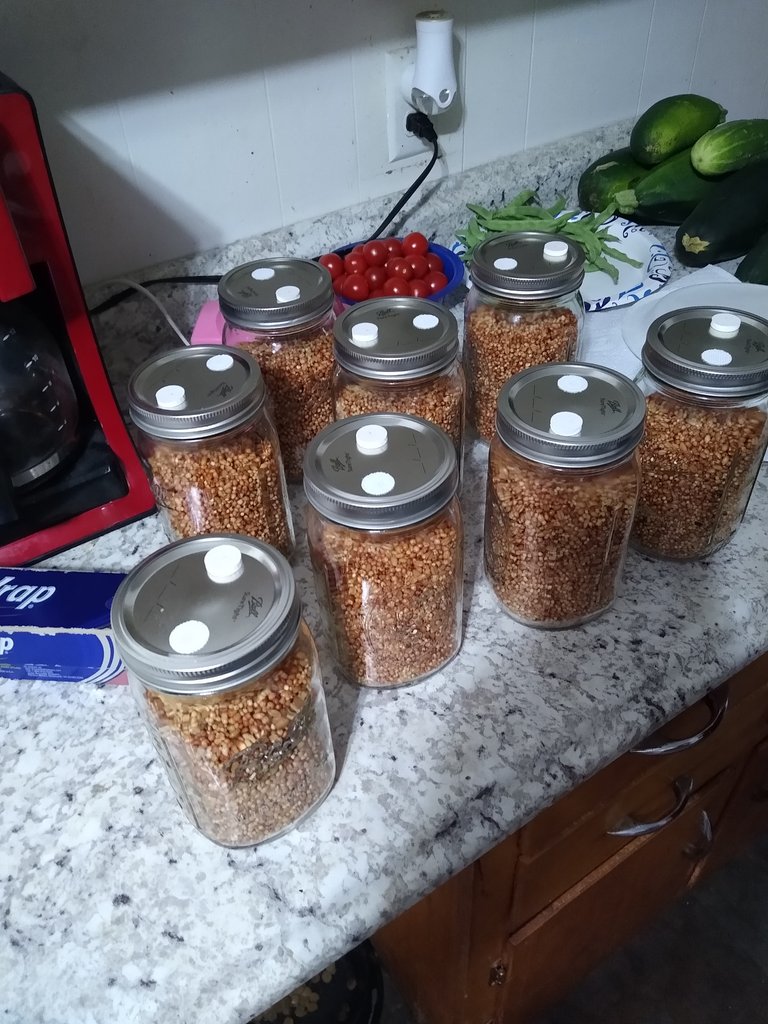
I'm doing quart jars and I empty 5 full quart jars of seed into a clean 5 gallon bucket.
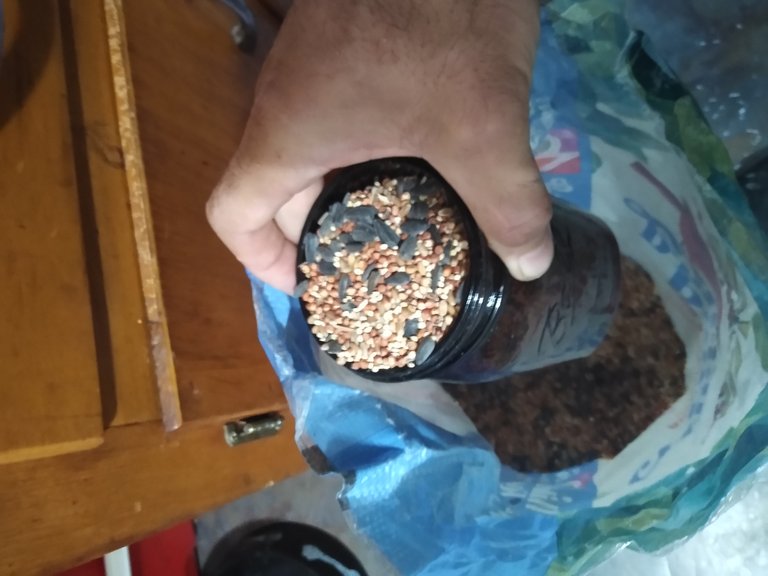
5 full jars ☝️ will give me 8 three quarter filled quart jars. You'll need room in the jars so you can mix the seed when it's about 1/3 colonized to help speed up the colonization process. With the seed in the bucket I fill the bucket with water to about 5 to 6 inches over the seed and mix it with my hand to break up any dirt or debris that is on the seed and get the sunflower seeds to the top of the water as they will float. I scoop the sunflower seeds and other floating debris out as much as I can with my hand and throw them on paper plate and leave them outside for the squirrels and birds to eat. Then I empty all the water and fill it again and mix it with my hand. You're trying to clean the seed as much as you can until the water is clear. It will take 3 to 4 times of doing this for the water to get clean. Once it's clean I leave it with about an inch or two of water over the seed, put the lid on and leave it for 24 hours.
The next day I drain out all the water as much as I can. 👇
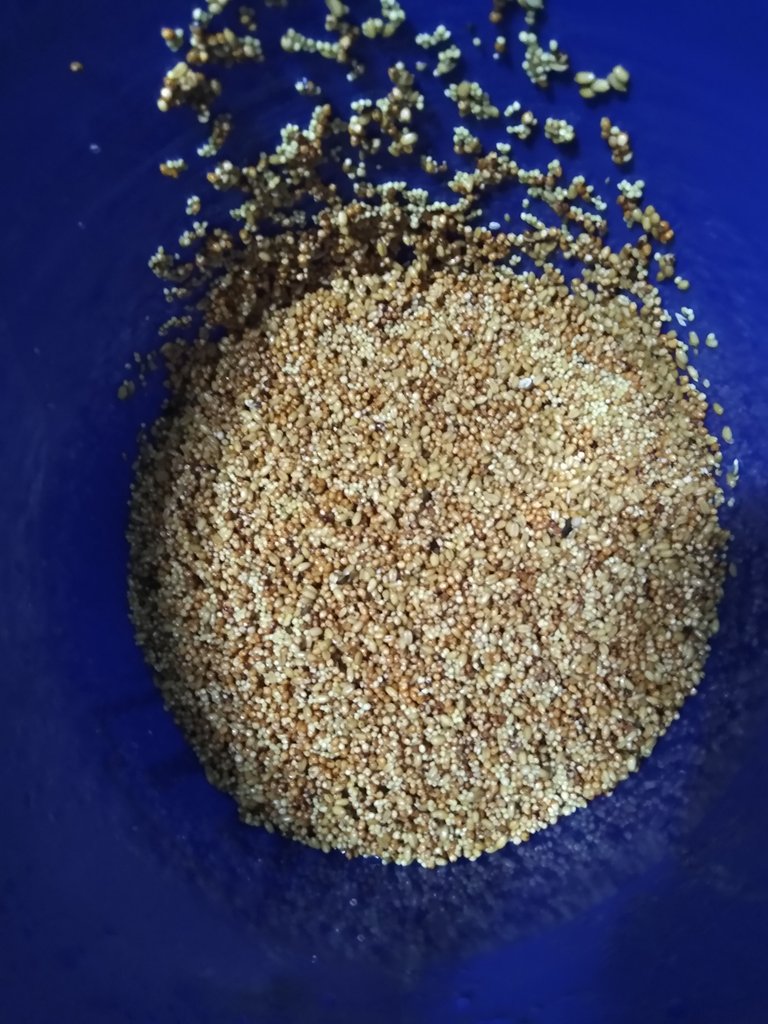
After all the water is drained I spread out the seed on paper towels and cookie sheets. Good thing my wife likes to bake so we have plenty of cookie sheets! 😉 👇
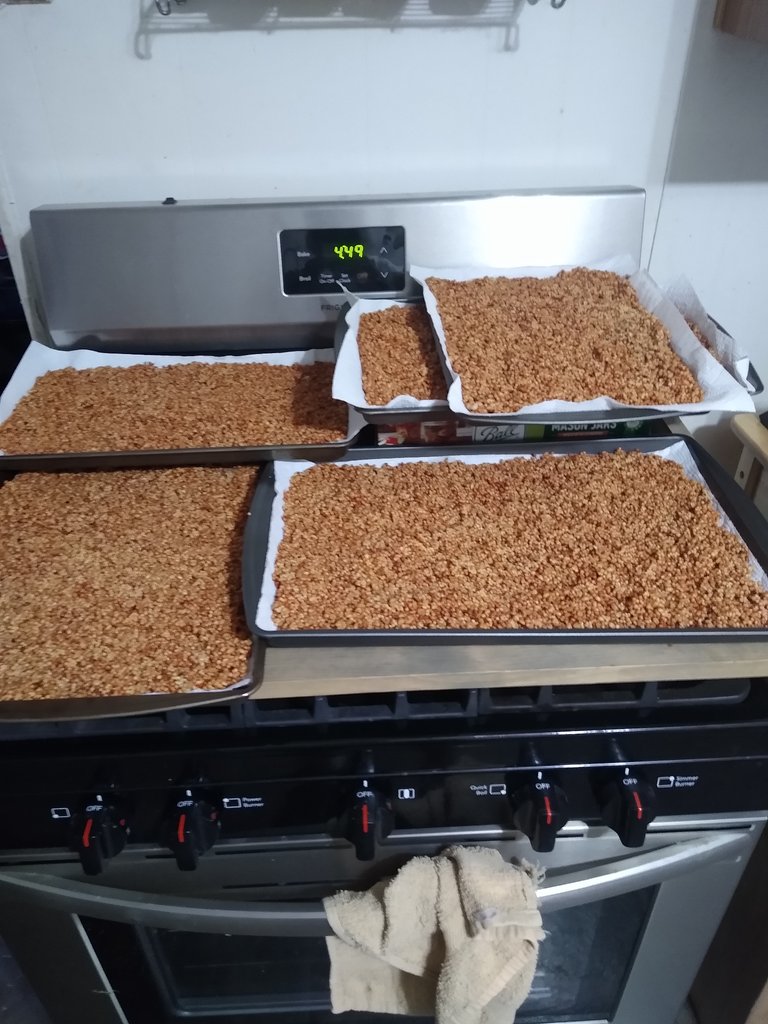
After spreading it out on the pans I like to mix the seed around every 15 minutes or so, so the water can evaporate evenly. In about an hour I will do what's called the tissue test. I take about a spoonful of seed and put it on a piece of tissue or toilet paper. 👇Hello growing enthusiasts! This will be the first post of a series I will be doing about how I grow my mushrooms in monotubs so you can come back and use for a template to do your own if you wish. First off I wanna give thanks to @jonyoudyer for giving me the idea of making a how to post of my mushroom grow! But you don't have to go through this whole process which is a bit of a labor intensive job. You can go to https://www.shroomsupply.com/ that my friend @lancergrows found to buy anything you can possibly need (except the spores) for fungi cultivation. But if you want to do a lot, over time this can get very costly but it's a good way to start out without having to buy the equipment you need. Let's get to it! 🍄🍄🍄

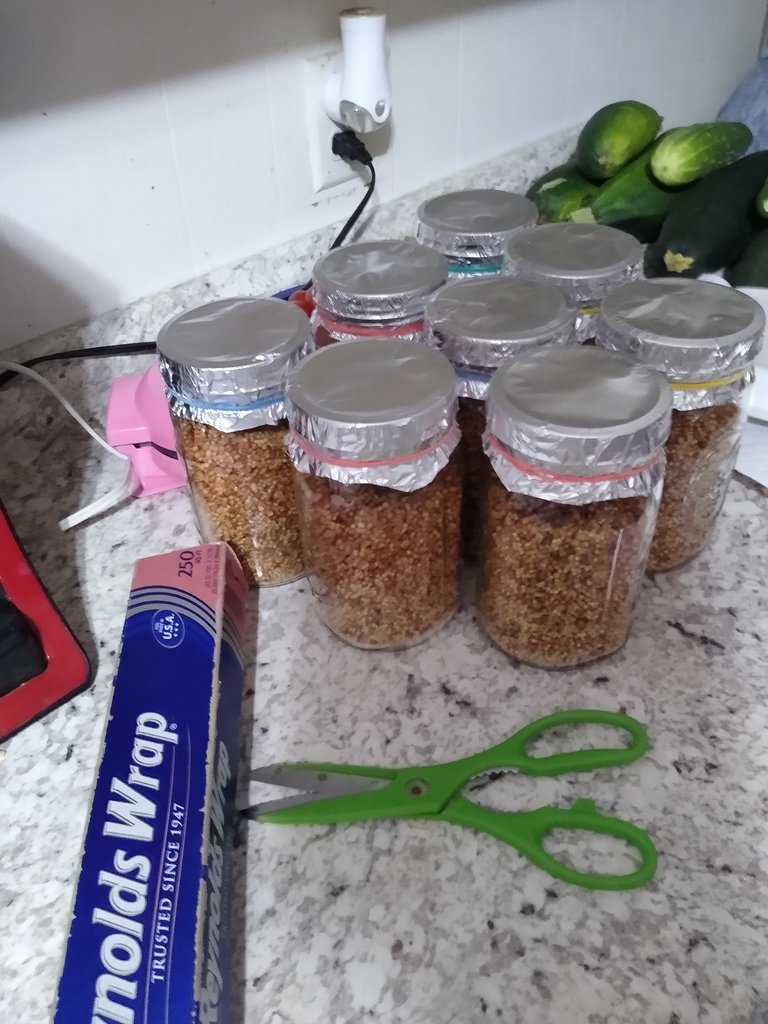
Next thing I do is get them ready to be sterilized by putting aluminum foil over the lids and I put rubber bands around the bottom of the lid. Not needed but I am over cautious. 👇
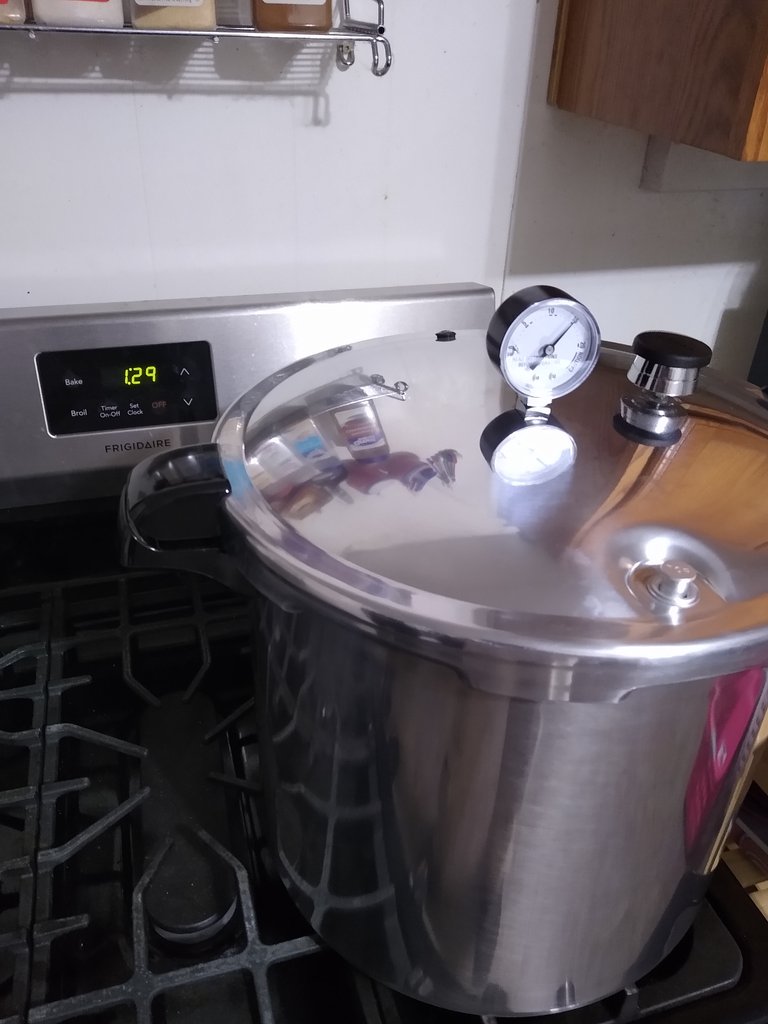
The next step was to get the Pressure Canner/Cooker ready. This PC is a 23 quart capacity that I bought from the local Runnings store for almost 150 dollars and it may be expensive but well worth the money as I do a lot of canning with my garden veggies. Make sure you have a separator in your pot and enough water that it doesn't boil dry. The reason you need a PC is because the boil alone doesn't get hot enough to sterilize the jars. You need pressure to get the right temperature. Once the pot gets to the right pressure at about 15psi you'll need to start a timer for 90 minutes. 👇
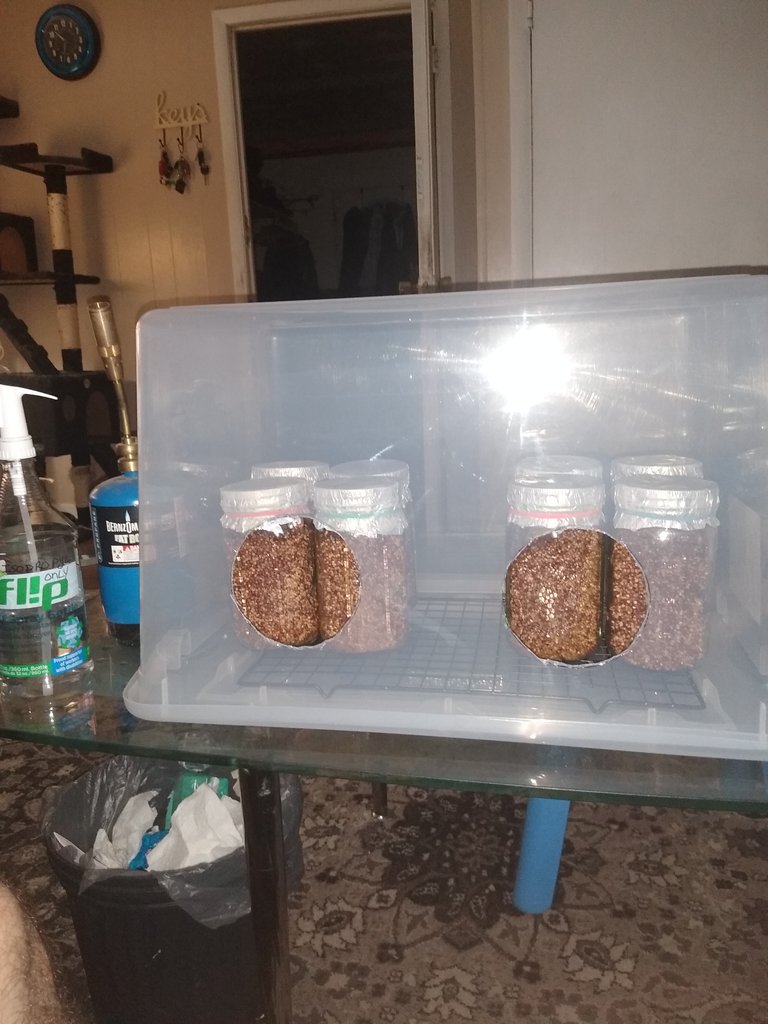
After the 90 minutes is done I let them sit to cool overnight because if you try to inoculate them while they're still hot you can kill the spores of the mushrooms before you even get started. The next steps is when you wanna be as sterile as you can be. The next day when the jars are cooled I take a shower and dress in pants and a long sleeve shirt to cover as much skin as I can. Gloves and a mask should be worn if you have them. I get my still air box which is just a see through tote with holes cut in one side to put my hands through and I clean the inside and out with isopropyl alcohol and wipe down with paper towels.
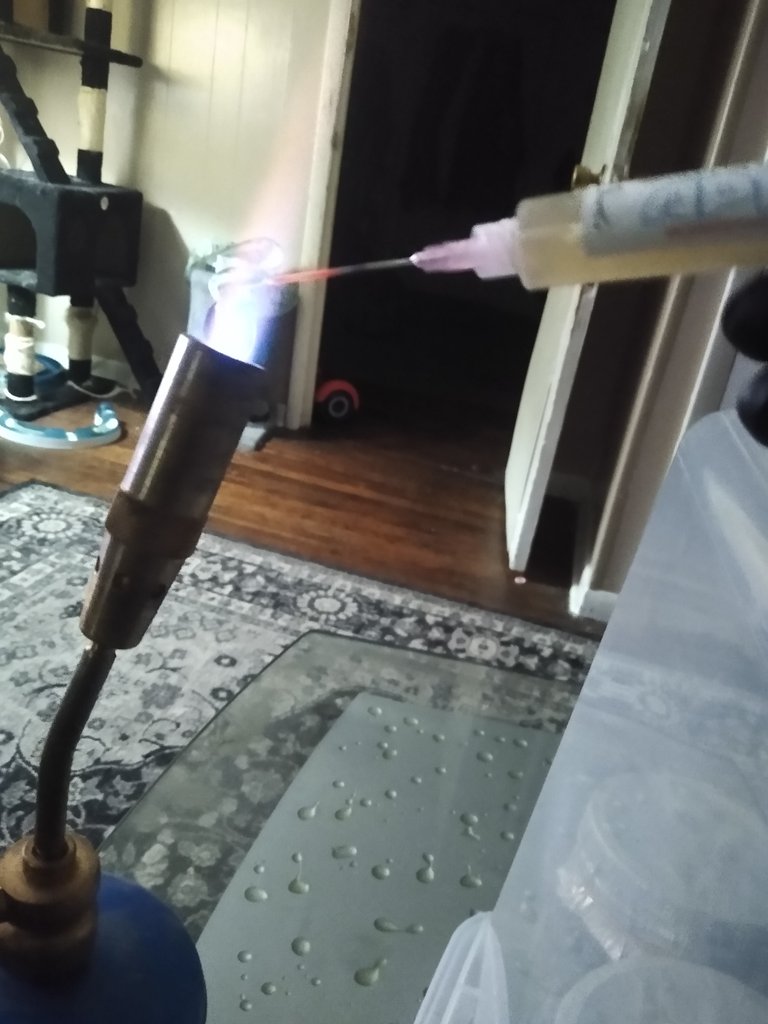
I put the sterilized jars inside the tote ☝️ and get the torch ready for flame sterilization of the syringe needle. After each time I inoculate a jar I flame sterilize the needle until it gets red hot. 👇
After all jars are inoculated.....
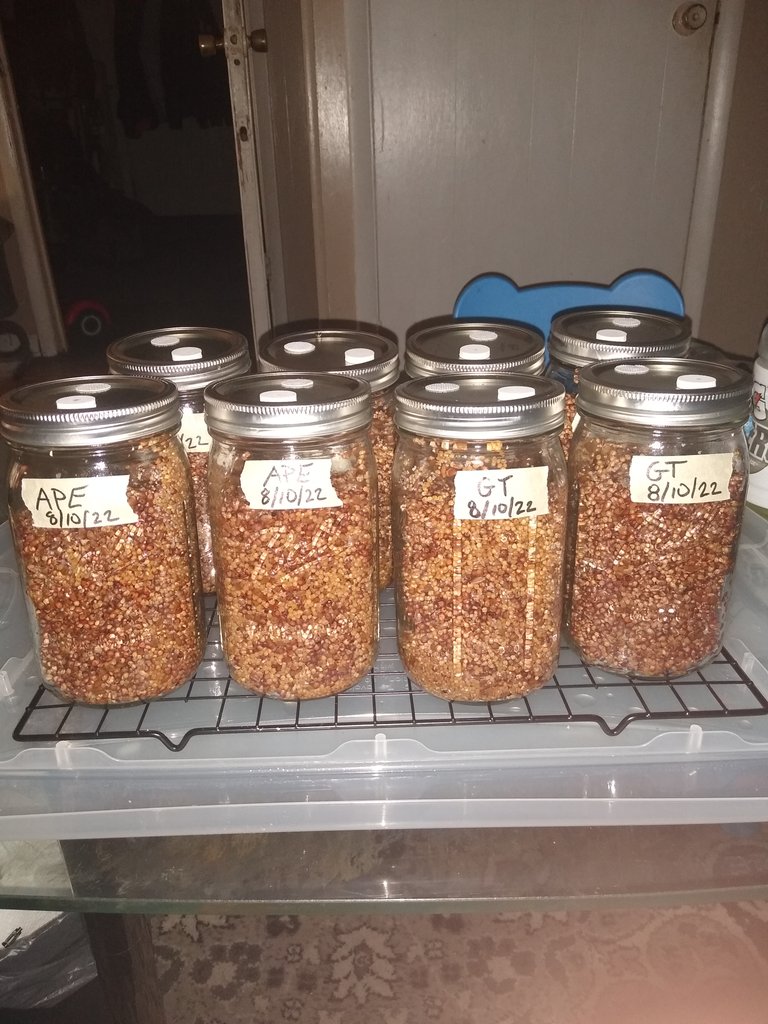
I label and date the jars with masking tape ☝️ to keep track of what they are and when they were done and then they go up in my cupboard until the first mix. 👇
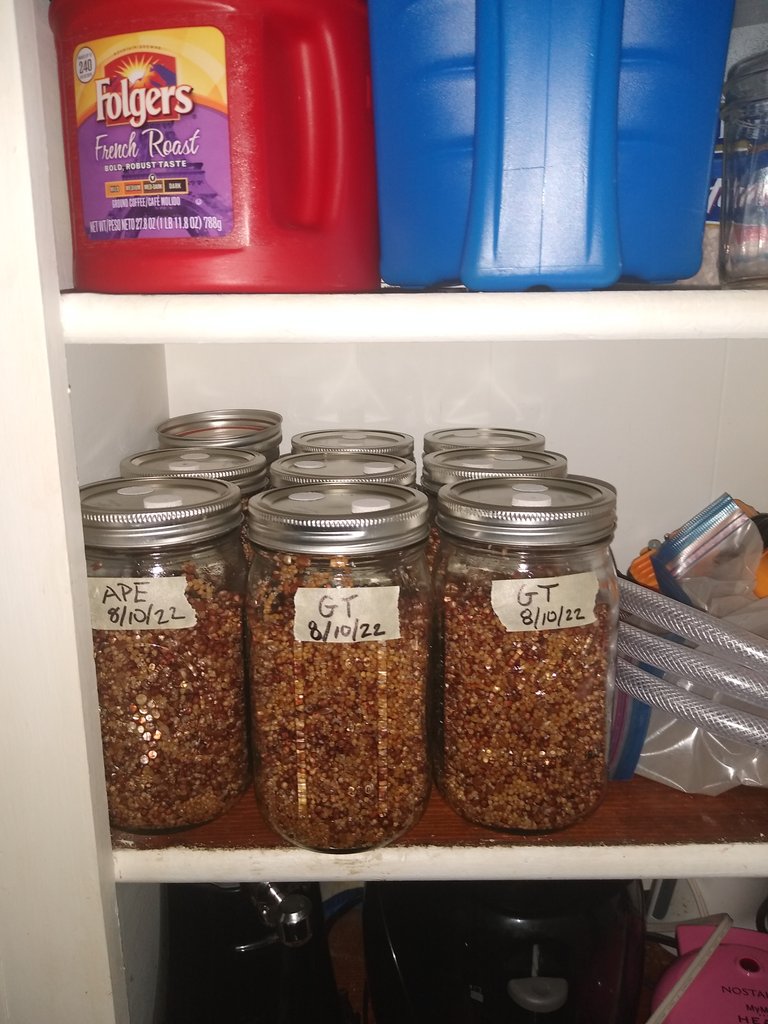
Now I just have to wait a week or two until the jars start to colonize 1/3 of the way. Part 2 will continue then. Until then, thank you for stopping by and look out for the next step.
Mush love everyone!I got these from https://microppose.com/ but I'm sure I seen them on the mushroom supply site mentioned above as well. The mycelium needs to breath when it's colonizing. These filters are a 0.3 micron which helps them to breath while protecting it from contaminants.
 )
The lids I have are customized with a quarter inch drill bit on either side of the lid and an adherable injecting port and and adherable filter over the drilled holes. 👇
)
The lids I have are customized with a quarter inch drill bit on either side of the lid and an adherable injecting port and and adherable filter over the drilled holes. 👇
 )
)
This shroom growers guide is golden the way you teach!
I feel confident that I could start a batch if I was utilizing everything you've laid out for materials/products/etc, and I love that you found a cost effective substrate.
I find it so strange that the sterility is critical, because I think fungus is usually associated with dirty basements, mold, things like this.. It's mind blowing and shows how little we really collectively know about the organisms which dwell upon our planet.
Thanks for making this amazing guide!
Yeah bro I said the same thing to my wife about how the mushrooms grow in the wild with so many contaminants around and I've never seen any Trich in the wild ! lol You're very welcome bro!
Awesome man. Now I want to grow more shrooms.
Hell yeah man! lol
Wow I had no idea this was what you had to do. Gonna bookmark this for sure as one day I wanna grow them but idk about keep it strile
Yeah it's really not that hard to do! Sterile is the hardest part.
Very meticulous and thorough demonstration of the inoculation process. I'm pretty sure this would be a suitable method for almost every species of mushroom that can be grown on such media.
Thanks!
Thank you @valued-customer ! Yes it's basically the same way with almost all edible mushrooms but what changes would be the bulk substrate depending on what they love to grow on. You're welcome!
This is awesome man! Some hard work goes into this, but I love the fact it seems to not take up much space, which is something I am limited on at the moment.
!1UP
Posted using WeedCash Network
Yeah bro. Not a lot of space needed for them at all. And it's not really a lot of work to do either!
I have a pressure cooker too, smaller then yours, I need to get it out of storage to see if I can fit a jar in there. Heck for my first time perhaps it is better to do just one jar. What do you think?
If you're doing a regular size monotub it will just take a little longer to colonize the bulk substrate and you can use any size jars too if your PC won't fit the quart size jars.
I can't wait till next year! I am building a full on commercial production farm for shroom. Mainly for food, but you know there will be a 'research and development' batch, lol. Shrooms are the future!
Lol Research and Development is always good! 😉
This is right on time! I am getting ready to try my hand at growing my own mushies. The way you are explaining your process is perfect for me.
Great lesson, looking forward to part 2
Peace, Cannabisius
Very cool!! I'm glad my post is inspiring others to grow their own! I'm looking forward to seeing others post of their own grows! Following!
Thank you for sharing this amazing post on HIVE!
non-profit curation initiative!Your content got selected by our fellow curator @priyanarc & you just received a little thank you via an upvote from our
You will be featured in one of our recurring curation compilations and on our pinterest boards! Both are aiming to offer you a stage to widen your audience within and outside of the DIY scene of hive.
Join the official DIYHub community on HIVE and show us more of your amazing work and feel free to connect with us and other DIYers via our discord server: https://discord.gg/mY5uCfQ !
If you want to support our goal to motivate other DIY/art/music/homesteading/... creators just delegate to us and earn 100% of your curation rewards!
Stay creative & hive on!
Excellent post..looking forward to seeing more 🤪
I'm glad you like it my friend! More to come! 🍄
You have received a 1UP from @canna-curate!
@weed-curator
And they will bring !PIZZA 🍕. The @oneup-cartel will soon upvote you with:
Learn more about our delegation service to earn daily rewards. Join the Cartel on Discord.
Congratulations @anewyorkminute79! You have completed the following achievement on the Hive blockchain and have been rewarded with new badge(s):
Your next target is to reach 200 replies.
You can view your badges on your board and compare yourself to others in the Ranking
If you no longer want to receive notifications, reply to this comment with the word
STOPSupport the HiveBuzz project. Vote for our proposal!
PIZZA Holders sent $PIZZA tips in this post's comments:
(18/20) @curation-cartel tipped @anewyorkminute79 (x1)
Learn more at https://hive.pizza.