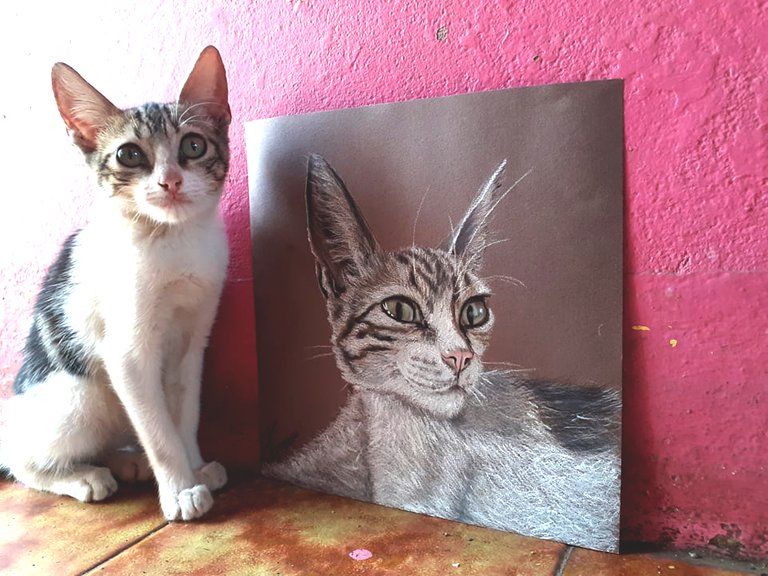
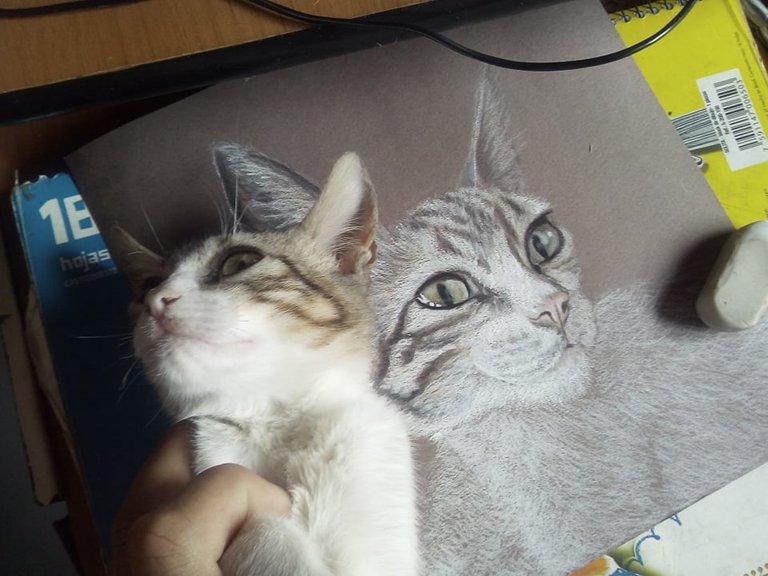
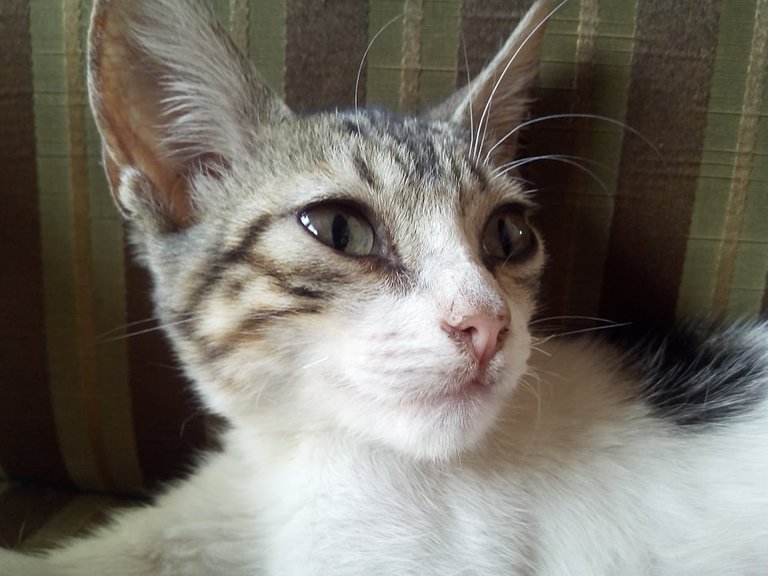
Hello friends of Hive Pets, today I want to show you my gift that I made to my cat Lali. She is at home for four months and I wanted to draw a picture for her. It was not easy to do it because he did not allow himself to take the photos. I had to wait for him to be in good spirits to take pictures of him. Of 10 photos that I took of him, I only liked one, in others I didn't even face my face. Anyway, I made this drawing for her and to share it with lovers of cats and pets. Hope you like the step by step process of my drawing.
Hola amigos de Hive Pets hoy quiero enseñarle sun regalo que le hice a mi gata Lali. Ella esta cumpliendo 4 meses en casa y quise hacerle un dibujo. No fue facil hacerlo porque no se dejaba tomar las foto. Tuve que esperar que estuviera de buen ánimo para tomarle fotos. De 10 fotos que le tomé solo me gustó una, en otras ni siquiera me daba la cara. En fin hice este dibujo para ella y para compartirlo con los amantes de los gatos y las mascotas. Espero que les guste el proceso paso a paso de mi dibujo.

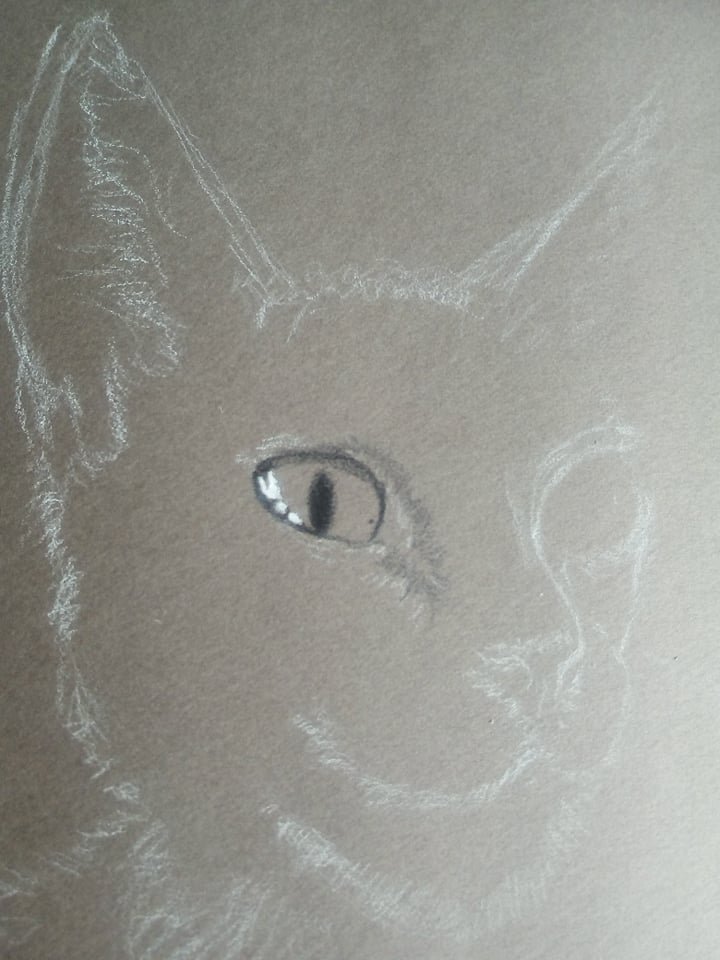
I start by making a few strokes with white to make a simple sketch and then add color. As the background of the cardboard is gray, it will help a lot to give a good realism to the drawing.
Comienzo haciendo unos trazos con color blanco para hacer un boceto sencillo y luego ir poniendo color. Como el fondo de la cartulina es de un color gris ayudará mucho a darle un buen realismo al dibujo.
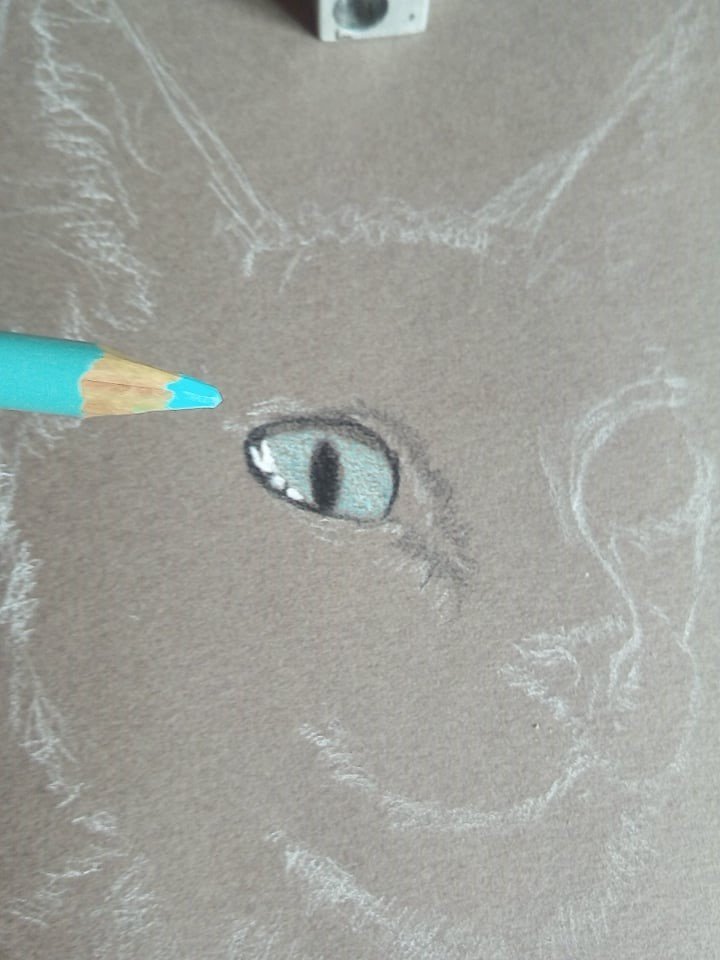
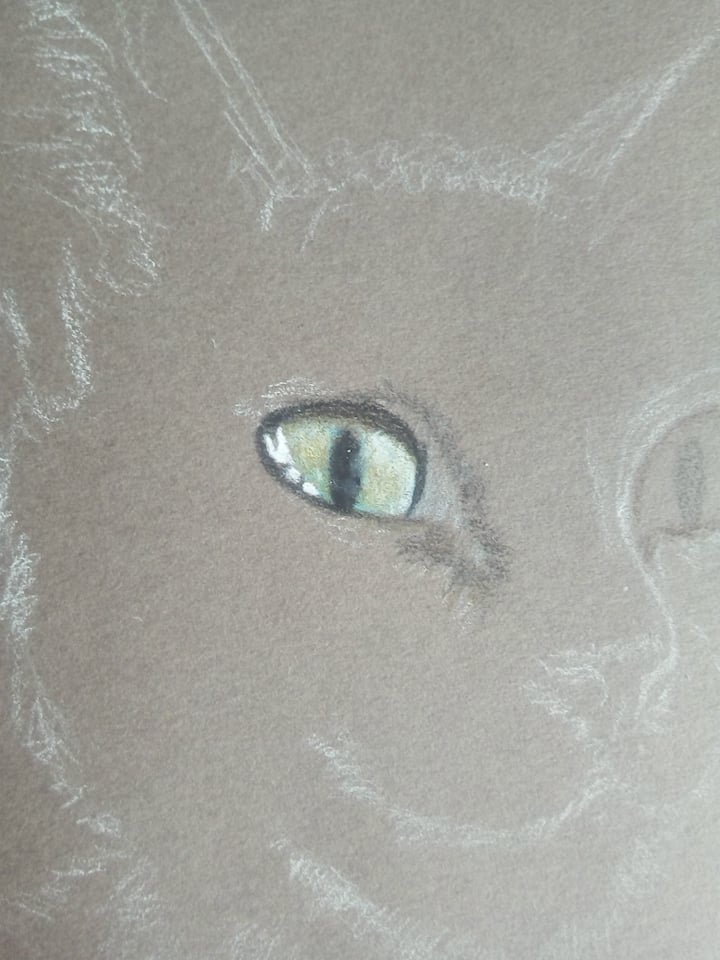
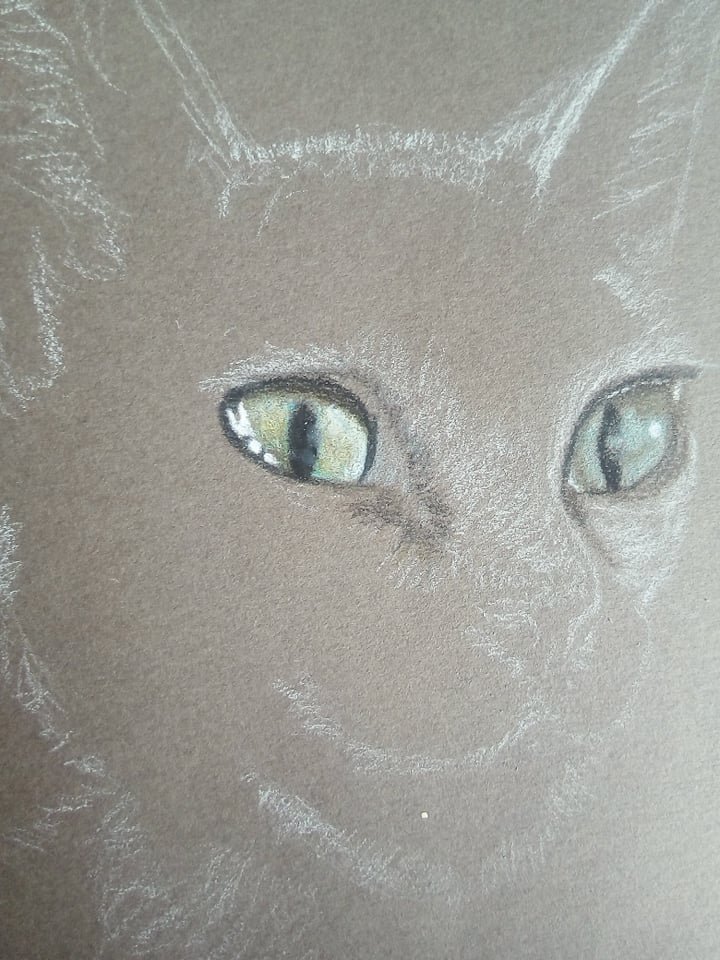
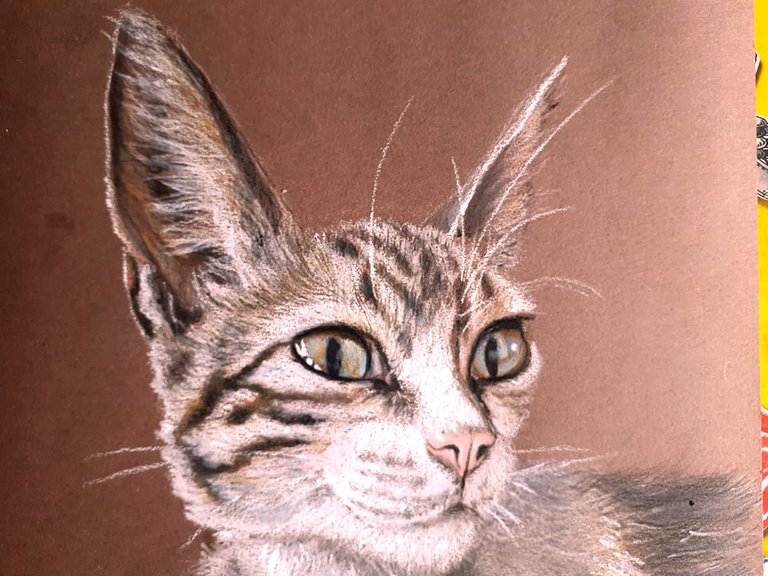
For the eyes we start with a soft base of light turquoise green, then a little light blue, on top of these two colors we put some white to mix and finally we put a little mustard green and light brown and mix again with white to get the tone of the eyes. It is important to highlight the bright and dark parts to give the eyes a glass effect.
Para los ojos comenzamo con una base suave de verde turquesa claro, luego un poco de azul claro, encima de estos dos colores ponemos algo de blanco para mezclar y de ultimo ponemos un poco de verde mostaza y marron claro y volvemos a mezclar con blanco para conseguir el tono de los ojos. Es importante resaltar las partes brillantes y oscuras para darle el efecto cristal a los ojos.

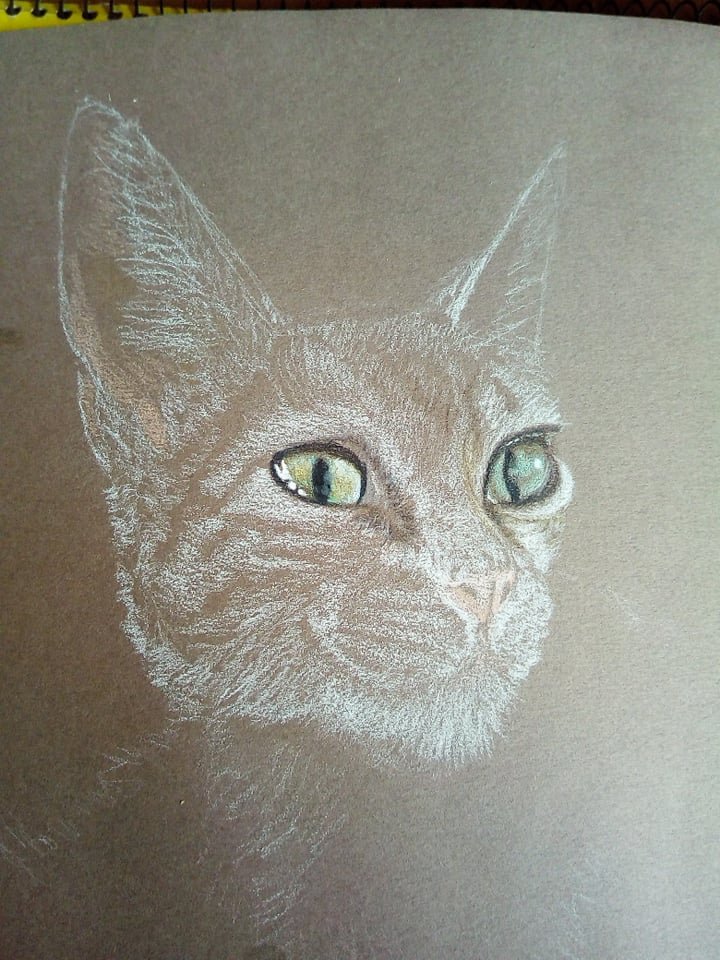

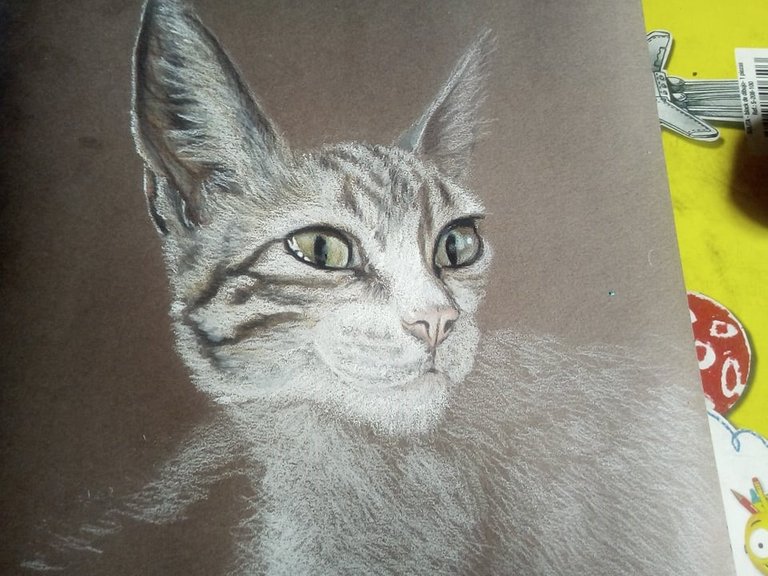
Once we finish with the eyes we start with the fur. To make the hair we use white and make soft strokes for a first layer. We pass the color smoothly and quickly making the shape of an oblique line. Then we leave the lines that will be darker hair unpainted.
Una vez terminamos con los ojos comenzamos con el pelaje. Para hacer el pelo usamos color blanco y hacemos trazos suaves para una primera capa. Pasamos el color suavemente y rapido haciendo la forma de una linia oblicua. Luego vamos dejando sin pintar las lineas que seran de pelo mas oscuro.
To make the hair lines darker we use light brown, dark brown, mustard green and black. We start with the light brown making the same soft strokes following the lines that we made before until we darken with the other tones. In the white part we will also put a little mustard to give the yellowish effect on the tips of the coat.
Para hacer las lineas de pelo mas oscuras utilizamos marron claro, marron oscuro, verde mostaza y negro. Comenzamos con el marron claro haciendo los mismos trazos suaves siquiendo las lineas que hicimos antes hasta ir oscureciendo con los demas tonos. En la parte de blanco tambien pondremos un poco de mostaza para darle el efecto amarillento en las puntas del pelaje.
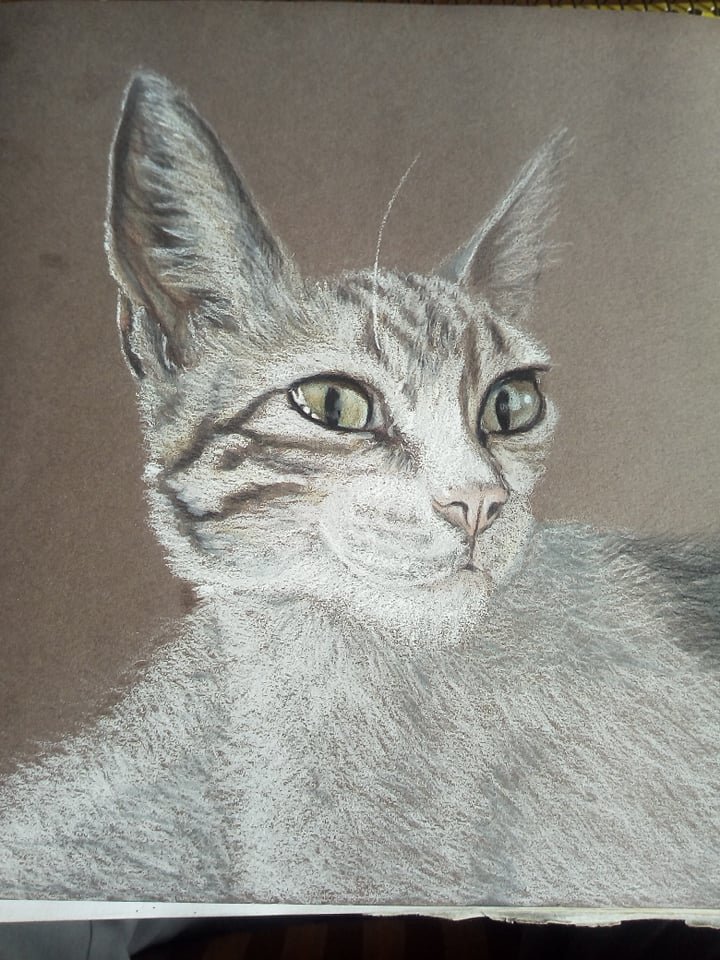
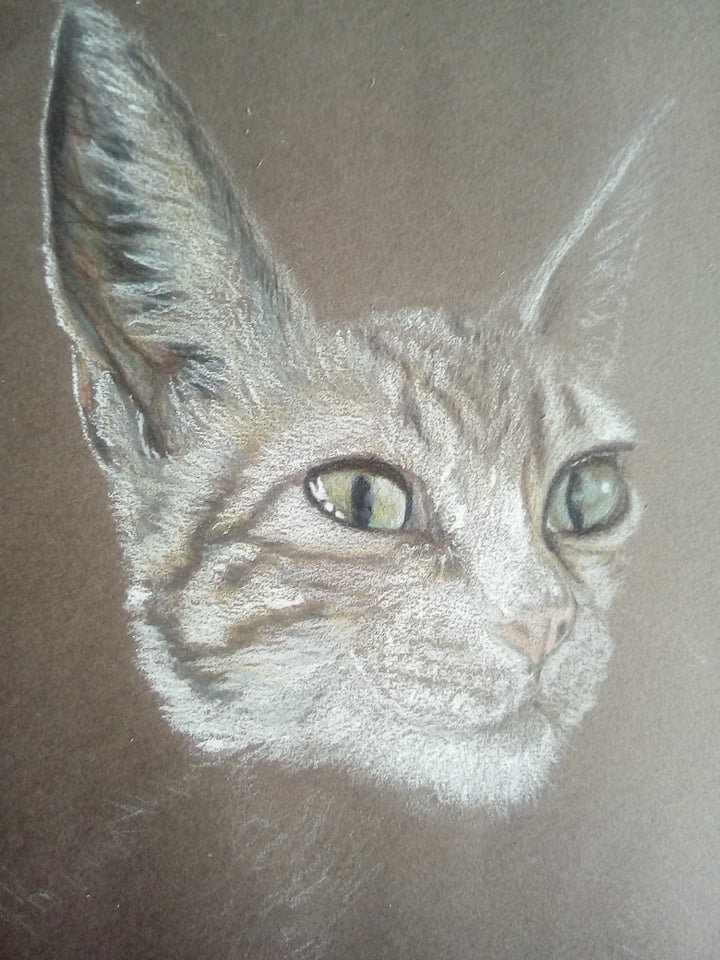
The last step is to make the rest of the body visible in the image. We follow the same pattern of the strokes and we can play with the pencil crossing the lines so we can give it the effect of realistic fur. Always starting as smoothly as possible and then hardening the line. So we will be looking better. The model wouldn't let me draw, she wanted me to scratch her head all the time. : D
El ultimo paso es hacer el resto del cuerpo visible en la imagen. Seguimos el mismo patron de los trazos y podemos jugar con el lapiz cruzando las lineas asi podremos darle el efecto del pelaje realista. Siempre comenzando de la forma mas suave posible y luego ir endureciendo el trazo. Asi nos ira quedando mejor. La modelo no me dejaba dibujar, a cada rato queria que yo le rascara la cabeza. :D

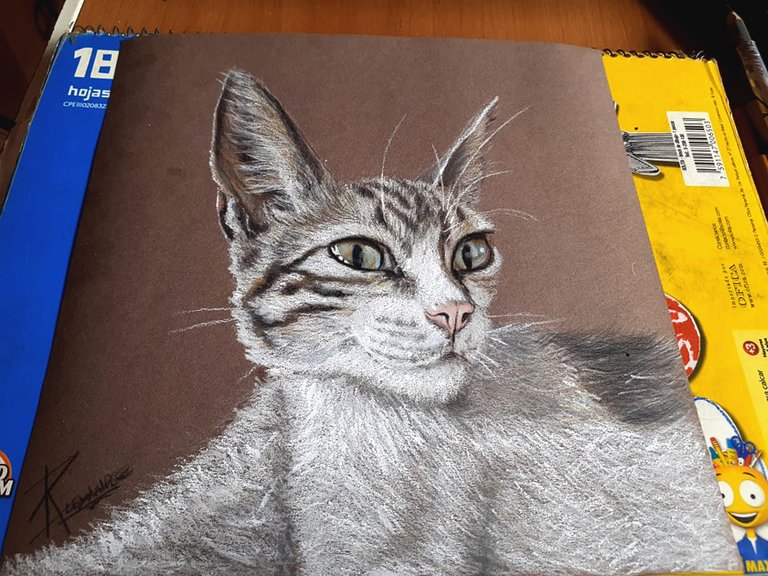
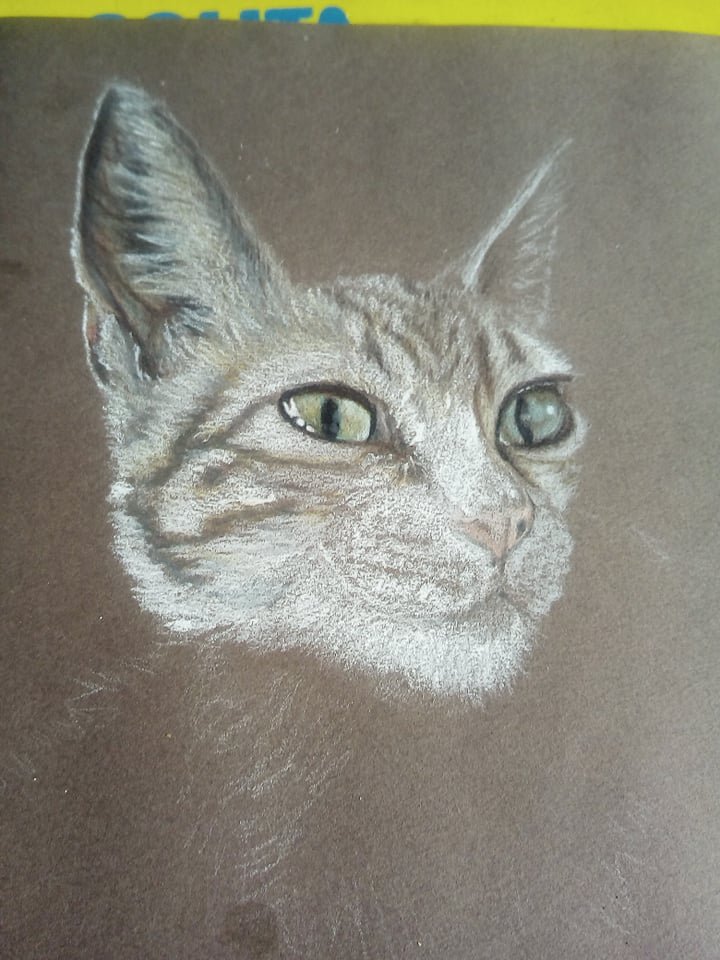
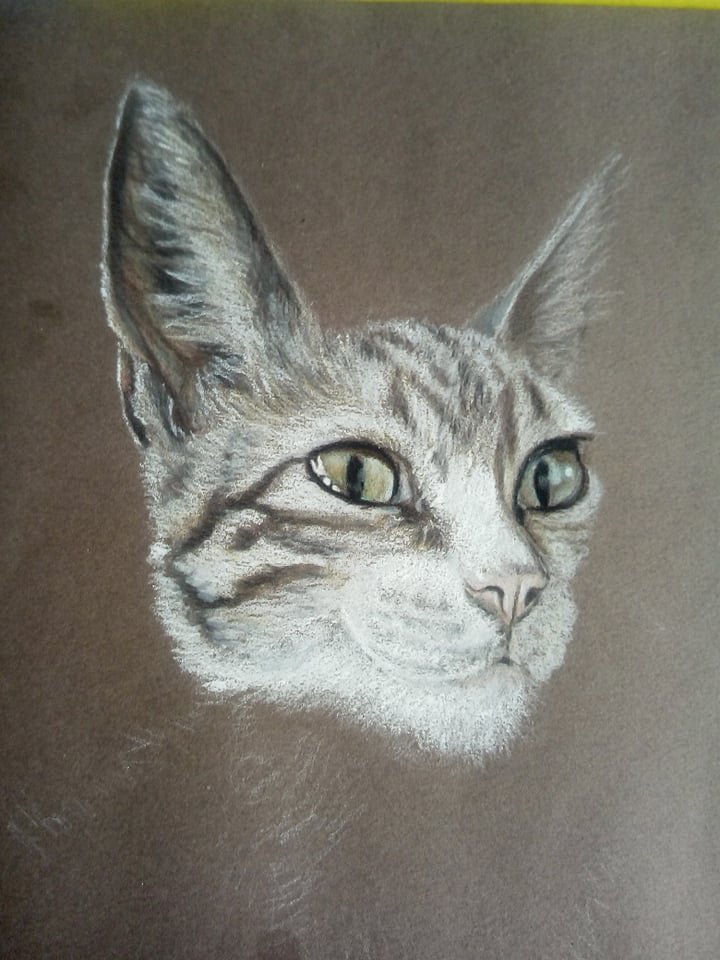
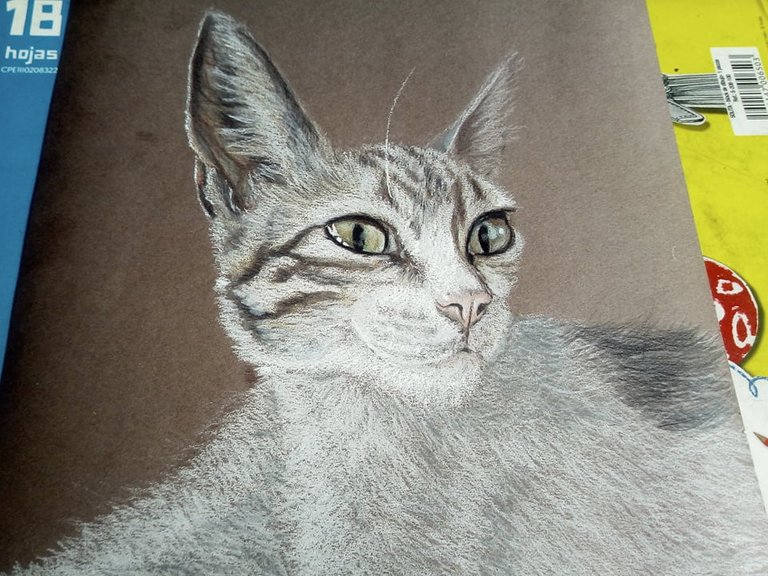
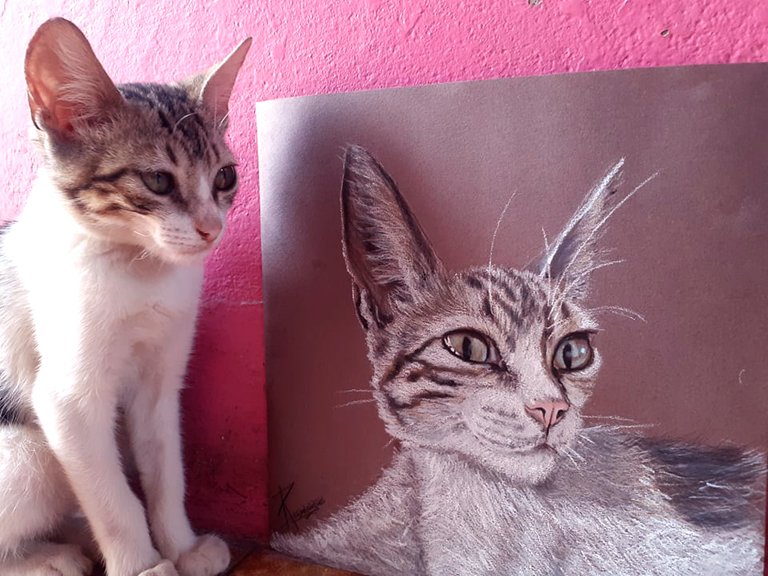
This has been my entire drawing. To finish I just gave strength to the shadows to accentuate more realism and also gave a review of the fur on the face and ears. It is a beautiful drawing of my little Lali. I hope that you have liked it and have been able to appreciate this gift for my kitten that I hope will have many days here in our house and in our family
Este ha sido todo mi dibujo. Para finalizar solo di fuerza a las sombras para acentuar mas realismo y tambien di un repaso al pelaje de la cara y las orejas. Es un hermoso dibujo de mi pequeña Lali. Espero que a ustedes les haya gustado y hayan podido apreciar este regalo para mi gatita que espero cumpla muchisimos dias aqui en nuestra casa y en nuestra familia.


Gracias por apoyar mi arte y mi trabajo.
A ti cariño, saludos 🤗
Congratulations @fixie! You have completed the following achievement on the Hive blockchain and have been rewarded with new badge(s) :
Your next target is to reach 600 comments.
You can view your badges on your board and compare yourself to others in the Ranking
If you no longer want to receive notifications, reply to this comment with the word
STOPQue hermoso, te felicito :)
Para tomar fotos a los gatos, hay que tener muuuucha paciencia, son muy inquietos.
Gracias por compartir, graciasHola @fixie, felicitaciones por el dibujo que realizaste a tu gata Lali por su cuarto aniversario en tu hogar. Te quedo muy bien.
mucha paciencia se necesita. no se quedaba tranquila. Y cuando estaba dibujando se subía mucho a la mesa a mirar y a sentarse encima del dibujo. jejej que bueno que te haya gustado, gracias por comentar.
Te pasaste <3 está hermoso
tuve a una gran modelo jejejej