파이썬 관련 기본 패키지외에 여러가지 라이브러리들이 같이 패키징 되어 머신러닝, 빅데이트 분석등을 할 경우 설치하면 편리합니다.
아나콘다에는 panda, numpy, scipy, skearn 등의 툴이 포함되어 있습니다.
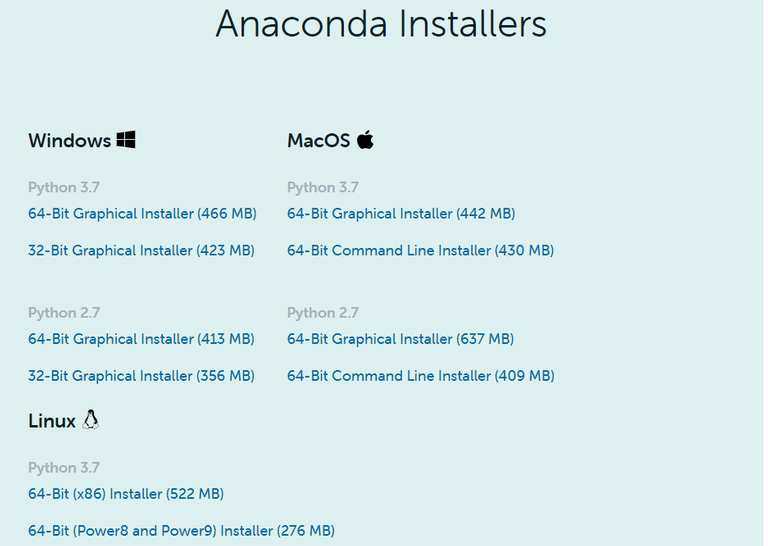
아나콘다 공식홈페이지 주소
https://www.anaconda.com/products/individual
위 주소로 접속하여 맨아래로 스크롤을 내리면 OS환경별 설치 파일링크가 존재합니다. 환경에 맞는 버젼을 선택합니다.
다운로드가 완료되면 설치파일을 실행합니다.
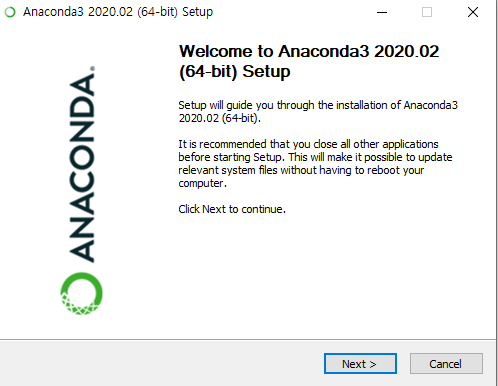
NEXT 를 클릭합니다.
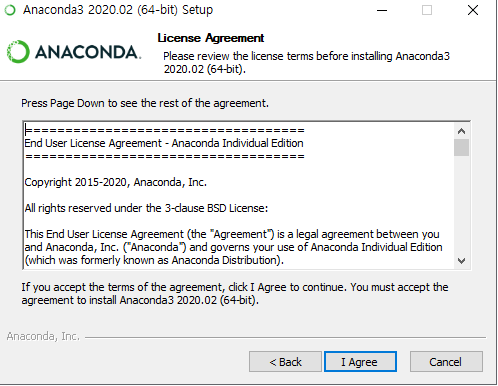
I Agree를 클릭합니다.

just me를 선택후 Next
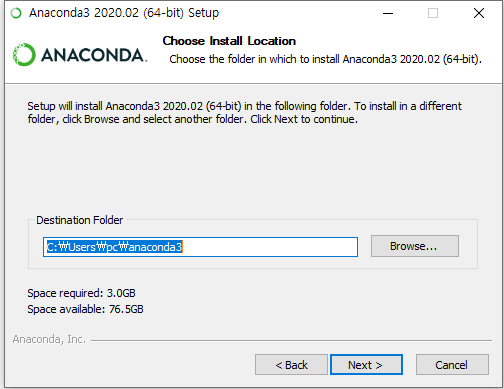
경로 설정후 다음
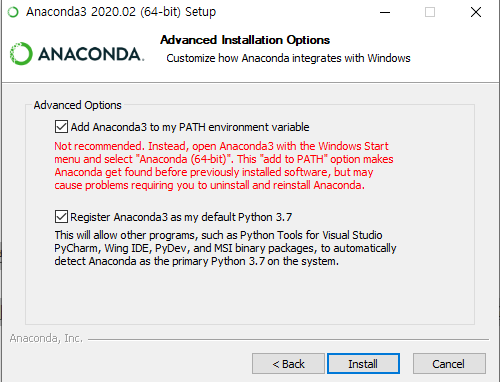
둘다 체크 후 다음
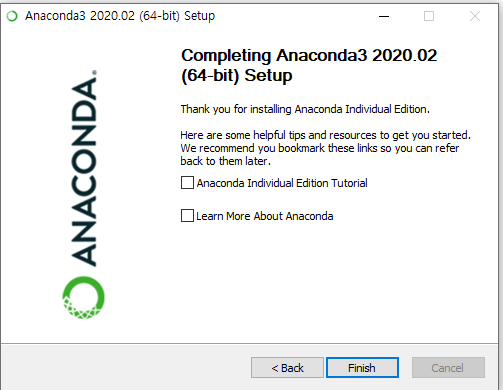
설치가 완료되면 finish를 누른다
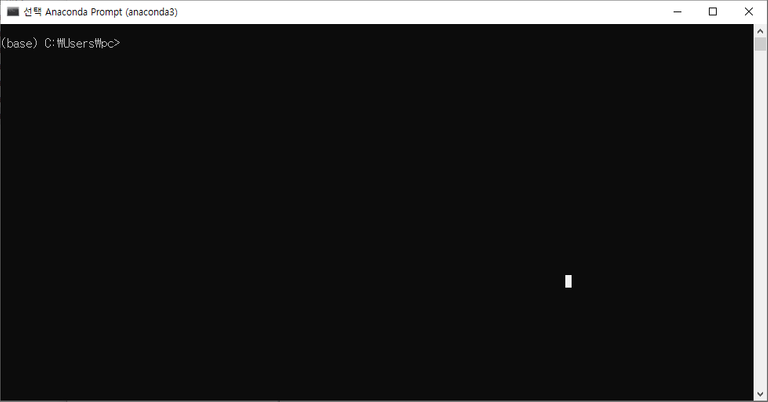
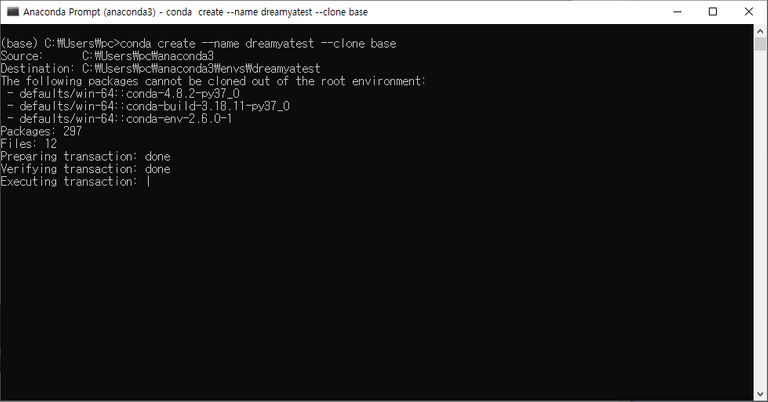
아래 명령어로 BASE환경을 복제합니다.
conda create --name 가상환경명 --clone base
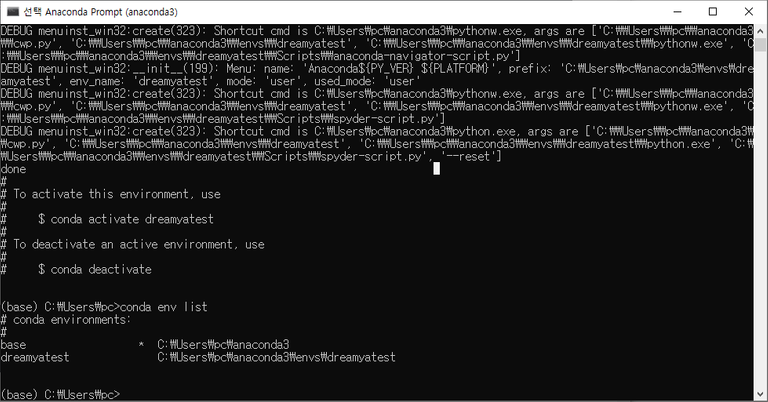
가상환경 리스트 확인 명령어
conda env list
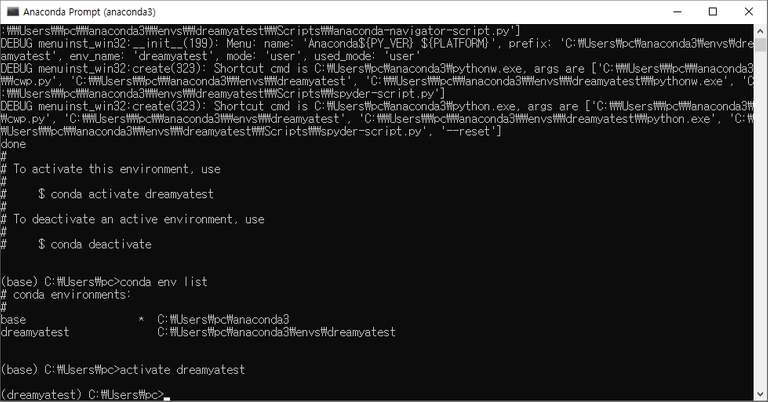
가상환경 활성화 명령어
activate 가상환경명
여기까지 아나콘다 가상환경 설치방법 입니다.
I have picked your post for my daily hive voting initiative, Keep it up and Hive On!!