my-hive-blog
Project Introduction
my-hive-blog is a blogging platform based on the Hive blockchain, supported by @hiveio/dhive. This project is built with the React, Vite, TypeScript, and TailwindCSS tech stack, focused on displaying articles from the Hive blockchain.
Features
- Browse articles from the Hive blockchain
- Support for filtering articles by time, tags, etc.
- Responsive design that adapts to different devices
- Styled with TailwindCSS for a sleek and optimized look
- Supports one-click deployment to Vercel, Netlify, and other platforms
Tech Stack
- React: To build the user interface
- Vite: A fast build tool that improves development experience
- TypeScript: To improve code maintainability and development efficiency
- TailwindCSS: A utility-first CSS framework for rapid responsive design
- @hiveio/dhive: A JavaScript SDK for interacting with the Hive blockchain and retrieving articles
Environment Setup
1. Install Node.js and npm
Ensure that you have Node.js and npm installed. It is recommended to use nvm (Node Version Manager) to install and manage your Node.js versions.
# Install nvm (if not already installed)
curl -o- https://raw.githubusercontent.com/nvm-sh/nvm/v0.39.1/install.sh | bash

# Install the latest LTS version of Node.js
nvm install --lts

# Switch to the latest LTS version
nvm use --lts

# Verify installation
node -v
npm -v
2. Clone the Repository
Clone this project from GitHub to your local machine:
git clone https://github.com/darknighthash/my-hive-blog.git
cd my-hive-blog
3. Install Dependencies
This project uses Vite as the build tool and depends on @hiveio/dhive for blockchain interactions. Use the following commands to install all dependencies:
# Using npm
npm install

# Or using yarn
yarn install
4. Configure Environment Variables
Create a .env file in the root directory of the project and configure the Hive blockchain API settings:
# Example .env file

VITE_HIVE_NODE=https://api.hive.blog, https://api.hivekings.com, https://anyx.io, https://api.openhive.network
VITE_HIVE_USERNAME=your_hive_name
VITE_HIVE_CREATED=your_hive_create
5. Start the Development Environment
After installing the dependencies and configuring the environment variables, you can start the development environment:
# Using npm
npm run dev

# Or using yarn
yarn dev
The development server will start at http://localhost:3000, and you can view the local development version in your browser.
Deployment
1. Vercel Deployment
Vercel is a recommended platform for Vite projects and supports fast, one-click deployments:
- Visit the Vercel website and log in
- Click "New Project" and import your GitHub repository
- In Framework Preset, select
Vite - In Environment Variables, add your
.envconfigurations - Click "Deploy" to start the deployment process
2. Netlify Deployment
Netlify is another excellent platform for hosting static sites. It’s ideal for deploying frontend applications:
- Visit the Netlify website and log in
- Select "New site from Git" and import your GitHub repository
- In Build Command, enter:
npm run build - In Publish Directory, choose
dist - Add your
.envconfigurations in Environment Variables - Click "Deploy site" to start the deployment process
Usage Instructions
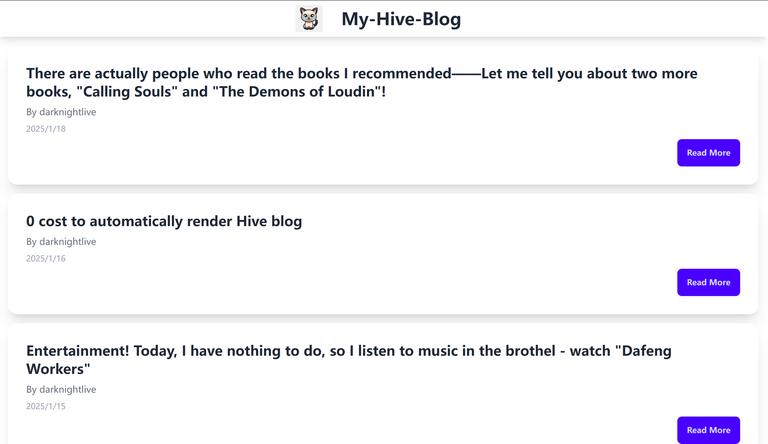
Browse Articles
- Visit the homepage of the blog platform to view article titles
- Browse through articles on the Hive blockchain, with support for Markdown rendering
Contributing
We welcome contributions! If you encounter any bugs or have feature requests, please open an issue or submit a Pull Request.
Contributing Guidelines
- Fork this repository
- Create a new branch (
git checkout -b feature-name) - Commit your changes (
git commit -am 'Add new feature') - Push to your branch (
git push origin feature-name) - Open a Pull Request