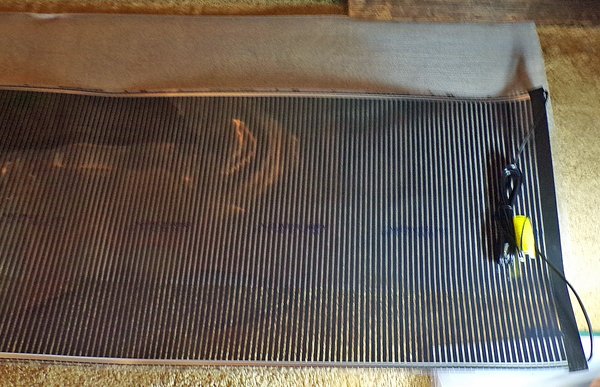
New heat mat
I’d never had heat mats for starting seeds, except for a hard pet warmer big enough for 1 tray.
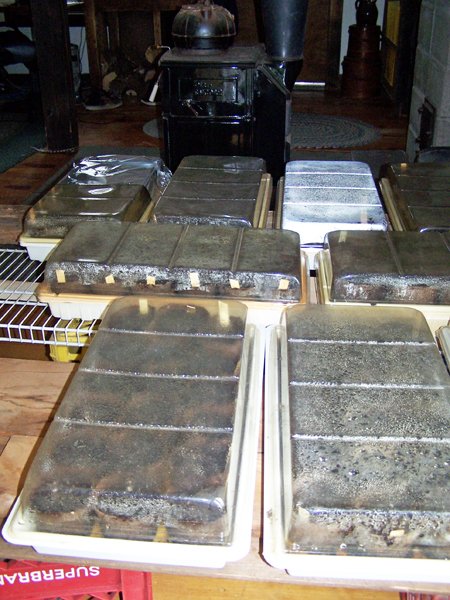
I’d always made use of the wood stove for those who needed warmth to start. In the last couple years I borrowed my helper friend’s 3 small mats to supplement the heating.
This year I shelled out for one 22” x 44” mat and two 22” x 96” mats. I also got 2 thermostats to control the temperature.
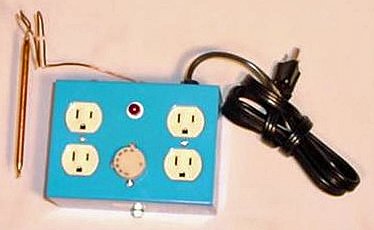
I bought them all from Grower's Nursery Supply, Inc. in Oregon as they had the best price by far. They made by Olson Products. I got the 2 FT-15 Thermostatic Controllers for up to 2,000 watts, 2 Agritape 22" X 8' Mat with ground screen, and 1 Agritape 22" X 4' Mat with ground screen.
Setting up the first one was interesting. With the small ones I had borrowed, you just laid them down and put the tray on top. Not so with these.
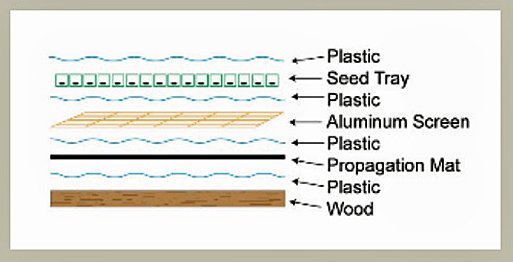
You have to have more materials on hand and build a lasagna. So we found the roll of 4 mil plastic and I had my husband cut a 22” x 48” piece of plywood.
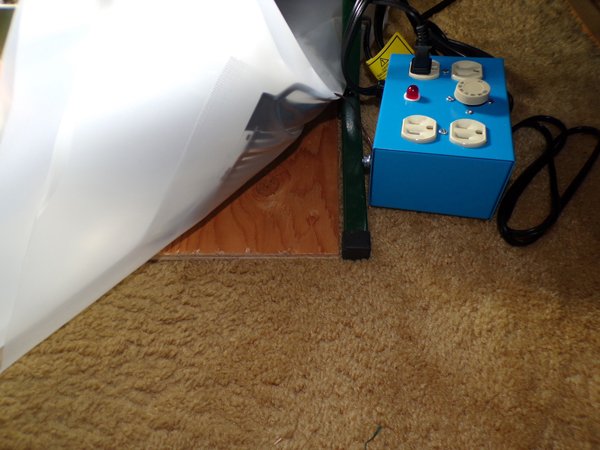
My helper friend was here on Tuesday and we cut 3 pieces of plastic that had an overhang of 3” – 4” all the way around the plywood.
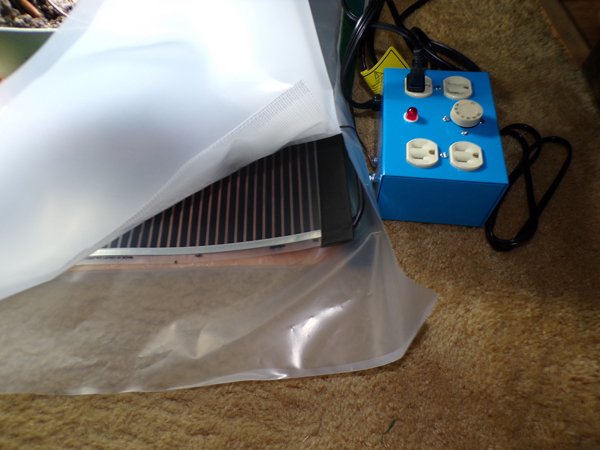
We put one down and then figured out the tiny lettering along the edge of the heat mat was the right side up.
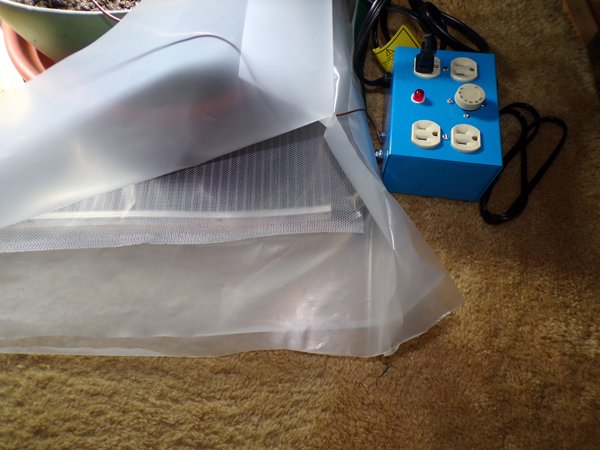
Then plastic, then the aluminum screen, then the last plastic.
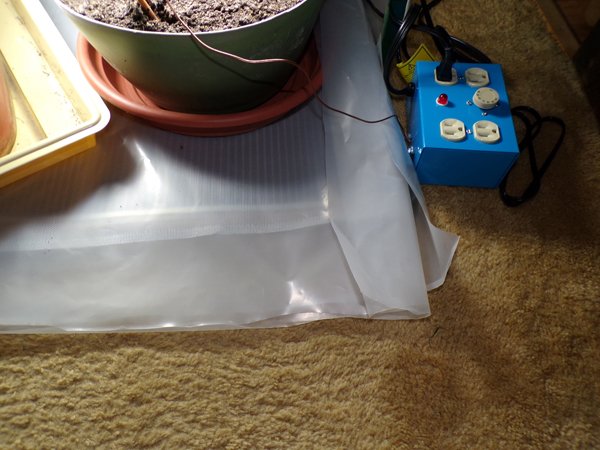
The trays went on that.
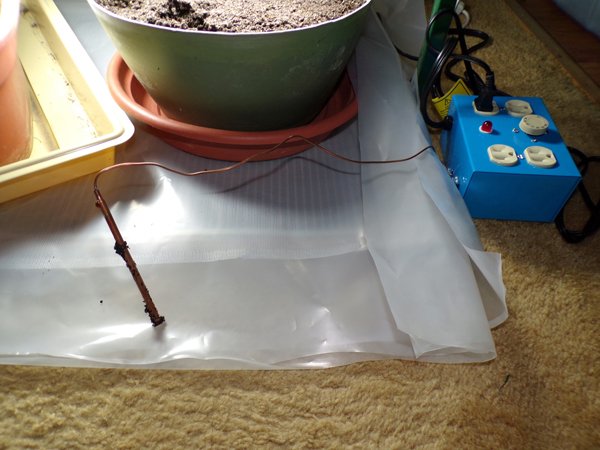
Next up was the thermostat. I have switched outlets in this room and had plugged the lights into one as it would be easier turning them on and off each day. So we had to make sure the heat mat thermostat was plugged into the non-switched outlet.
The thermostat has a short piece of hollow tubing. One must be very careful handling this so it doesn’t get crimped. This connects to the actual probe for the soil.
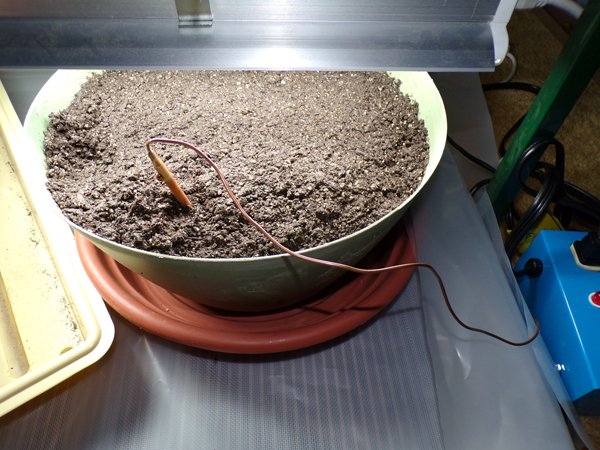
The probe must be ¾” below the level of the seeds. As these were rhizomes 2” down, we had to push the probe quite low.
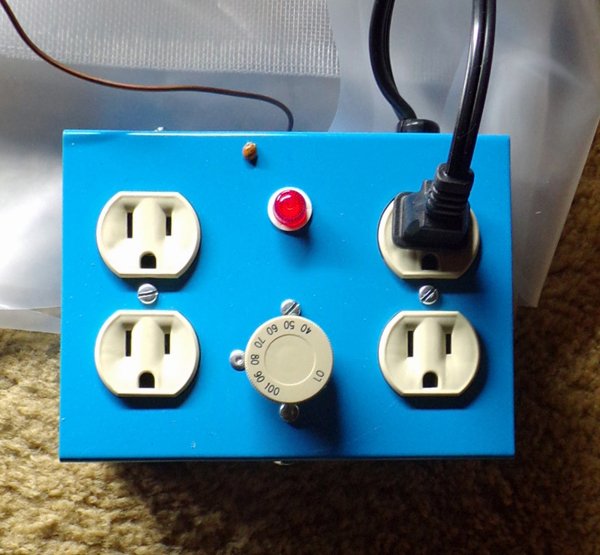
We decided to set the temp at 80F because this room was unheated and missing part of a wall. We also decided the pop rivet must be the setting mark.
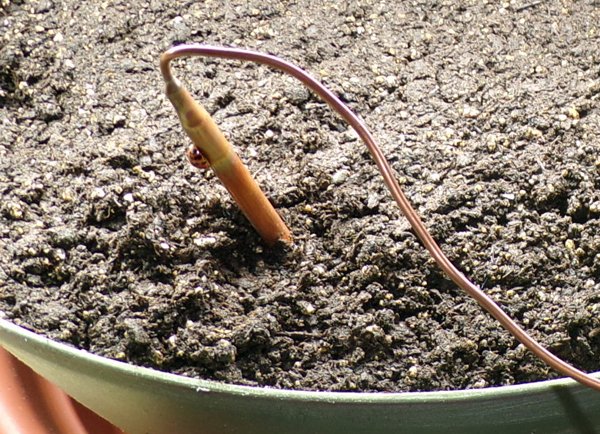
The next morning I had helpers galore. The ladybugs obviously loved the warm place in that room.
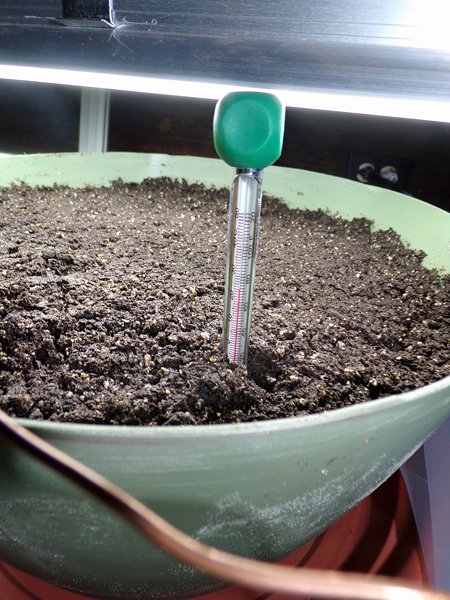
As I’d never been able to control the soil temp, I did not have a soil thermometer. So I had my husband pick one up when he went to the feed store on Tuesday. Wednesday morning I check the soil temp and it was only 72F. Ginger likes 75 – 80F so I turned it up to 85F.
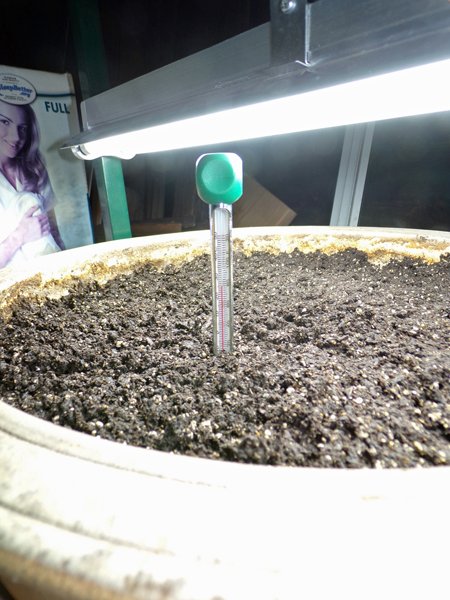
A few minutes later I decided to check the temp of the pot farthest from the probe and found it had already come up to 80F. The heat mats work quickly!
I’ve only had them a couple days. On Thursday my helper friend and I will be setting up the 8’ light stand and getting the heat mat for it in place. On March 1 my intern and I will be starting the first batch of seeds. My husband put the insulation and vapor barrier back in place in the wall, so it will be a little warmer in the room. I can leave the door open to the room now so more heat will go there.
So this year is going to be a learning curve with the seed starting.
How neat! I'll have to look into those mats. I have one that plugs in with no temperature control and I'd love to be able to adjust the temp plus I could use a few more mats. I've been using mine for soap making all winter but I really need to start thinking about getting my seed starting set up prepared (not that I have space for it this year).
Yay! She's back! :))
Yeah, it was a big investment, but with as much as I start each year, they will be worth it. I never thought to use them for soap making!
Hey @goldenoakfarm,
This post is upvoted by @curie curator for homesteading community.
You can visit our homesteaders heaven and become our fellow member here.
Hope to see more content from you soon :-)
@hidden84
I've been thinking about getting a basic heat mat for starting seeds. I've never used one before, but I know a couple of local people who are using them, so I'll have to see how they have them set up.