
Today I share step by step instructions on how I make Mozza with pictures and video.
Making cheese is a passion of mine. I love cheese, but I also love the independence that it gives me to make what would otherwise be a luxury item for my family. Since deciding to buy organic food for my family many years ago, and being a single mom, certain things became too expensive to indulge in often. Cheese from ethical sources was far too expensive. However, with the purchase of my first dairy cow after moving to the farm, cheese was finally a possibility! Now often making cheese hundreds of times, cheese making is a part of my daily routine and we get to enjoy over 10 types of cheese regularly.
Mozza is one of my family's favourite cheeses as it is ready to eat (and is best eaten) immediately, it gives that gooey goodness, and it goes on pizza! (my kids LOVE pizza as do most)
I don't consider Mozza the easiest cheese to make, but it is the most immediately satisfying. Also, it doesn't require any special cheese cultures so it's often a cheese that budding homesteaders will try.
So....I thought I would share with you how I make Mozza!

Cheese making equipment doesn't have to be fancy...but this is the most complicated piece of cheese making equipment I own. Actually, it isn't specifically for cheese making, but that's how I use it most often. This is a sous vide machine. These are often used in high end restaurants for preparing meats and veggies. This machine is typically filled with water, the the temperature is set to withing 0.5 of a degree (some of these machines can be set to within 0.1 of a degree). These precise temperatures make these machines perfect for cheese making. However...this is completely unnecessary. You can also simply use a pot and a thermometer on the stove. Or, a sink of warm water with a pot and thermometer in it.

I fill my "pot" with the required amount of milk (my recipe can be found at the end), and add the vinegar and water. The milk should be COLD when you do this or it will curdle too quickly. Stir one time in a zigzag pattern, then start warming the milk to 32 degrees Fahrenheit.
As soon as your milk is at temperature, you will add your rennet and water (indicated as separate from the water that you add with the vinegar). The milk will then sit for 15 minutes. You will know the milk has turned into curd when you stick your finger into it slowly and it produces a clean break...meaning as you slowly sink your finger in, there is a distinct moment when your finger breaks through the curd with a "pop" feeling.
Then you will cut the curd with a long knife across the pot. The strips you cut will be 3/4 inch wide. Cut straight down making sure your knife slides down the wall of the pot, across the bottom to the other side, then up the other side in a straight line. Repeat this in 3/4 inch strips until you have cut through the entire pot of curd in one direction. Then, cut in exactly the same way across the pot perpendicular to your first cuts. This will produce squares of curd. The last step is to cut at a 90 degree angle. I will be posting a separate video with curd cutting instructions tomorrow.
After cutting the curd, stir it a few times until the curd is the firmness of poached egg.
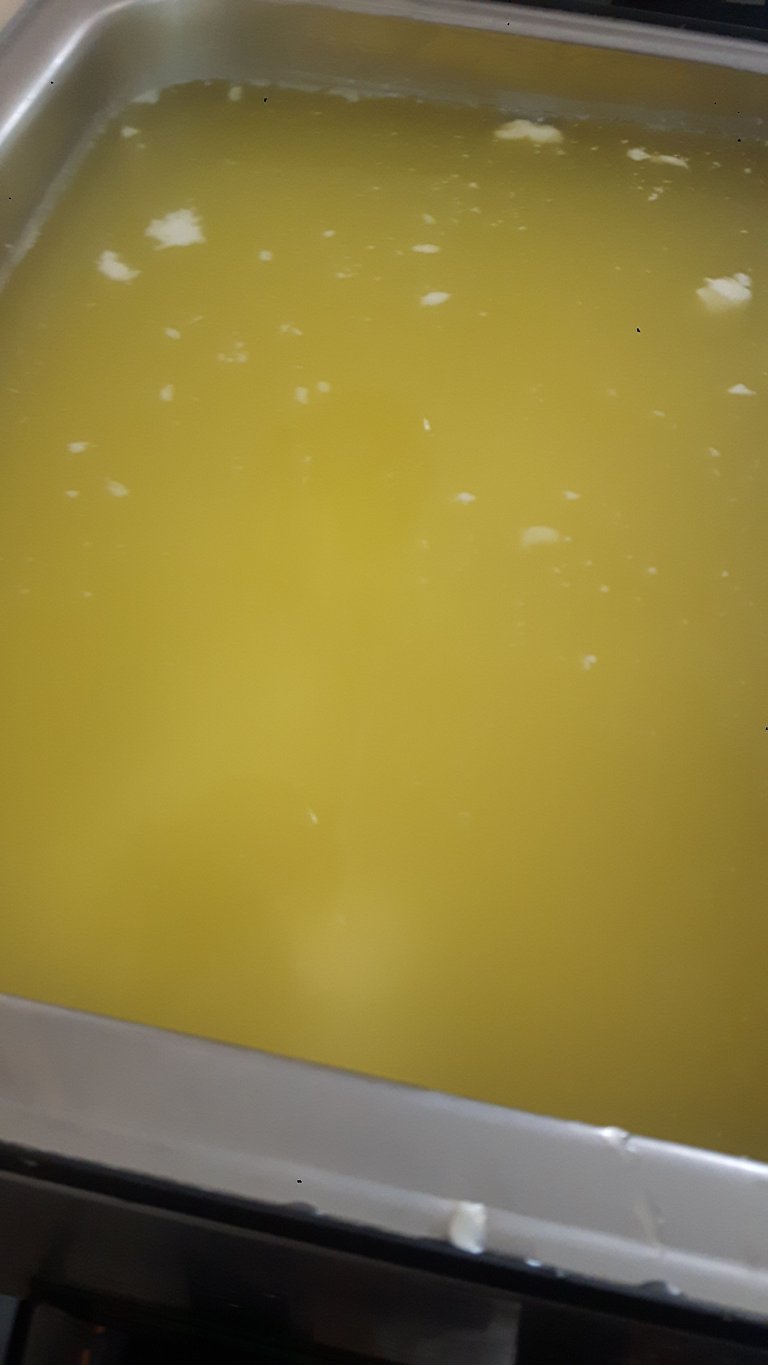
All of the curds will settle to the bottom and all you will see is whey (this whey starts to separate from the cheese curd as you stir the curd).
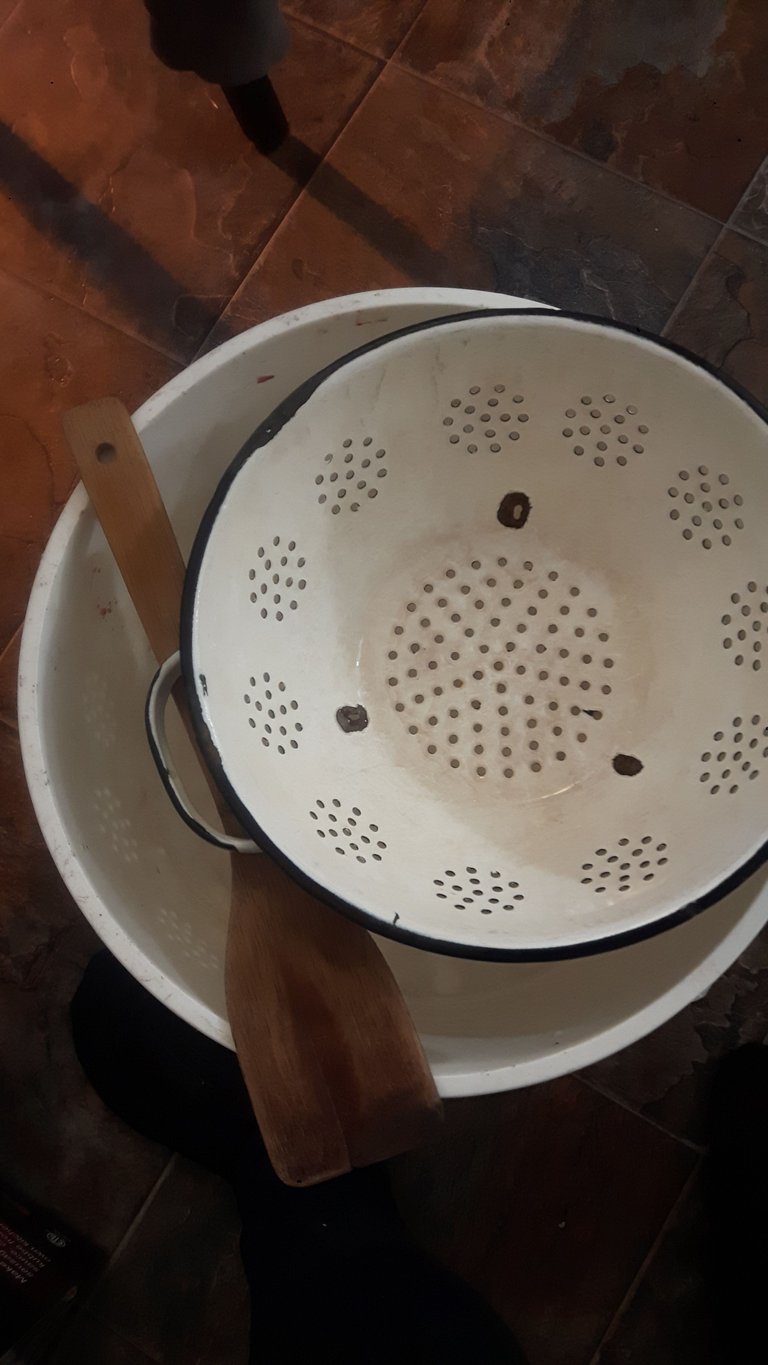
After the curd has settled to the bottom you will be able to strain the whey off. I strain into a colander, reserving the whey for the piglets (it is full of protein for them and I use it to soak their grains).
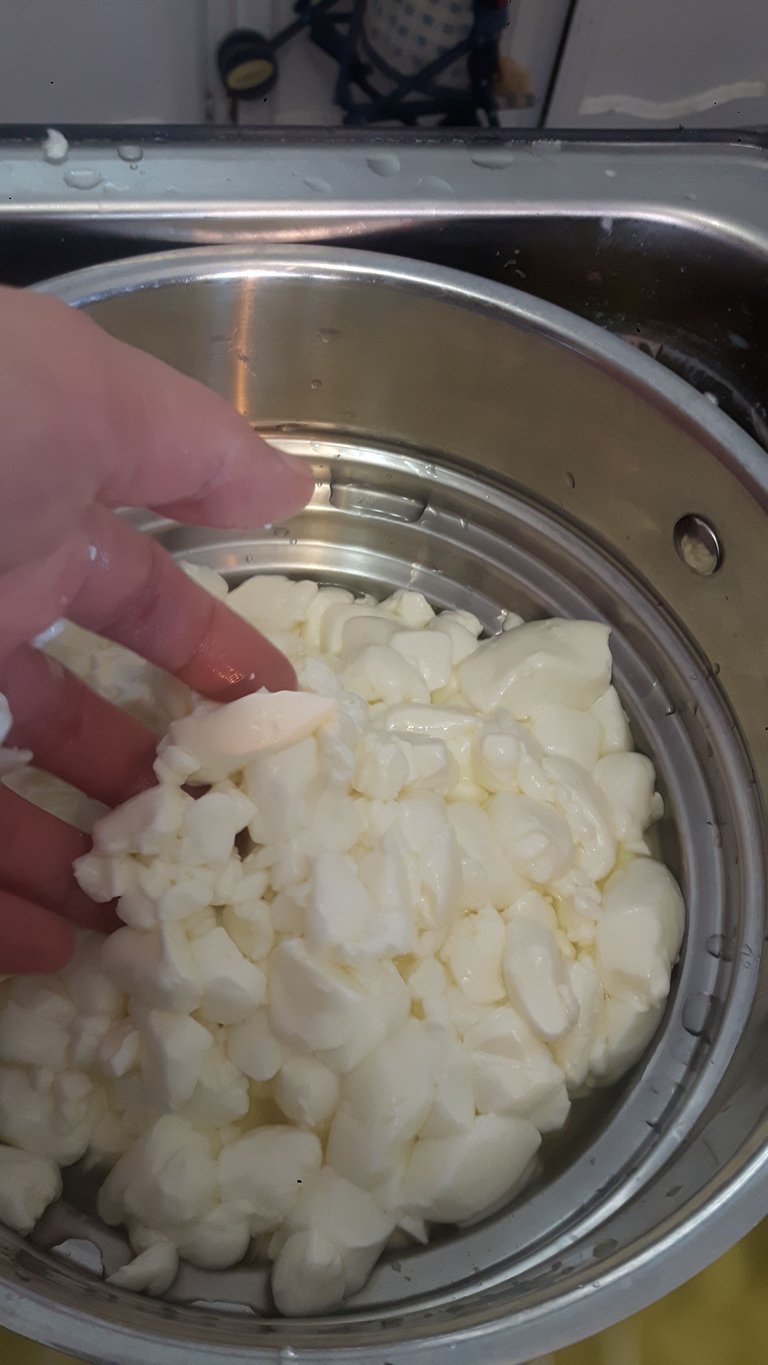
Once you have strained the curd into a colander, let it strain for 30 minutes then turn it out onto a cutting board.
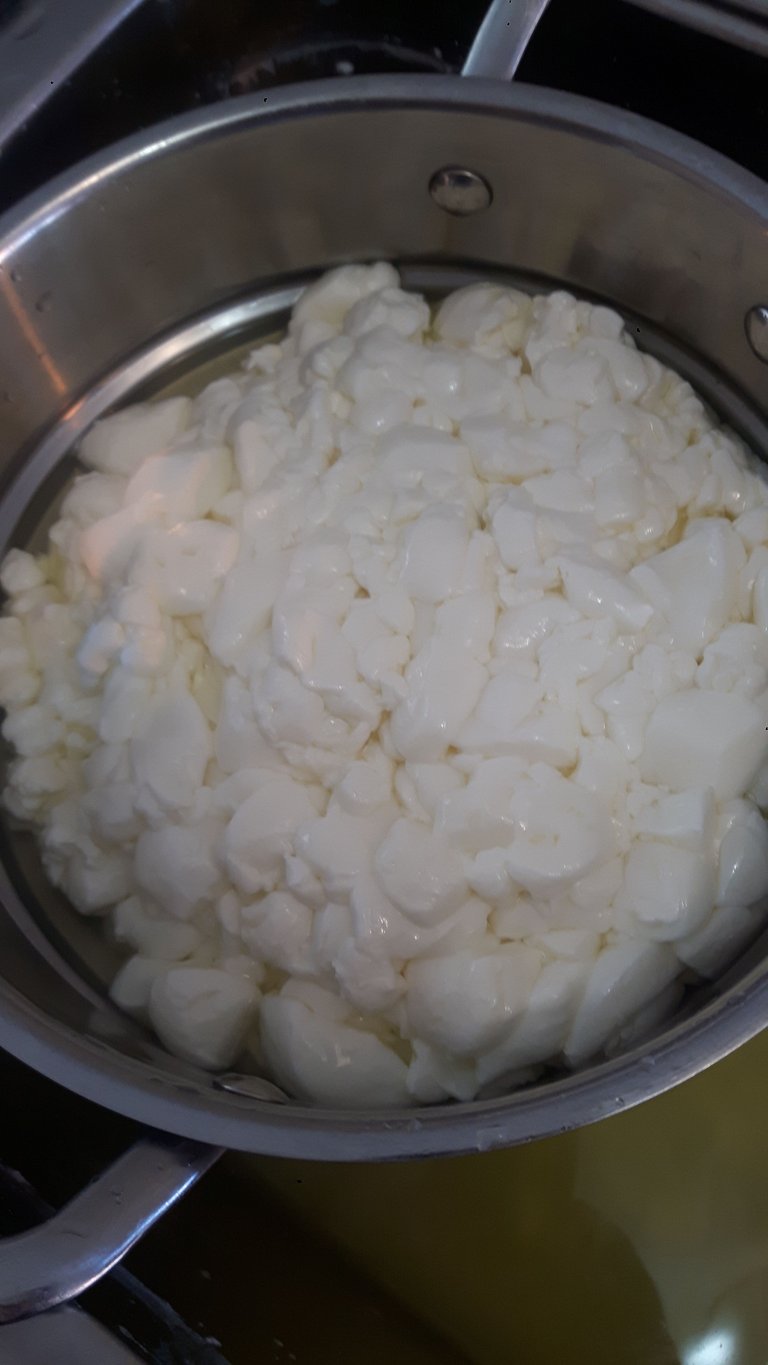
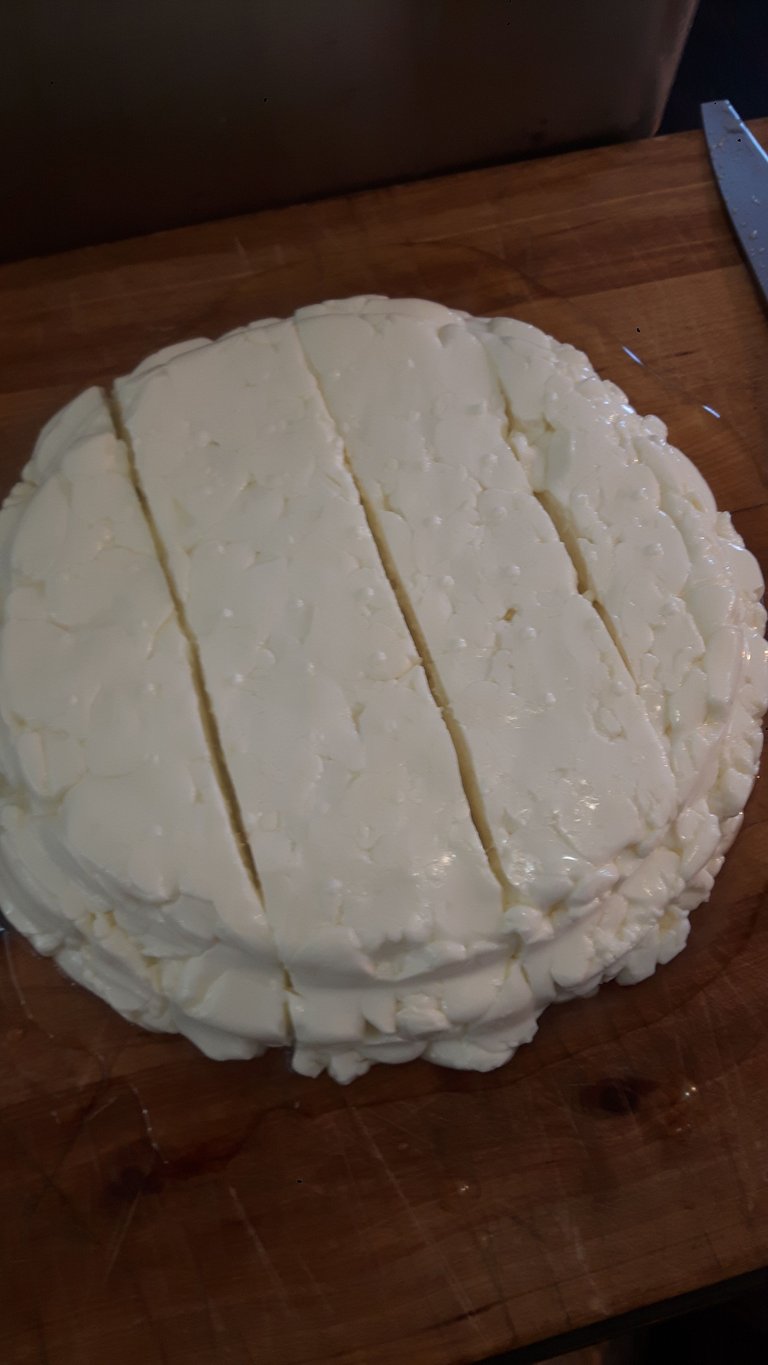
Cut the mass of curd into 4 or 5 2 inch strips.
Drop a strip into a pot of water that has been heated to 150 degrees Fahrenheit.
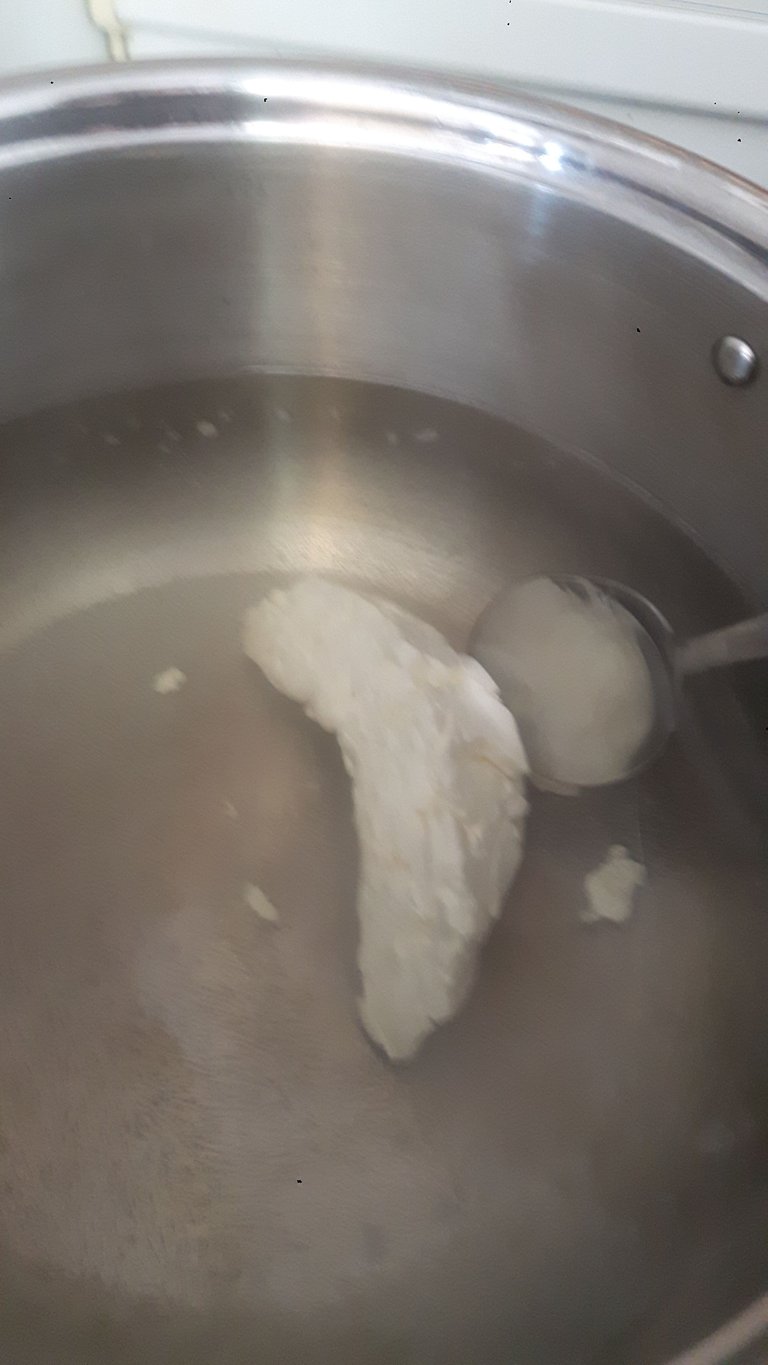
With the curd warming, you will start to knead and stretch the mozza curd. The goal of this process to get more whey out of the cheese, while producing a meltable and stringy cheese.

You can see how I stretch and mold the mozza balls in the video here...
I continue repeating this process with each portion of mozzarella curd until I have worked through the whole batch.
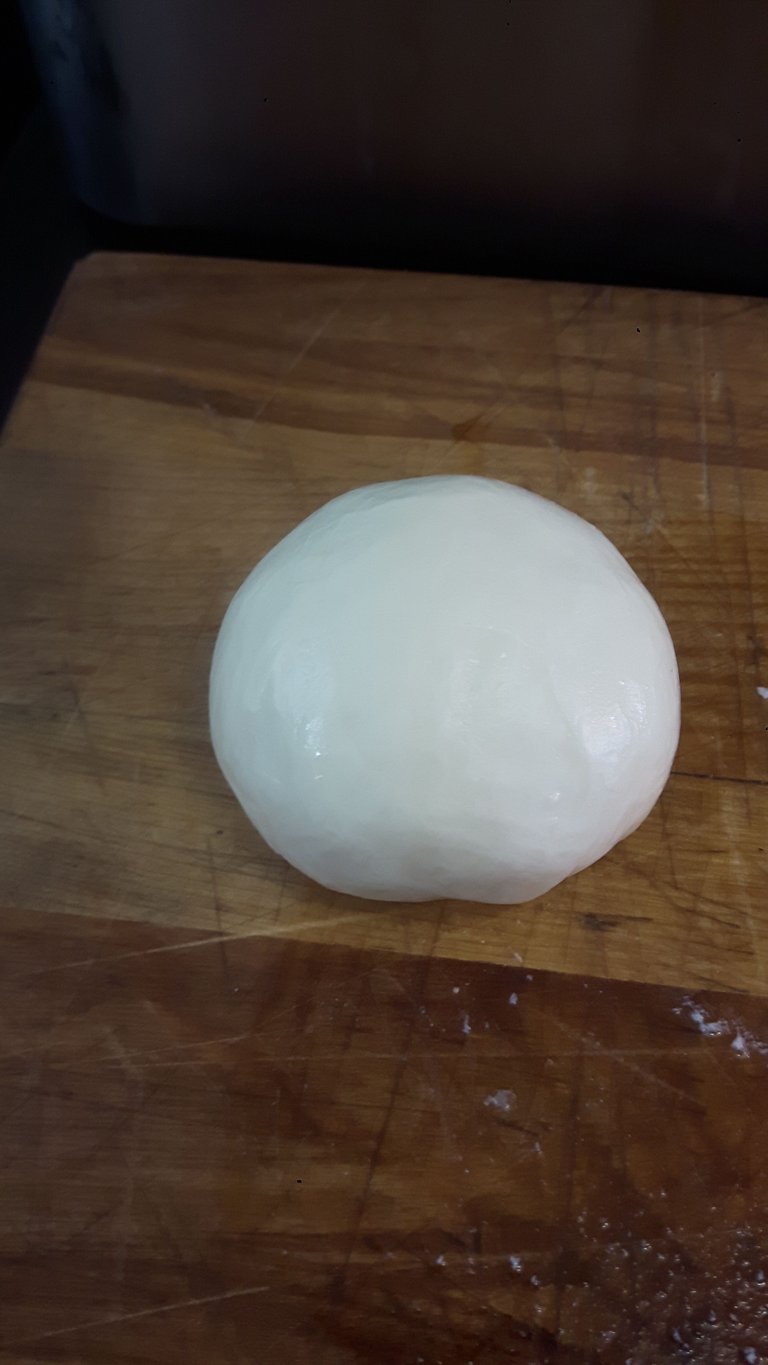
Once you are done stretching your mozza, you will place the formed cheese into a bring of 1 litre of water with 1/4 cup of salt dissolved in it. Store your cheese in this brine to help it gain that salty taste. You can use your mozza right away and ideally it should be used up within a week.
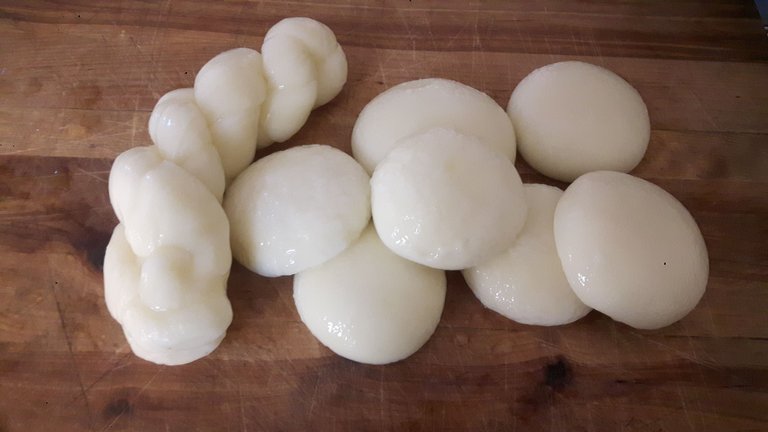
Here is the cheese recipe I use...
3 gallons of fresh milk
3/4 cup of vinegar stirred into 6 cups of cold water
3/4 tab of rennet dissolved in 1.5 cups of tepid water
1/4 cup of sea salt
▶️ DTube
▶️ IPFS
I am so thankful for your awesome post. Great detailed instructions and pictures. I hope to give this a try this spring. I had cheese in mind when we built our cellar. A dream of aging cheeses one day. I look forward to giving this a try!
Thank you for the feedback! Id love to hear how your cheese making this spring goes. I share that beautiful dream. And you know...once I started maming cheese I discovered that it was much less intimidating that I had anticipated. I hope you find the same thing.
Thank you! I Hope both our dreams come true!
You post has been included in the Saturday Kitchen Table Curation post.
CONGRATULATIONS!
Thank-you! That's absolutely wonderful :)
This looks delicious! I'm so excited to try this, thank you for sharing this ❤
You are very welcome! Let me know how it goes! I would love to see pictures. Have you many any cheeses before?
Wow! Thanks for sharing! I will try it for my own!
You are very welcome! I wish you success with your cheese adventures!
Have made my first own butter and bread. seldmade mozzarella will fit perfect to it :) Thanks I'll let you know when it was a success
I LOVE homemade butter. I am a bit of a butter, lard and tallow hoarder (as my partner states). A beautiful dream of mine is a great big root cellar with a whole shelf filled with fats for cooking :)
I tried to make mozzerella but didn't allow enough time and had to stop in the middle and come back to it hours later. Pretty much a fail... :(( Maybe I will try again sometime, and allow plenty of time!
A wise step with all cheeses...they are pretty specific with time and temperature requirements. Best to have a whole afternoon just in case.
Brilliant. I have been wondering how to make cheese at home. Thank you for sharing this useful diy. Xx
This and cottage cheese are great starter cheeses! But honestly...my favourite is called Tomme. Easy for a newbie aged cheese and the results are pretty Flawless. I hope you get a chance to try some out!
Awesome stuff! Checked out a lot of your posts and happy to have found your work :)
Thanks for posting this!! I need to make some fresh cheese...
Hey, great video! Would you mind checking out my channel and letting me know what you think?