So this past week, I was fortunate enough to upgrade from the city tap water to a reverse osmosis filtering system.
Before this, distilling water was the only other alternative to tap.
Here is the schematic of the system that comes with the unit. Making the install as straight forward as possible.

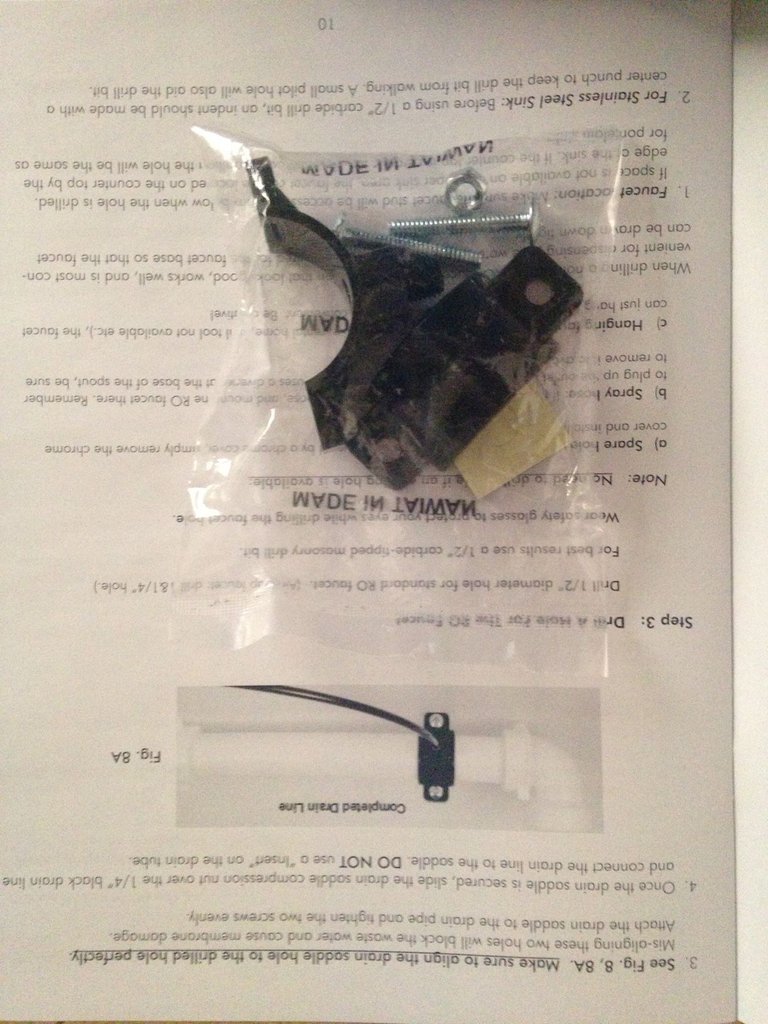
Instruction manual:

The 5 stage filtering unit with all filters in place. There is a small amount of assembly required. Screwing in the filter housings and filters in the correct order.
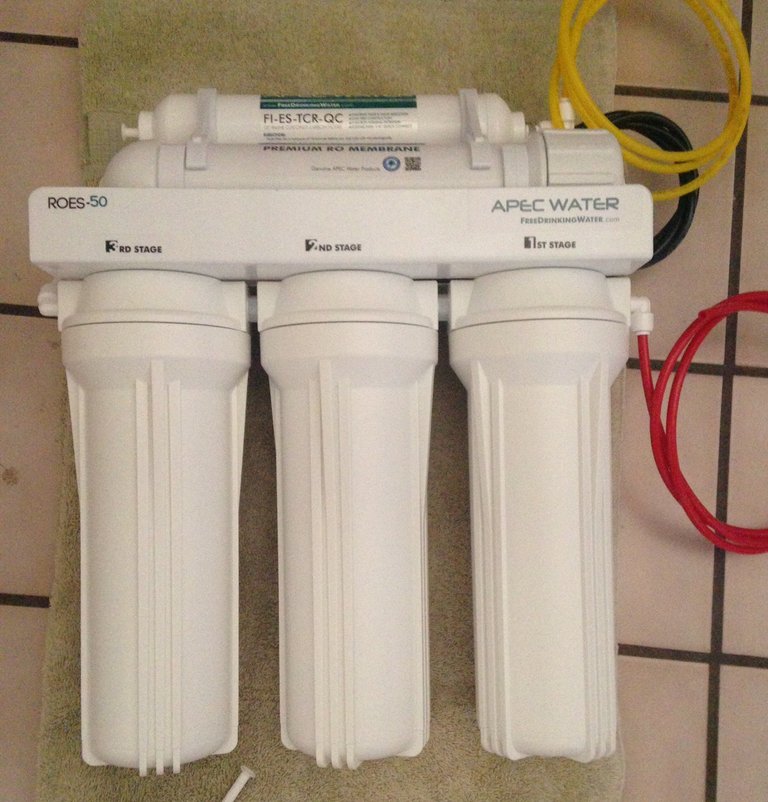
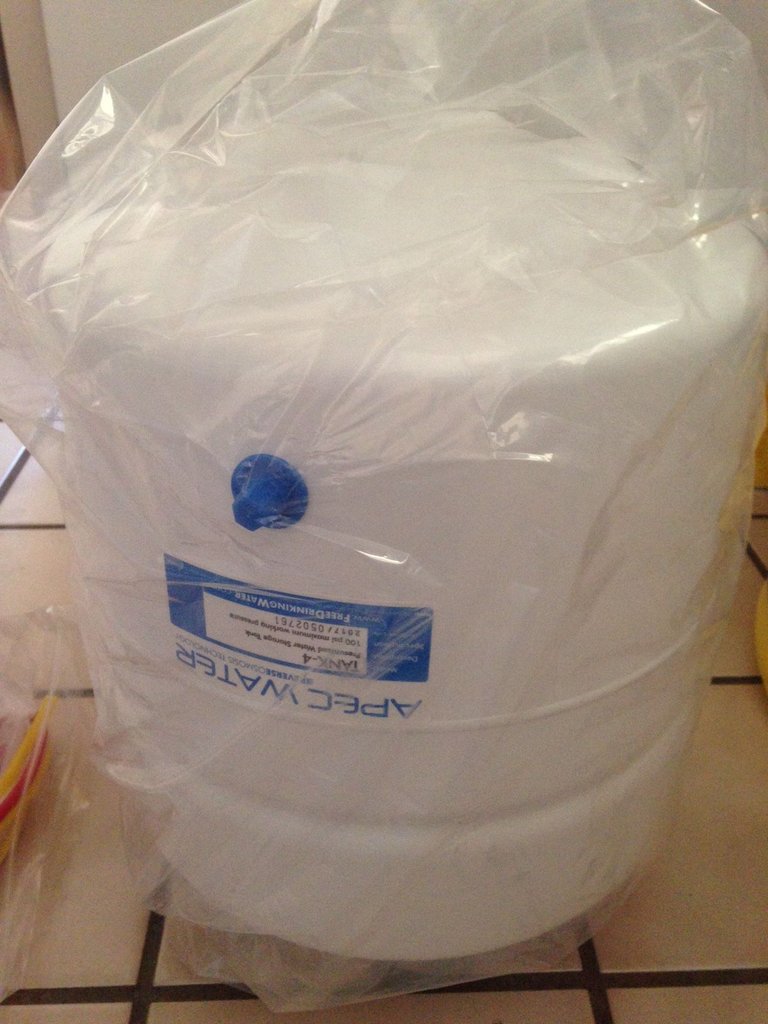
Because the reverse osmosis filtering process takes some time to occur. There is a 5 gallon holding tank for storing the filtered water. That way you can have drinking water on tap up to 50 gallons/day on this unit.
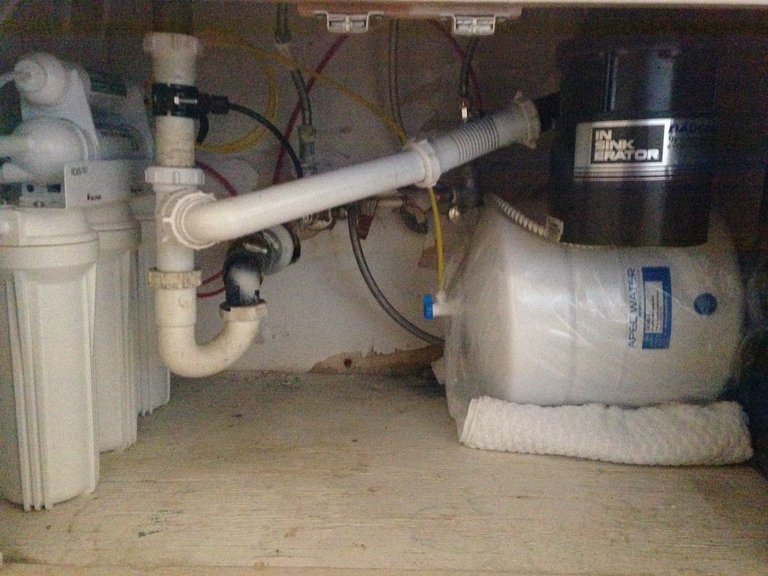
All necessary hoses and fittings are included except any mounting hardware is not included.

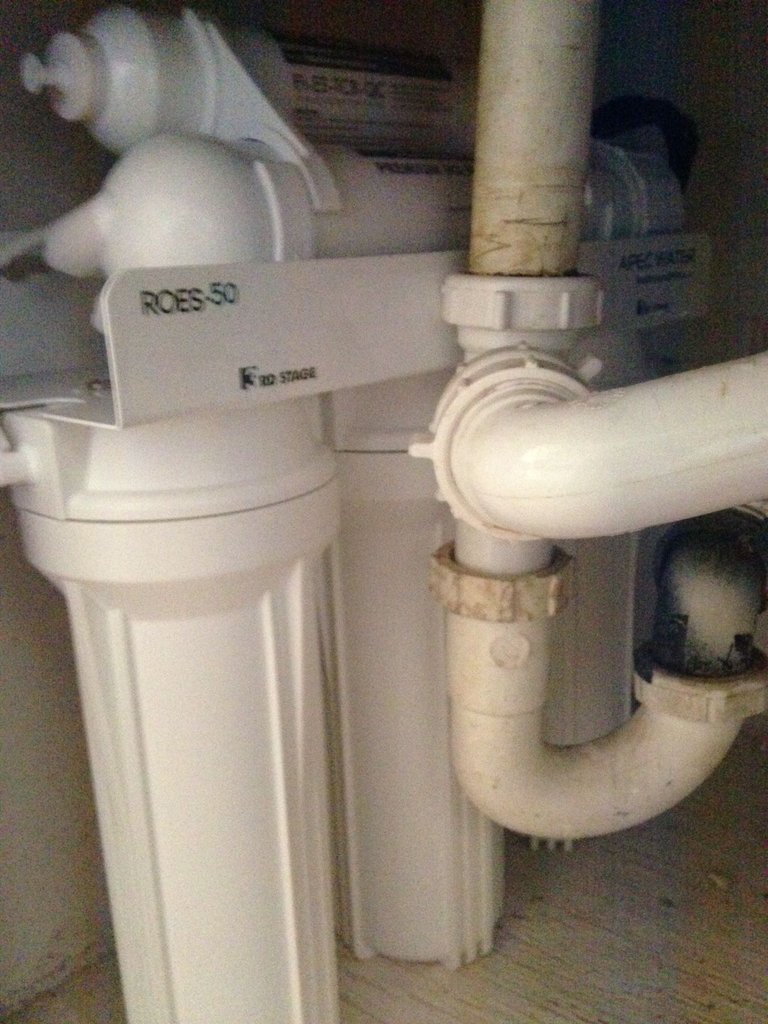
Mounting the unit is optional. This is where this one was placed. It is quite secure between the wall of the cabinet and the pipes and out of the way of anything affecting it. It wont be moving around anywhere. Also, by not mounting it, I can easily remove the filter unit and replace the filters.
Installing the cold water fitting was probably the most labor intensive part of the entire install. Here's a series of pics of that:
Before

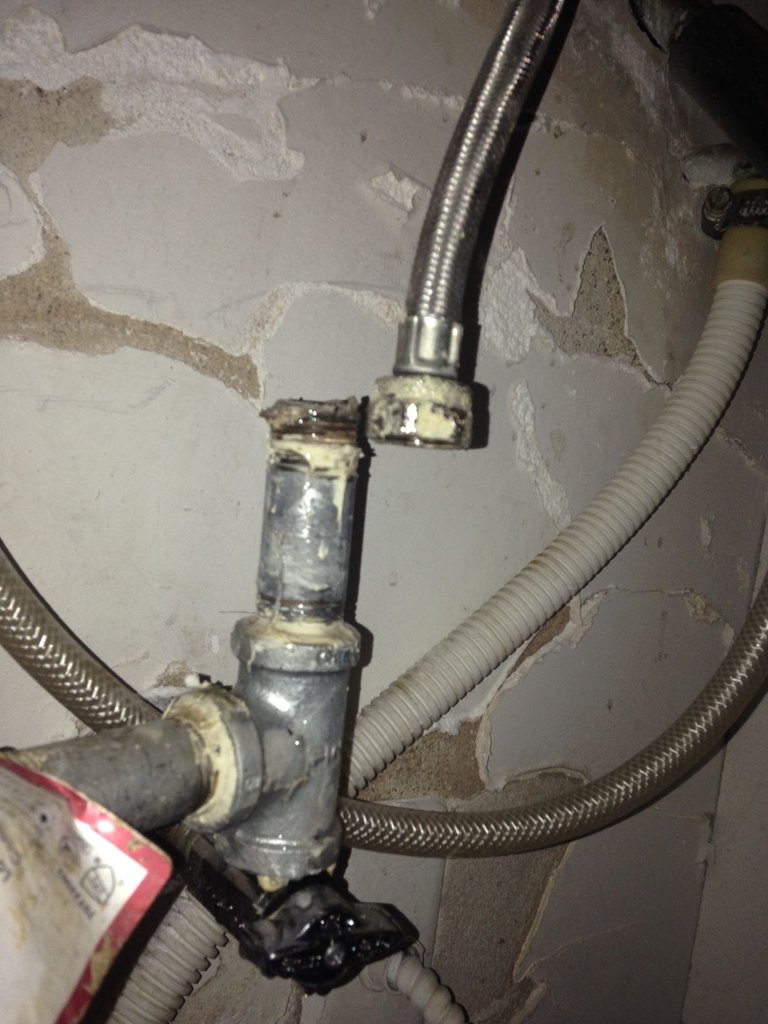
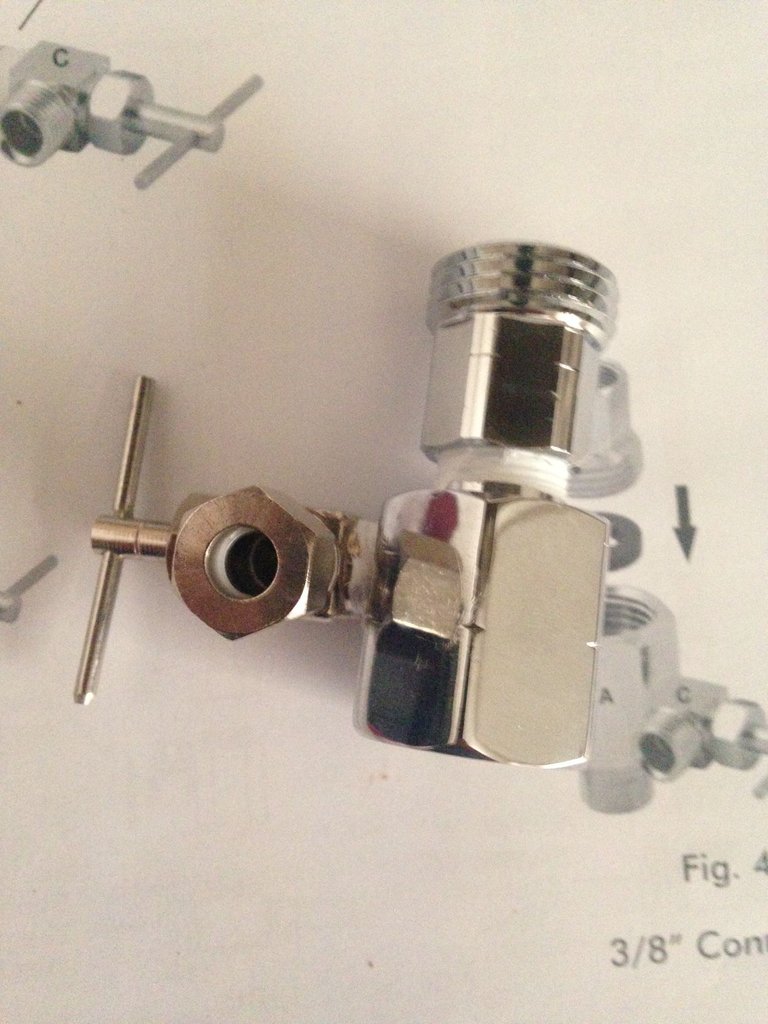
After

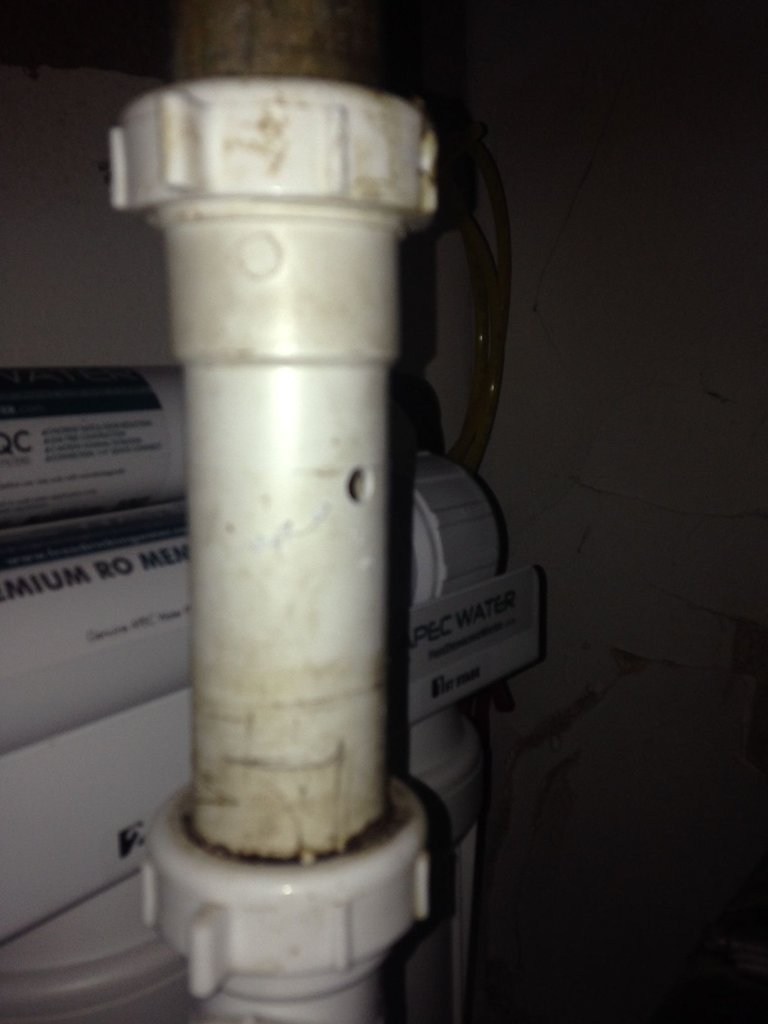
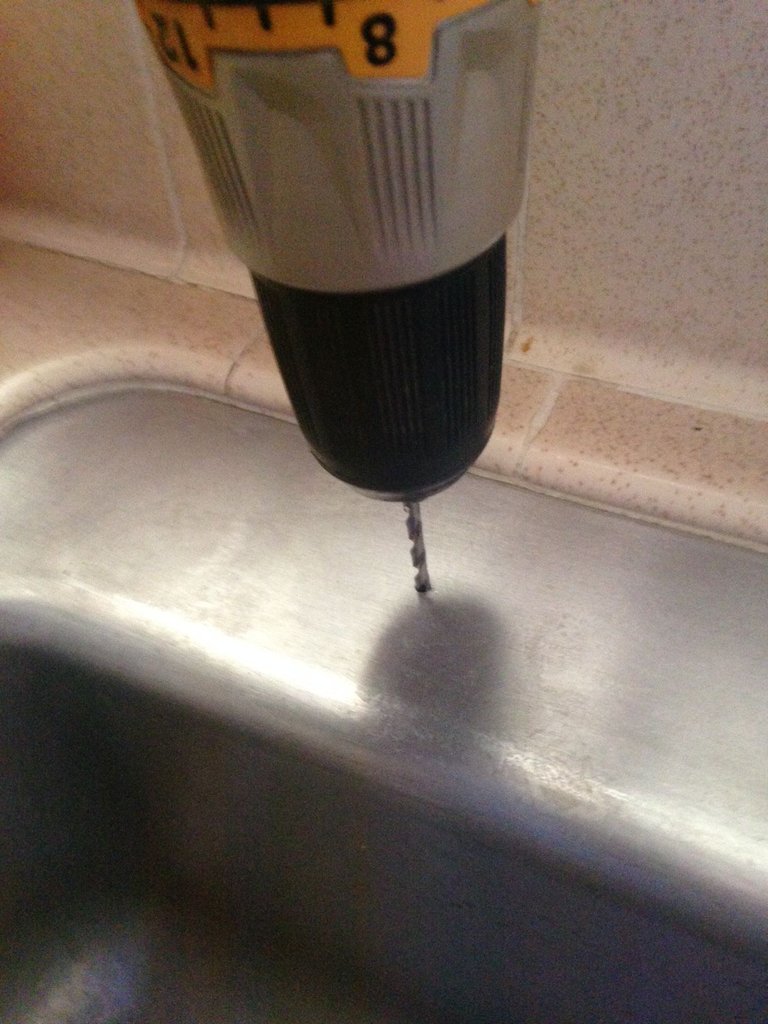
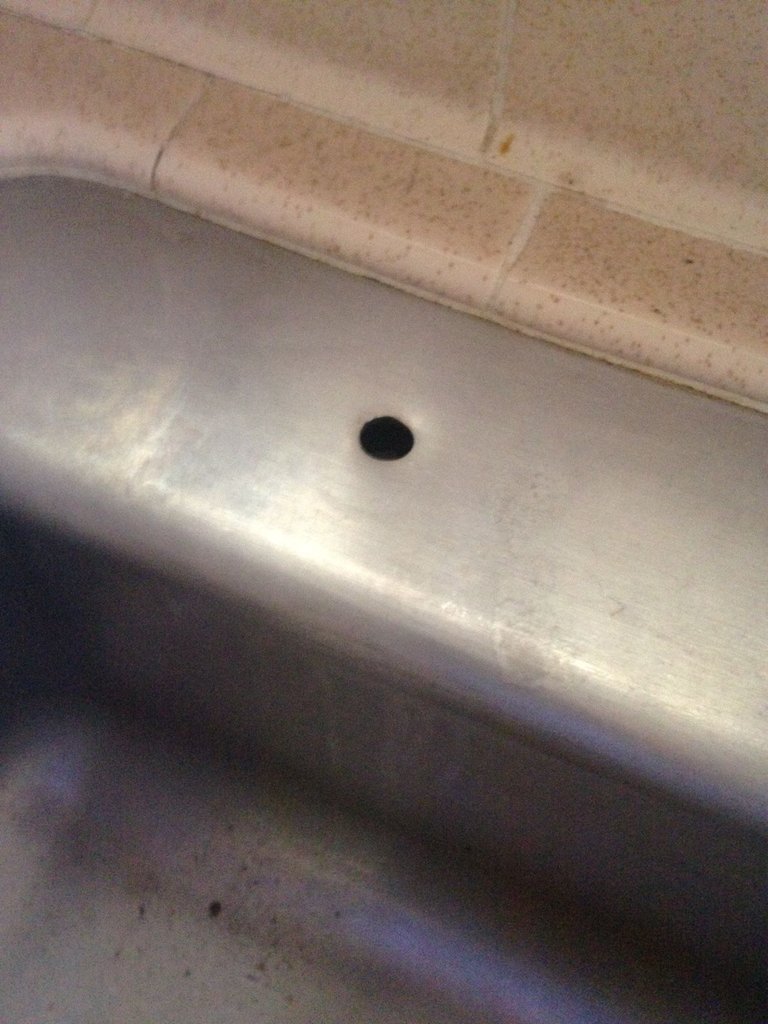
Here's a series of pics of drain hose install:
Drill hole size was 1/4 inch. Installed anywhere on the sink drain pipe.

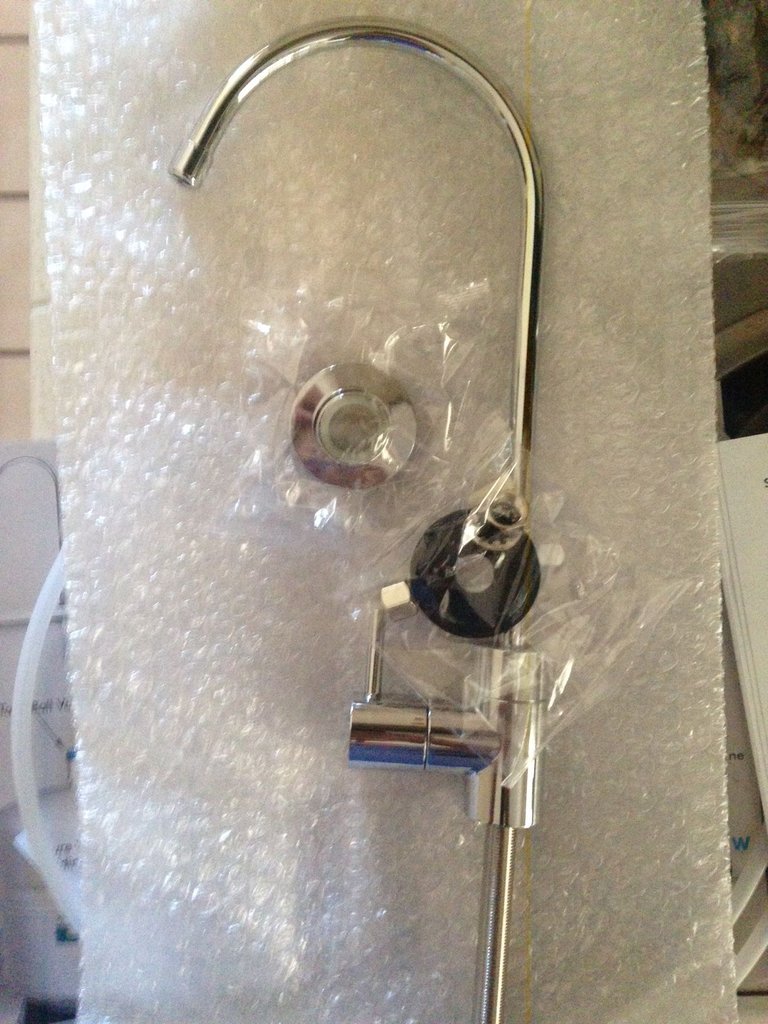
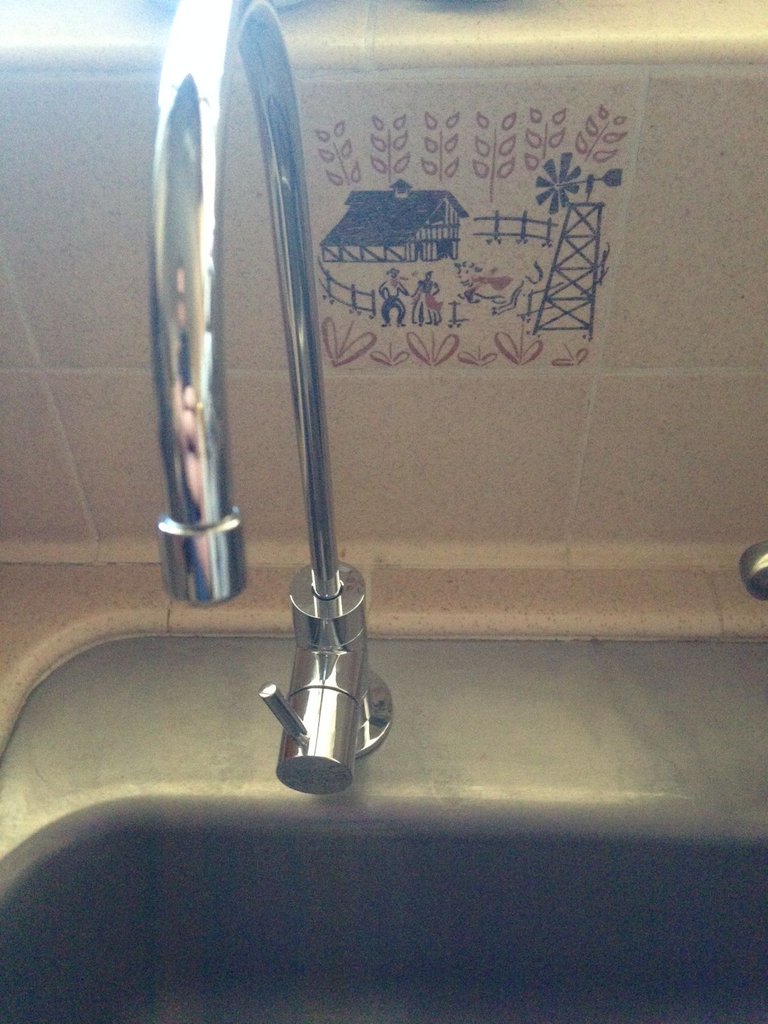
Here's the pics of faucet install:
Starting with a smaller drill bit to initially drill the hole. Use WD40 for lubrication drilling metal on metal.
This finally requires a 1/2 inch drill bit for the faucet to mount.
Then it slides right in.
Here's the complete install and fitting:
It is recommended in the manual to allow the system to fill and then flush it twice before drinking from it.
I can understand this because the initial flush shot out all kinds of what seemed like black charcoal water. I'm not sure if I waited a full two flushes before drinking but I flushed a lot of water and used it to water the plants outside.

The water tastes great in comparison to the tap water. The mineral content is far less.
The filters are recommended to be changed every 6 months to a year depending on your tap water quality. Replacement filters range from 30$ for basic 3 stage filters and around 80$ for the complete 5 stage filter kit that is only replaced every 2 years.
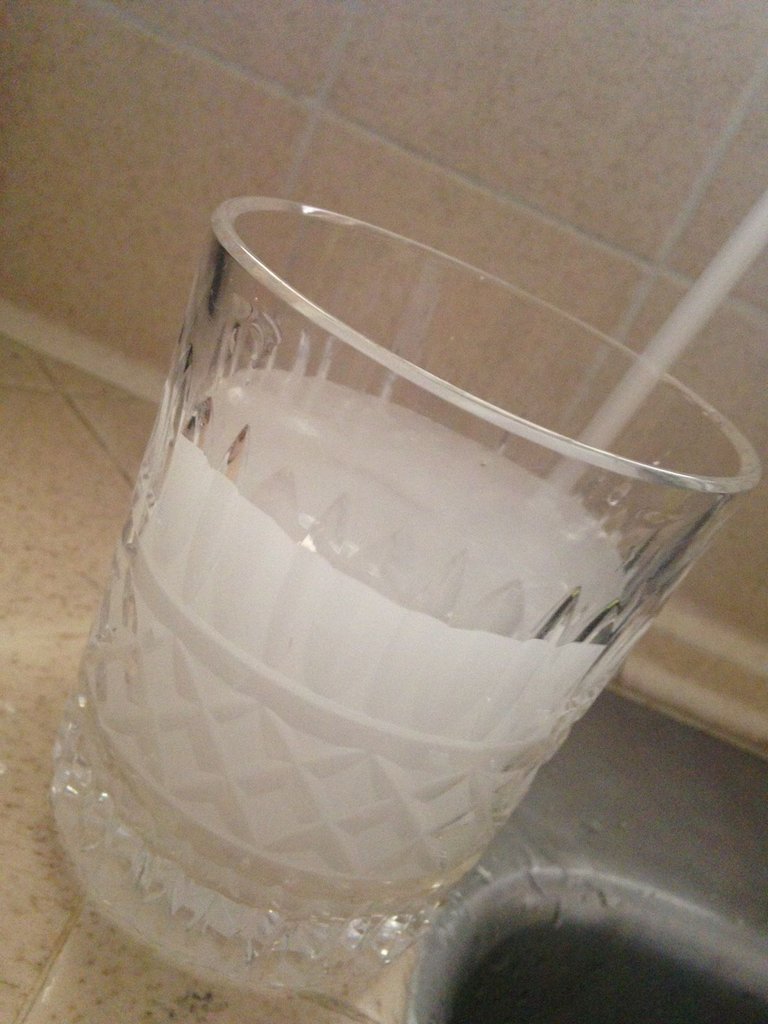
The water at first looks cloudy but is actually highly aerated. I don't know if this is my tap water or air in the system, but it dissipates within a minute or so to be crystal clear.
Total cost of system was 200$ on amazon. Filter replacement is 30$ every year and 80$ every 2 years. The 5 year total cost on top of normal tap water charges is 550$.
Giving your body better quality resources... priceless.
Well that covers most of it. Obviously, the install is custom to the sink and cabinet and can be done many different ways.
Any questions feel free to ask.
Great job mate !
Thanks mate!