Sweet syrup season is upon us! We have been tapping trees on our property for 2 years and have worked to gradually improve our processing routine. Here is my earlier post on tapping (although we are now using 5 gallon food grade buckets from Menards now, rather than nasty milk jugs) As anyone that processes sap into syrup knows, it takes a lot of energy and time to convert. Most of that time is spent babysitting the sap during the cook process to ensure you don't overcook the syrup.
This year I decided to work at eliminating the cook time involved in syrup processing, along with eliminating some of the waste. Someone I did some automation for during my day job opened my eyes to the possibilities of using an RO system for syrup processing. It hit me like a smack to the face, it was so obvious and had been sitting under my nose this whole time! I have programmed many industrial RO systems and we have an RO system installed at our house to provide us with clean water.
I won't go into the specifics of how an RO system works, here is a wikipedia link in case you are interested. I will say that the basic idea of using an RO system for maple syrup processing is completely opposite of how you use an RO system for drinking water. In the case of a syrup RO system, the part that would be considered waste in your drinking water RO system is actually the concentrate you save to further process, either through another pass in the RO or over heat to speed up evaporation.
So here is the basic system (I'll provide a parts list further down). I wanted to see how cheaply I could build a functioning system for, that was capable of processing about 75 gallons or so per day. This is what I came up with:
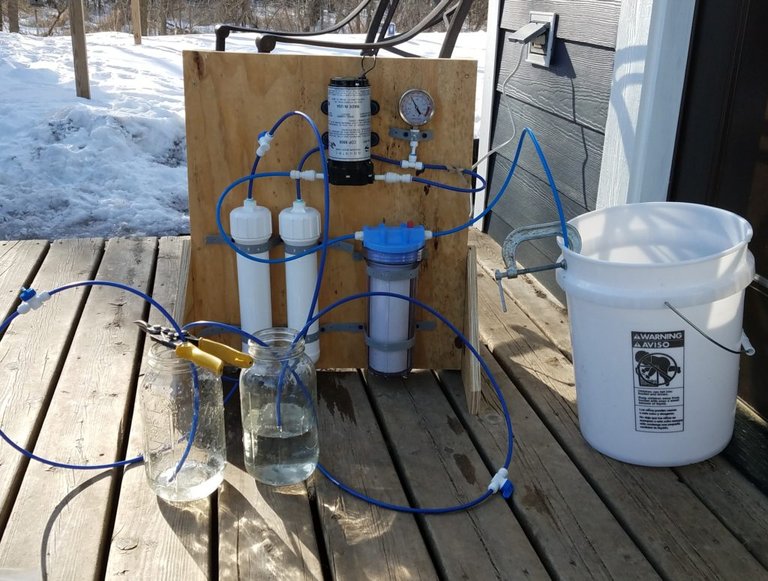
Here is a basic overview. The 5 gallon food grade bucket holds raw sap that is fed through a sediment filter with the use of a pump. My system runs at about 80PSI. The pump then pushes the sap through (in the case of my system), two RO membranes. The concentrate (sap) is pushed into a container, in my case, a large mason jar. The permeate (water) can be sent to drain, or better yet, used. In the traditional process, this water would be lost to the wind, quite literally. In this case, it can be used. I like to use it to make cold brewed sweet lemon green tea (I'll share the recipe in the future). You could also drink it straight or feed it to livestock.
The concentrate (again, the condensed sap) is saved. I like to store it away in the fridge so it doesn't spoil as quickly. This is the great thing about using an RO, you can condense 10-100 gallons of sap you would normally need to store for a few days down to a few gallons worth. Then, once you are ready to cook it all down, you can pull it all out and get the fire going,
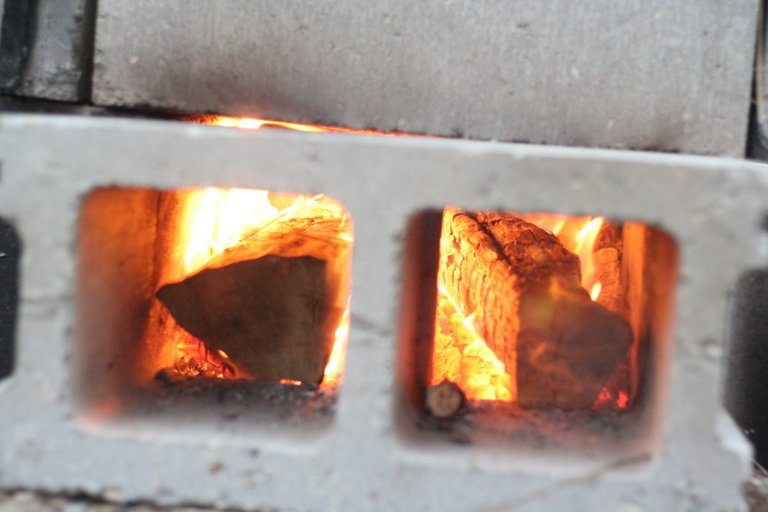
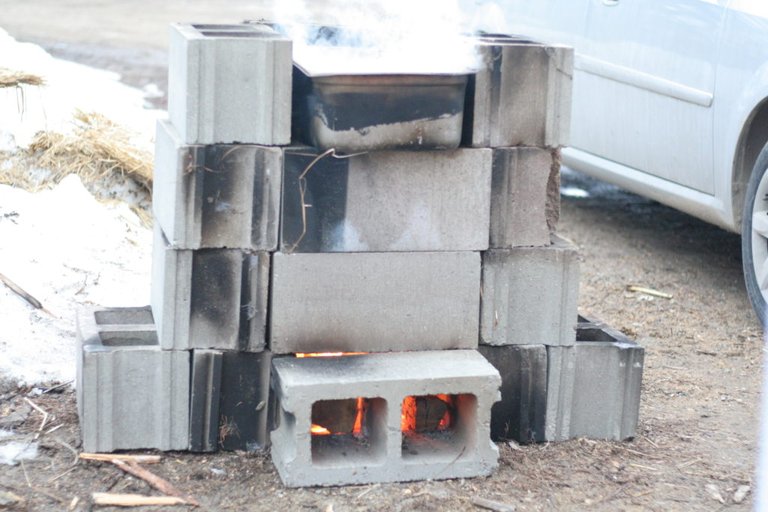
This is my poor man's maple syrup stove.
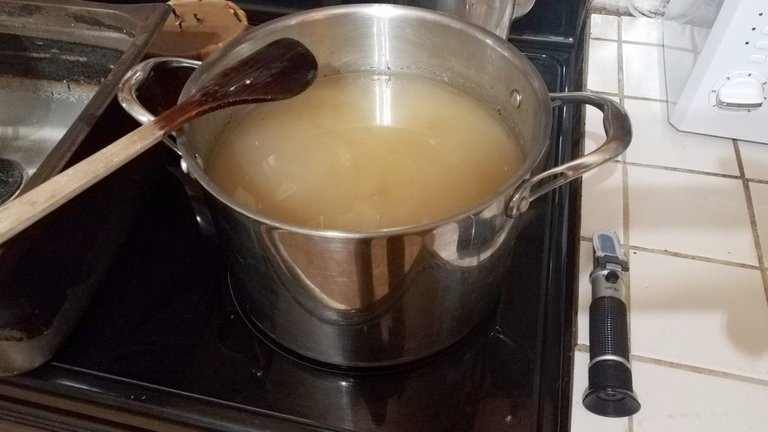
And this is our first small batch of syrup, finishing inside, on the stovetop..
So, onto the parts list:
RO Membrane ($18, x2 in my system)
RO Membrane Housing ($17, x2 in my system)
Sediment Filters ($10.50)
Sediment Filter Housing ($13)
Pump ($90)
Valves ($7)
Pressure Gauge (optional) ($11.50)
Tubing ($8.50)
Misc Parts I picked up at the local hardware store ($20-25). This would include some reducers, screws, and plywood.
Here is the basic flow chart and where the pieces listed above fit into the system.

Some notes on the system above:
Once you finish processing a batch of sap, run the system with just the permeate (water) solution for a bit to flush the system clean. You may want to add some hydrogen peroxide.
Once you initially start the system, you may need to open up the valve that installed on the outlet of the last RO membrane (before the sap storage) to prime (flood) the pump. Once fluid begins to exit the system, you will close that valve to almost full closed.
You may want to purchase a refractometer to measure the brix level during both processing and finishing. Finished maple syrup will read in the 60s. The meter is useful in determining whether you have the valve opened or closed too far by monitoring the water outlet. You should read around 0 brix when measuring the water, meaning you have 0% sugar content in the water.
On the first pass, for every gallon of concentrated sap the system output, it output two to three gallons of water.
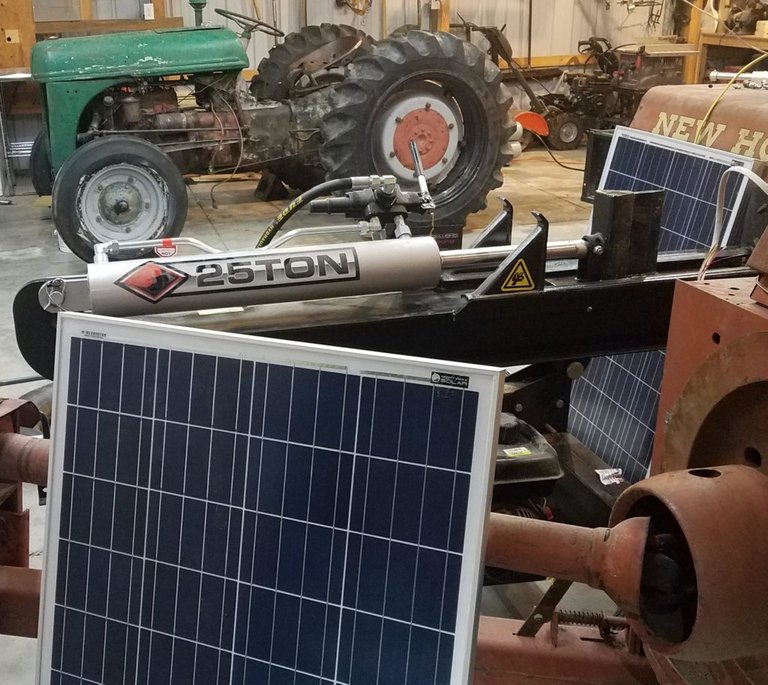
Beside the syrup RO system, what else did we work on this last weekend around the homestead? I setup and tested out or future solar power systems for our garage and barn. My father-in-law, my boys, and a friend came over Saturday and we put the tractor back together, mostly, sans battery and a radiator and muffler I have on order! Only a few more days and we should have ourselves a fully functioning 1940's Ford 9n tractor!
If you have any questions, drop it in the comments section below and I'll modify the post to include the answer as best as I can!!
-Jeremy
Blog: http://mnhomesteader.com/blog/
Facebook: https://www.facebook.com/mnhomesteader

Join our Discord Channel to connect with us and nominate your own or somebody else's posts in our review channel.
Help us to reward you for making it ! Join our voting trail or delegate steem power to the community account.
Your post is also presented on the community website www.steemmakers.com where you can find other selected content.
If you like our work, please consider upvoting this comment to support the growth of our community. Thank you.
Very interesting. I've got a couple of maples near my house. I'll try to get syrup with your method.
Thanks. You'll enjoy tapping them!
That's actually really innovative. How many hours less of boiling do you think you have to do?
Not sure on hours, but it did remove about 2/3 of the water. It took much less effort to baby sit as I could let it run all night in our basement this weekend while we had a snowstorm outside.