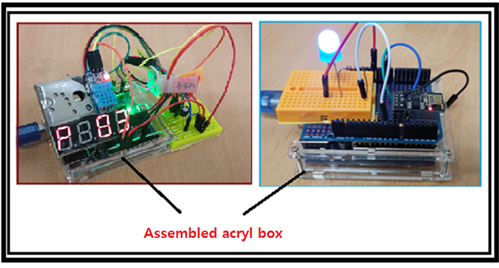
Purchase an acrylic box kit of less than approximately 4.0 US $ to assemble. The above photo is an example of using acrylic box packaging for fine dust meter and ESP-01 WiFi module application.
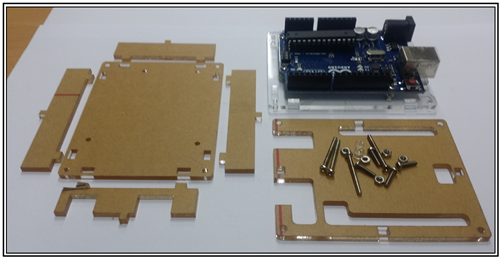
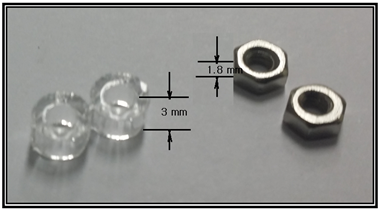
Let's put the Arduino board into the acrylic box. In the picture below, let's unfold the acrylic assembly parts. In particular, check the number of bolts, nuts, and spacer parts accurately. If you open the new product, you can see that it contains enough parts.
4 X 2cm(0.8 inch) bolts, 4cm(1.6 inch) bolts or more, 4 or more transparent plastic spacers,
More than 8 nuts
A small screwdriver is needed for assembly. Be sure to put on a proper fence so you can find it when you drop a small part during assembly.
Prior to assembling the board, simply attach a transparent tape to the back of the board and insulate it.
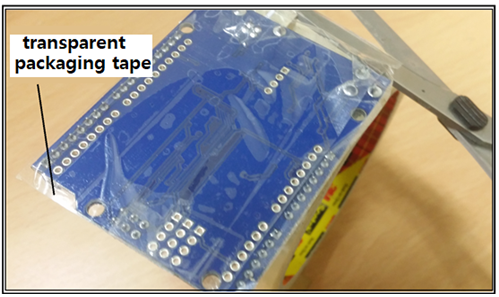
If you spill coffee on the floor or accidentally put it on a metal plate, there is no damage. Fit the plastic spacer between the acrylic base and the board and assemble the four bolts and nuts.
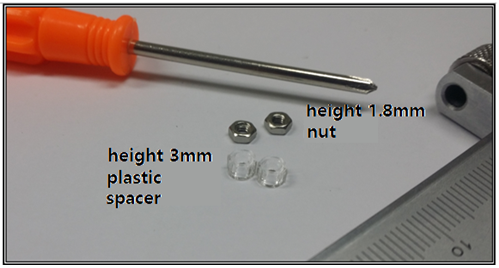
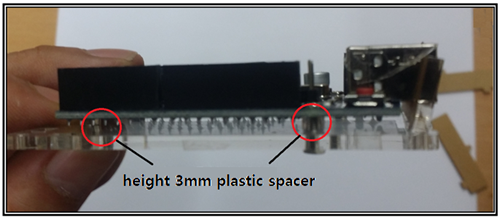
From the side of the assembly, you can see that the space is 3mm(about 0.1 inch) apart by the spacer.
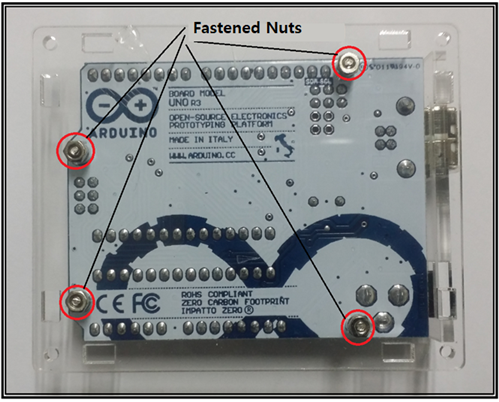
Let's look at the back of the bolted-nosed acrylic plate. Since there is no washer when tightening the nut, it can be easily loosened and the nut can be lost. If you want to prevent loss, you can stick it with a transparent scotch tape so that you can cut it again and find it in a tattered state.
Turning to the side, the side walls are erected and finally the acrylic lid is covered. At this time, the slot should be seen so that the jumper wire can be wired. Assemble 2cm (0.8 inch)long bolts from all corners.
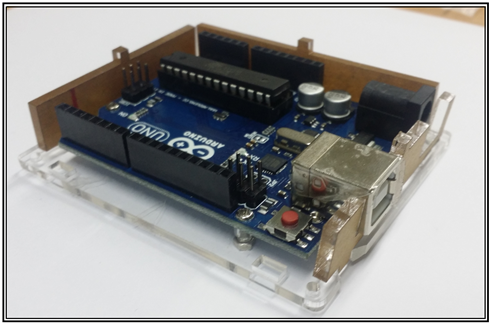
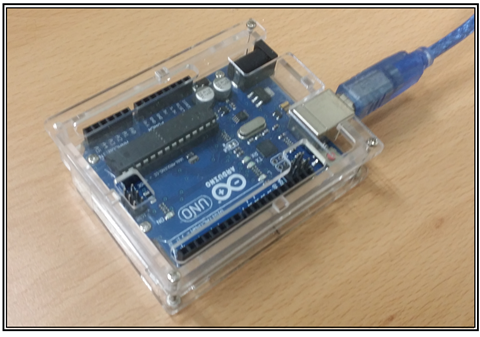
Once the assembly is complete, plug in the USB cable to complete it.
For aduino coding, please refer to the previous blog on the internet address below.
Aduino coding series #2 : Arduino IDE Download and Install
https://steemit.com/howto/@codingart/aduino-coding-series-2-arduino-ide-download-and-install
Nice Work
Appreciated!