Hello Steemians!!!
In this tutorial I will teach you how to quickly familiarize yourself with the motherboard and its component. Changing of motherboard components might see daunting for most people but it’s quite easy, this tutorial will show you how to access your motherboard and change most of its component.
For this tutorial, you are going to need;
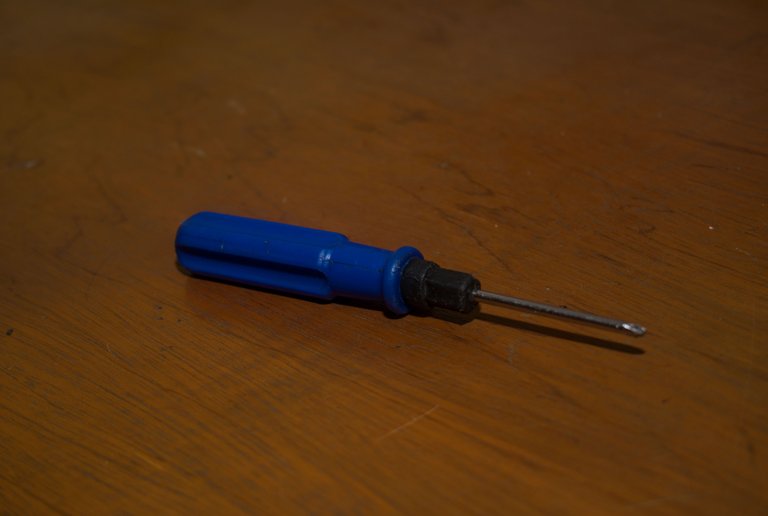
• A Set Of Screwdriver- Star Shaped Screw Head Preferably
• Time and concentration
• A Personal Computer
Purpose of the Tutorial
The purpose of this tutorial is to teach you how to access your motherboard and perform simple DIY (Do-it-yourself) operations on your motherboard such as;
• Changing/ increasing The Dynamic Random Access Memory To Increase Processing Speed And Overall System Performance
• Increase Or Changing the Hard Disk Drive In The event Of Operating system Failure or to Accommodate More Files on an Increased Storage Space.
• Change The Network Card
• Clean dusts from the Cooling fan to prevent system overheating which reduces system performance and causes Forced shut down.
• Change the CMOS battery to correct date, time and boot configuration.
Contents
- Terminologies Associated with the post
- Introduction To Motherboards
- Accessing The Motherboard
- Motherboard Components
- Changing And Maintaining Each Component
- Purchase Price For Replacement Parts
- Tutorial Video
- Conclusion
Terms I will Be Using in This Tutorial
• HDD- Hard Disk Drive
• SATA- Serial Advanced Technology Attachment
• RAM- Random Access Memory
• ROM- Read only memory
• CMOS- Complementary metal oxide semi-conductor
• DRAM- Dynamic Random Access memory
• LAN- Local Area Network
• PCB- Printed Circuit Board
What is a motherboard
The Motherboard/ System board is a green printed circuit board (PCB) in which all system components are connected to.
The system board is protected by the laptop casing from dust and impact during a fall; acts as a shock absorber.
There are two major types of motherboards; integrated motherboards and non-integrated motherboards.
Non-Integrated Motherboards
Non-integrated motherboards install components using expansion slots. Non-integrated motherboards are easier to repair because in the case of any damage, the component can be replaced on the expansion slot.
Integrated Motherboards
Integrated Motherboards installs all the components on the circuitry instead of expansion slots as used in non-integrated motherboards. Integrated motherboards are cheaper but more expensive to repair because if a component gets damaged, you will have to buy a new replacement motherboard.
Most new laptops uses integrated motherboards so care has to been taken when accessing and changing components to avoid damaging the system board.
Accessing the Motherboard
For This Tutorial, I will be using;
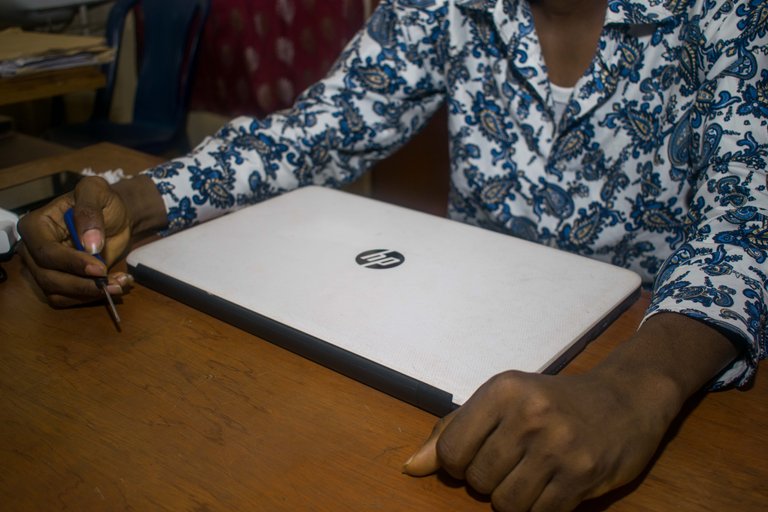
Hewlett Packard Notebook PC
• 15.6 Inches Screen
• DDR3 Ram Chip
• 500 Gigabyte SATA Hard Disk
• Intel x64-based Microprocessor Pentium 3825U Clocked at 1.9 Gigahertz Frequency
The Motherboard lies underneath the laptop casing so in order to access the system board, we have to remove the back casing.
Step 1: Disconnect all power sources
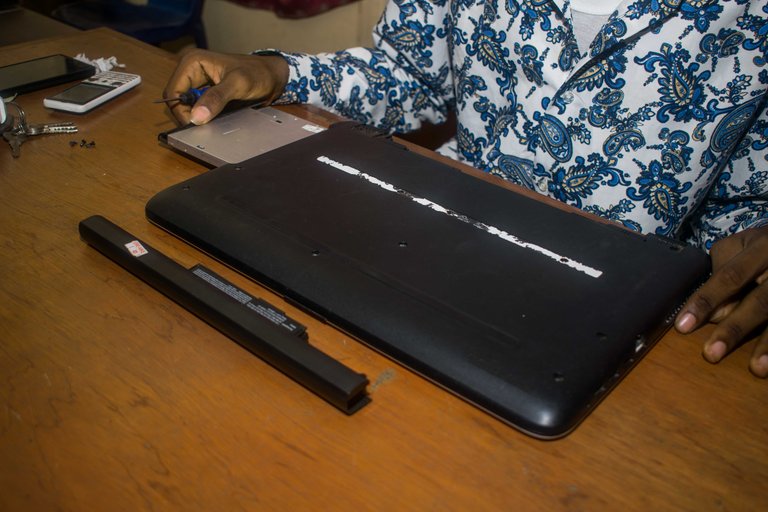
Remove all power source connected to the laptop; disconnect the charger and battery, this is very important when performing any internal PC operations as residue power left in the battery could damage the board.
So our first step will be to disconnect the charger and remove the battery.
(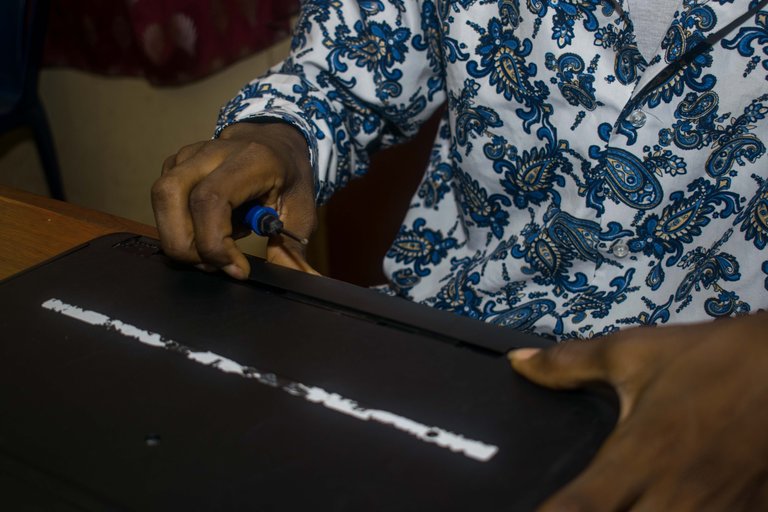 )
)
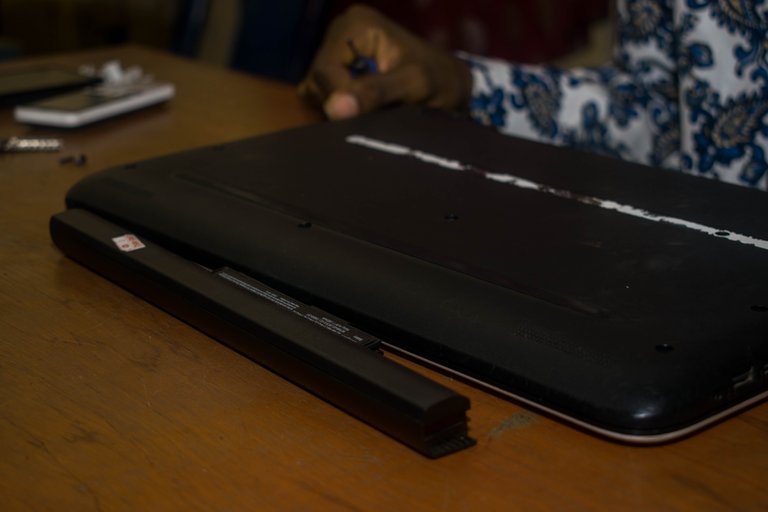
Step 2: Removing the back case
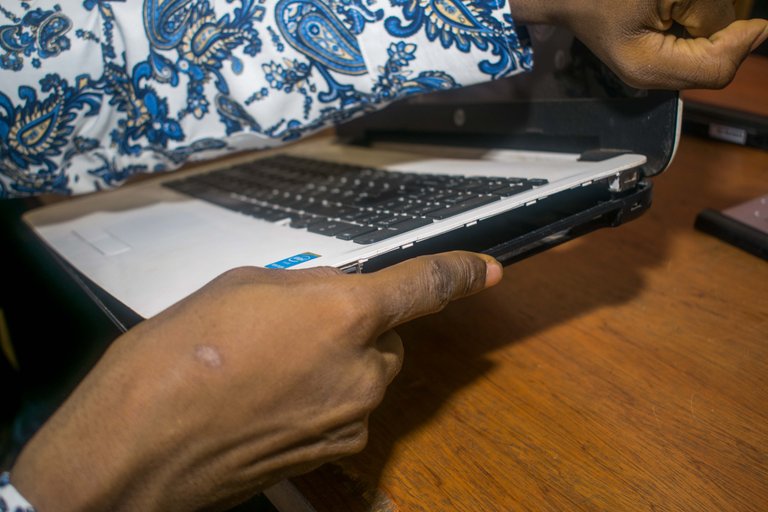
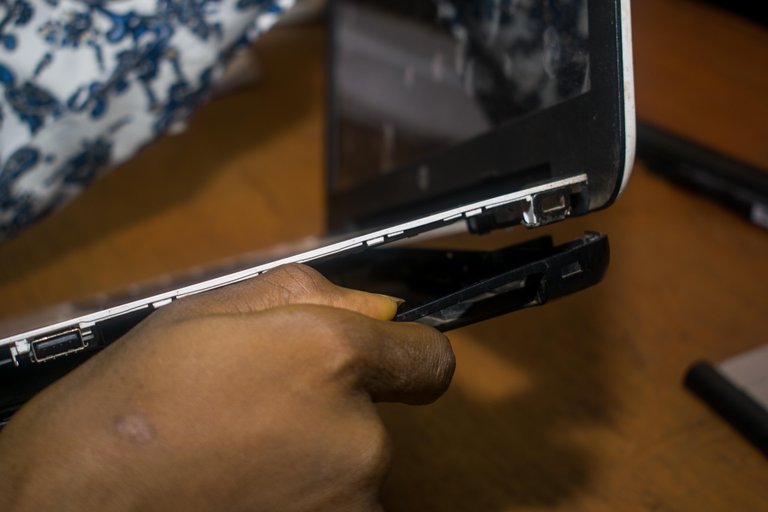
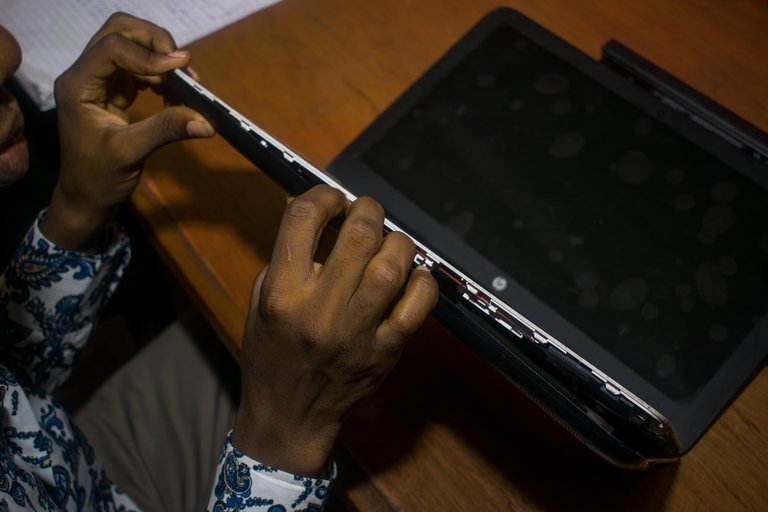
Meticulously lose all screws from the base of the laptop holding the back case and carefully slide your hands around the edges. Unhinge the casing from side to side till it comes off.
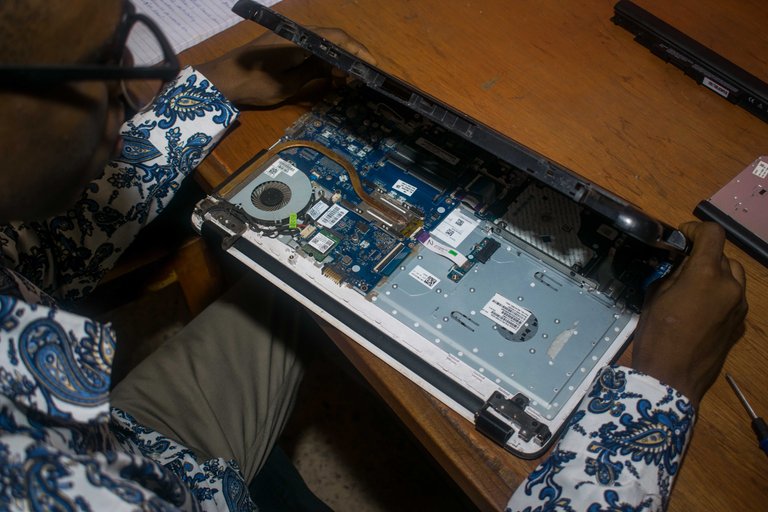
Step 3: The Motherboard
We have successfully reached the motherboard, you can see all components connected on it.
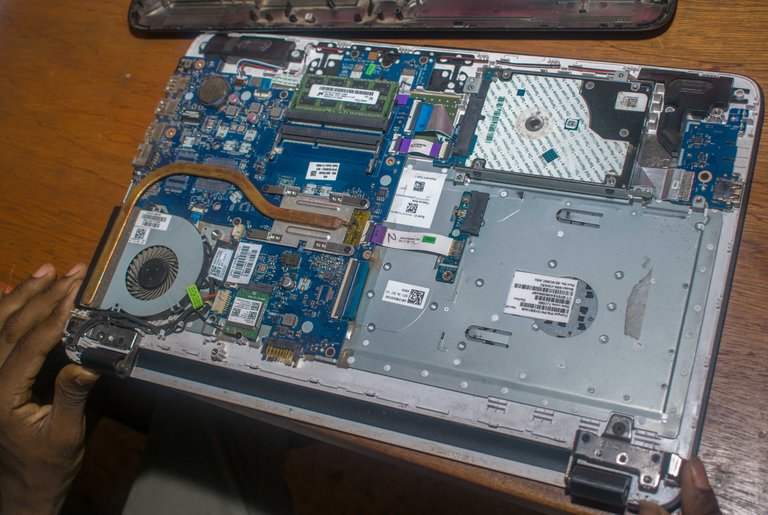
Components of the Motherboard
The motherboard consists of the following major components;
Central Processing Unit
Ram Slot
SATA/ PATA Hard disk drive connector
CMOS battery
LAN Ports
Keyboard Connector
Network Card Slots
Universal Serial Bus Ports
Heat Sinks and Fans
Other Peripheral Ports
CENTRAL PROCESSING UNIT
The Central Processing Unit is the main component of the motherboard which uses a processing chip to control and monitor communication with all other components installed on the computer.
The Processor Slot on the Motherboard is the Slot usually situated the heat sink/ fan which contains the processing chip. Most motherboards are employing microprocessors as CPU; the CPU is contained on a single IC chip and is usually located beneath the heat sink.
There are two giants who are dominating the market in the production of microprocessors;
- INTEL CORPORATION
- AMD
INTEL
Intel Corporation is the world largest producer of x86-based microprocessor chips. Intel manufactures motherboard chips, integrated circuits, flash memory, graphics chip and other semi-conductor chips.
Celeron
Pentium
Core
Xeon
Core i3
Core i7
Core i9
Advanced Micro Devices ( AMD)
AMD is the world largest producers of x86-based microprocessor and has a dominating presence in the graphics processing unit (GPU) market alongside its rival NVIDIA.
AMD major processors produced over the years;
Athlon
Radeon
Ryzen
Opteron
Random Access Memory Slot and chips
Ram Slots is the slot on the motherboard which holds the memory chip (RAM chip) used to store data and instructions for memory processing by the CPU.
Ram Form Factors
SIMM Single Inline Memory Module
DIMM Dual Inline Memory Module
SODIMM Small outline Dual Inline Memory Module
Ram size can be increased by adding a dynamic random memory access (DRAM) chip as a replacement ram. Increasing your RAM has several benefit;
• Improved System Performance by providing the CPU with increased processing capacity.
• Higher video memory for gaming and graphics designing.
• Multi-Processing; running multiple applications without compromising speed.
Types of Dynamic Rams Found In Modern Laptops
• DDR
• DDR2
• DDR3
• DDR4
• DDR5
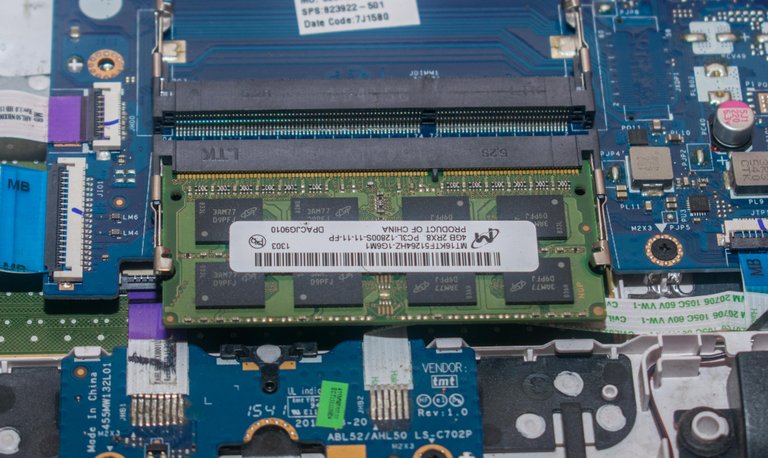
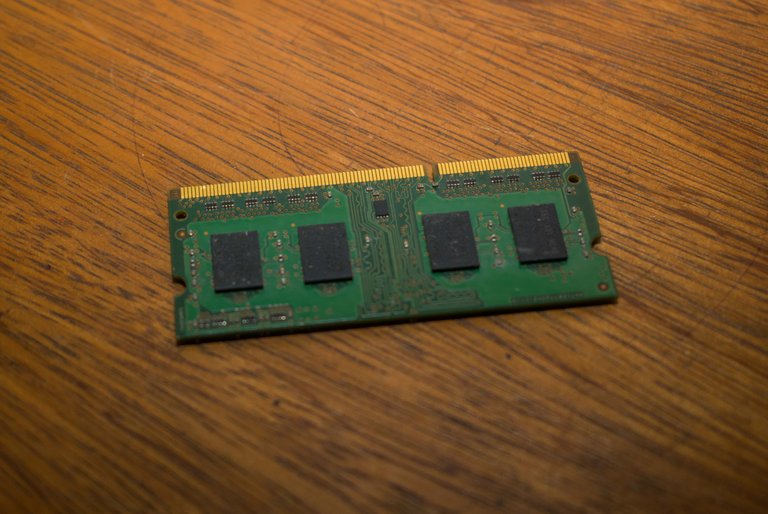
A DDR3 DRAM CHIP WITH A SODIMM FORM FACTOR
Hard disk drives
Hard disk drive is the disk storage device which uses concentric magnetic disks rotating at high speed to write and read data. Hard disk drives use random access to read and write data; data can be read and written in any order without following a particular sequence.
Types of hard disks
PATA/ IDE Hard drives
These are hard drives which uses 40-80 tiny pins to transmit data concurrently in parallel. PATA hard drives require at least 5 Voltage and 1.0 Ampere direct current.
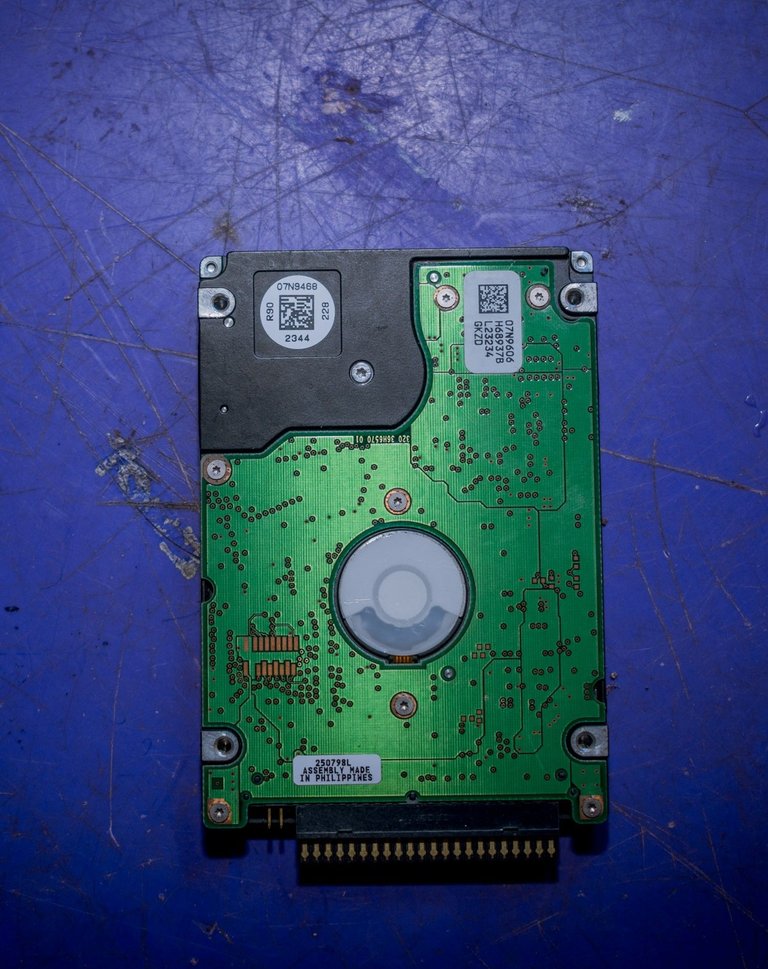
SATA hard drives
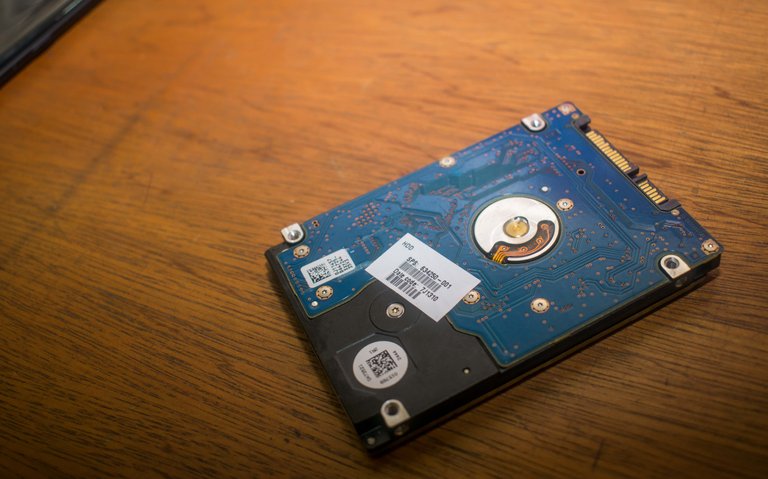
Serial advanced technology hard drives unveiled in the early 2000 was the successor to PATA hard drives which consumed lesser power and had higher transfer speed. SATA HDD uses serial signaling to transmit data.
SATA has an extra feature which enables hot swapping; swapping hard drives without powering down.
Hard drives are connected on the motherboard using the HDD connector. The motherboard used in this tutorial is a SATA connector which allows the connection of only SATA hard drives.
Hard disk drive comes in different sizes and prices ranging from;
- 40 gigabytes-$7.14
- 80 gigabytes-$10
- 160 gigabytes-$14.5
- 250 gigabytes-$21.45
- 320 gigabytes-$29
- 500 gigabytes-$43
- 750 gigabytes-$58
- 1 Terabyte - $74-$80
These should be your price range when you decide to purchase a replacement hard disk drive. I’ll recommend you buy a Western Digital (WD) Black hard disk drive, been using mine for almost three years without any permanent problem.
Changing Hard Drives
Hard drives are one of the easiest components to change on your laptop in the event of a hard disk failure. All you need do is to;
• Purchase a replacement PATA/SATA hard disks.
• Remove the hard disk from the SATA/PATA connector; these connectors are differentiated by the number of pin slots, with PATA having over 40-80 pins.
• Reconnect the new hard disk drive
For a more detailed tutorial on how to change your internal hard drive
Click on the Link
CMOS Battery
Complementary Metal Oxide Semi-conductor (CMOS) memory chip is a chip used in integrated motherboard to store hard drive configuration, boot sequence, time, date etc. when the computer is turned off. The CMOS battery provides the power required to maintain the memory on the motherboard which stores the BIOS settings. The CMOS is generally a lithium coin cell with a battery life of 3 years, when your laptop starts losing time or the CMOS checksum error starts showing before booting, the battery needs to be replaced. You can get a replacement battery at a nearby computer shop for $0.48.
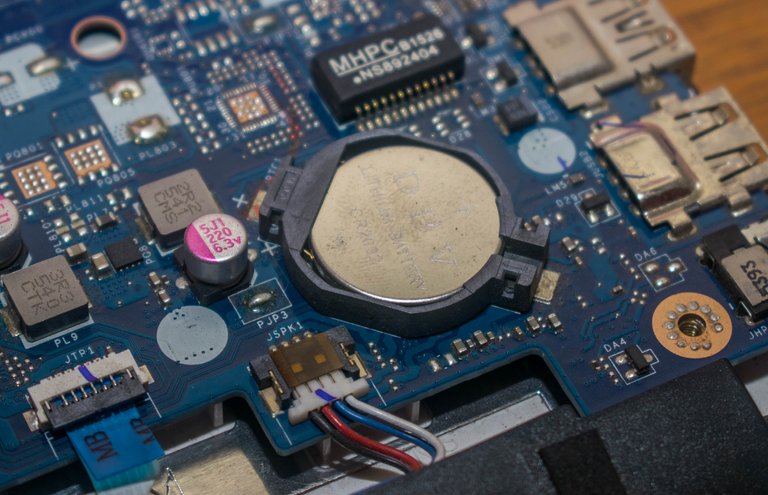
Changing A CMOS Battery
A CMOS battery requires a replacement when boot configuration changes and time and dates are backdated, get a replacement cell from any computer shop selling CMOS lithium cell and replace the old worn out cell with the new one.
Cooling fan and heat sink
Cooling fan provides airflow to the computer thereby cooling the processor and other components hence increasing system performance. The heat fan dissipates heats generated by the processor, memory module and hard disk using the case airflow. The hard disk generates heat due to mechanical motion of the rotating disks and the system losses power in the form of heat, so the airflow path must be open at all times to prevent overheating which reduces system performance.
Cooling fan
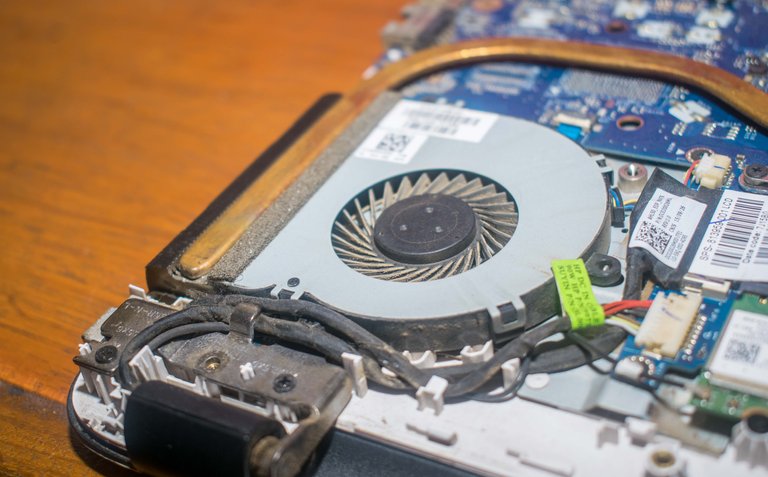
Heat Sink
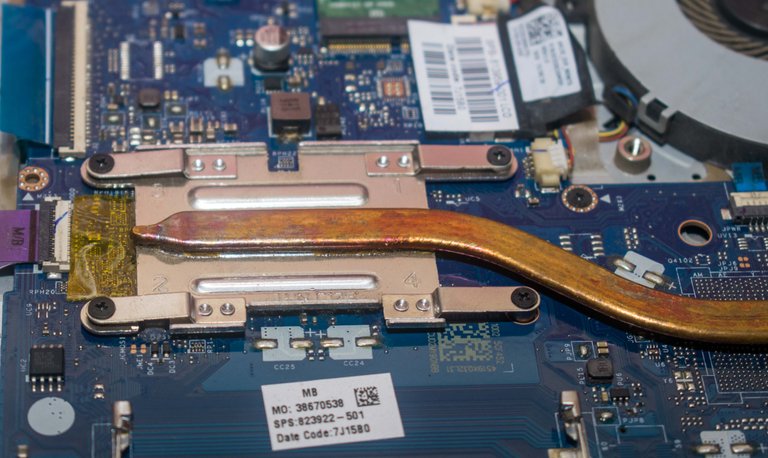
Cleaning the cooling fan
The cooling fan is the primary component responsible for maintaining the CPU temperature so it must be cleaned at all times. To clean the fan during airflow obstruction by dusts, we use an air blower or brush to blow the dust out or brush to clean the fan blades.
Wi-Fi/Network Card
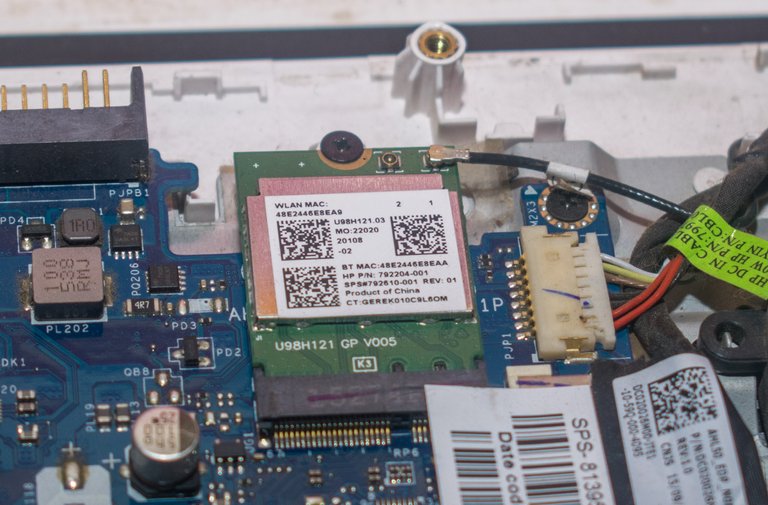
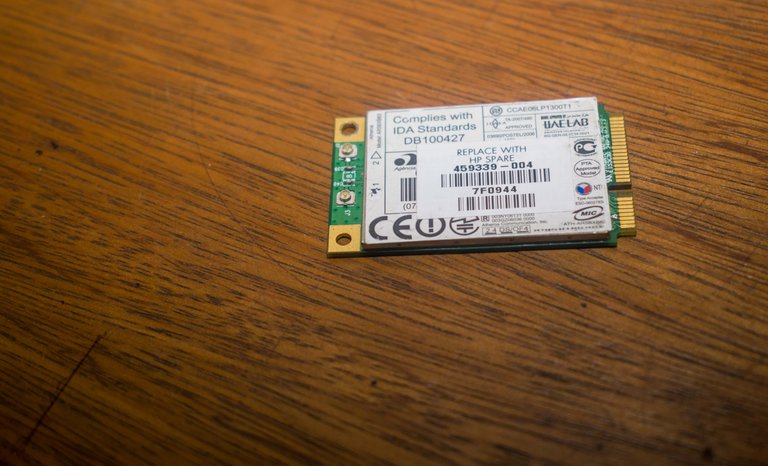
Network/Wi-Fi Card is a card chip which allows wireless connectivity to local area networks. Wi-Fi Cards are only replaced during upgrade; which rarely happens or when the internal chip is bad. A replacement is necessary, the price range for a good Wi-Fi card is between $15-$18.
Internal Wi-fi Card
Replacement Chip
An Overview Of The Major Motherboard Components
Tutorial Video
All Images and Videos are Original
Images are original, taken with a Canon EOS 700D Digital camera and Video was shot with an Infinix 8 Mega-pixel camera.
Nice post! I love fiddling with desktops, but there's just something that scares me when I open up a laptop - I'm always afraid I won't be able to put it back together, haha.
So great to be able to fix your own machine. The last time I bought a computer (desktop though) was about 8 years ago. Actually I did not buy a computer but just all the individual parts and put them together on my own. Saved me around 50% of the value of some out-of-the-box machine. Since then it was just exchanging a few parts here and there.
thanks so much for this man! very helpful!
Very detailed and concise. Nice post
Thanks very much, i am glad you liked it
Hope you learnt??
Engineer...i hail
Congratulations @druids! You have completed some achievement on Steemit and have been rewarded with new badge(s) :
Click on any badge to view your own Board of Honor on SteemitBoard.
For more information about SteemitBoard, click here
If you no longer want to receive notifications, reply to this comment with the word
STOPThis is a very detailed and great post! Very relevant now as most computer systems are moving away from the concept of towers and more to laptop or portable computers.
Thanks
You have some good creative and informative skills. I am following you!
By the way, we can stay in touch on steemit by following each other. Do check out my new post
https://steemit.com/writings/@timesedge/the-mission-part-1
Regards,
Ana
M glad you liked it, ana.
Congratulations @druids!
Your post was mentioned in the hit parade in the following category:
good job, thankx for the new informations, i wish you a good luck in your next posts
This would greatly help the non techy steemians. A PC would seem simple to the tech savvy people but a lot are not yet accustomed to opening up a PC and handle motherboards.
wow..this was really helpful..I've always been scared of hardware...but this simplifies it greatly!