
Have you ever tried making clickable images on your posts and comments ? After reading this tutorial,
you will know all you need to know about clickable images and their possible uses on Steemit. For this tutorial, I will use Saberspark's profile picture, who is one of my favorite youtubers. When clicking on his picture, the user will be redirected to his youtube channel to check his videos out. Everything that is in caps in the following steps has to be replaced by your own stuff. Let's get started !
1. Put your image in
If you use the markdown editor, here is what you should put in.
Otherwise, use this way of writing.
<img src="http://i.imgur.com/IMAGE_LINK.png" alt="TEXT">Now it should look like this, it's of course not clickable yet since we didn't add the redirect link to it ! I added the code at the bottom so you can see exactly what's happening.

2. Add a link to it
If you use the markdown editor, combining the link markdown with the image markdown doesn't seem to work. You will have to surround your image markdown with an html link.
<a href="REDIRECT_LINK"></a>Otherwise, use this way of writing.
<a href="REDIRECT_LINK"><img src="http://i.imgur.com/IMAGE_LINK.png" alt="TEXT"></a>Here is how it should be now, notice that you can indeed click the image and that you get redirected to Saberspark's Youtube channel !

<a href="https://www.youtube.com/user/Saberspark"></a>3. Some examples of uses it could have
Giving the source of your image on click instead of the generic way
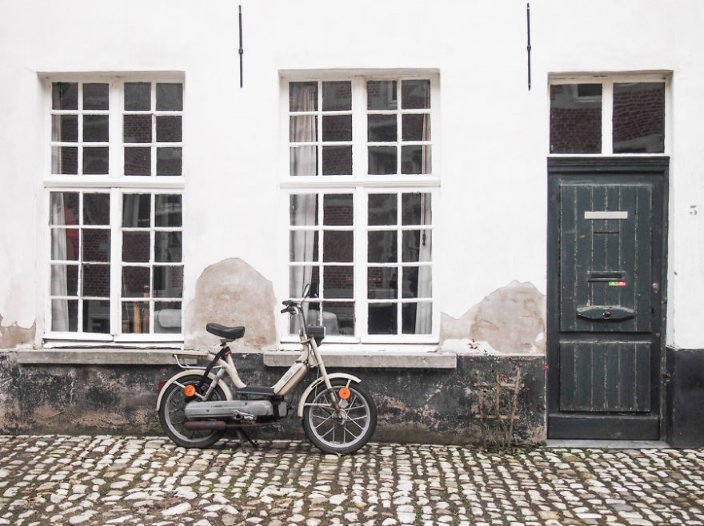
<a href="http://www.boredpanda.com/my-25-favorite-pictures-of-belgium/"></a>Referring to other users by showing their profile pictures



<a href="https://steemit.com/@andjay"></a> <a href="https://steemit.com/@skm"></a> <a href="https://steemit.com/@ragepineapple"></a> <a href="https://steemit.com/@ragepear"></a>Redirecting to the previous and next posts of yours
You can put text in here if you want to, it also doesn't mess everything up when its length is bigger than one line of text.
<center><div class="pull-left"><a href="https://steemit.com/gaming/@ragepeanut/5-indies-games-you-should-definitely-check-out-1"><img src="https://i.imgur.com/RPQ6pcD.png" alt="Previous"></a></div><div class="pull-right"><a href="https://steemit.com/gaming/@ragepeanut/5-indie-games-you-should-definitely-check-out-2-or-mobile-games"><img src="http://i.imgur.com/wqELXuh.png" alt="Next"></a></div><div><h4>You can put text in here if you want to, it also doesn't mess everything up when its length is bigger than one line of text.</h4></div></center>This one may need a bit of explanation for those of you who aren't at ease with HTML. The <div class="pull-left"> and <div class="pull-right"> tags pull their content to the left and to the right. It doesn't matter in which order we write them, they will still pull to the direction required as much as possible in the container they are in, in this case, the <center> tag. The center tag has a width as long as the post width because of the two <div> inside that are pulling to the extreme left and right. Its use is to center the text between the two images but also to center it on itself. The last <div> is the one containing the text. You can choose to surround it with tags going from <h1> to <h6> which correspond to the size of what would normally be your titles, <h1> being the biggest. You can also write it without any of those tags around. The rest has been explained upper.


Some really great formatting idea's here. Consider yourself followed :)
Thank you for the follow, glad you found it useful !
Merci pour le petit lien bro éhé
Pas de soucis soeurette, toujours un plaisir !