Asslamualaikum.
Hay my friends how is it? ... emm I hope you all in good and healthy condition of course ..
meeting this time.
We will discuss and edit a photo of a beautiful model with great lighting ... hehe. Okay? ... emmm let's just we discuss this tutorial. Lets go ..
Okay ... meet again with me "@acehkaya" .emmm. surely my friends all here we will learn .. but we learn with a relaxed atmosphere
Step1. Okay friends of this first step we open the photoshop software then you create a new file by the way you click. File> new then click ok.
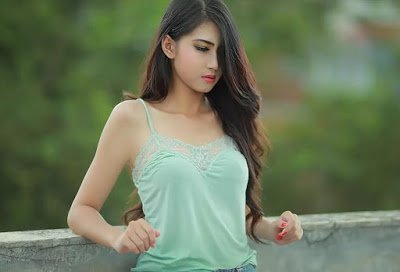
Step2. Okay friends of friends are all that I know and I am proud of? ... hehehe. the next step is the friends take pictures / photo models that have been in the ready for the edit. By the way you drag it / you Drag the image to photoshop. In my province using this beautiful model photo ... hehe. Sorry for the photo I use for the tutorial .. hehe.
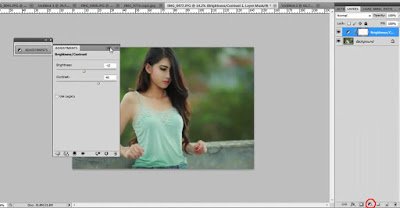
Step3. Then now we will do the lighting on the model photo by the way. You click the circle button that is below the layer panel then you select brightness and contras. And on your panel set brighnes: -12 and contras: 40.
Step4. Okay .. then the next step is we set the coloring by the way you click the small circle under the layer panel just as before. Then you select> channel mixer. here we set the chanel output: "green, reed, and blue. By looking at the image below.
After you rean output chanel, then you set green and then you set blue. Here I use:
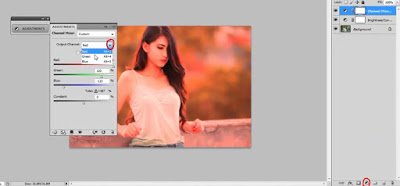
Reed Output:
Reed: 120, green: -133, blue:
Green Output:
Red: 45, green: 112, blue: 12
Blue Output:
red: 0, green: 0, blue: 179
step5. Okay after that in step this time we will clean the color in the face and body of the model, by the way, we are in the white mixer chanel layer, then we use the brush and do not forget the brush color must be black. Then brush on the face and a little hair around the face.
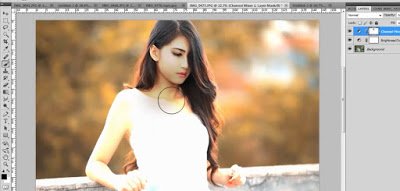
Step6. Then we set the lighting again in a way like step3. We use brighnes / contras. Then you like the picture below.
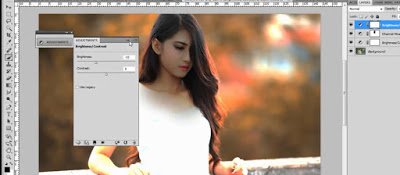
Step 7. Then this step we will select the background as shown below, by the way. you click on the channel panel then you just click in the background.
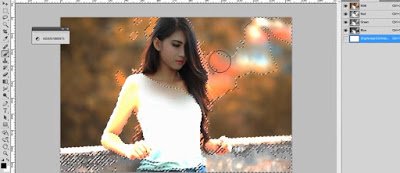
then you go back to the layer and then you delete the selected background by using the brush. In layer mixer chanel. see picture below.
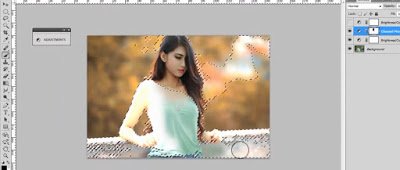
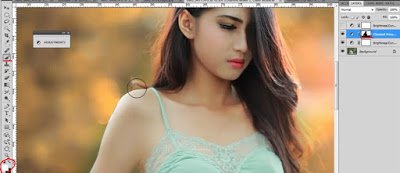
Step 8. Okay .. then still in layer mixer chanel we brush again brush on the edge of skin and hair. Let it look more luminous. Remember the brush color should be white. Then do like the steps below.
step9. Okay in this step we will add a more interesting coloring .. hehe.oke just use the way. Click the small circle button below the layer as we use brightness / contrass. Well here you select "gradient map" then you set the coloring like picture below.
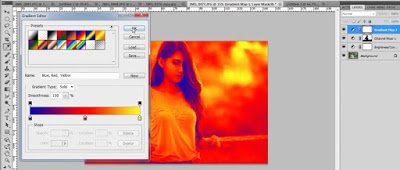
Step 10.oke temen temen this last step you then click ok and you change its blending mode to hue. Already completed
and here's the result.
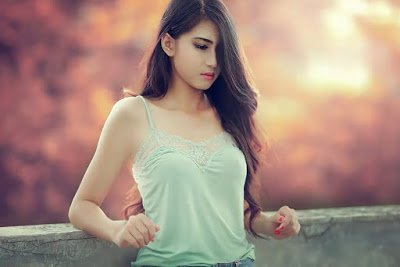
okay my friends .. that was the result of this tutorial that we have discussed. how? easy not .. sure friends can and can be better in making it. okay .. my own as a writer apologize if there are many wrong words and keterngan in the picture. thank you for visiting and wait for the next tutorial. every day update ... hopefully useful
Wassalam
best regard @acehkaya
Great tips :) I will apply your tutorial to my editing on architectural photos and renderings.
thank you
Ceweknya cantik broo
Congratulations @acehkaya! You have completed some achievement on Steemit and have been rewarded with new badge(s) :
Click on any badge to view your own Board of Honor on SteemitBoard.
For more information about SteemitBoard, click here
If you no longer want to receive notifications, reply to this comment with the word
STOPDo not miss the last announcement from @steemitboard!