So on the last post, we had just created our Windows 10 Pro virtual machine, successfully. Now when we saw it, we may have noticed that it displayed some dark background borders to the left and to the right, like in the following screenshot.
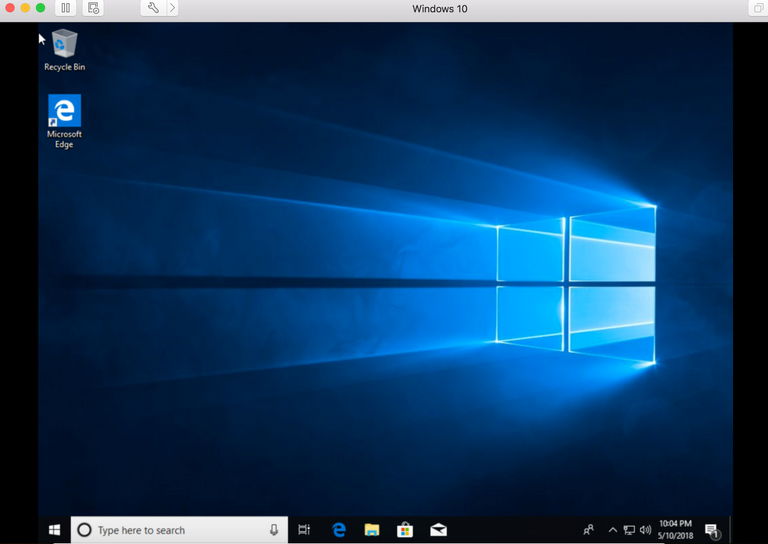
That is ok I'm here to help with that. What we are going to do, is to update our virtual machine. We are going to implement the needed software tools it needs in order to display how we normally see a full-screen display, and that is with no background borders.

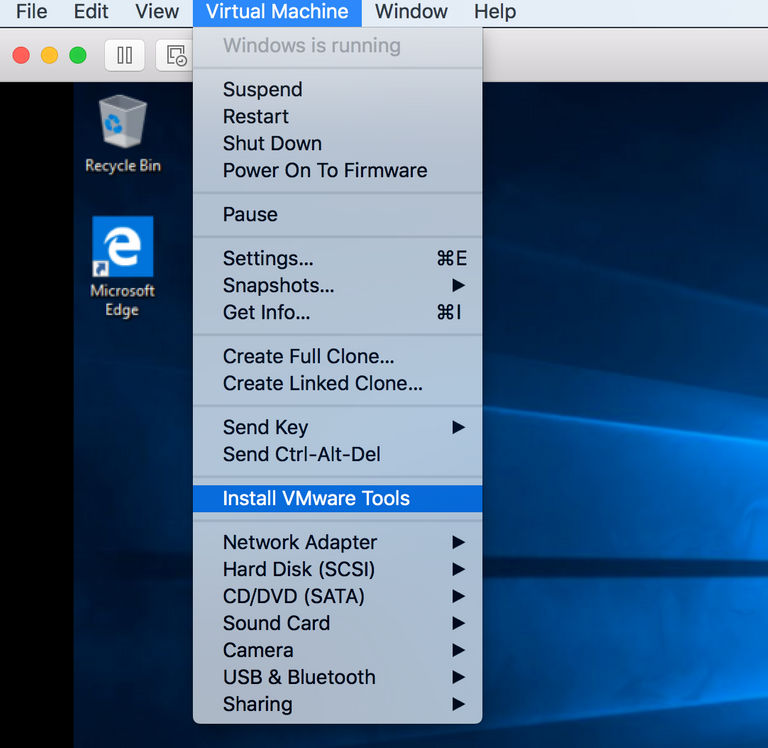
So to start we are going to by locating the virtual machine tab on the very top of our task-bar. Once he located it, we will navigate down the list to where it says "Install VMware tools". Once we have selected this option we will receive a drop-down prompt, pretty much letting us know what is the next step we should follow. By default, we will select "Install".

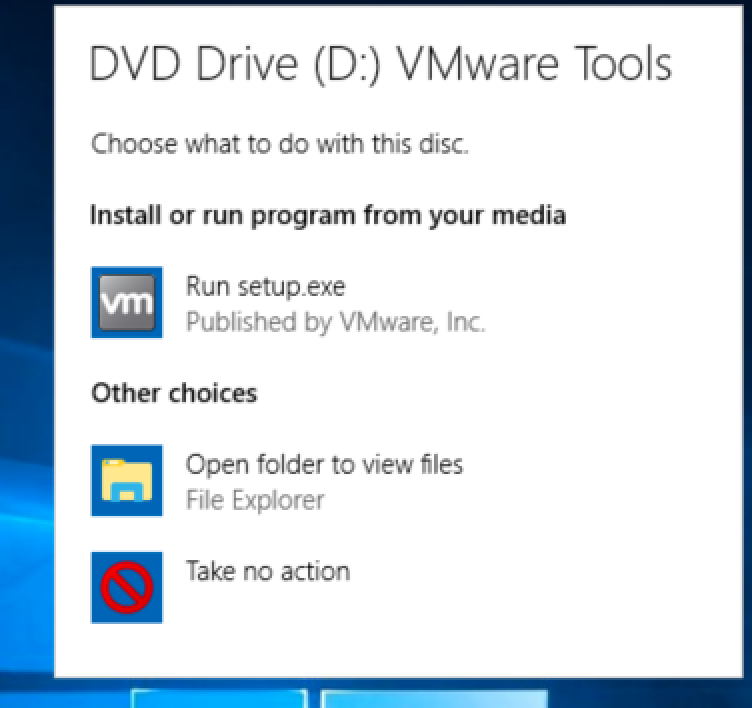
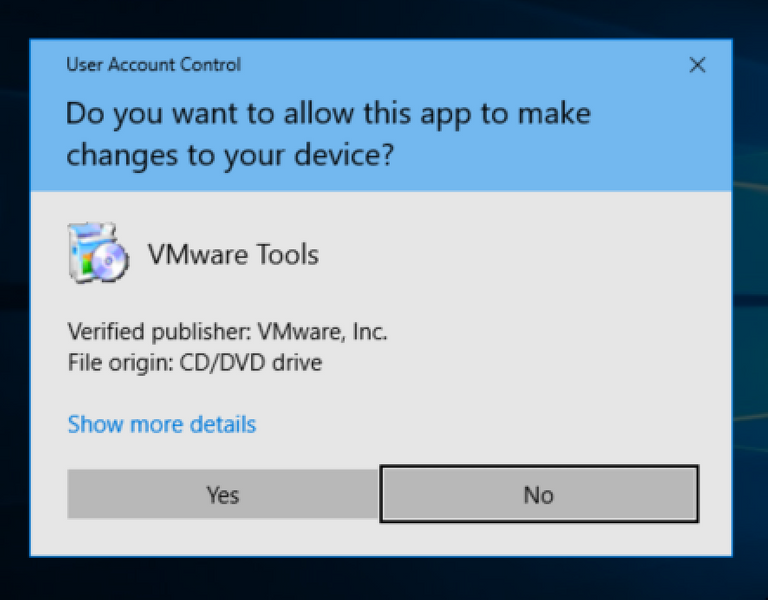
After doing so, we will receive another message from the bottom right part of the screen letting us know that our download of the VMware tools has been completed and we may now proceed to install our downloaded software. We will click on that bottom right message as soon as it is displayed, bringing us over to another step in the process, as per in the following screenshot. Here we will select "Run setup.exe" after doing so our installation will be in process. That is after we have met a few more pre-requisites. The computer (virtual machine) will ask us for permission to allow the application we are downloading to make changes to the system. To proceed, we will agree with this,
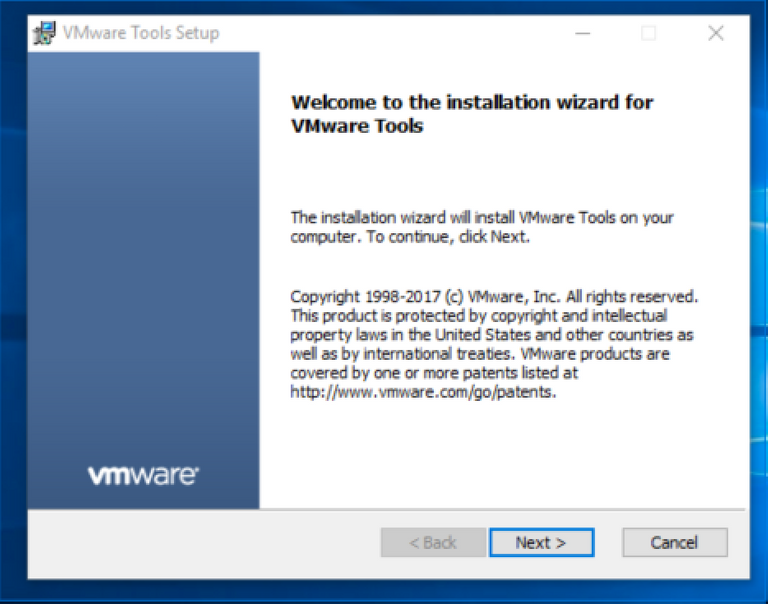
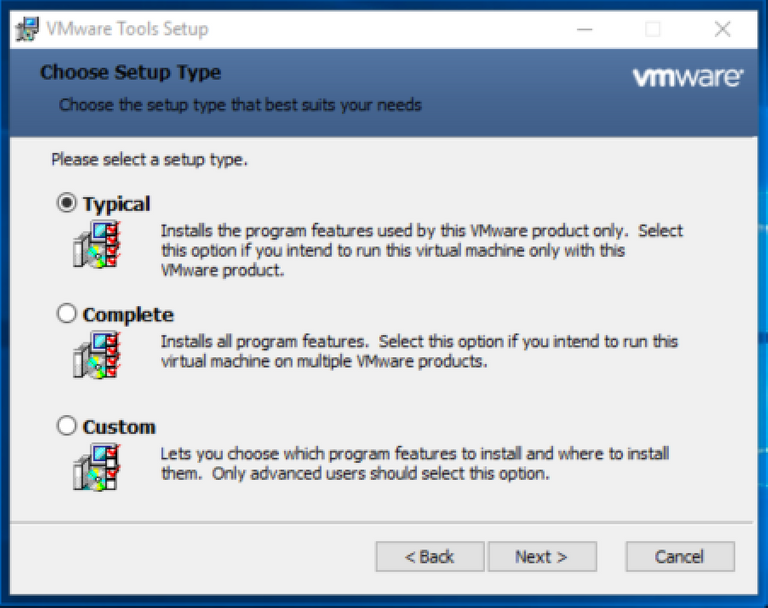
After going through the motions and following through with the basic steps asked of us by the system, we get to another prompt, only this one asks us which particular set up we are looking for. We have the option for a "Typical" install. This type of install allows the virtual machine to implement features only used by the virtual machine alone. The second type is called the "complete" install. This install allows for all functions to be implemented to not only the virtual machine we are currently working on but multiple virtual machines we have our host machine. Lastly, we have the "Custom" installation. This installation type allows for us to select what specific functions and capabilities our virtual machine will be able to execute. For this purpose, we are going to select "Typical" and proceed to our next phase.

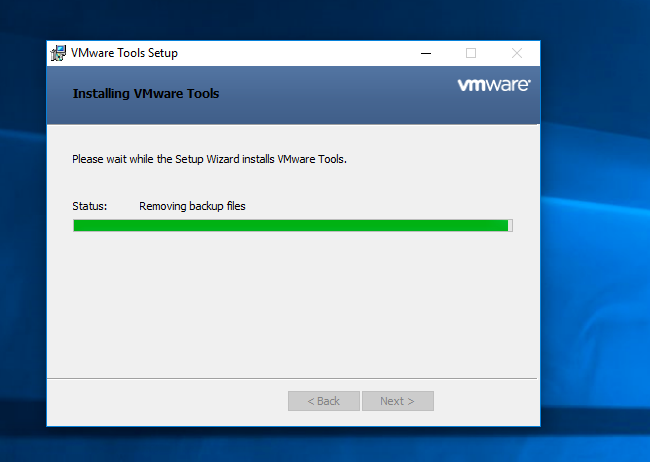
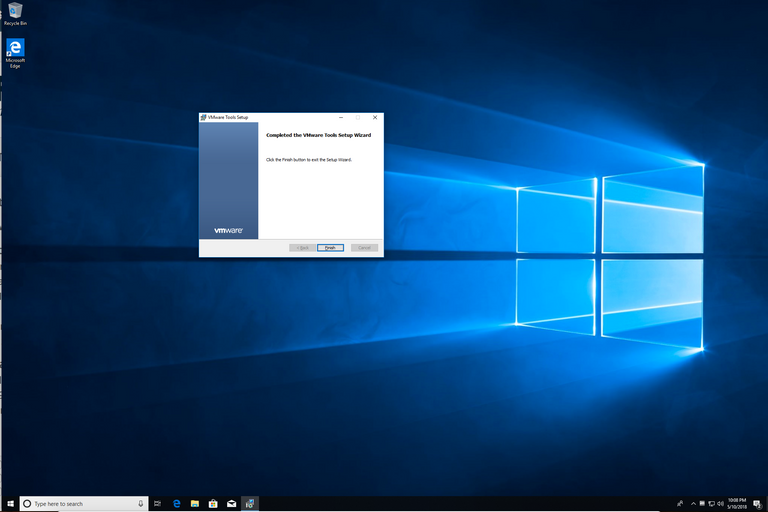
We now finally have the option to initiate our installation. We will select "Install". Our installation is now in progress, and this is now the final phase of the installation process. After our install is complete we will be prompted to restart our system to be able to finalize our newly installed VMware tools. After your reboot is completed and you have logged back into your machine, you will notice that the backdrop borders are now gone. We have successfully completed the VMware tools installation.
Thanks so much for reading guys, if for any reason you are stuck in any portion of these phases no worries I am here to help just let me know in the comment section as always this is MightyMon6 and thanks for reading.
