Theme: Roasted
Source
It is the third day of Inktober and when Iooked up the topic for today this morning, I thought to myself that it's time to continue my ink guide! There are so many possibilities to make Ink now in the months of harvest.
But even when you live in the city, there are many ways to make your own ink.
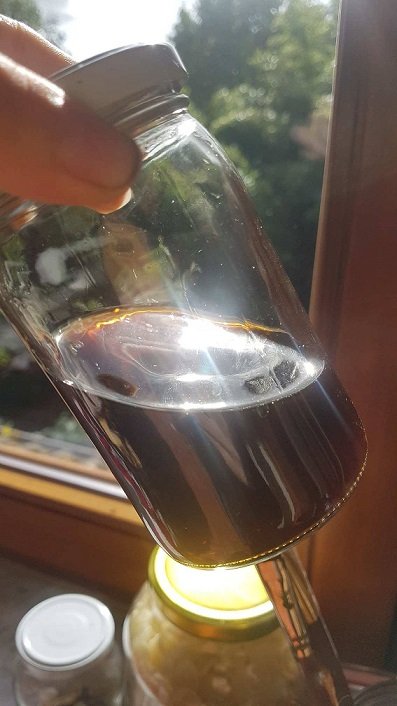
In this case, we use coffee, our beloved, coffeine-filled roasted bean, that a lot of people need to start their day with.
It creates a sepia-like colour, which makes it great to use to create a vintage look on your sheets of paper!
All you need is a cup of coffee.
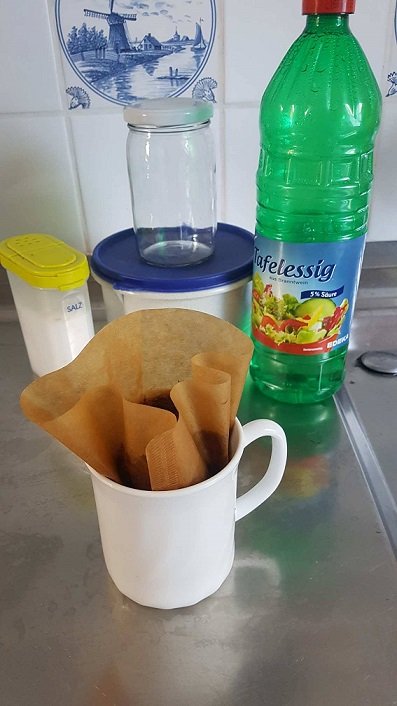
If you decide that you want to keep it, you can add a teaspoon of salt to conserve it, and a teaspoon of vinegar, to make sure the colour stays fresh!
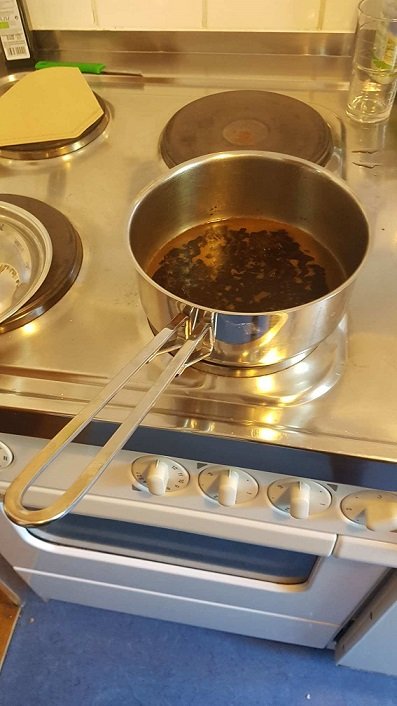
To darken your ink, you can reduce it by putting the coffee in a pot and boil it until it has the colour you like.
Now, lets try it out!
First I tried to paint on Aquarell paper. I guess the best way to do coffee ink drawings is drawing dots- something I came up with too late.
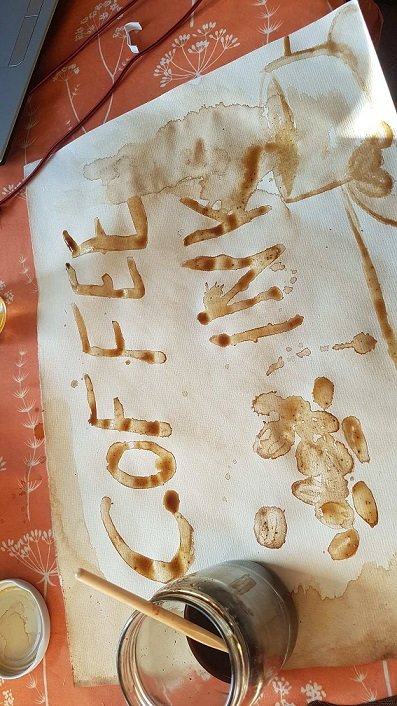
Aquarell paper is quite thick and I didn't think it was the best choice, it was way more fun to draw in the notebook on normal paper sheets.
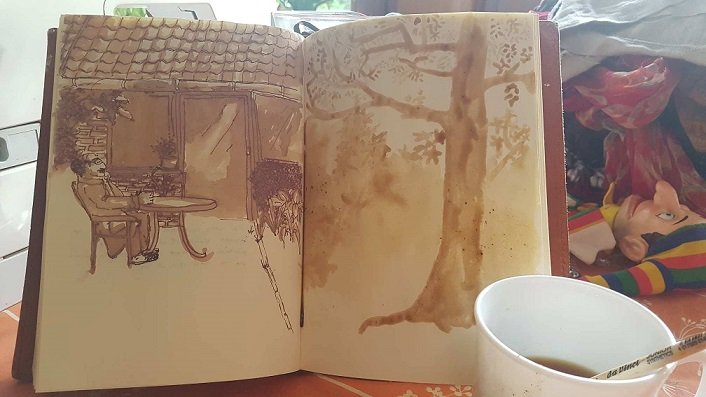
On the right you see a coffee drawing next to the walnut ink drawing I presented in my last article.
It was fun trying out this new ink, I hope I'll have more time experimenting with it!