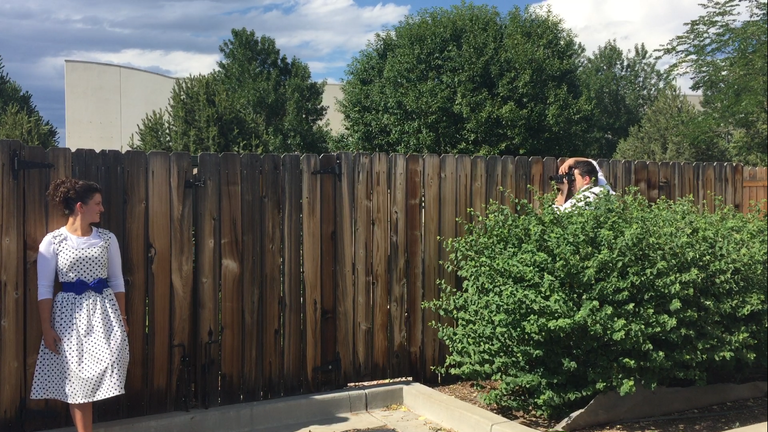
I’ll get to why I’m in a bush in a moment. I want to get to what this article was really about, does photography equipment really matter… TLDR: no. If you want to learn why not, keep reading. I really don’t know how many amateur photographers read this blog, if any. However; this was something that I enjoyed doing.I thought I’d pass along some information to y’all out there. So many times photographers get the idea that their photos will look so much better if they have a better body or a better lens. Let me say that this isn’t the case. A kit can do wonders when you’re starting out. You don’t need to go into debt buying $10,000 in equipment. So how can I say that when I have a ton of pro equipment, simple, this post will prove it. The other day, I was in Colorado with some friends. I didn’t bring my equipment cause I wanted to relax and not worry about it for a few days. I’d just come off of shooting some really personal, and tough emotional assignments. It was nice to have a break.
My friend works in marketing for a company in California and does some photography for their social media, she asked me to take a few photos of her and her boyfriend and their friend. I said sure, why not. It would be nice.She owns a Nikon D3300 with a 18–55mm VR, and 55–200mm VR Kit. (Retail: $696.95 B&H) So a relatively inexpensive kit, considering that a D7200 or D500 runs between $1000 -$2000 respectively — body only. So for $700 you’ve got a body and two lenses, a wide to mid tele, and a tele. Not bad. They are both variable aperture and are pretty slow. In terms of autofocus, and light gathering. This is what I was given to shoot with. Now, I know some photographers would balk at being this to use but when you have a passion you work with what you have. If it’s a Hasselblad H1D or a Kodak P880.
So I went to work making the best of it I could. I knew that it would be a dark lens, and that I’d have a ton of depth of field. These were the mathematical constraints I had, next was my location. I was at a hotel in the area and there wasn’t a lot of time to scout and change locations. I had less than an hour and I’d have to make due.The first thing that I did was change the camera to functions that I was familiar with; RAW, back-button AF, Single Point AF-S, Manual. So now the camera is close to what I’m used to shooting with, buttons are in a different location but not a big deal.
Second was to get a reflector/scrim/kneepad — I call this wonderful gobo a towel. Thankfully, hotels have a ton. A good white towel will serve as a reflector, a scrim and a kneepad for a model. Now, it was time to get locations. Colorado is known for its vast mountain range and beautiful skyline. I didn’t have this. I had a field, some industrial warehouses, a major highway, trees and a parking lot. So I made the best of it.
Location 1: The Dumpster
Most people wouldn’t want to take photos near a dumpster; however, this particular location was enclosed in a nicely maintained wooden fence. The focus was on the couple and I knew if I played with the light, and the angle that I could make it look okay. That’s what I did, I moved Kristy and Nate up against the fence, and positioned myself as to create a leading line that ran diagonally to the frame and moved him up against the right side of the frame to keep him filling the not-so-good-looking sections of the fence. That is the photo below.
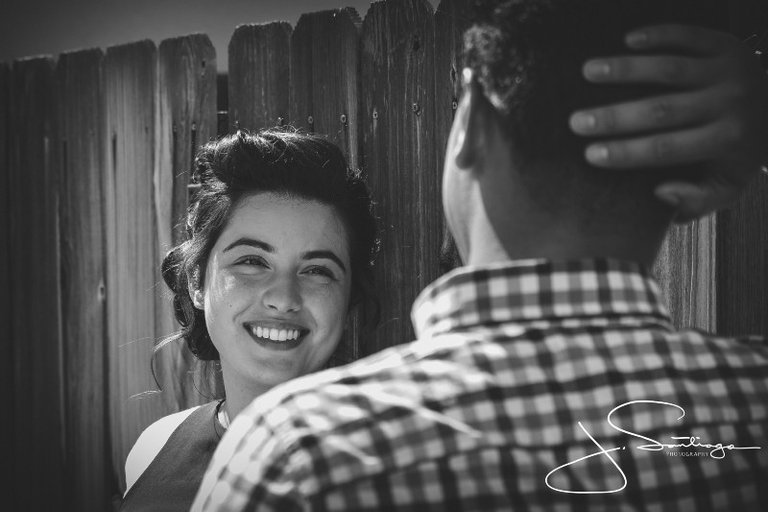
Next was both of them together, I knew that facing them into the sun wouldn’t work, because, it was around the sun’s peak in the sky and the light was very harsh. I positioned the couple facing east and exposed accordingly. There is two issues that I had with this. First, there was a nice bush that would have looked lovely the other way, however, I was now standing in it to get the angle that hid the concrete wall of the dumpster enclosure. This still worked out because it had a lovely tree behind them that worked well with the bokeh.
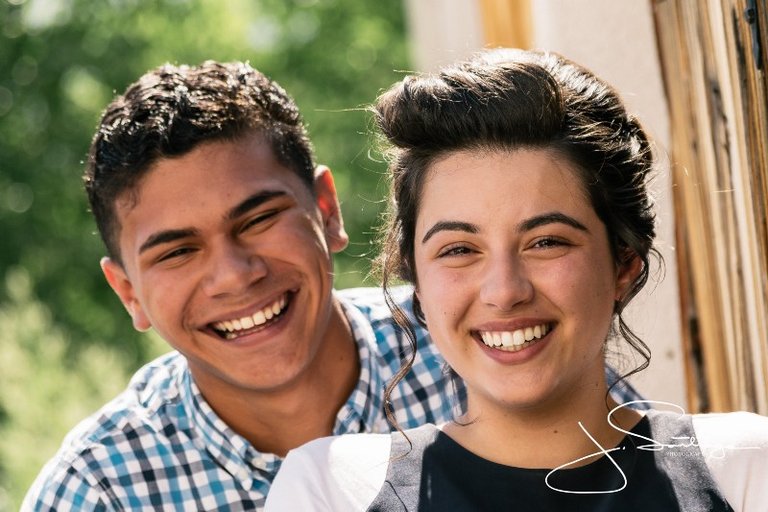
Location 2: The Rose Bush
Normally, I make it a point to keep the talent away from sharp, dangerous, and painful items such as thorns; however, given the circumstances I had no choice but to put the model in the only open area of a rose bush, this let me shoot tele while still getting flowers in the foreground and dropping the background to something that wasn’t distracting. The towel came in handy here as it blocked the rose bush from poking Nate and Kristy, they were great sports about climbing into a live thorny rose bush. Bless their hearts lol…
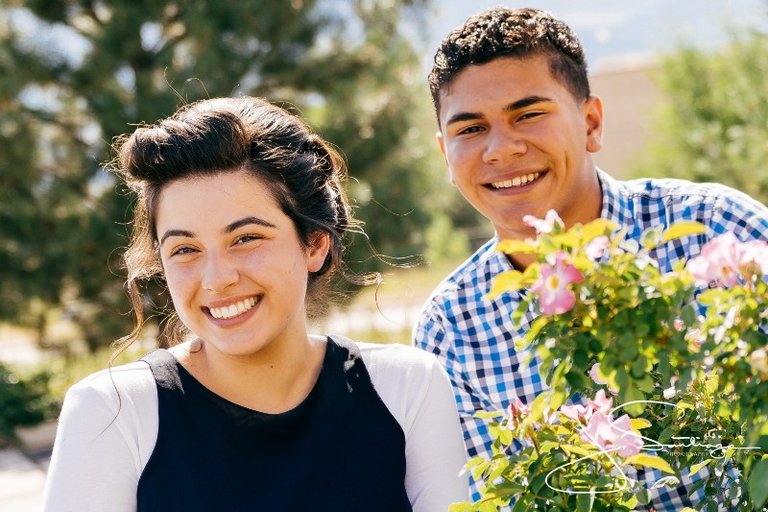
Location 3: Patio and Hotel Entry
What I wouldn’t have given for a 50 f/1.4 or 85 f/1.4 at this point. I really needed to kill the background. So many distracting items were coming into that f/4–5.6. Cars, Doors, Signs, Etc. I hate to crop but I knew going into this that there would be some cropping needed. So first I had the couple sit on the ledge of the patio. I posed them close and looking lovingly into their eyes…. aww moment. She was blocking this obnoxious Ford F-250 in burgundy that was in my shot that the F/4.8 wasn’t even trying to hide. I then positioned him to block the door and the entry to the hotel. I could have taken the gutter out but I wanted to stay true to the actual scene.
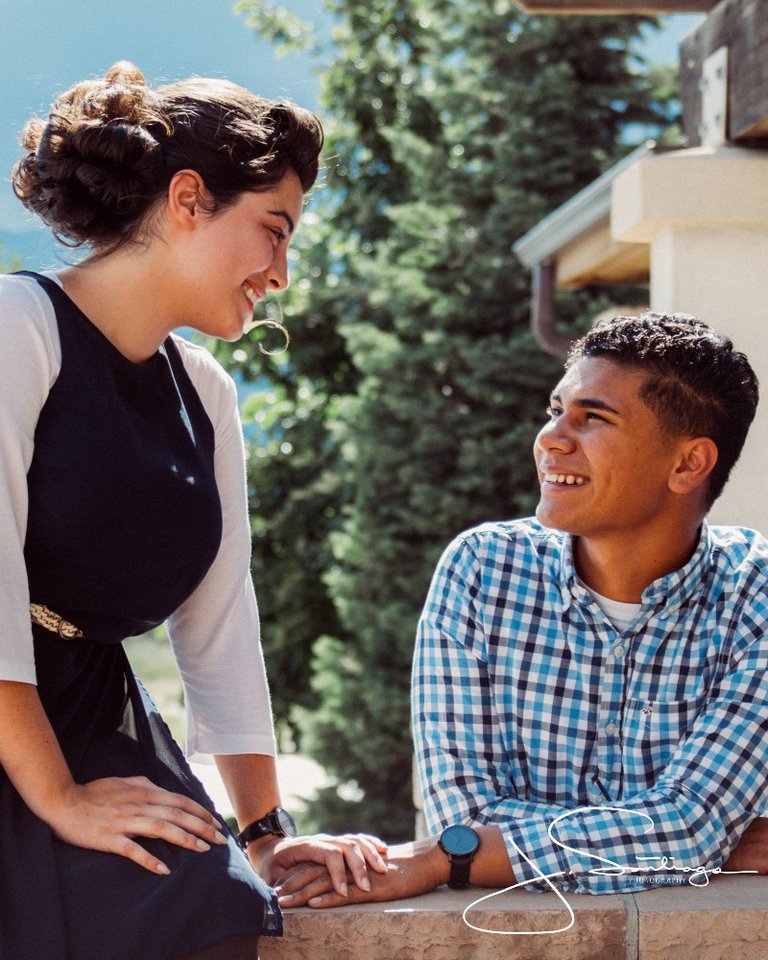
Next, I was able to frame them against the brick facia of the building, shoot tight and really drop everything else out.
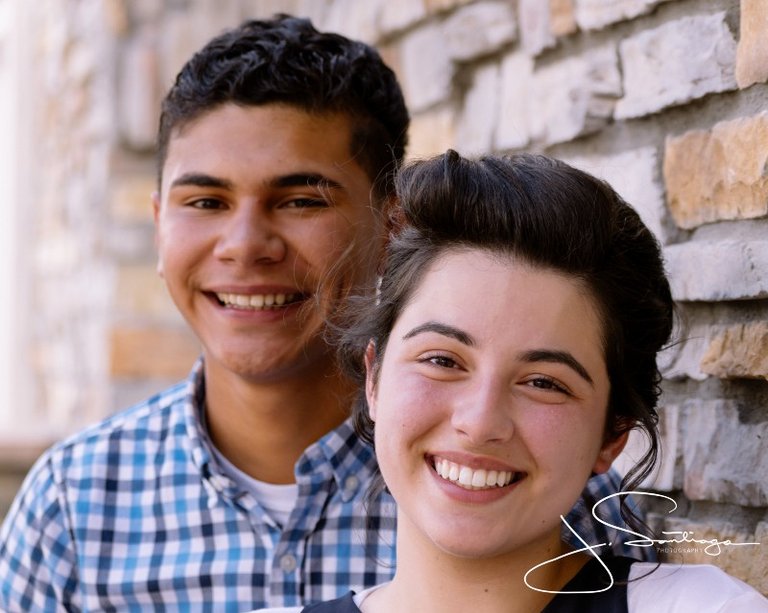
Okay, now that I was done with the couple. Start to finish it was about 45 minutes to get this far. I then needed to switch up and take some single portraits of Moriah. This would prove to be easier and harder at the same time. Easier since it was one person to focus on, one to pose, and one to get into position. Harder as I couldn’t block elements like before as with two people.
Location 3A: The Patio — Continued:
So I tried some with the dumpster like earlier, and as you can see from the photo of me in the bush; it was too tight to make it work, or too wide to make it work. In the essence of time we moved back over to the patio where I would then finish out the shoot.I already knew the settings for the camera that worked well for Nate and Kristy, so that saved me some time. I posed her against a pillar that worked well with the background and shot away, then moved her up onto the rail of the patio and shot some relaxed shots. These came out really well for being so limited.
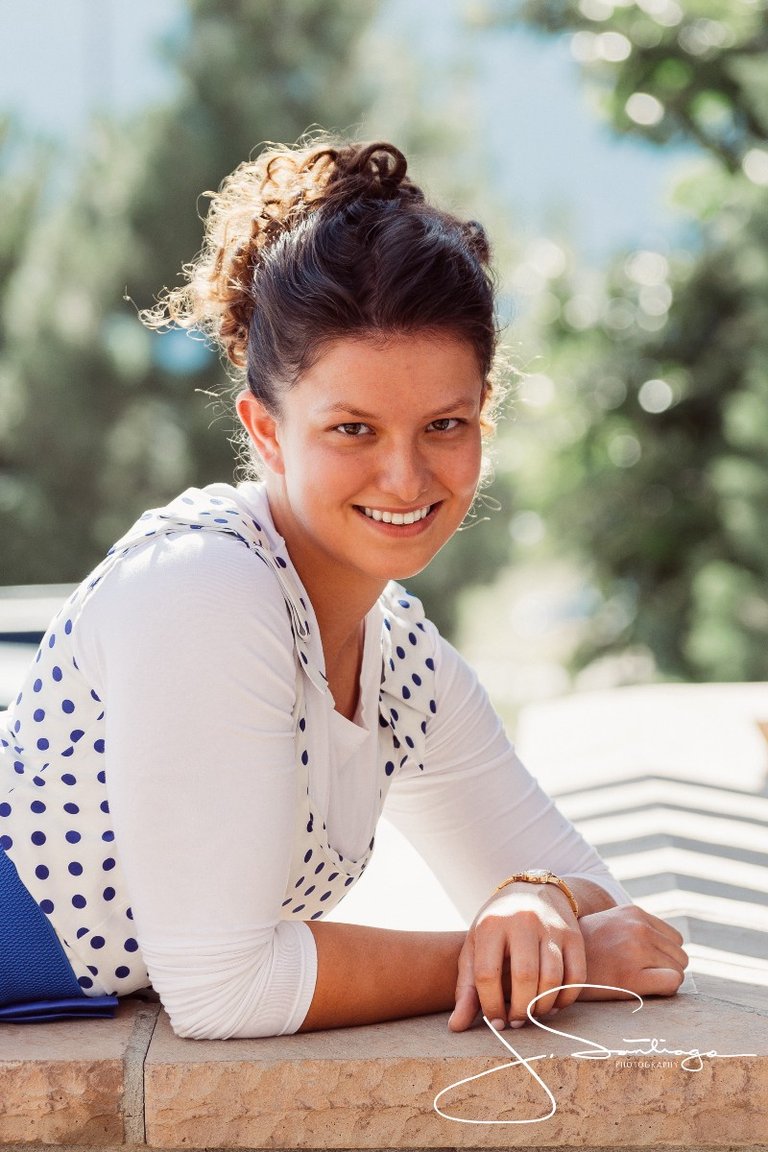
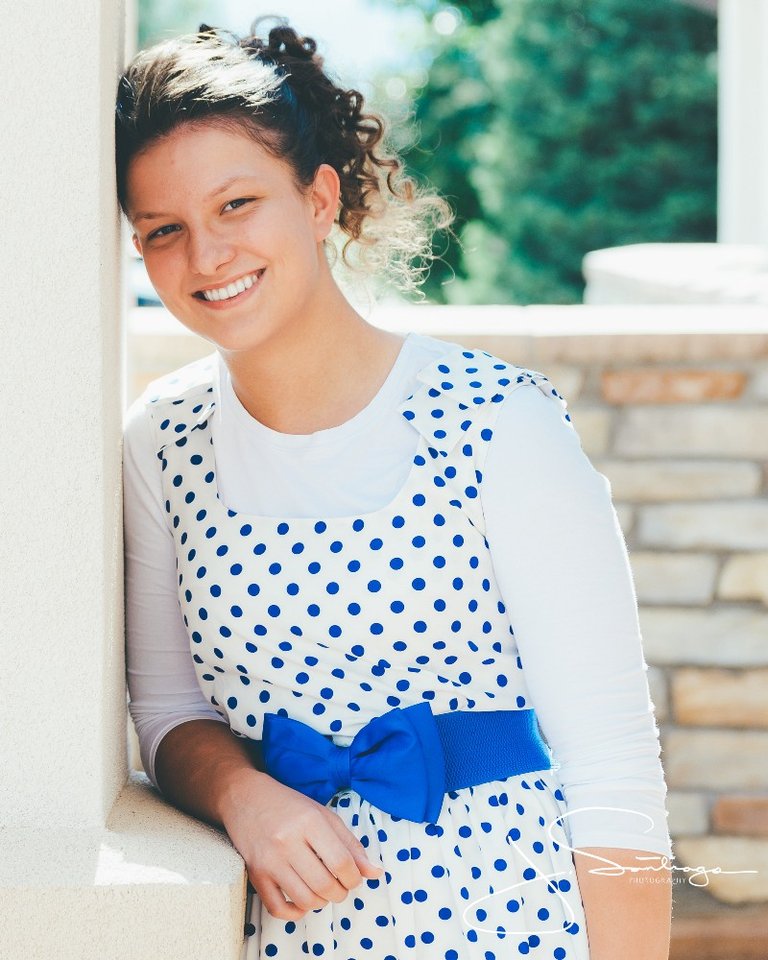
So the moral of the story, would I loved to have my 70–200mm F/2.8 VR II, 50m, & 85mm, my studio strobes, a better location, and my D810: Yes. For many photographers that are starting out, they don’t have the luxury of thousands of dollars in equipment a large backing and years of experience shooting. So the next time you feel like you need that VR III or the next 105mm f/1.4, just relax and learn the basics. Learn and be good with what you have until you can capture amazing photos with that. Then move on.
MAJOR CAVEAT: I can’t stress to you enough, even though this set of images was done with basic equipment, LENS should always be a top priority for upgrade. Yes, they are expensive; however, they far outlast a body, and the quality is far superior to that of kit lenses. Primes and Fast Aperture glass should be the first thing you upgrade. F/1.4, F/1.8, F/2.8 glass is sometimes inexpensive: 50mm F/1.8 = $200 making it a great low light, mid range portrait lens, the 85mm f/1.8 = $400 and is perfect for portrait work. On the other hand, the Nikon Trinity will set you back a few thousand 14–24mm, 24–70mm, & 70–200mm all of which are f/2.8 retails for about $6,390.85 according to Amazon at the time of this writing.These lenses are pro grade, super sharp, weather sealed, beasts. They are what we use day in and day out to make our paycheck. It’s an investment that separates us from the facebook friend that does weddings for $500. I’ve had my 24–70mm in driving rain and hail, fire, tear-gas, and never an issue. Try that with a kit lens and you’d be done.
So in closing, the kit lenses are great for beginners and pros alike, a great photographer can capture a great image with any camera. A poor photographer can capture a poor photo with a D5 and A 400mm F/2.8 ($18,100). If you’re serious about photography as a career, take the time to perfect your vision, eye, and style then move up to better equipment. I’ve seen award winning shots with pro DSLRs and consumer DSLRs with kits time and again, it’s never the equipment. It’s the photographer.
So even though I wish I had more DOF and a better location, the images I shot were what the client wanted and was super happy with. They couldn’t believe that they locations that we used came out so nicely. No one that I tell the story to either believes me. If you’re ever in Colorado Springs, I dare you to try a photo shoot at the TownPlace Suites by Marriott in Colorado Springs, South.
Until Next Time — Josh!
Post First Apears: https://jsantiagophotography.com/why-am-i-in-a-bush-also-does-equipment-really-matter/
Hello everyone I'm also new to steemit a friend told me about it today so, I thought why not check it out before I begin posting, and I was told this was the place to start.
Good stuff. I agree about investing on good glass. It makes a big difference and differentiate amateur and professionals.
Correct, you can always see the difference between an f/2.8 vs an f/4.5 or f/5.6
love the smile of the couple together. look so happy.
Thanks!
Thanks!