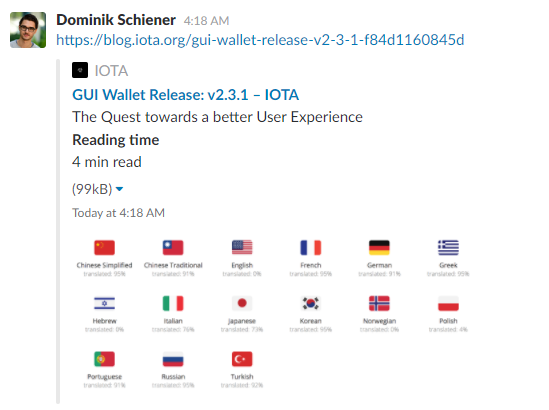
IOTA's Dominik Schiener announced the new version of GUI wallet 2.3.1 on IOTA's official Slack channel on 7/10/17.

DON'T QUIT. IT IS VERY EASY to install an IOTA wallet and transfer your IOTA from exchanges to your own wallet if you follow the steps below:
STEP 1:
Go to IOTA's GitHub page https://github.com/iotaledger/wallet/releases/tag/v2.3.1
STEP 2:
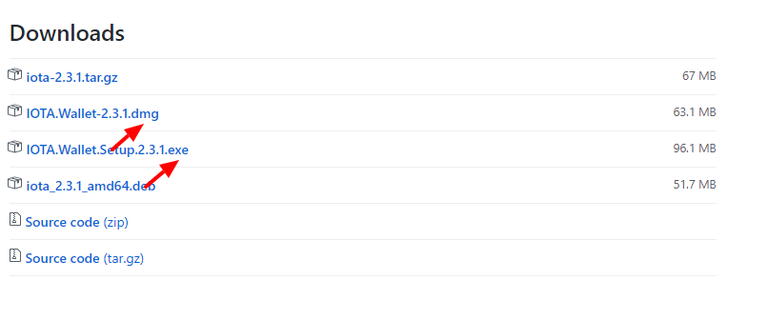
You will see the Downloads section if you scroll down:

.DMG file is your installation file if you have an IOS based computer and .EXE is your installation file if you have a Windows based computer.
For explanation purpose I am assuming you have a Windows based computer, so you should download the .EXE file. There is no need to download any other files seen in the Downloads section. In case you have an IOS, download and install the .dmg file and follow the steps below.
STEP 3:
Install and run the .EXE file. You might get an error by Windows for unknown app installation, but choose the option "Proceed anyway."
STEP 4:
Once installation is over, go and open your IOTA wallet by typing IOTA in windows searchbox for programs.
STEP 5:
The wallet will ask whether you need light node or full node. Go for the light node and select host that is from Bitfinex. You can select other hosts as well, but this is what I selected. The reason why we go for the light node is it is very easy to set up.
STEP 6:
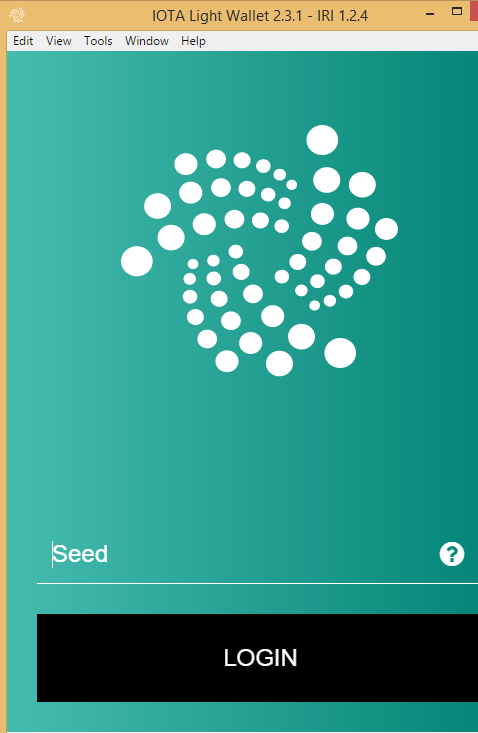
Once node is set up, the wallet will look like this. You need to create a seed manually by typing. This is a change from earlier versions. Earlier versions had the seed generator. A seed is a 81 character all caps alphabets with only number 9 allowed. Save this key safely. A 3-character checksum will appear at the question mark when you input a correct seed. Remembering the checksum will help you to understand if your seed entered is correct in future.

STEP 7:
Click on Login and you see this screen:

I had 15 MI-IOTA transferred. You will see 0 when you set up for first time.
Click on the Receive section, you will see your Receive address. This address changes with each login. Click on Attach to Tangle.
The set up is done. Copy the Receive address.
STEP 8:
Go to Bitfinex and Click on Withdrawals. Go to IOTA. Input the receive address of your wallet. Test with 15 MI-IOTA first (2$ value minimum). Finish the steps. Approve email.
STEP 9:
Your transaction will show in the History section of the wallet as Pending and it should be confirmed in like 3 minutes and you sill see your updated balance.
( )
)

Interesting thoughts
it is never a good idea to keep coins on an exchange if not actively trading. This guide helps to store them safely.
Thanks for this. It's a good time to get some more IOTAs.
Multiple inaccuracies: first of all, the text is a checksum, the VBW just happens to be the checksum for your seed. Secondly, you don't have 15 IOTA, you have 15 million IOTA. Third of all, you don't have to make the seed manually by typing; you can make your seed using a separate seed generator. In fast, making the seed by hand is probably a bad idea.
That's why it is a noob's guide. What is a checksum basically? Is it important? Is the checksum different for each user? The new version is missing a seed generator.
No, the problem is people will be confused when their checksum doesn't say VBW and think that they did something wrong. Also ,I know there's no seed generator in the new version, but I am suggesting using a seperate seed generator. The MIOTA / IOTA thing does nothing but confuse noobs further about how much an IOTA actually is.
You are right. I didn't know what the checksum does at the time of posting. Now, it is clear to me. I just typed and made my 81 character key. I don't know what a separate seed generator does other than making it easier but you need to download (?) something, would better avoid it. I have edited the document.
Ok, I did further reading. The checksum you need to remember and that helps you to check if your seed entered is correct. Checksum is 3 character long.