Official Blog: https://altlash.com
YouTube channel: https://www.youtube.com/channel/UCz01y1iZGnSbk7RvTb6Lz6A (These episodes are all on there!)
Before we get into code and development, lets take a moment to go over some of our infrastructure. We are going to want a full web application, so we will need somewhere to host that site for us, plus allow all of the back end operations that we need. For our purposes, AWS will be a great platform to build on top of. They offer a number of services, and even have a 12-month free tier to get your application off the ground. We will utilize this tier and build out a scaled down infrastructure for no cost. Then, when we have everything ready, we can pivot and build up our application by providing resiliency and distribution!
Let’s start with creating a new AWS Account. Follow the link below, and there should be a ‘Create a new account’ link at the top.
https://aws.amazon.com/console/
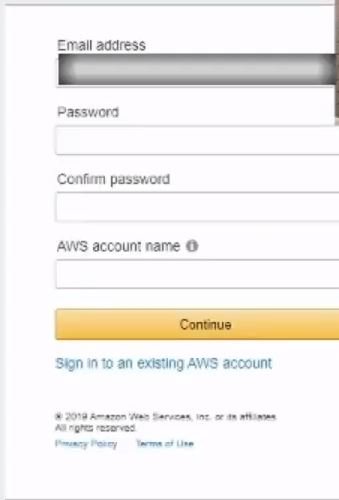
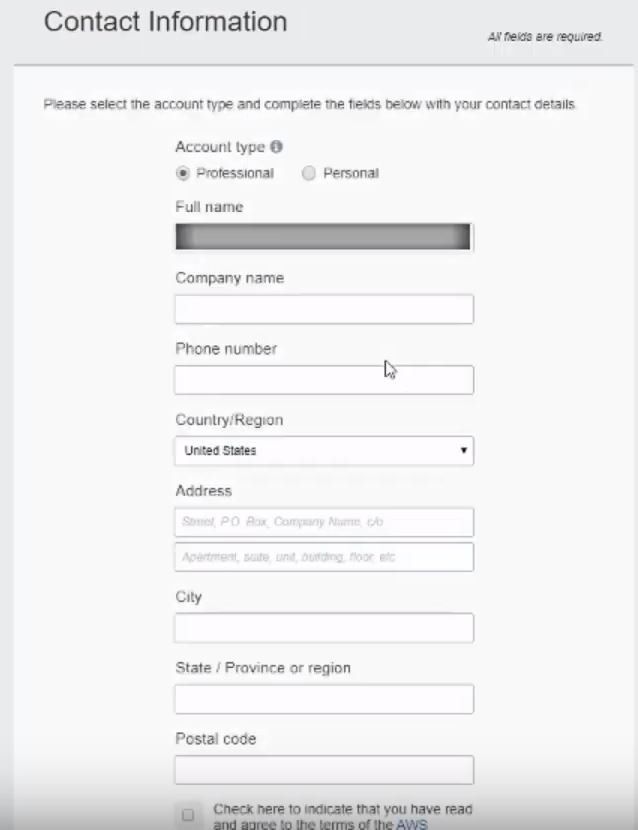
Next is a series of steps for normal account creation things. Screenshots came from the video, so there are some blur effects for my personal information. The required fields and steps should be pretty self-explanatory though.
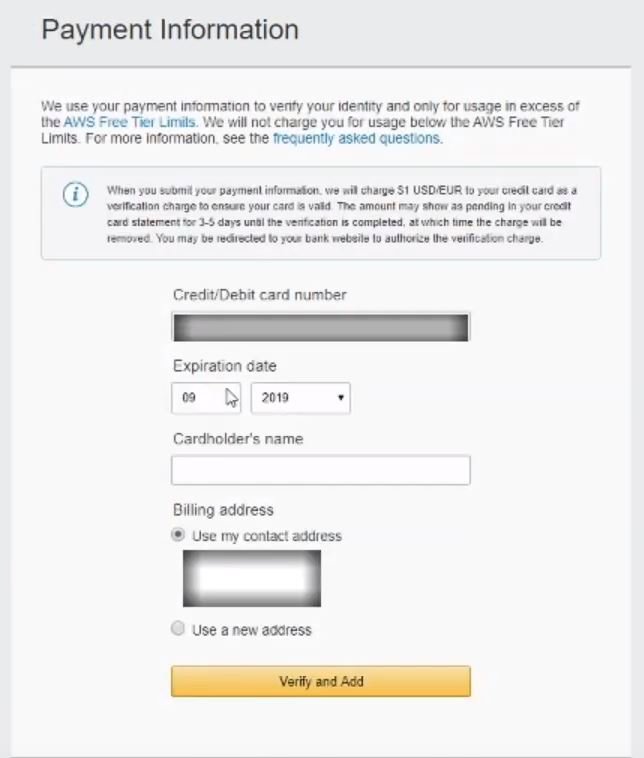
This next section is for payment information. For now, most all of the services we will be using would fall into the AWS Free Tier for 12 months. Some services will be free forever. But, just be aware that if you go over certain thresholds, AWS will charge the card you put in when you sign up. A couple of examples is if you have multiple EC2 instances running concurrently, or if you have more than 90 mins of build time in the CI/CD pipeline we will be building a few episodes from now!
A final note about submitting payment information is that AWS will charge a couple of very small amounts to the card to verify it is a legitimate account. You should be reimbursed these charges though.
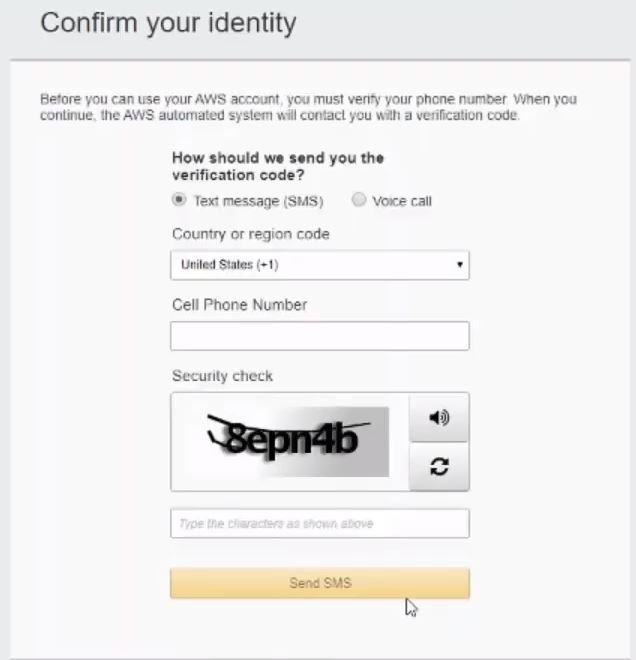
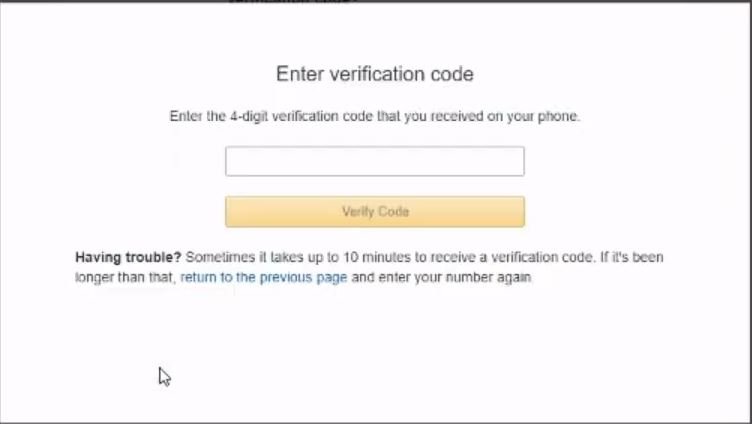
AWS will also need to confirm your identity. The next couple of steps is to add a cell number to your account. They will send a confirmation code that you will need to use in the next screen.
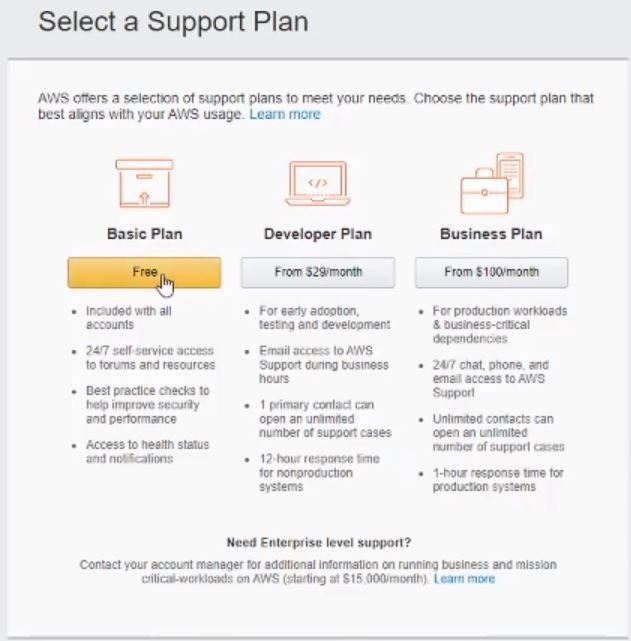
The last step for creating an account is to choose a Support Plan. For now we can stick with a Free Basic Plan.
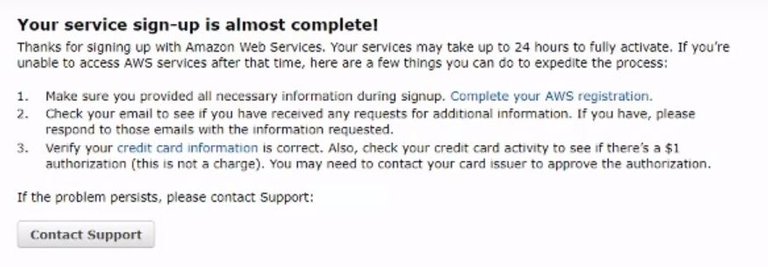
And with that, you should be all set up! It will take a couple of days for everything to be finalized and set up for you. You are able to immediately log into your account, but there will be a screen that will prevent you from navigating to any services, and will look like this:
That will wrap up this video! It was super simple to get started on our journey. In our next video we will be do a little bit more in AWS dealing with security, as well as creating a repository from AWS. Finally, we will get our IntelliJ IDE set up for writing some code, and to make sure we can push changes to the AWS repository.
I hope you guys are able create an account without any problems! Let me know what you think so far in the comments below.

