I really don't write much, because I don't have much to talk about besides work, and what's going on in my life. I have to give @ganjafarmer credit for giving me the idea to write this little how-to (thanks buddy). I'd love to see more tutorials, reviews, tools, and things here, so, be the change, right?! I hope somebody finds this helpful, or at least interesting and a little funny!
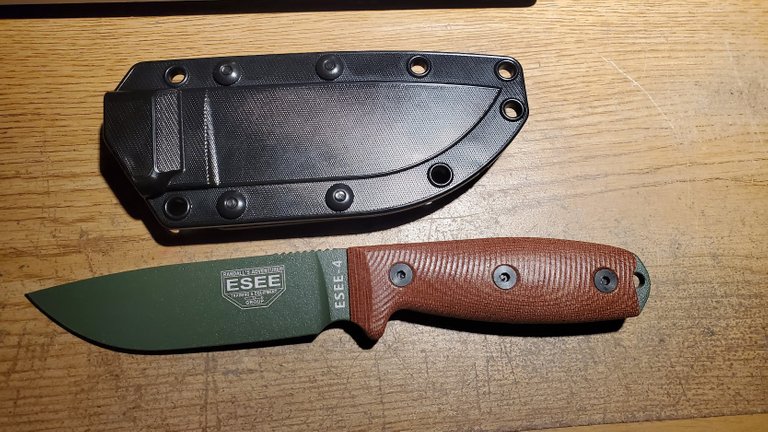
Important: If you decide to do this, you'll be messing with sharp, objects and nasty chemicals. Use common sense. Just in case you can't find any sense at your local hardware store, I'll spell it out. Well ventilated area, PPE (glasses, and gloves if you have little girl hands) you DEFINITELY don't want to get this stuff in your eyes, and PROBABLY don't want it on your skin. Just.. don't do anything to make the paramedics laugh. You don't want the ridiculous story they tell all their buddies in the break room to be about YOU.
AND MOST IMPORTANT, IF YOU VALUE YOUR LIFE, DO NOT USE YOUR WIFE'S GOOD SKILLET!
(Now that that's out of the way...)
What you'll need:
A knife you want to refinish. Doesn't have to be the same knife. The coatings will all come off regardless of brand.
Time, and somewhere to work where you can hear yourself think. In other words, away from kids and animals. We like kids and critters. Don't need them getting into this stuff and getting poisoned or hurt.
A wire brush or steel wool. I'd recommend a brass brush so it doesn't scratch up your blade. Scratches can be buffed out, but it's just more work, and I'm not crazy about four letter words. (I'll forgive you if you didn't get that joke.)
A stone to re-sharpen your knife. This process will booger up your edge a little, but not beyond repair. I'm particular though, If my knives can't shave, they're "dull", so take that as you will.
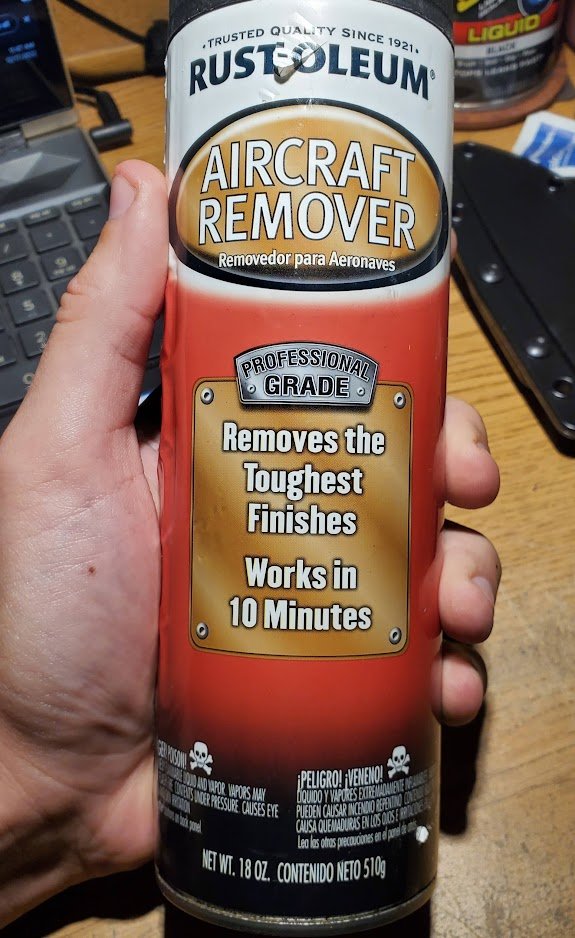
The secret sauce! Rustoleum Aircraft Remover. If this stuff doesn't bring it off, the next option ain't worth the trouble. Make sure to read the warnings. No smoking, no licking your fingers.
Optional:
If you want to follow along with me, you'll also need,
A container big enough to hold your knife, and then some. We'll be completely submerging it later. I'll probably be using a quart Mason jar.
Enough white vinegar (or other acidic liquid, but results may very) to completely fill your container or cover your knife. Mustard, and other things will work, but note, The less acidic, the longer it will take.
(Pro tip: All of this works a little faster when warm. Just be aware, that if it's cold where you are, like it is here, it may take a little longer than you think it should. Just be patient.)
I'll be forcing a patina on mine (explain more about that later) but I have seen other interesting options from other folks, so I'll list a couple here, and you can explore as you like.
Other options I won't be covering here:
One I've never tried, but plan on sometime is Blueing which has a somewhat similar effect. A lot of older guns are blued if you want an idea of what that might look like. If you want to give that a shot, you have my blessing, as long as you let me know how it turns out.
Clear fingernail polish. That's pretty self explanatory, I wouldn't recommend it. It's been done, but it's garbage. It'll probably wear fast, and may be hard to get the streaks out of, if you care about that kind of thing.
Alright! Lets get to it!
First, we'll need to get the knife apart. Any scales, lanyards, etc. need to come off, or they'll be ruined. Make sure and put your hardware somewhere it won't sprout legs an run off, because sure as the world, it will.
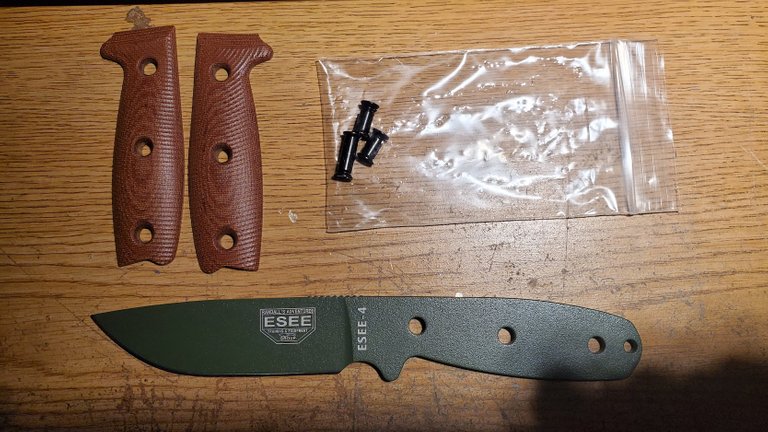
Now that's done, it's time to spray it down with the Aircraft Remover.
I like to hang mine from a piece of wire so I can get both sides at once, but if that isn't going to work for you for whatever reason, you can lay it down on something you don't care about, and spray one side at a time. Hose it down real good, and it'll start foaming.
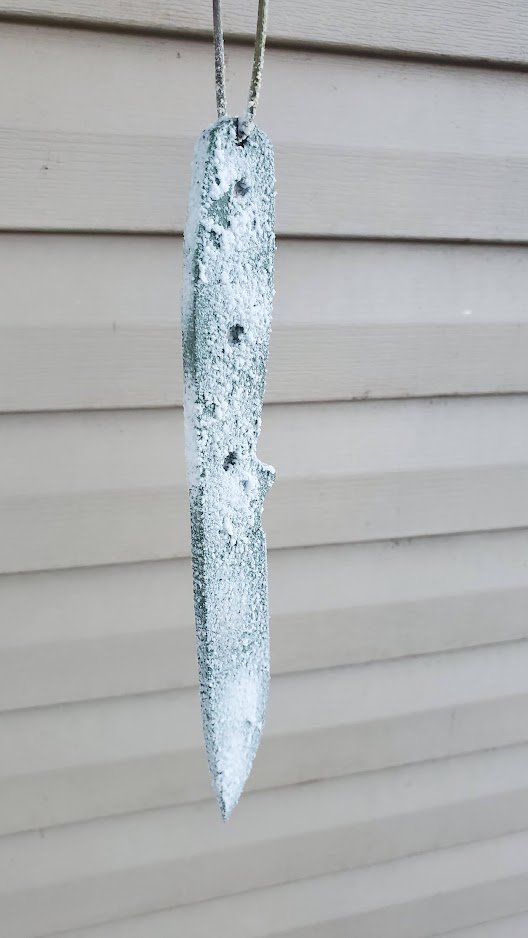
Now, we wait. Can says 10 minutes, but it's not a casserole. Temperature, the thickness of the coating, all kinds of things can effect how long it takes to eat it off. When it's ready, the Coating should be blistered up, and come off pretty easily. In my case, this time, I think it was just WAY to cold, and I don't have a heat gun handy to get things moving along, so I had to do a little more work, but most of it pealed right off.
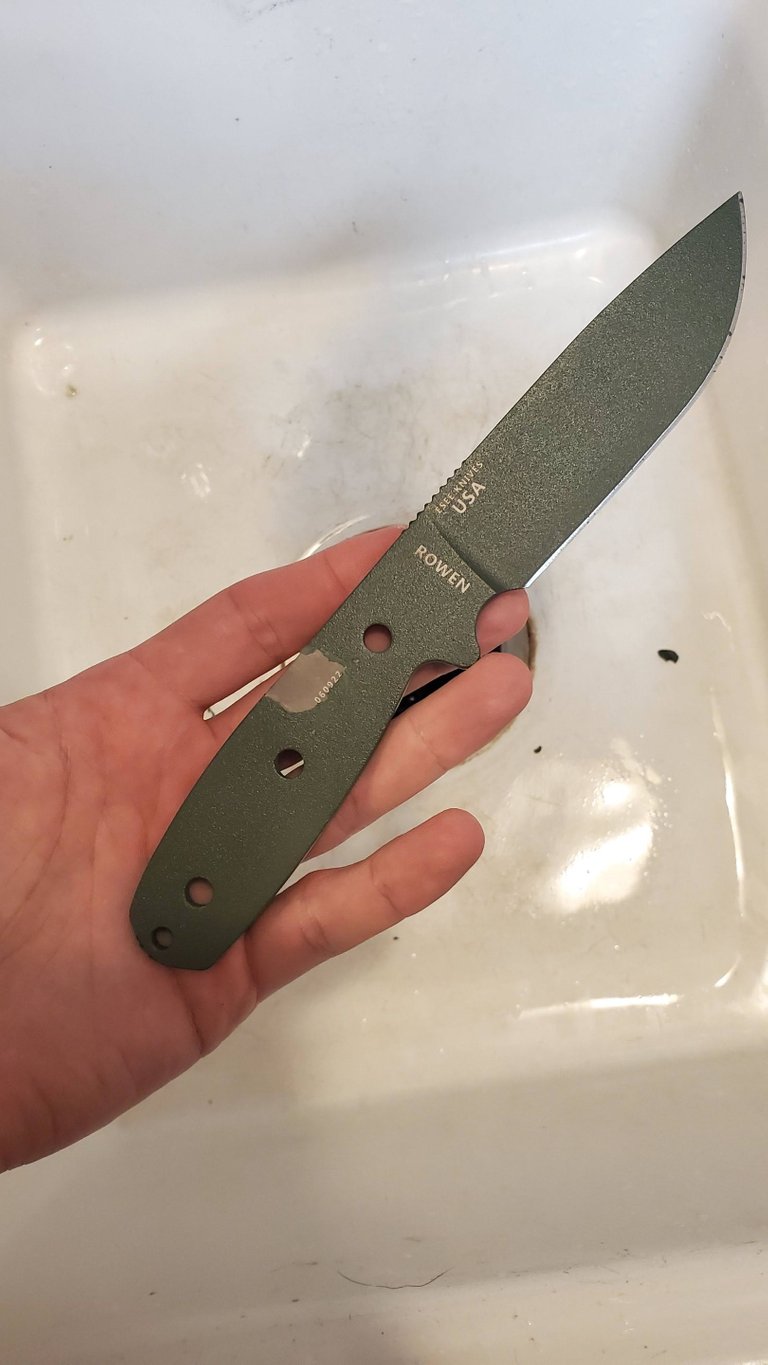
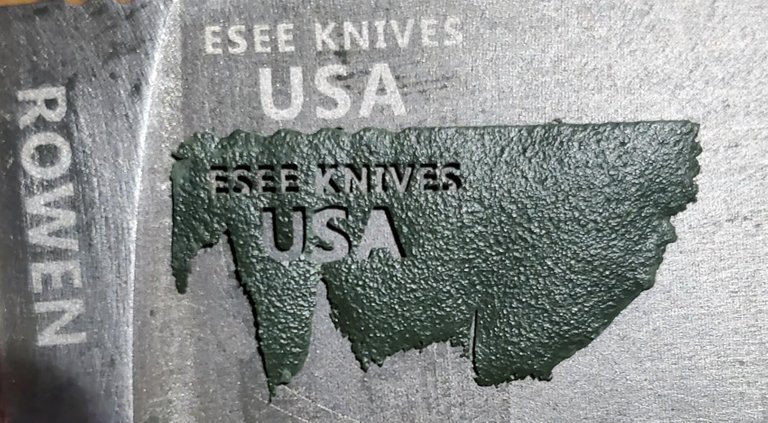
A plastic scraper, and a little scotchbrite can help bring it off. Just keep picking at it, being careful not to cut yourself.
Patina:
You've seen patina (in this context), you just may not know the word, or what it is. It's an oxide layer on metals akin to rust, or anodizing. Usually, a non- stainless knife will get darker with age, and use. Like these kitchen knives.
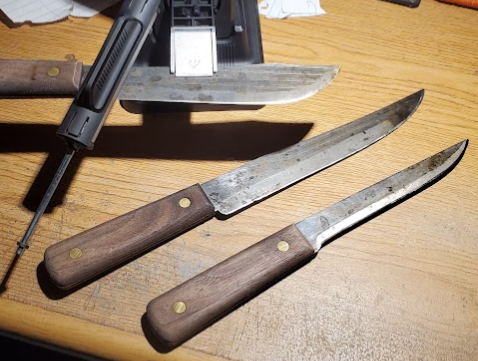
This happens as you cut through acidic things like apples, oranges, even things you wouldn't think are that acidic. This oxide layer builds up over time, and actually helps protect the knife from rust, somewhat. As with all high carbon steel knives, it will still need regular maintenance. We can speed this process up and make it slightly more uniform with some warm, white vinegar.
I actually decided to skip this on this knife, because it seems like it either still has some mill scale from the heat treat, or something. I'm curious to see what happens, but I'll describe the process here, so you can if you feel the need to.
Get a pot, and fill it about half full of water, then get your other glass container (I usually use a quart mason jar) that fits your knife and fill it with the white vinegar. Put the pot on the stove, and the container with the vinegar and your knife in the pot of water. Turn the stove on LOW. This shouldn't need to be said, but just in case it does,
DO NOT put a cold glass into hot water. Thermal shock is real, and you will have a bad day. Warm it all up together. Also, don't get in a rush and turn the heat up any higher. If you do, you could risk screwing up the heat treat on your knife, or worse, have the whole house smelling like boiling vinegar, and your wife will kill you (Don't ask me how I know, let's just say I've died 3 or 4 times). Warm is what we're looking for, not hot.
Let the knife soak for an hour or two, checking on it about every 15 minutes until it's good and dark.
Once it's to your liking, pull it out, and wash it in some warm, soapy, water with a scrub brush to get all the vinegar off and stop the process. Some of the oxide layer will come off, and it will lighten up some, and that's ok! The lose, surface layer needs to come off. What stays is what we're looking for. Dry it really well, and give the whole blade a light coat of oil. Any oil will do, but I usually use whatever cooking oil is laying around the kitchen. On occasion I use my knives to cut food. 3 in 1, and gun oil don't taste very good (don't ask me how I know that either), but maybe YOU enjoy the flavor! Do you...
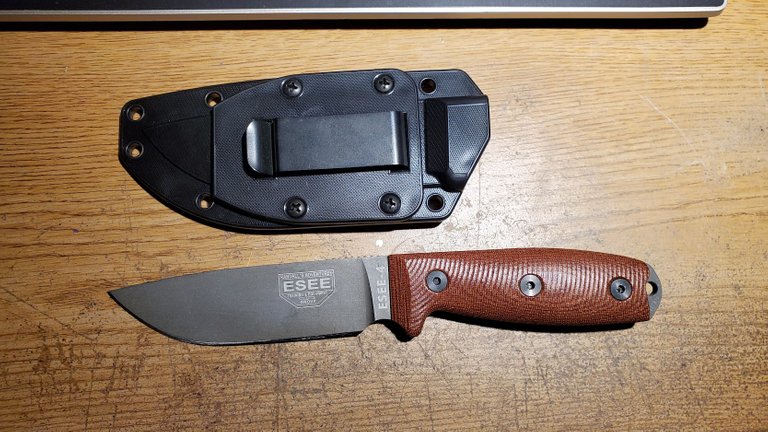
Now (if applicable) you can go ahead and put your knife back together.
Remember to use a little BLUE Loctite on the screws, so your hardware don't rattle off. Give the edge a lick or two on a stone, and it's ready to go to work!
Thanks for checking out this post!


That's actually really cool and congratulations for an excellent write-up.
Thanks! Glad you like it!
Absolutely and good job putting it all together. Actually you're right I really like the way it looks now!
Me too. Plus, you don't have the drag from that coating when you're cutting, and you can use the spine to scrape if you need to.
One of these days, I'm going to get a cheep knife and try cold blueing it. I wonder how it would wear...
Personally I like natural patinas myself.
And I could absolutely see how that bed liner coating would drag.