If you haven't read part one yet:
https://steemit.com/story/@alexanderbraun/my-road-to-building-my-first-instrument
In part one I chose the materials, designed the shape, glued the cat-strip onto the body and glued the neck together.
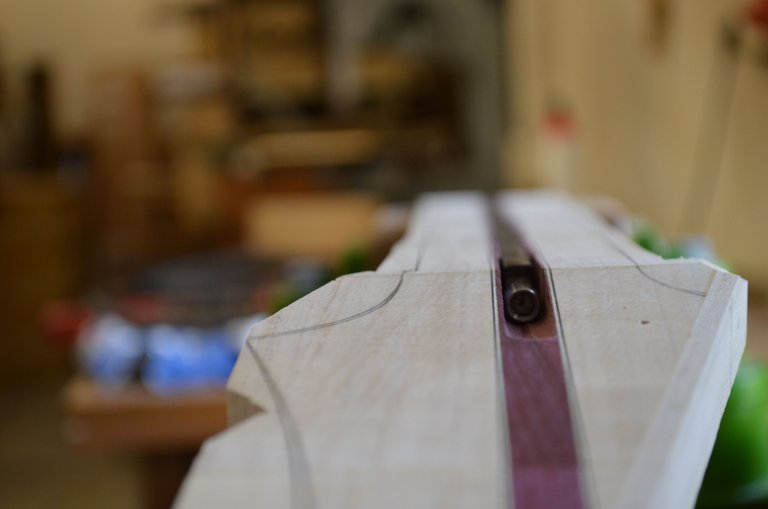
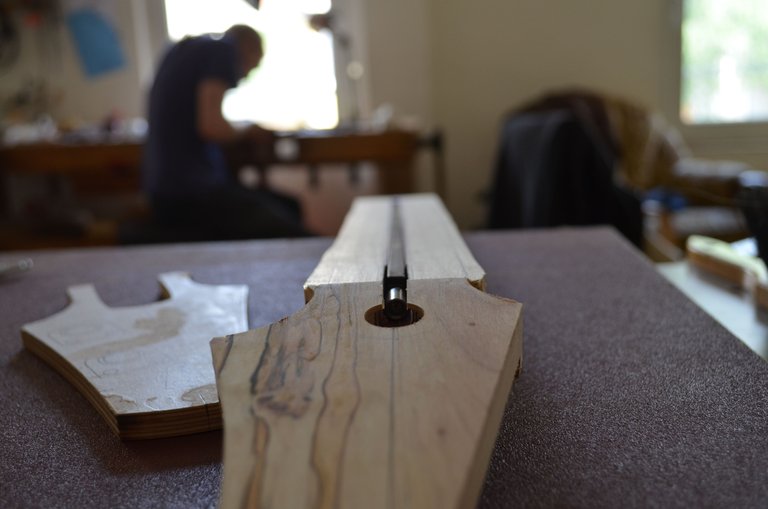
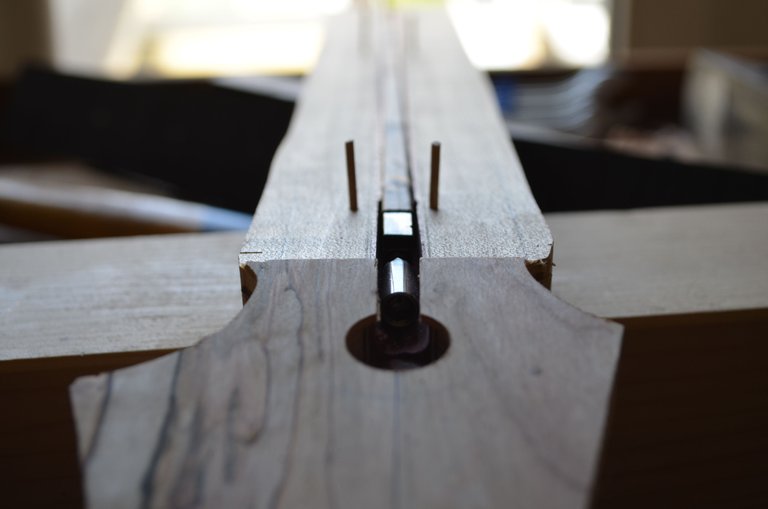
After finishing the previous steps I had to cut open the space for the trussrod.
Because I wanted a matching headstock (like you can read in part one) I glued a piece of the spalted maple ontop of the headstock.
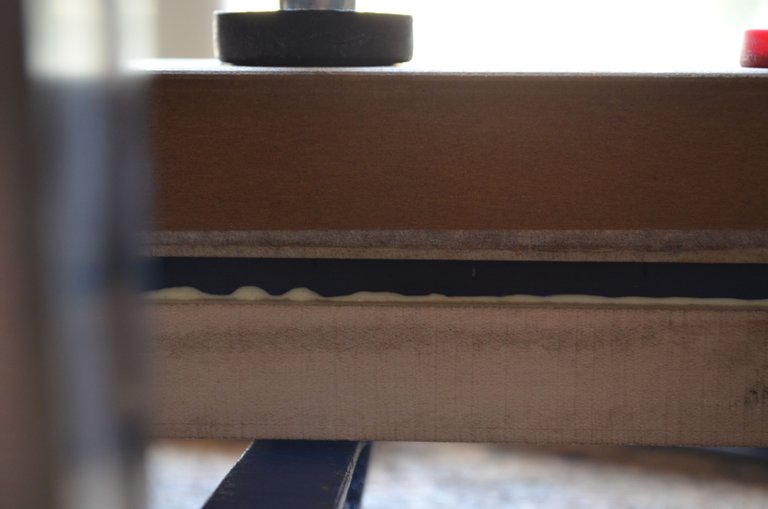
Afterwards I had to lock the fretboard (ebony) onto the neck to glue it. It's crucial that the neck won't move in the process. If it does so the whole playability and not purity will suffer a lot. You can use toothpicks to do so!
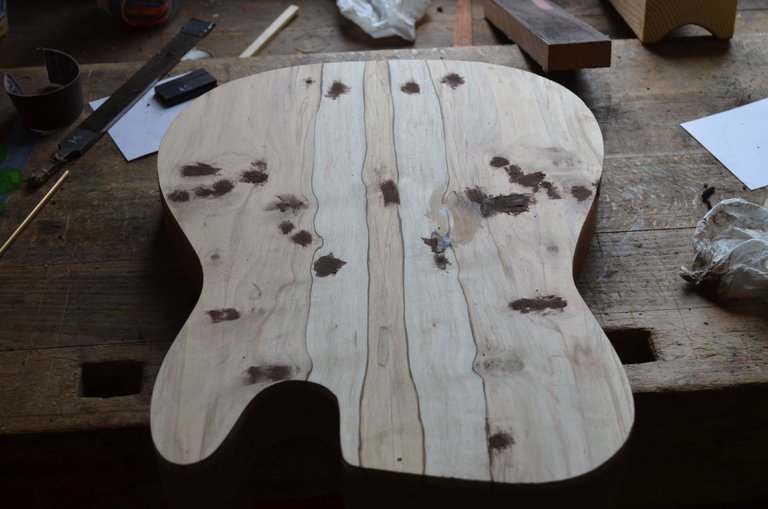
Like I already mentioned in part one spalting is a process which changes the characteristics of wood drastically. You'll have to repair some places. I used different types of wood dust to fix those places.
After waiting for a day the basic sctructure was finished.
Because the neck was way too thick the way it was I had some grinding and sanding to do (again) to get it on a playable level.
More grinding.
And, you probably already guessed, more grinding.
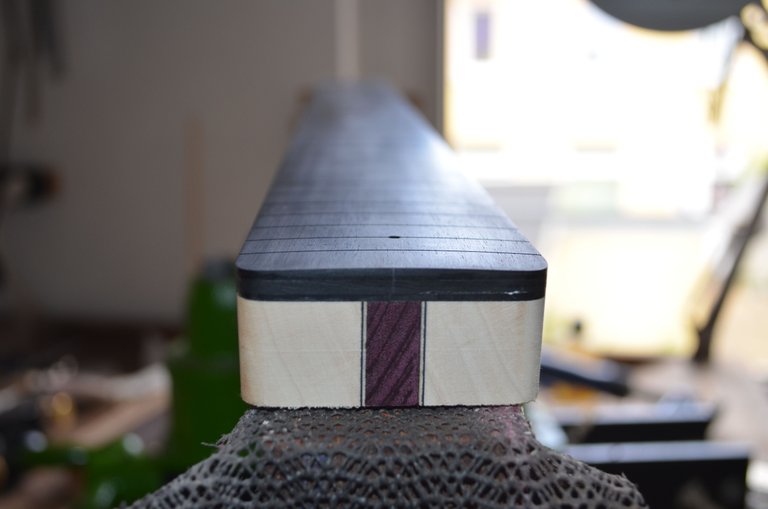
After getting the neck done (I'm pretty satisfied with my result tbh) I had to sand the fretboard. Also to guarantee the note purity you have to be aware of the curvature and the way the neck is converging!
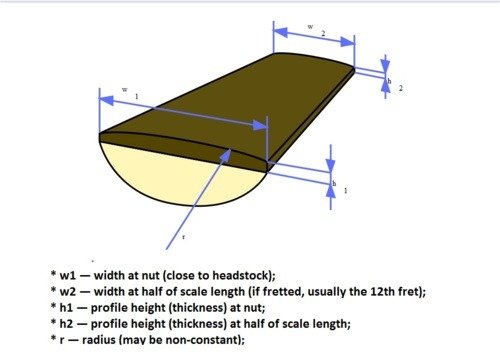
(image from http://guitarbuilding.tumblr.com/fretboard)
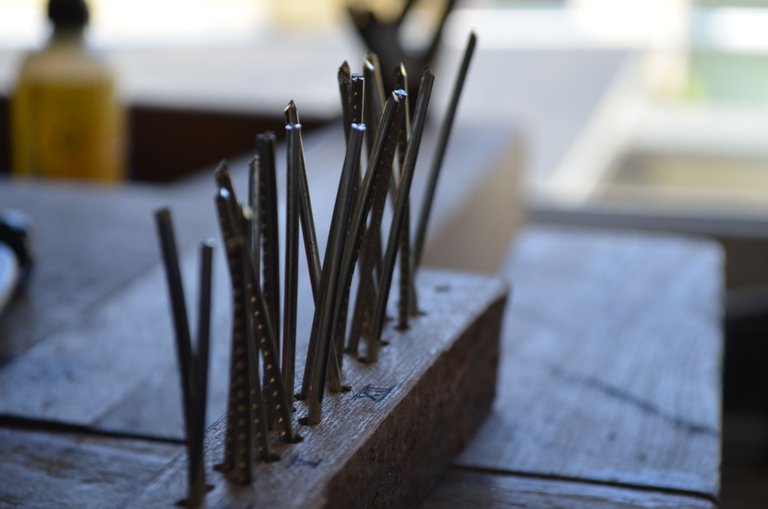
Then I sorted the frets after their lenght (they'll come as a wire, you have to cut the mushroom shaped frets in the matching length).
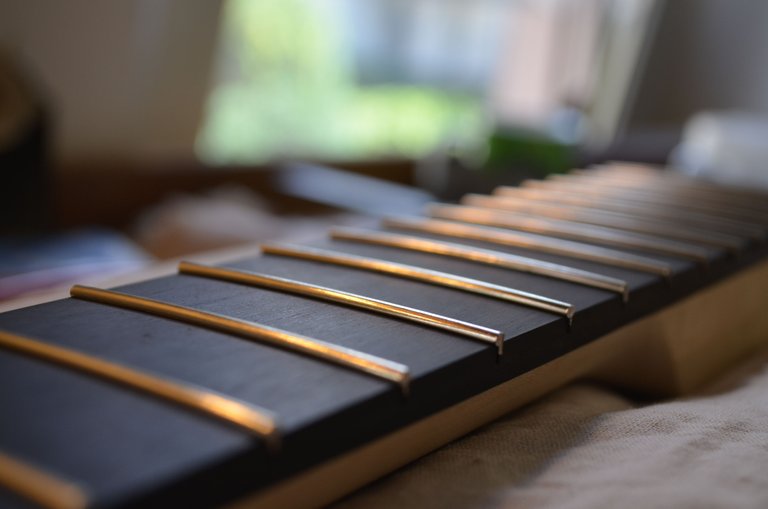
To get the frets in the prepaired slots is a task which needs a little bit of experimentation. Because I had a luthier guiding me, I skipped this part. We "slammed" those babies in with a rubber hammer. Using pliers could result in damaging the neck!
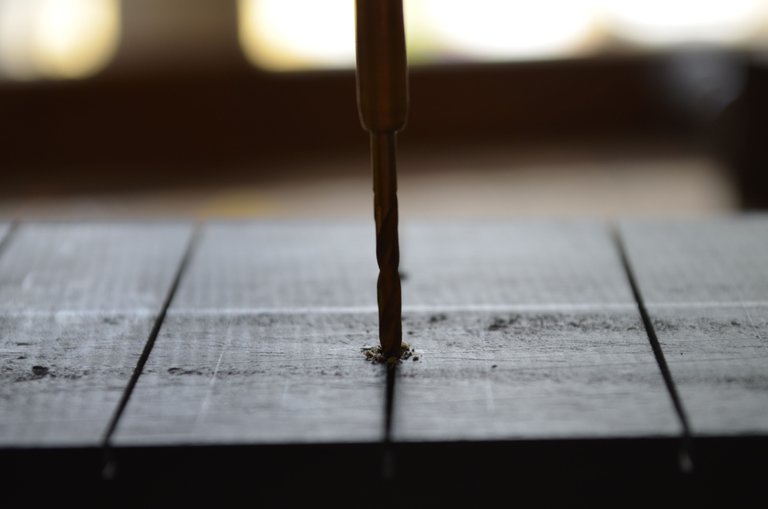
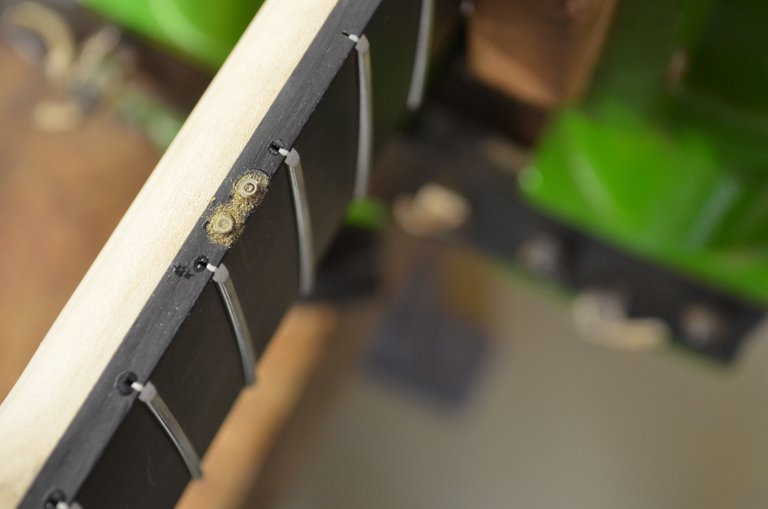
For the fret markers I decided to rely on brass tubes which were pushed onto the fretboard.
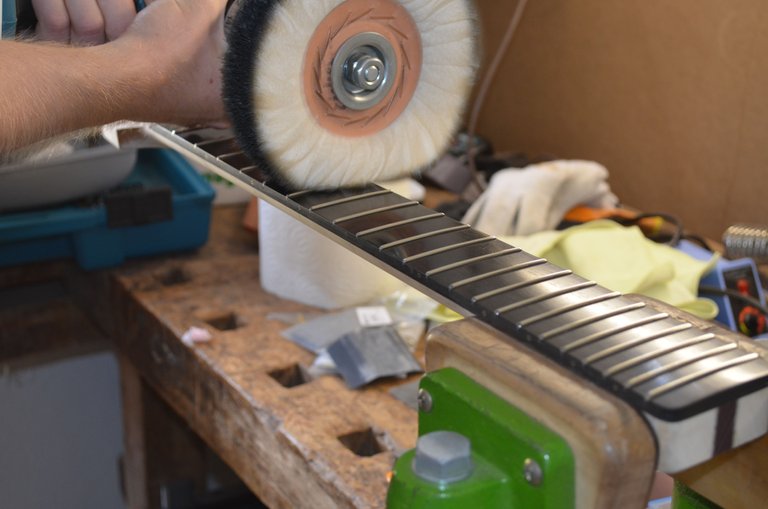
After rounding the frets, sanding the brass tubes and polishing the fretboard I was rewarded with a nice and shiny fretboard!
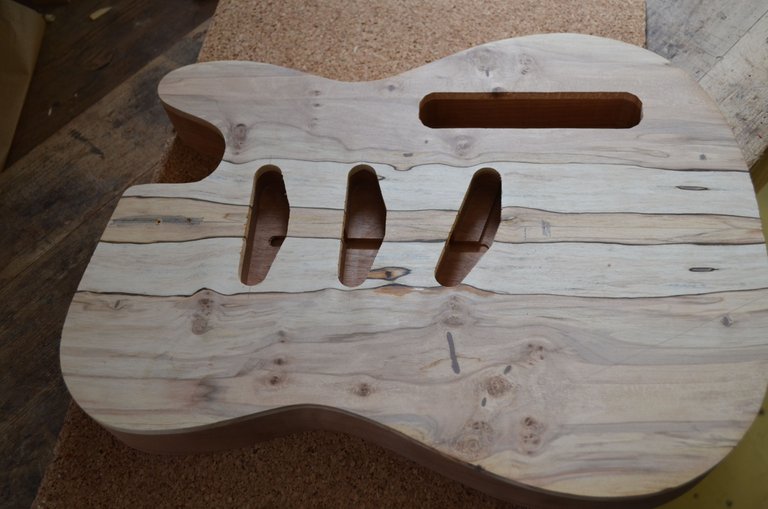
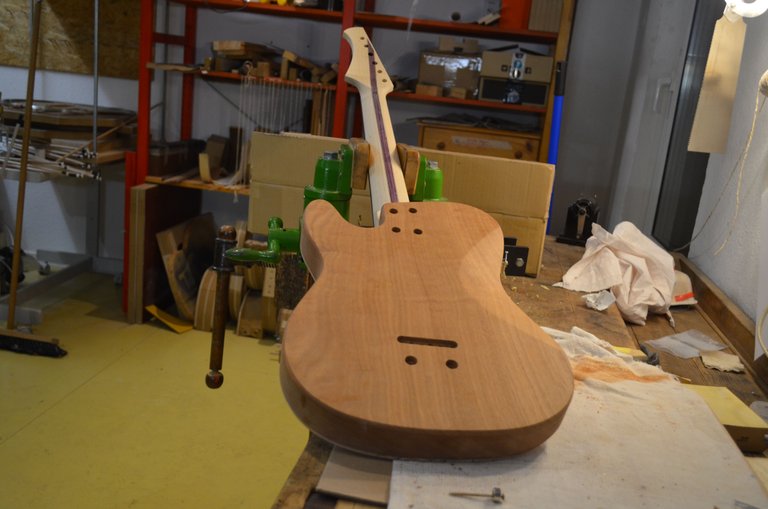
Now I had dedicated myself the body. I had to mill-cut the space for the pickups, the wires and the controlplate out of the wood.
As you can see in part one, the space for the wires was already mill-cut when I produced the body, because you don't want to have an ugly cut on your cat strip. It would destroy the whole appearance of the guitar.
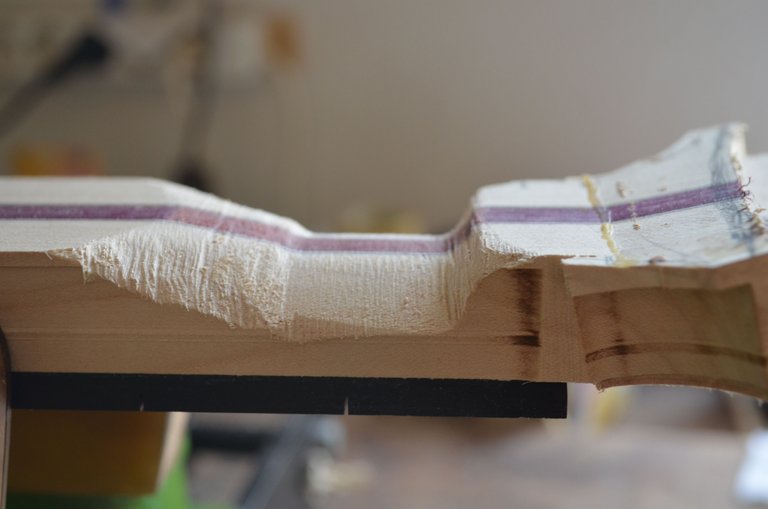
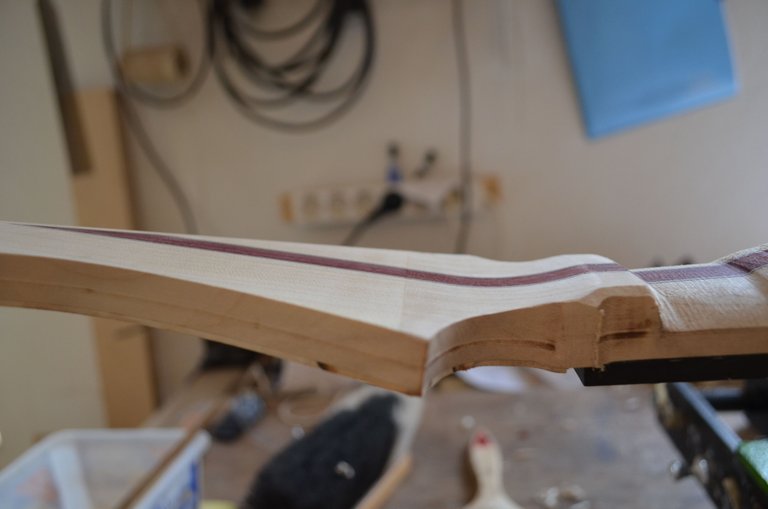
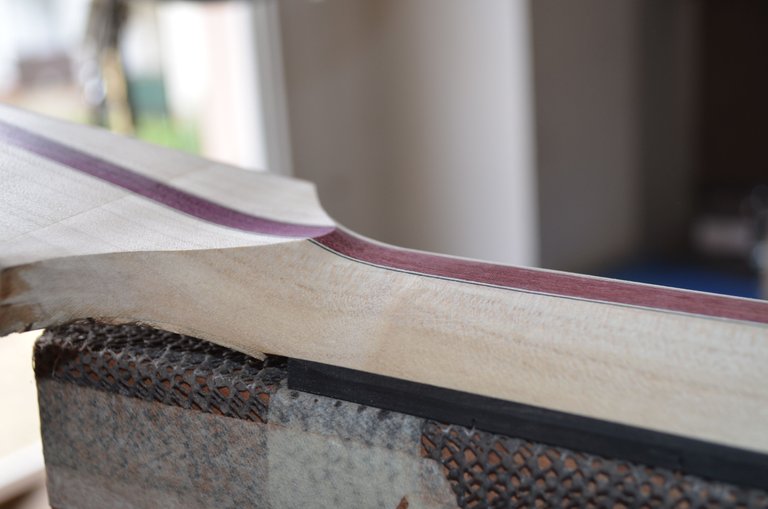
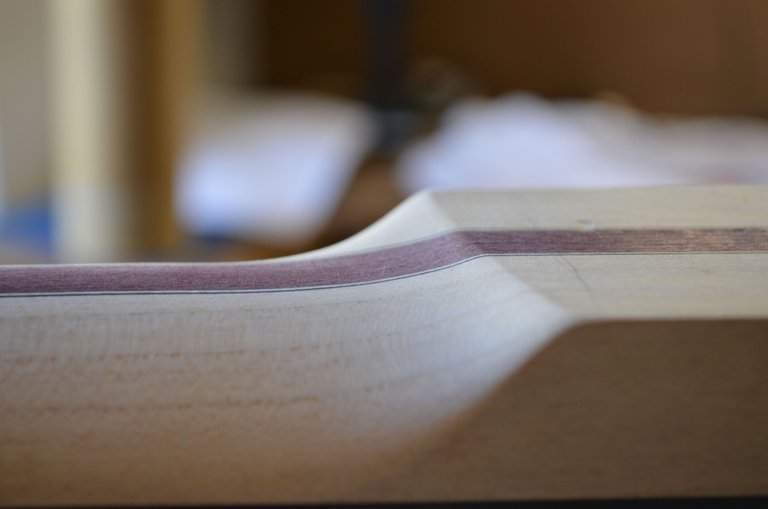
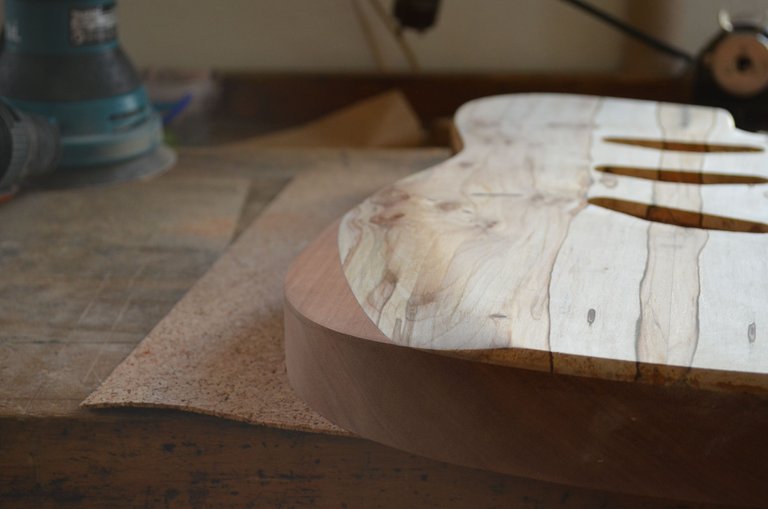
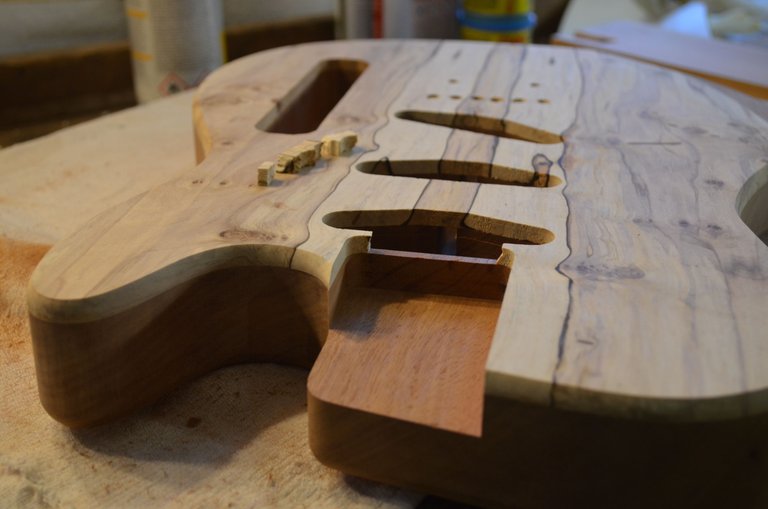
I also wanted to see some of the mahagony on the front and because a space to lay your arm on is pretty comfy I could get to birds with one stone ;) ( did the same thing on the back for my ribs )
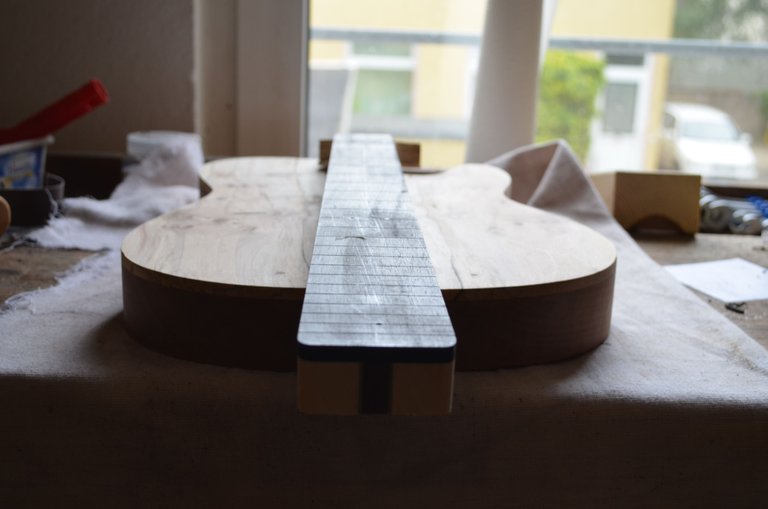
As I was cutting the pocket for my bolt-on neck the unimaginable finally happened. The spalted maple decided to give up duty. But I was able to glue it back together.
So this is my progess so far. In part 3 the guitar will be painted. I'll also make a trussrod cover and install the mechanical and electronical parts, the control plate and the nut. Perhaps this part also contains the technical specifics.
Thanks for reading! Let me know if you liked the post! By the way, overall I invested nearly 60 hours so far.
Great recording of your building process. Until now it's a beautiful outcome,can't wait to see and hear the finished product. Just recently I built my guitar from one of those cheap kits that you can buy from China because I have, like three left hands and would never be able to build one from scratch. But I'm planning on upgrading my next build with better hardware like pickups, therefore I'm really interested what you will use for yours.
Thanks for your comment! I highly recommend searching for a luthier if you want to build your guitar from scratch. He or she will guide you the whole process and you can be sure to receive an instrument which meets your expectations. I will use Duesenberg single coils pickups (http://www.goeldo.de/pickups/single-coil-pickups-u.-rahmen/2889/duesenberg-ds-alnico-blade-pickup). If you have enough money and can wait a little bit I guess a pickup builder from the following list will be a great choice!
https://www.premierguitar.com/articles/5_Single_Coil_Pickup_Builders_You_Should_Know?page=1