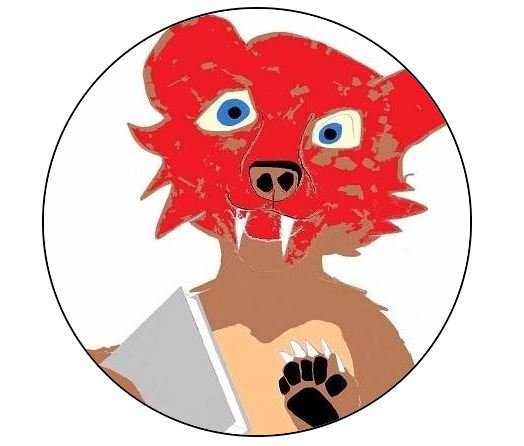
Making circle images with html5 and css is relatively easy!
The image at the top of this post has been rounded and includes a border color. If you'd like to do the same with one of your own images (a square, rectangular or whatever shaped image which you may have) please place the following code in your .ccs file or right inside in <head></head> tags of your .html file between the <style></style> tags -
.img-circular {border-radius: 50%;border: 2px solid #000;}
You don't have to name it circular. You may give it almost whatever name you want.
After that you may place the following code * in your .html file somewhere (wherever you want it to be displayed at) between the <body></body> tags -
<IMAGE class="img-circular" src="your-image-location/and-file-name-and-file.type" />
What if you don't want the colored border? Just get rid of the border: 2px solid #000; -
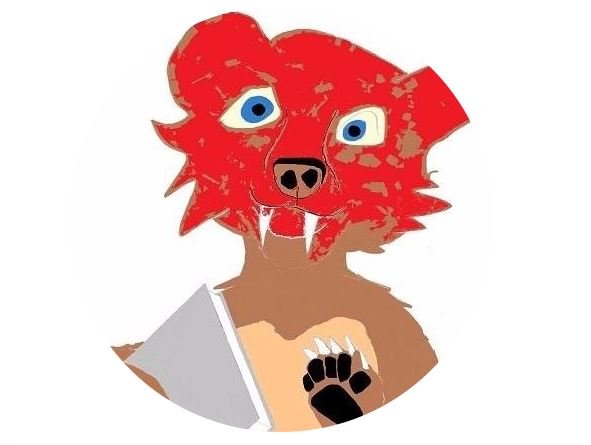
Those are the basics my fellow Steemians! From there you may, if you desire to do so, add more style such as height:300px ; max-width:300px ; width:100%
Moreover, if you are working with a large picture which contains more than just the area that you want in the circle then you'll have to adjust the margin to get the circle over that area of the image. For example, lets use this image -

If we use the circular code provided near the top of this post we get this (which is fine) ↓ ↓ ↓
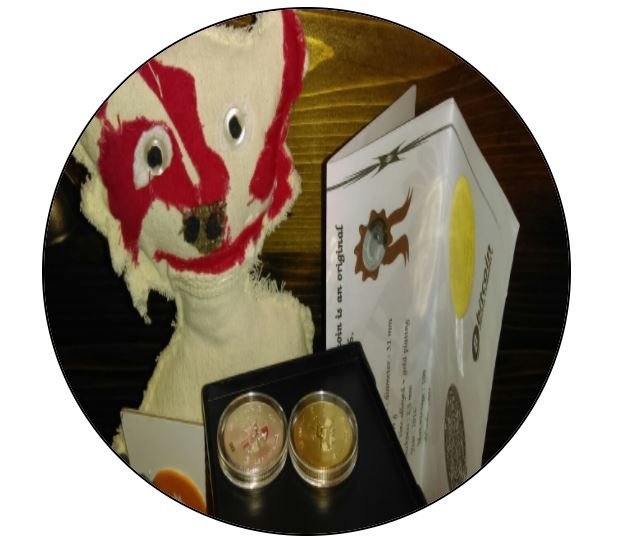
However, what if you want to move the circle around to another area of the image?
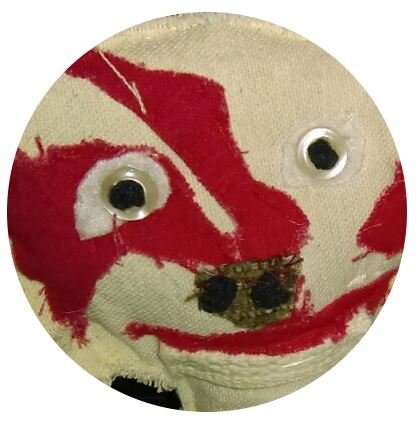
You'll need to add a margin element and adjust it to get the circle over the area (of the picture) that you desire. You'll also need to create a div class -
.circle-adjust {display: inline-block; position: relative; width: 400px; height: 400px; overflow: hidden; border-radius: 50%;}
Now somewhere (wherever you want the image to appear at) in your .html file use the above class to make a div class (insert this)-
<div class="circle-adjust"> </div>
You'll also need to create another class (this is where we'll use the margin element) for the image itself -
.circle-adjust img {width: auto; height: 100%; margin-left: -150px; margin-top: -20px;}
Now within your .html file, between the previously inserted <div> </div> tags, place the following code *-
<IMAGE src="your-image-location/and-file-name-and-file.type" />
I hope that all, or at least some, of the foregoing was helpful to someone here at Steemit! If you have any questions please feel free to ask below in the comments!
* IMPORTANT NOTE - Within all of the foregoing post I placed a "*" in two spots. This is because in the code cited directly below each I was forced to use the word IMAGE in lieu of img because Steemit was trying to render an image (which of course doesn't exist) from the code and it wouldn't allow me to post. PLEASE change IMAGE to img if you want the code to work for you. Thanks!
That's great friend!
Hi @federico77 I'm glad to see that you made it over here to Steemit! Btw, I sent 1 Steem to your wallet to get you started!
Thank you Nandi friend!
p.s. @federico77 not @federico :))
Your post appears very helpful and informative. Steemit appreciates people who take time and effort to provide quality content that people can use. I feel you post will be helpful and useful to all who view it. Keep up the great work Nandibear. Your doing great on steemit and also your very inspiring to others who follow your posts. You deserve many upvotes and comments. Keep it up!
It's a shame steemit is so limited that it won't allow things like this, or anything, really
Thanks @nandibear for this awesome tip on how to make the pictures circular and im looking forward to trying this on some future posts.
#circleoffriends
@nandibeer. This is a good work. You sure know how insightful this is for people with just joined and others who don't know how to do so. Keep the good work!
click here!This post received a 4% upvote from @randowhale thanks to @nandibear! For more information,
thank you!
I don't know why I laughed so hard at this but thank you!
thank you...