Macro Photography Tips and Tricks
Hello steemians friend, This time I want to share a tip and trick to take macro photos.
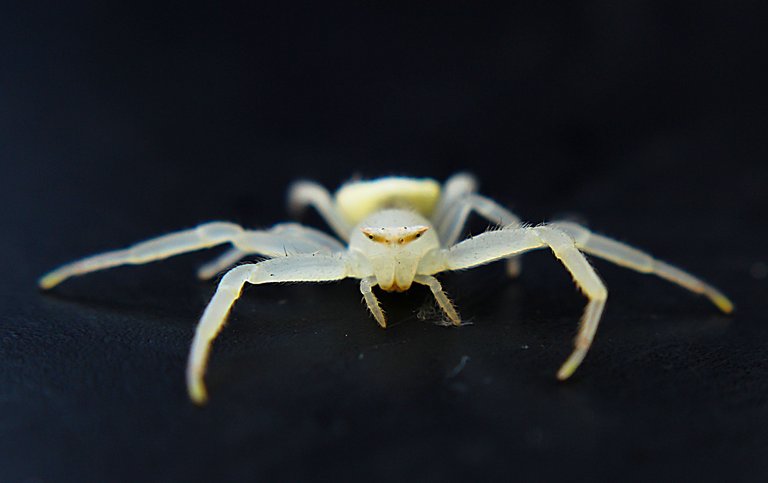
Macro photography is close-up photography for high detail but does not require the help of an optical magnifier such as a microscope. Macro photography typically has a 1: 1 ratio of the size of the resulting image of the same size as the original object. For example, in 35 mm film, the lens should be able to focus on an area as small as 24 × 36 mm, ie the size of the image on the film.
For macro photography, macro lenses are the right choice. This type of lens usually has a 1: 1 or even more magnification. But unfortunately, the macro lens is identical with the expensive price. Therefore, you can use alternatives such as using extension tubes, reverse rings or close up filters. Here's how you get a low-cost macro photo.
Step # 1
The first way is with Filter close up. A close-up filter is a filter mounted in front of the lens (like a regular filter) whose function is like a magnifying glass that is useful for obtaining the desired focus enlargement. In this way, although it does not have a macro lens, with regular kit lens can also be used for macro photography.
Step # 2
The second way is to use reverse ring. Actually the way it works reverse ring is the same as rotating the lens that will be used for macro photos. Reverse ring is just a fun tool to unify the camera body with the lens upside down.
Step # 3
The third way is with a macro ecstasy tube. This extensity tube is shaped like a pipe mounted between the camera body and the lens. The goal is to get a closer focus distance to focus on photographing small objects.

Use Narrow Narrow
Implementing macro photographs is usually done very rarely near. And the resulting image will have a very narrow space (DoF). Therefore, use a narrow aperture (f / 8 and up) to expand the sharper space obtained.
Try not to use high ISO
If the tool you are using does not allow for big profits, and intend to enlarge by trimming, try not to use the ISO too high. An overly high ISO will cause the grain on the image, especially when you are cropping. Wheat also tends to reduce the sharpness of the photo.
Make sure the camera is not shaking
A narrow DoF on a macro photo has an effect on the difficulty of focusing on the object. Just a little rocking, then the focus will definitely disappear. To fix this, make sure the camera does not experience a shock when it will execute. You can use a tripod if you want. However this can be overcome by using high speeds above 1/125. It is also useful to anticipate the movement of insects.
Try to always use manual focus
To get the maximum zoom, try to always use manual focus. The trick, set your lens on manual focus, and use the nearest focal point. Then look for the right focus by pushing the lens in front of the object to get the right focus.
Use flash help
The macro photographs produced with natural light are of course excellent. But I can rarely execute macro photos with narrow aperture settings - low ISO - high speed without flash help. If you do not have an external flash, you can use the internal flash on the camera.
So many of my posts may be useful for all of us. Good Job
Daily Photo Contest :
#macrophotography #photofeed #challenge #contest #animals
World of Photography Beta V1.0
>Learn more here<
You have earned 5.05 XP for sharing your photo!
Daily photos: 1/2
Daily comments: 0/5
Multiplier: 1.01
Server time: 18:59:01
Total XP: 45.60/100.00
Total Photos: 9
Total comments: 0
Total contest wins: 0
Follow:
Join the Discord channel: click!
Play and win SBD:
Daily Steem Statistics:
Learn how to program Steem-Python applications:
Developed and sponsored by: @photocontests@fairlotto@dailysteemreport@steempytutorials @juliank