In one of my last makeup tutorials, I told you that my husband had surprised me with a few makeup products that he ordered for me without telling me about it.
That’s why I wanted to use another makeup product that he had chosen for me and give it a go!
Let’s start:
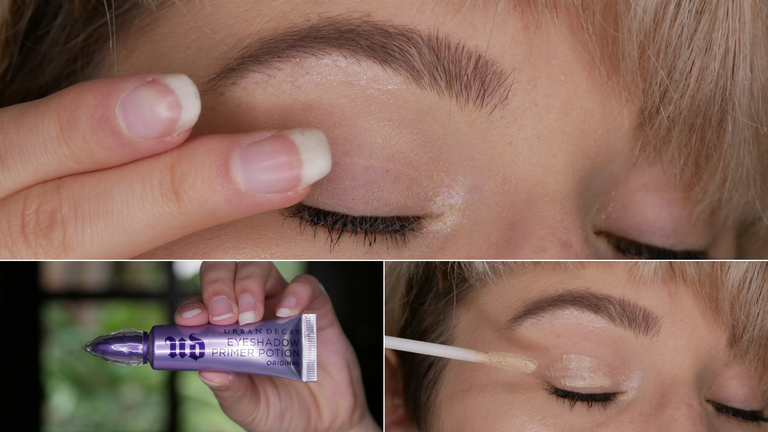
Step 1: Prime.
To make sure that the eyeshadow won’t crease, apply a bit of eye-primer to your eyelids and blend it using your finger and let it dry.
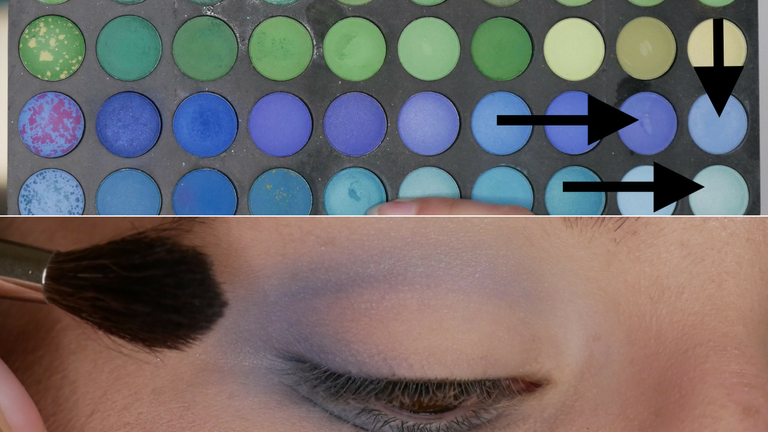
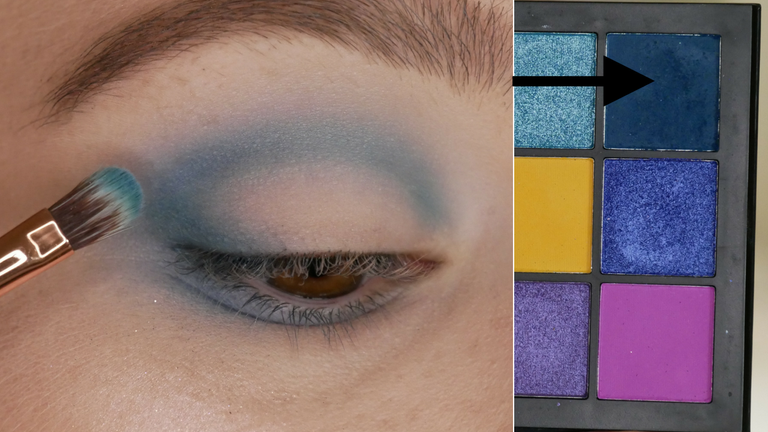
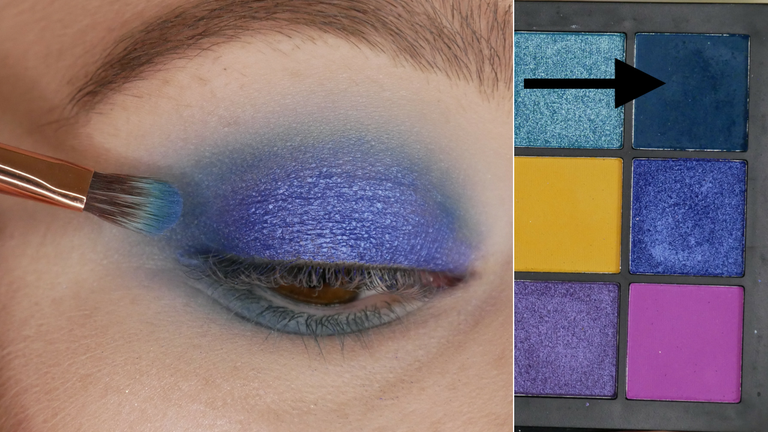
Step 2: Transition.
For the transition shade, I went into some greenish-blue, light blue and a darker blue. I just mixed all of them together and blended it into the crease, above the crease and outer corner of my eye.
Use a blending brush to do so.
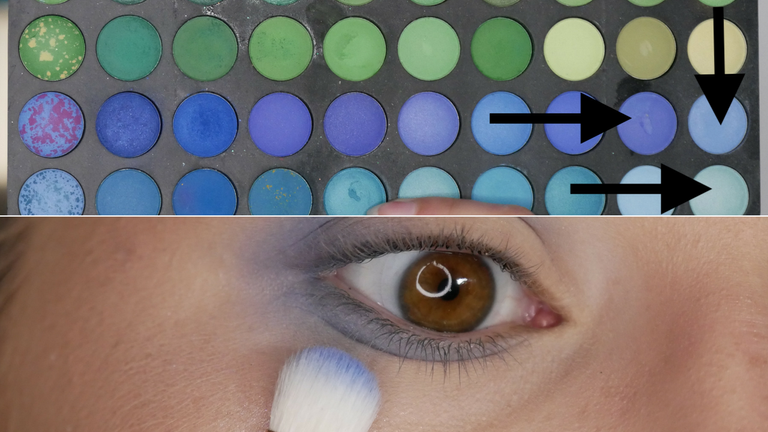
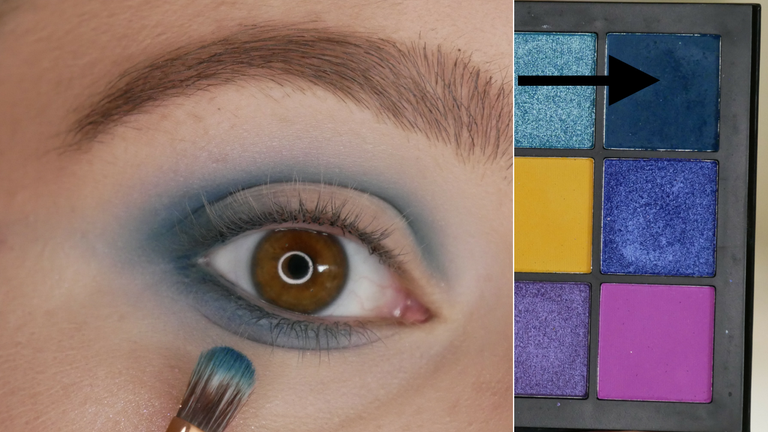
Step 3: Lower Lash Line.
Mix up the same shades that you’ve put into the crease and apply it to the lower lash line by using a flat eyeshadow brush
Step 4: Deepen The Crease.
Next, you can use a smaller eyeshadow brush and mainly focus it right into the crease to deepen the crease a bit more. I used a petrol-blue as my main crease shade and blended it into the transition shade.
Step 5: Lower Lash Line Again.
Take the same shade that you applied in your crease to deepen it and put it on your lower lash line but keep it close to the lashes and let it smoke-out towards the transition shade.
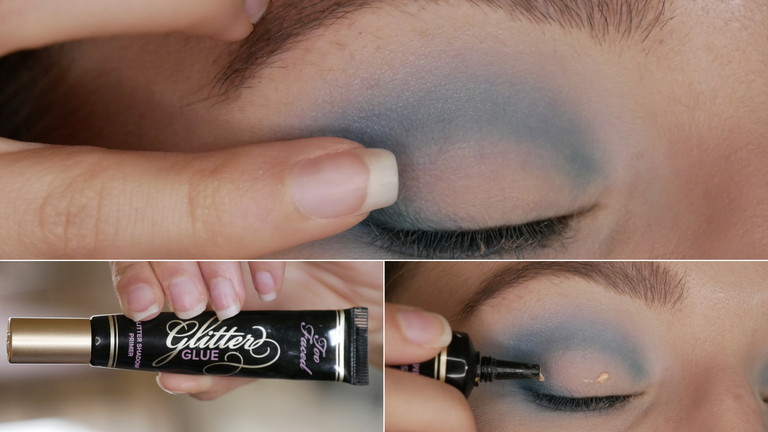
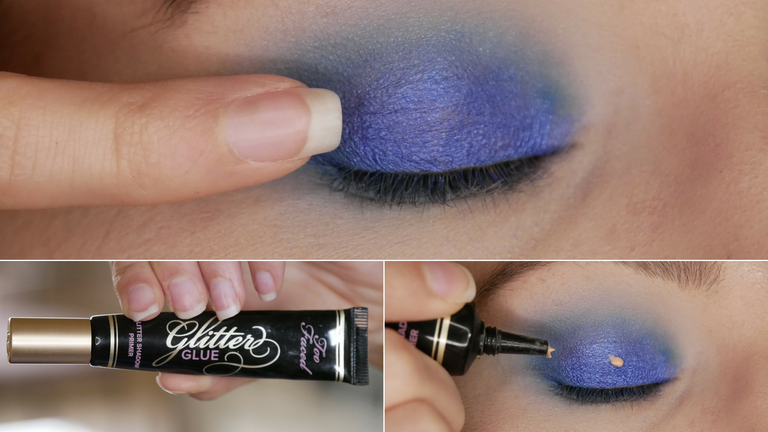
Step 6: Glitter Glue.
To make sure that the next shade will stick to the eyelid use glitter glue, apply it to the eyelid and dab it on to the lid. The reason why I would recommend dabbing it is because then you won’t have any harsh lines and it will blend easier into the other shades.
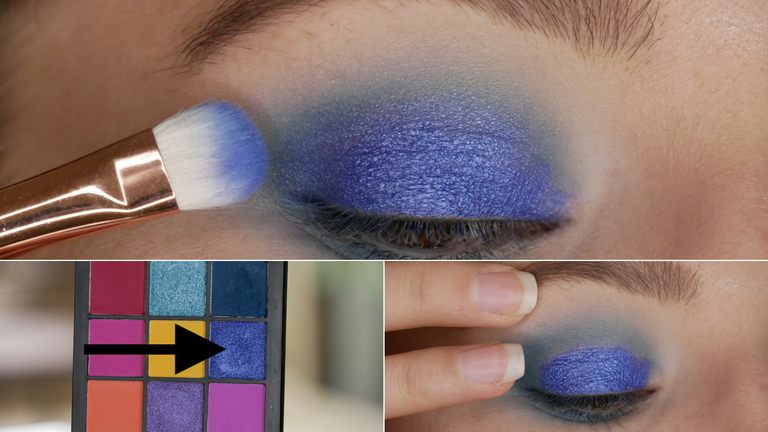
Step 7: Dark Blue Shimmery Shade
The next shade that I applied was a dark blue shimmery shade that I applied with my finger onto the main eyelid portion. I used the glitter glue before that shade because I wasn’t sure if I would have a lot of fallout or not.
I then blended the shimmery shade into the outer shades with a flat eyeshadow brush just along my crease to avoid getting any harsh lines.
Step 8: Petrol Blue Again.
Use the same smaller brush again from earlier and darken up your crease again to make sure that the shimmery and petrol blue shades are melting into each other.
Step 9: Glitter Glue again.
On top of that dark blue shimmery shade, apply the glitter glue again and use the same steps from before to apply it.
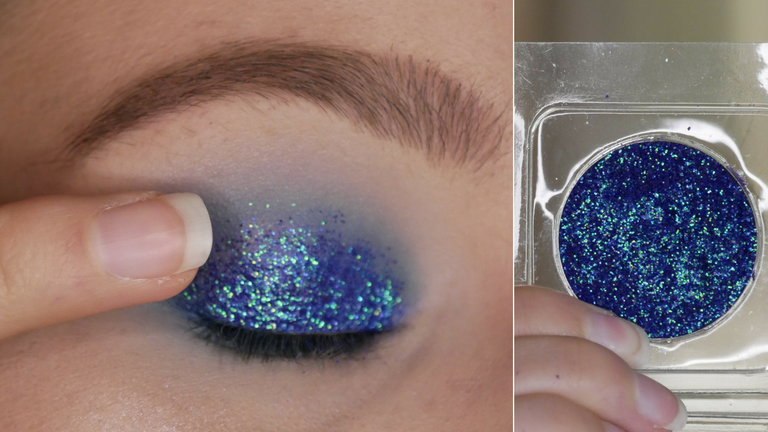
Step 10: Blue Glitter Flakes.
Now coming to the fun part!
This is the shade that my husband had ordered for me and I love it!
Apply these glitter flakes now on top of the dark blue shimmery shade.
You used the dark blue shimmery shade as a base because it has a lot more coverage than the glitter flakes!
I used my finger to apply this glitter to my eyelid and I also used my finger to kind of blend it towards the crease and outer to inner corner.
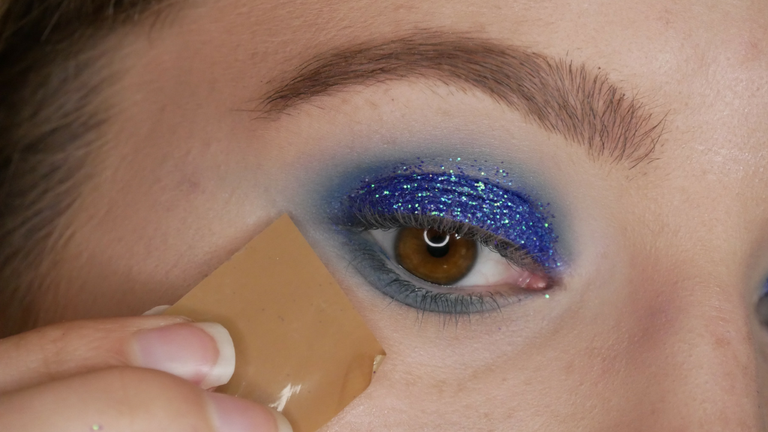
Step 11: Tip.
If you get some fallout because of the larger glitter pieces, use a piece of tape and stick and lift it onto the areas where you have fallout of glitter to get rid of it.
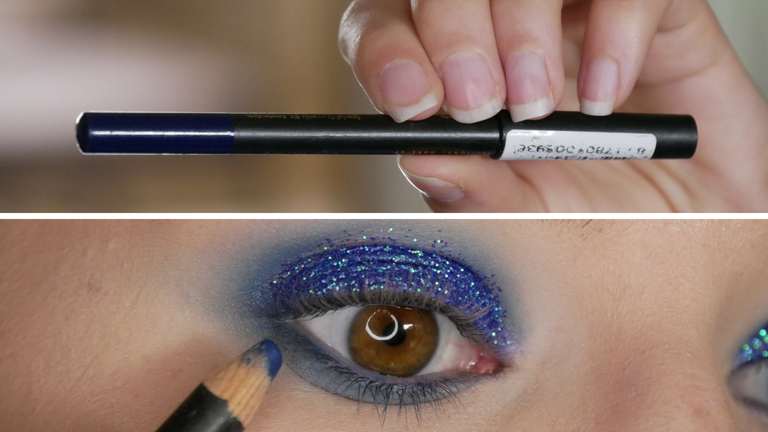
Step 12: Blue Eyeliner Pencil.
Add some blue eyeliner pencil to the upper and lower waterline to make sure that the whole look comes together.
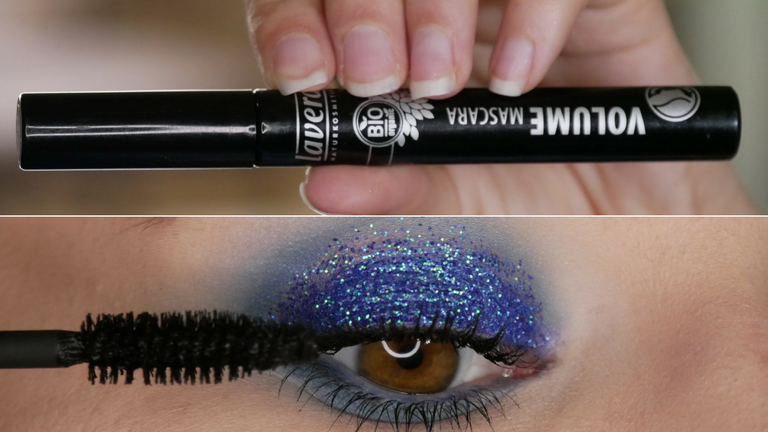
Step 13: Mascara.
To make your lashes pop, add a few coats of a good mascara and let your lashes get visible between all of that glitter.
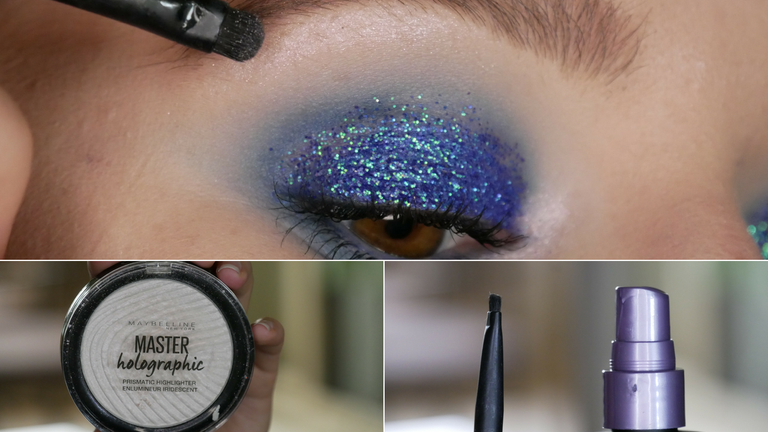
Step 14: Highlighter.
Of course, to add some highlighter is a must! Take a small eyeshadow brush and dampen It with setting spray, then dig into the shade and pop it in the inner corner of your eyes, brow bone, nose, cheeks and cupid’s bow.
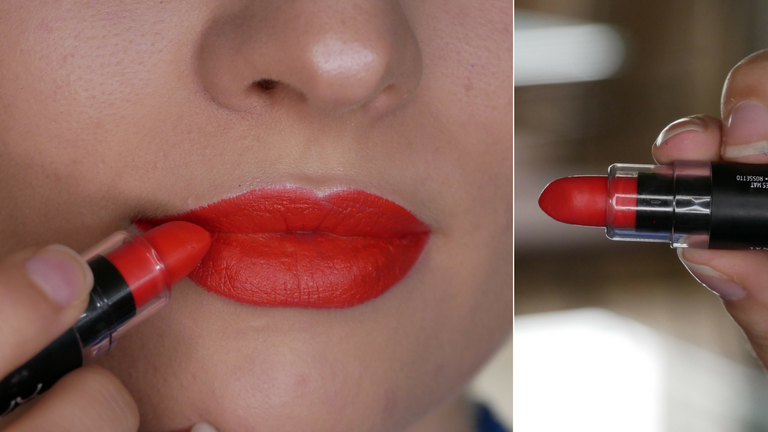
Step 15: Lips.
The opposite of blue is orange (color wheel) so let’s add some orange lipstick to the lips!
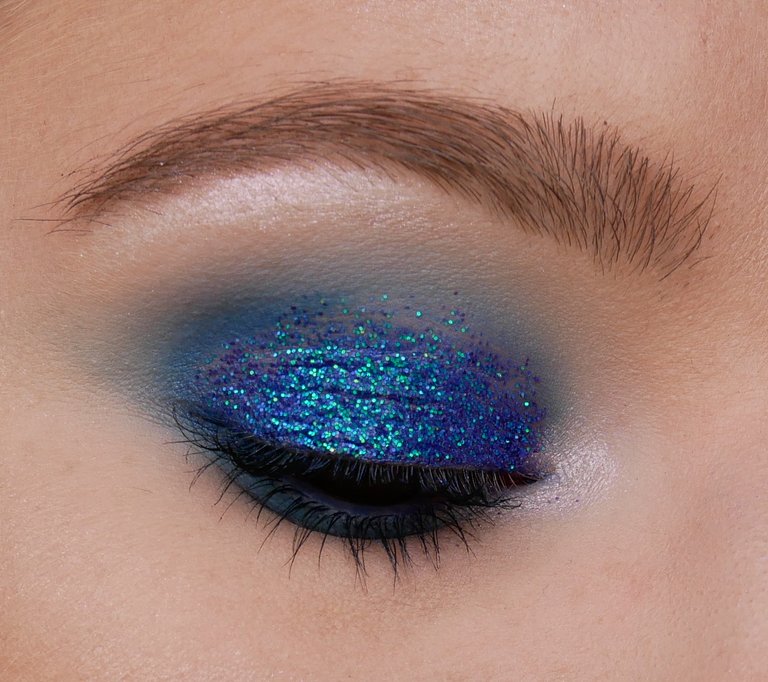
This is the finished look guys! I hope you like it! I love that glitter that my husband had bought for me and he was happy how the look turned out so I’m happy as well (:
xoxo, Melissa
Follow me on Twitter
Follow me on Facebook
Subscribe to my YouTube Channel
ALL MAKEUP GEEKS, feel free to RESTEEM this article! Let's keep spreading the word with real life everyday makeup application!
If you're someone who needs recognition for amazing an special content, don't be afraid to join the Promo-Mentor Channel

lovly eyes
God!!! So beautiful dear❤️