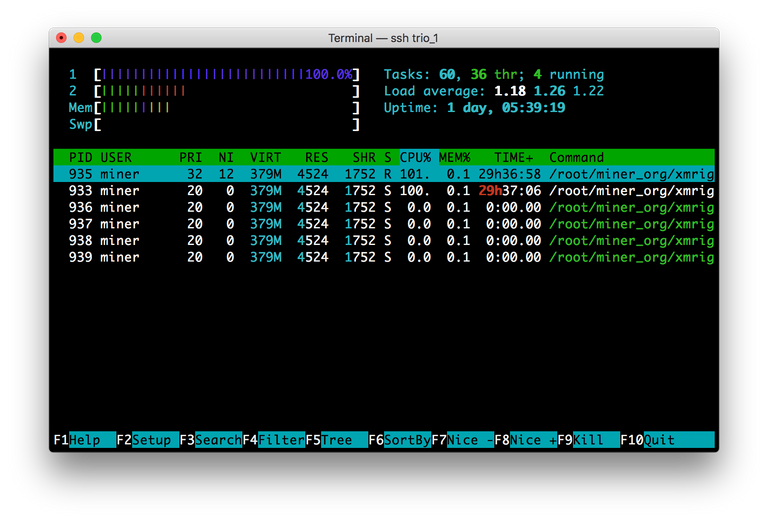
In this tutorial we add the xmrig cpu miner to smOS. It’ll be helpful if you have a basic understanding of linux cli. I have a tutorial here Linux CLI (Command Line Interface) primer for beginners — Steemit

I won’t cover how to ssh here. See my bminer tutorial for that. Here is how to secure ssh for smOS https://steemit.com/mining/@greerso/securing-ssh-for-smos.
- Install xmrig dependencies.
sudo apt-get install git build-essential cmake libuv1-dev libmicrohttpd-dev - . Download xmrig-2.4.4 (version 2.4.4 at the time of writing) from GitHub. You can read more about xmrig on their GitHub repo GitHub - xmrig/xmrig: Monero (XMR) CPU miner.
git clone https://github.com/xmrig/xmrig.git cd xmrig-2.4.4 - Make a directory to compile xmrig into.
mkdir build cd build - Compile xmrig.
cmake .. make - Make a directory in the smOS miners_org and move xmrig into it.
sudo mkdir /root/miner_org/xmrig-2.4.4&&sudo mv xmrig /root/miner_org/xmrig-2.4.4/ - Make sure that the new miner is executable.
sudo chmod +x /root/miner_org/xmrig-2.4.4/xmrig - Create a config file in the xmrig directory.
and paste the following text replacing your own preferences:sudo nano /root/miner_org/xmrig-2.4.4/config.json{ "algo": "cryptonight", // cryptonight (default) or cryptonight-lite "av": 0, // algorithm variation, 0 auto select "background": true, // true to run the miner in the background "colors": true, // false to disable colored output "cpu-affinity": null, // set process affinity to CPU core(s), mask "0x3" for cores 0 and 1 "cpu-priority": null, // set process priority (0 idle, 2 normal to 5 highest) "donate-level": 1, // donate level, mininum 1% "log-file": null, // log all output to a file, example: "c:/some/path/xmrig.log" "max-cpu-usage": 75, // maximum CPU usage for automatic mode, usually limiting factor is CPU cache not this option. "print-time": 60, // print hashrate report every N seconds "retries": 5, // number of times to retry before switch to backup server "retry-pause": 5, // time to pause between retries "safe": false, // true to safe adjust threads and av settings for current CPU "syslog": false, // use system log for output messages "threads": null, // number of miner threads "pools": [ { "url": "us-east.cryptonight-hub.miningpoolhub.com:20596", // URL of mining server "user": "greerso.Trio_CPU", // username for mining server "pass": "x", // password for mining server "keepalive": true, // send keepalived for prevent timeout (need pool support) "nicehash": false // enable nicehash/xmrig-proxy support } ], "api": { "port": 3333, // port for the miner API https://github.com/xmrig/xmrig/wiki/API "access-token": null, // access token for API "worker-id": null // custom worker-id for API } }[ctrl+x] y [enter] - If you wish to test the miner, change the background mode above to
"background": falseand run the command
You will see the miner output to the screen.sudo /root/miner_org/xmrig-2.4.4/xmrig[ctrl]+c - Run xmrig as a service.
paste the following textsudo nano /lib/systemd/system/xmrig.service[Unit] Description=XMRig Daemon After=network.target [Service] Type=forking GuessMainPID=no ExecStart=/root/miner_org/xmrig-2.4.4/xmrig -c /root/miner_org/xmrig-2.4.4/config.json -B Restart=always User=miner [Install] WantedBy=multi-user.target[ctrl+x] y [enter] - Enable the new service.
sudo systemctl daemon-reload sudo systemctl enable xmrig.service sudo systemctl start xmrig.servicesudo systemctl status xmrig # Get status of service sudo systemctl stop xmrig # Stop the service sudo systemctl restart xmrig # restart the service
The cpu miner will not be able to be monitored via simplemining.net but it does have an api accessible on the port specified in the config.json file.
I have started The Unofficial smOS Discord