Monero (XMR) is digital currency that you can spend privately across the world. We finally don’t have to worry about anyone spying or viewing transactions because it’s safe and secure!
In the future there will be support for Monero via the Ledger Blue and Ledger Nano S.
We have clearly understood the interest from the Monero community and we do not have any doubt about the fact that we > would sell a lot of units once XMR is supported.
However, this is a very complex project (because of the ring signatures) and we are not sure we can port in on our hardware > devices. We are assessing feasibility, and it will still take some time. Therefore, we do not have any ETA for the moment.
UPDATE June 21st
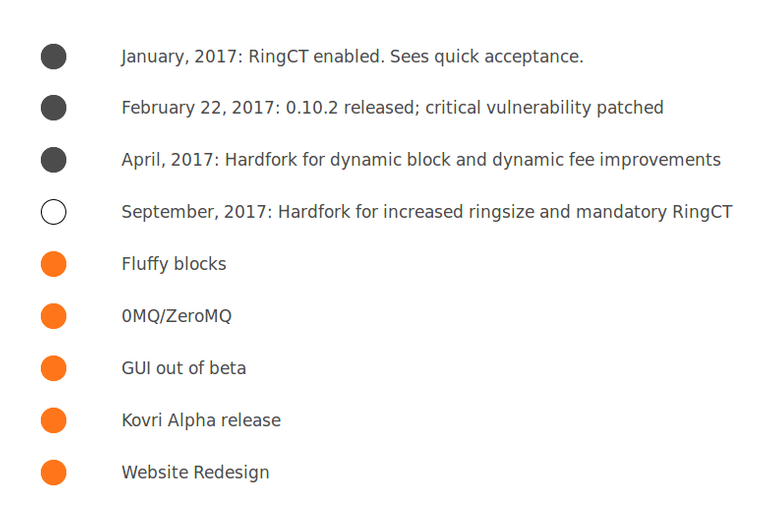
Monero 2017 RoadMap shows these ring signatures will be developed during September!
Therefore we could possibly have the support for the ledger by 2018!

Monero recently released a new version of the GUI wallet (GUI beta 2) and I’m really excited about it! Decided to make a tutorial to help the minnows. Before we get started, there is one thing you should know. This will help save you time. For those who who do not want to download the full blockchain then my monero.com (https://mymonero.com) is still the best option out there since there isn’t a nano version of the wallet available as of July 2017. If you don’t mind downloading the full blockchain then first you may want to download the bootstrap file before we begin installing the Monero wallet. The bootstrap file is 12.5 GB but it’s faster than syncing the Monero wallet. So, just watch a movie and relax while it’s downloading.
(Optional) Download the Bootstrap file  https://downloads.getmonero.org/blockchain.raw
When it’s done downloading -- place the file in the Monero directory.
Step 1:
Go to getmonero.org (https://getmonero.org/) and download the version of Monero that is suitable for your operating system. Since I’m using Linux certain files may look different but the concept is the same so you can still follow this tutorial on Windows or Mac.

Step 2:
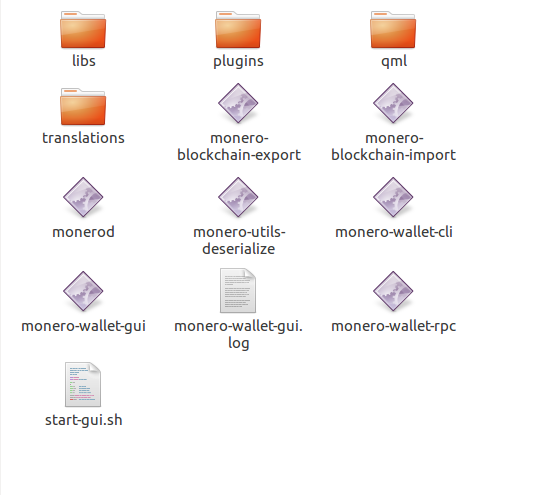
Double click on monero-wallet-gui
Step 3:
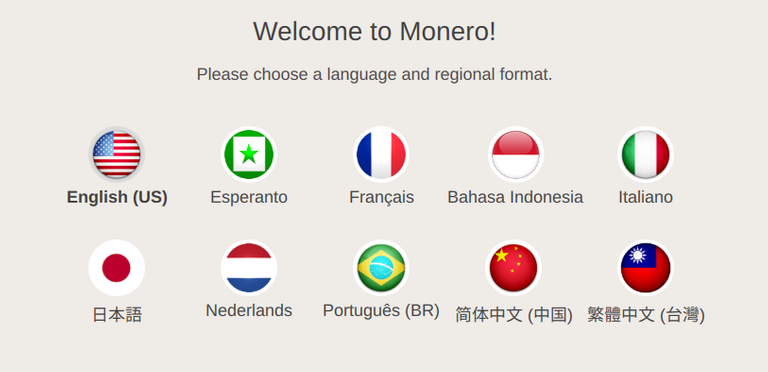
Select your language
Step 4:
Click on the circle that says “Create a new wallet”
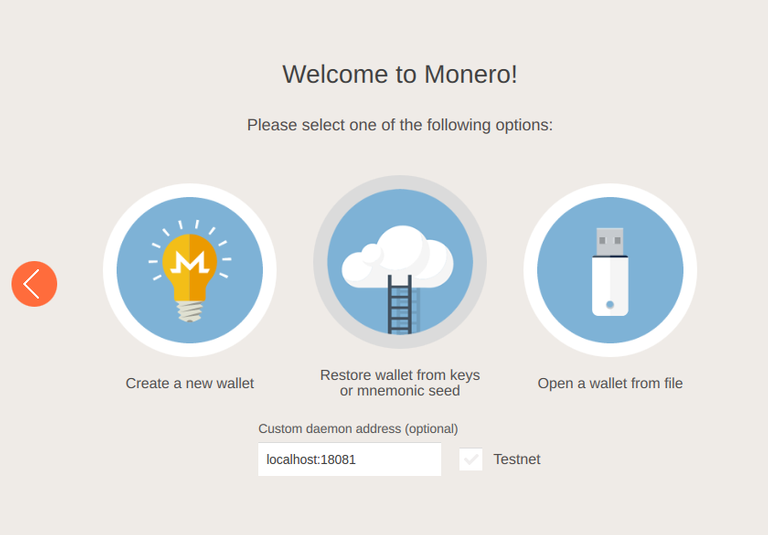
Step 5:
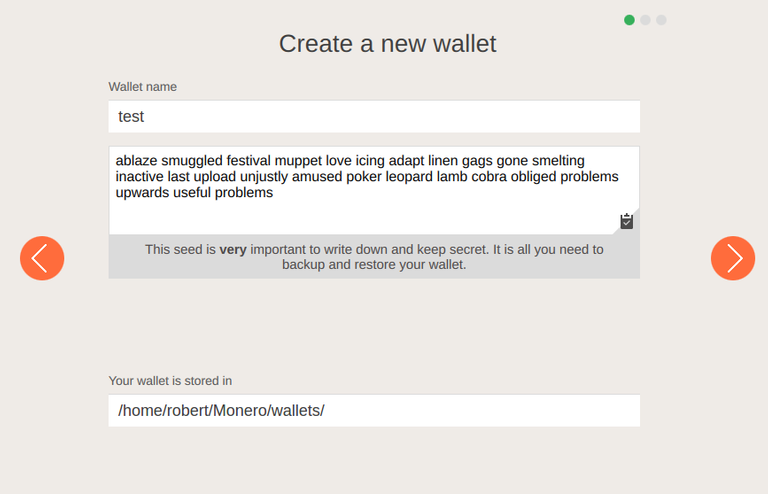
Create a name for your wallet and use your favorite password manger to store the seed. (If you need a password manager read this article: https://steemit.com/howto/@panda12/how-to-secure-your-crypto-currencies-like-a-boss-without-using-a-paper-or-hardware-wallet) -- Also pay attention to the directory path for your saved wallet. You will need to backup the wallet folder on a flash drive for safety.
Step 6:
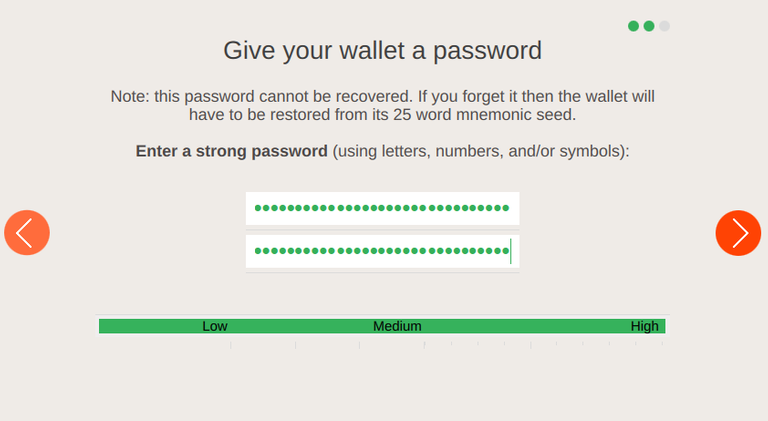
Confirm your password
Step 7:
Click on use Monero at the bottom right corner.

Step 8:
Wait for it to sync. If you transfer funds first before syncing, it will not show any transactions until it is fully synced. If you downloaded the bootstrap as explained earlier then the syncing process will go faster, however if you decided not to download it, it may take 2 or 3 days depending on your Internet connection.

If you like  Monero, then you might also be interested in
 PIVX as a privacy token.
Let me know if you would like a tutorial for that as well.
Thank you for your time and have a great day!
