Hi there. Welcome to the third lesson on music production. If you haven't read lesson one and two, it's ok, although now we're jumping straight into FX which you may find more interesting anyway. This week I will be providing you a brief overview of the three main categories of audio effects used in digital music production. If you're an electric guitar player, you have almost certainly used or at least heard of many of these effects in the form of pedals, such as delay and flanger. To demonstrate, I have included a few screenshots of effects within the digital audio workstation Ableton Live.
Digital Signal Processing (DSP ) is the intentional manipulation of an audio signal, or sound, through use of an audio effect. It is important to recognize three main categories of effects and their primary uses, which will be looked at in brief in this lesson. The three main categories of effects are Dynamic Effects, Delay Effects, and Filter Effects. These are all used for different purposes within the mixing process and are categorized based on which principle of audio they work with.
Dynamic Effects
Dynamic effects are related to Amplitude, or the height of a waveform above or below its zero baseline. These effects control volume based on material over time.
Compressor
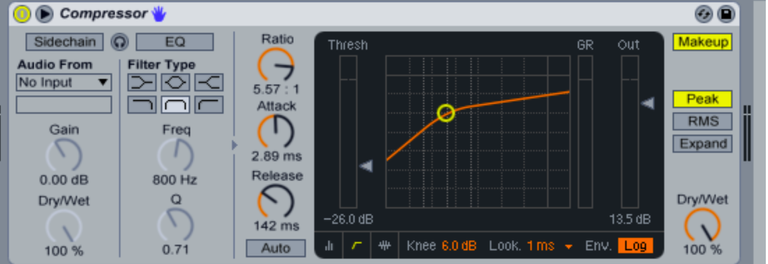
A compressor will reduce loud sounds above a certain threshold, while quiet sounds remain unaffected. A compressor reduces the volume of loud sounds or amplifies quiet sounds by narrowing the waveform or “compressing” the waveform, or the audio signal’s dynamic range. When the decibel level of a signal reaches the threshold, you can imagine a volume slider automatically –and abruptly or smoothly depending on settings—bringing the volume down to a chosen level.
Limiter
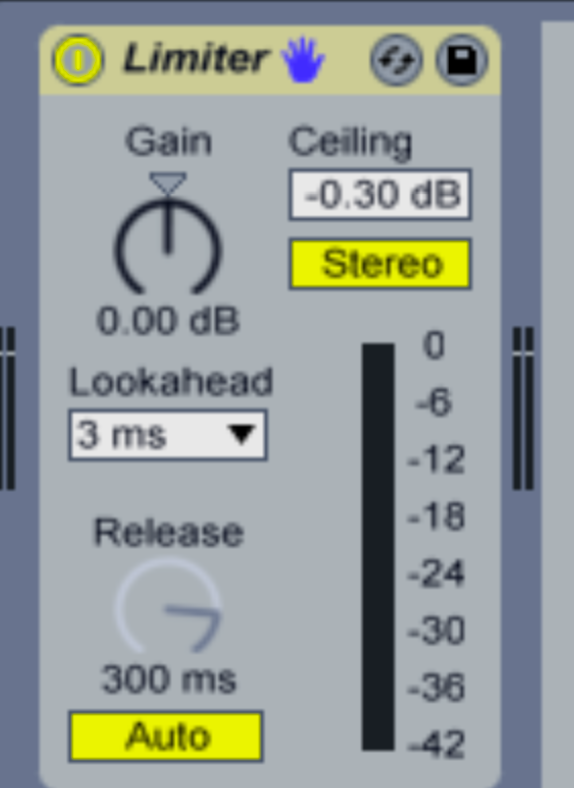
A Limiter is actually a type of compressor. It’s designed specifically to limit the level of a signal to a certain threshold. A compressor will smoothly reduce the gain above the threshold (depending on your settings) – a limiter, in contrast, almost completely prevents any additional gain above the threshold. A limiter is like a compressor set to a very high compression ratio, such as 10:1 or 20:1.
Expander
An expander is, more or less, the opposite of a compressor. Compression and limiting take effect whenever the signal goes above the threshold. An expander affects the signal levels below the threshold. In Ableton Live, this effect can be achieved with the Gate audio effect with the range set somewhere below infinity. You could do this with Live’s Gate audio effect, but it may be easier creating volume automation.
Noise Gate
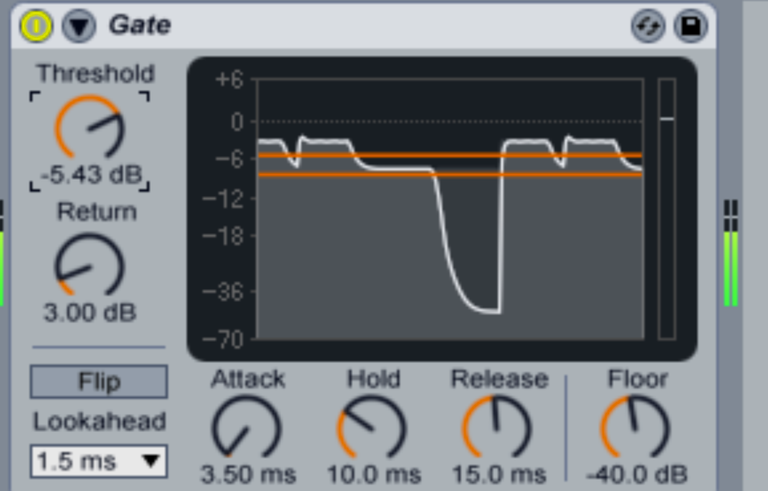
A Noise Gate, or simply Gate, is used to control the volume of an audio signal. It is typically referred to as gating. Compare a gate with a compressor – a compressor attenuates signals above a threshold, but noise gates attenuate signals that register below the threshold.
Delay Effects
Delay effects involve the propagation principle of sound. These effects create a sense of ‘space’ within your mix. For example, reverb can emulate the natural echoes and resonances of sound in a specific setting like a garage, or an opera hall.
Delay
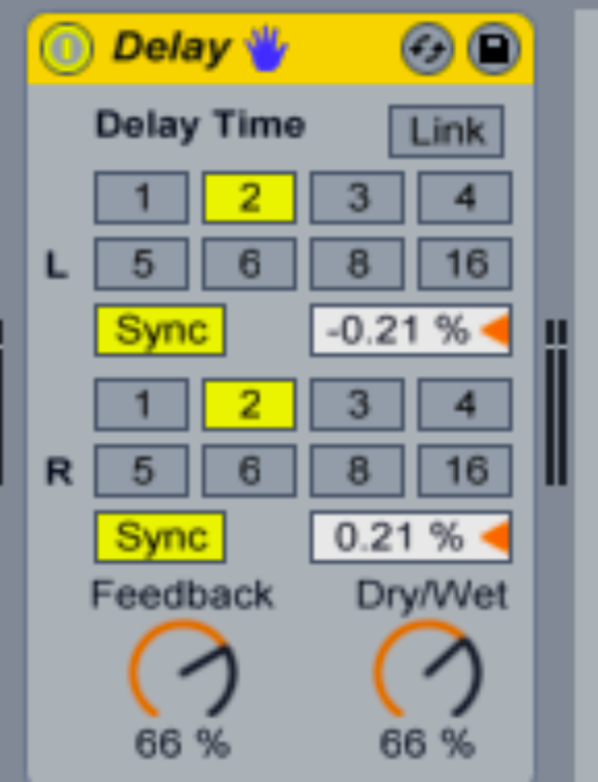
The Delay effect will playback the input signal after a set period of time. You could say it suspends the output of the audio signal. The original audio signal is followed closely by a delayed repeat, just like an echo. The delay time can be as short as a few milliseconds or as long as several seconds. A delay effect can include a single echo or multiple echoes, usually reducing quickly in relative level.
Phaser
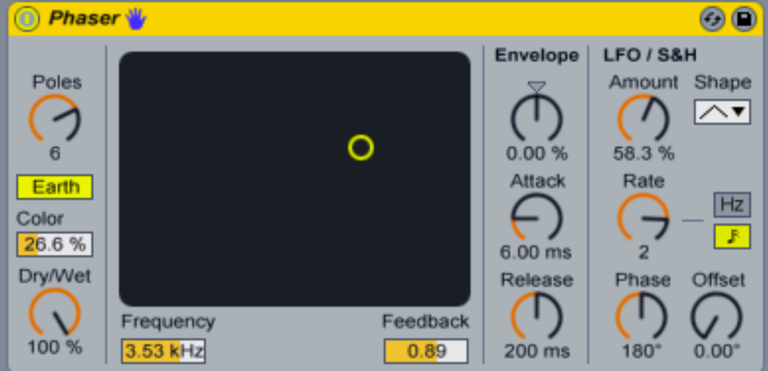
Phasing, also known as phase shifting, gives your sound a sweeping or whooshing effect. The effect is created by mixing the original signal with another version of itself which, which has been phase-shifted. This results in out-of-phase interactions of the waveforms over time, which gives a sweeping effect.
Flanger
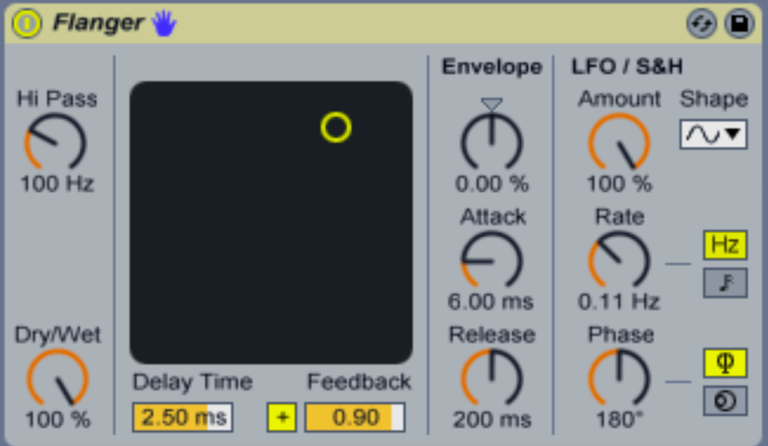
Flanging, using the Flanger audio effect, is a type of phasing. It relies on the use of “notches” which are all harmonically related to the musical notes you are adjusting. Flangers enhance the intensity of peaks and troughs in the waveform.
Chorus
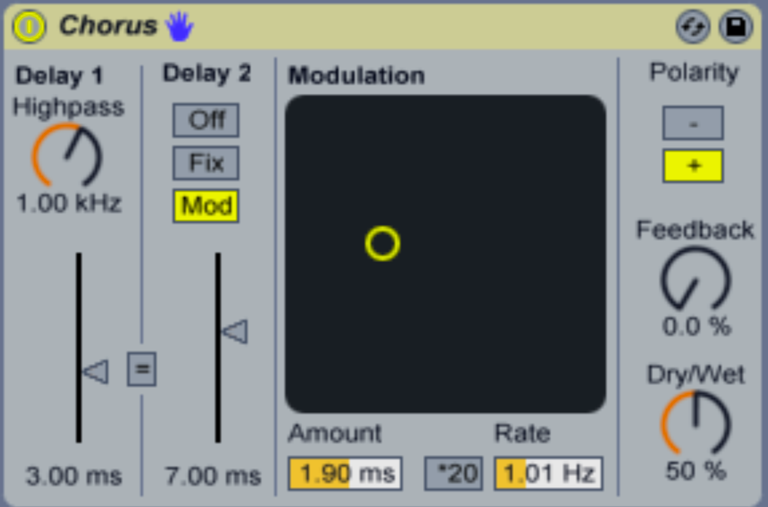
The chorus audio effect alters the signal to create a sound as if it was coming from multiple sources. You could think of a “chorus” or choir of singers. For example, if you apply this effect to a singer’s voice, it should sound as if there are multiple singers. The Chorus effect adds multiple short delays to the signal and each delay is of a variable length and speed of delay changes, which adds a bit of randomness to the sound. Varying the time of the delay also slightly varies the pitch of the resulting sound.
Reverb
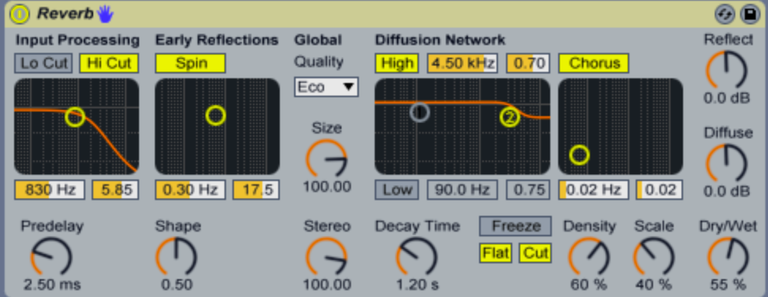
Reverberation is the effect of many sound reflections occurring within a short space of time. Imagine you are in a small room, or a huge opera hall, and you clap your hands. You could imagine different resulting sounds or resonances from these scenarios. Reverb effects are primarily used to restore the natural ambiences of sounds that result naturally within an actual room or acoustic environment. Reverb has the result of making a sound more “full”, or giving a sound more “body”.
Filter Effects
Filter effects involve manipulation of the timbre, or harmonic content, of the sound. An audio filter is a frequency dependent amplifier circuit, working in the audio frequency range, 0 Hz to beyond 20 kHz, depending on your device.
Live’s EQ8 tool is a Parametric Equalizer. A parametric equalizer can control three aspects of each frequency: level (boost or cut), the center or primary frequency, and the bandwidth or range of each frequency. Parametric equalizers are used in digital audio workstations because they have much more control over the sound. Live’s EQ8 has the following functions:
Frequency knob – Adjusts the frequency range for each selected band.
Gain knob – Adjusts the gain of the selected band. Usually, if the Low Cut or High Cut filter shape is selected, this parameter is deactivated.
Resonance or ‘Q’ knob – Controls the bandwidth. This allows you to widen or narrow the selected frequency band.
Slope button – Sets the steepness of the filter when either the Low Cut or High Cut filter is selected.
Filter type – Choose the filter shape for the selected frequency band.
High Pass
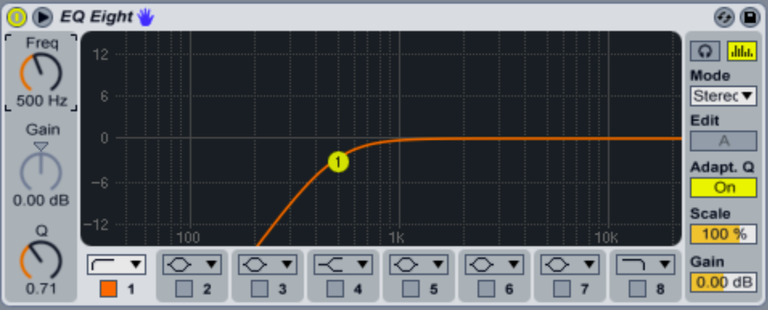
The low frequencies are being cut starting at 500hz.
Low Pass
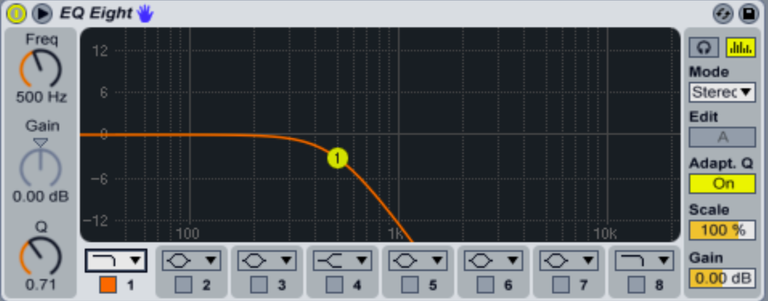
The high frequencies are being cut starting at 500hz.
Band Pass
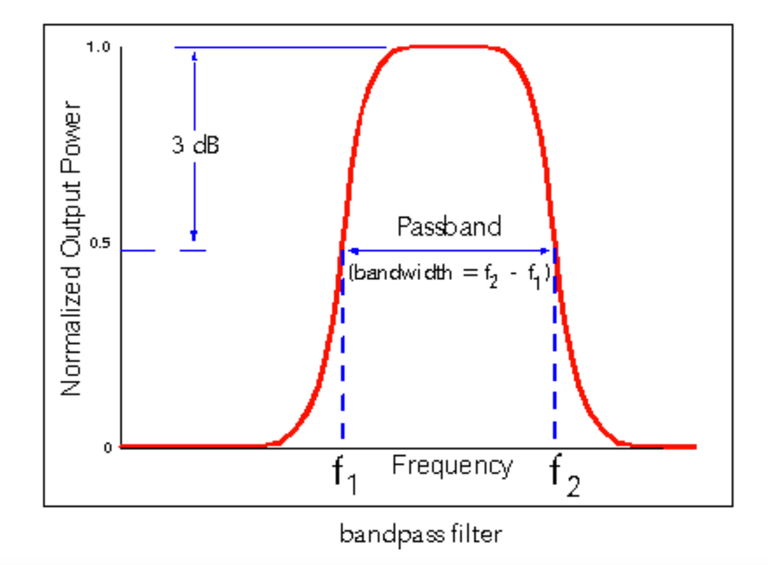
A band pass filter allows signals between two specific frequencies to pass and attenuates signals at other frequencies.
Graphic Equalizers
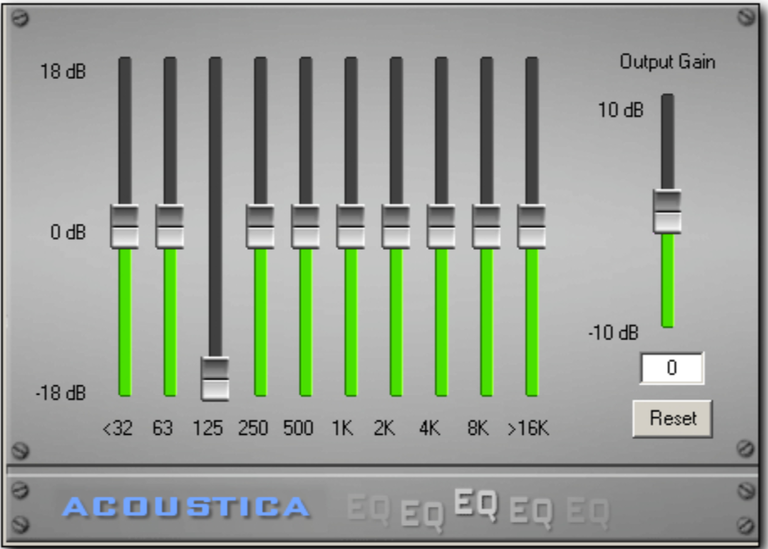
A graphic equalizer consists of multiple sliders for boosting or cutting bands or frequencies of sound. For example, a typical five-band graphic equalizer has sliders for five fixed frequencies: 30Hz (low bass), 100Hz (mid-bass), 1kHz (midrange), 10kHz (upper midrange) and 20kHz (treble or high-frequency). The equalizer can boost or cut each frequency within a range of +/- 6dB or perhaps +/- 12dB depending on the model. Each frequency is fixed. Shown above is a ten-band equalizer. A ten-band equalizer has controls for ten fixed frequencies, allowing greater tone control than a five-band equalizer.
Thank you for reading. I hope you now have a much better understanding of the three main categories of effects (Dynamic, Delay, and Filter) especially within Ableton Live. These digital audio effects are seen in similar form across all digital audio workstations. Only your imagination and your computer’s CPU limit the creative applications of these audio effects. Have a nice day.