A Distro for Media Production

Ubuntu is often the go-to for beginning Linux users. While it is entirely possible to set up a DAW environment on any distro (like Arch, Debian, or Fedora), we will be proceeding in the direction of least resistance. The reason I have chosen this distro for this example is because of the "just works" mentality with most hardware, an easy installer, a default realtime kernel (more on this later) and the ability to add the valuable repo KXStudio after installation for easy access to additional plugins and audio software. Most, if not all of this software is free of charge to download and use due to its permissive licensing as well!
Ubuntu comes bundled with software not only to make music, but also visual art, 3D modeling, and text editing. Pretty much everything you would need to create and promote your music with branding! Most importantly though, it comes with a realtime kernel.
What is a kernel, much less a realtime kernel?
A kernel is the low-level software which communicates directly with the hardware in your computer. All applications you run on your computer interface with this kernel so they know how much memory, CPU time, etc, that they have to use. In this case, our kernel is the popular Linux kernel, although there are others out there with different designs and supporting different operating systems.
A realtime kernel reduces latency for music production, that is the amount of time it takes for a signal from a live instrument or software instrument to be played back through the interface and your monitors. This is important for obvious reasons: if you heard a delay in the playback of your live part, you would not be able to properly perform takes and could not trust they were in time once they were recorded. Realtime kernels are available in most distros, but since Ubuntu Studio includes it as the default, it removes that extra step to install it. There is some discussion recently as to whether a realtime kernel is even necessary anymore, but if you are using older hardware, it may still be advantageous to use one, so don't worry too much about that right now.
Getting Ubuntu Studio

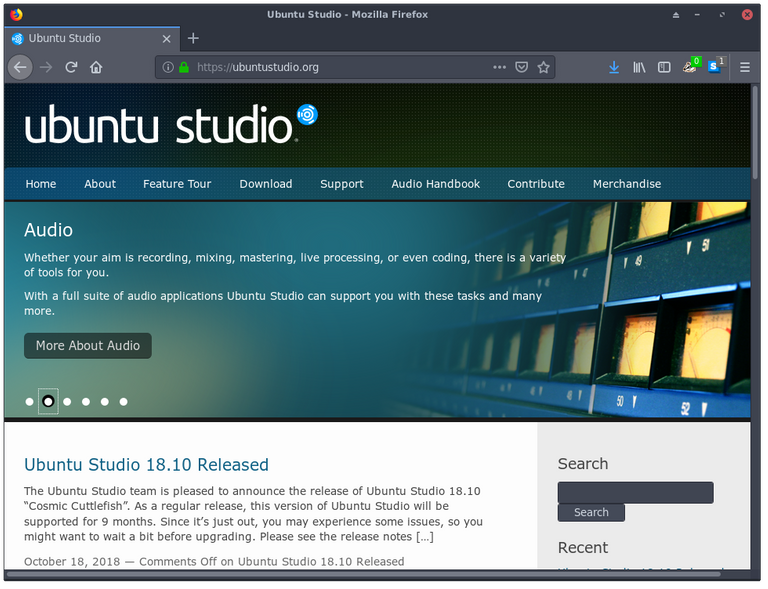
Go to the Ubuntu Studio website and click download. From there, you will have the option (at the time of this writing) to download version 18.10, which is the most recent release, or version 18.04 LTS, which is the Long Term Support release. For the LTS release, the base Ubuntu installation is supported until April 2023, while the multimedia studio stack receives updates until the end of January 2019 (this month). Despite support for the studio stack ending relatively soon, we will still be using 18.04 for this example in the interest of having a rock solid foundation which will still be working for years to come (you would be surprised how many professional studios use old software versions for the sake of stability, especially when their financial future depends on the software working! If you are feeling like you want to keep more up to date with the media software, you may choose a more recent version, but keep in mind these tutorials will be based off an 18.04 installation).
From this page, you will have the option of downloading the .iso file direct, or through bittorrent. If you have a torrent client, choose the torrent download so the project servers can save bandwidth. If you don't have one or don't know what bittorrent is, select the direct download.
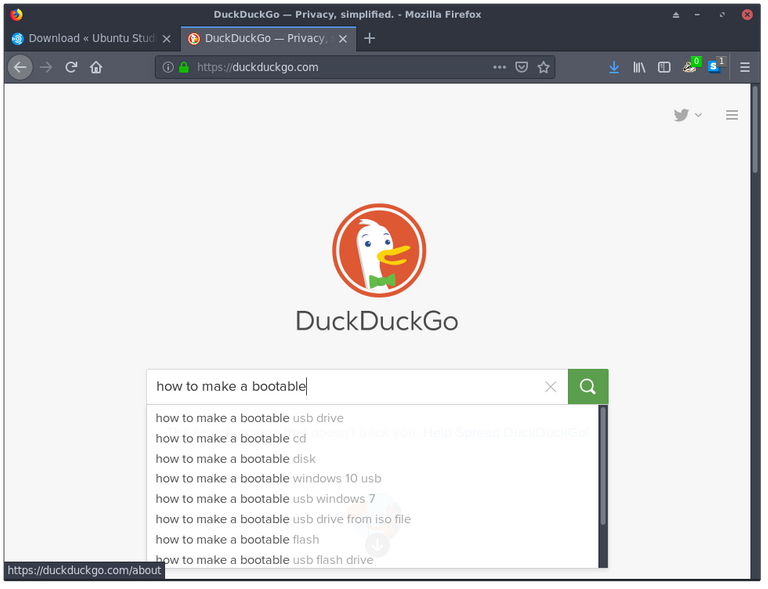
Once the .iso is downloaded, you will need to either burn the image to a DVD or make a bootable USB drive. Due to all the variables out there, I cannot possibly include instructions for all the permutations of operating systems and hardware. So instead we will be practicing a skill that will become useful for troubleshooting in the future. Using your favorite search engine or by following the instructions on the website, search how to make a bootable DVD or USB on your operating system for your chosen medium. There exists software which can help you with this task, or you may choose to use command line tools. The idea is that you practice searching the terms which are likely to give you results for your problem or question.

Search suggestions are also there to see what others have searched before, helping you narrow your search to get the best results.
Summary
In this installment, we explored how to aquire Ubuntu Studio and make a bootable drive for installation, as well as introduced some technical concepts to help you understand why we are making certain informed decisions. I encourage you to search any curiosity you may have on this journey. The more you know, the more informed decisions you can make and the more useful your tools become! There is no central company or entity to help you out, but rather a community of like-minded people willing to volunteer their knowledge to help you. Just remain respectful of their time and that community will be more than willing to help you out.
Status Update
Thank you for reading! If you are enjoying this series or think it provides valuable information, please upvote! All rewards from these early posts will be going directly to powering up so I can create content on a more frequent basis (at the moment, my current amount of SP and available free time limits me to one post approximately once a week).
If you have any suggestions, questions, or comments, please share them with the community! I will be looking at any helpful comments to improve this series and bookmark additional topics to cover once we are past introductory topics.
~leftbehind