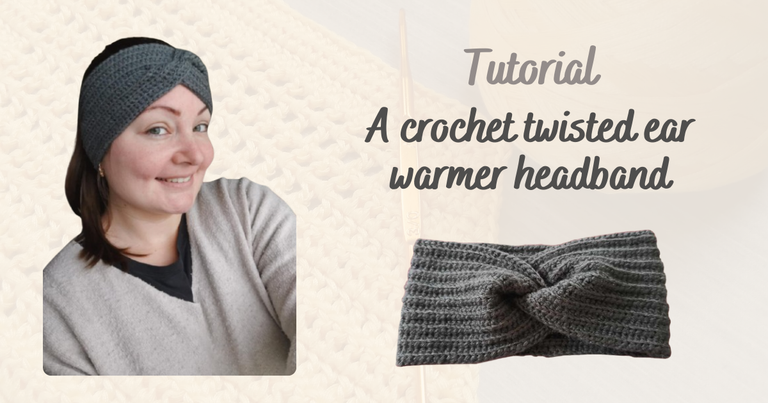
Hello friends and crochet fans! 👋
I hope you are all doing well and that you have lots of projects in mind.
I have a lot of crochet projects in mind at the moment. Especially for this winter! In fact, some time ago, my mother collected piles of balls of wool unused by her sisters. Some are leftover balls and others are in batches of 3 or 4.
I have enough to practice and make lots of little projects! 🙏
And last week, I started making a new ear warmer headband for the winter.
When I started crocheting in January 2024, this was the first real project I finished: a wool ear warmer headband.
In fact, I love hats as much as headbands now!
Especially when I know that it is so easy to do. It is accessible to beginners and it does not take too much time (I would say between 3 and 4 hours).
In short, I thought that you too would like to have your little ears warm this winter and that a little tutorial might please you 👇
The material I used
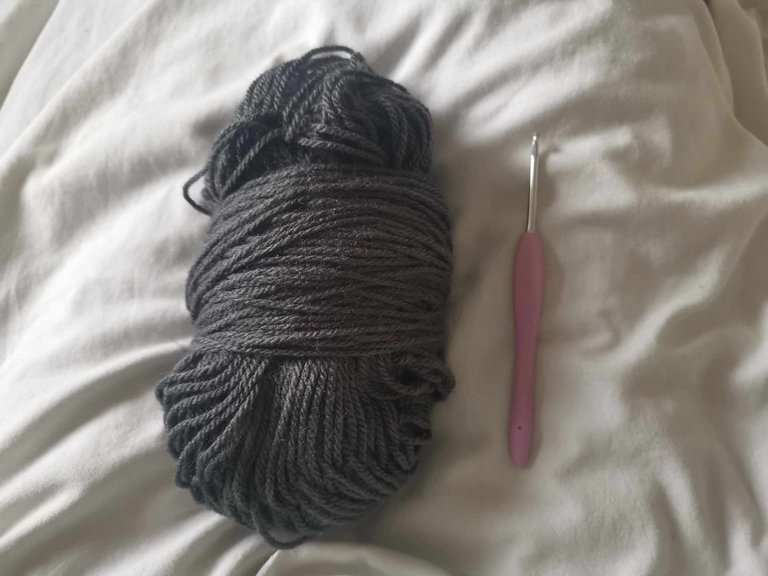
- A ball of anthracite gray acrylic
- A 4mm crochet hook
- A wool needle
The steps
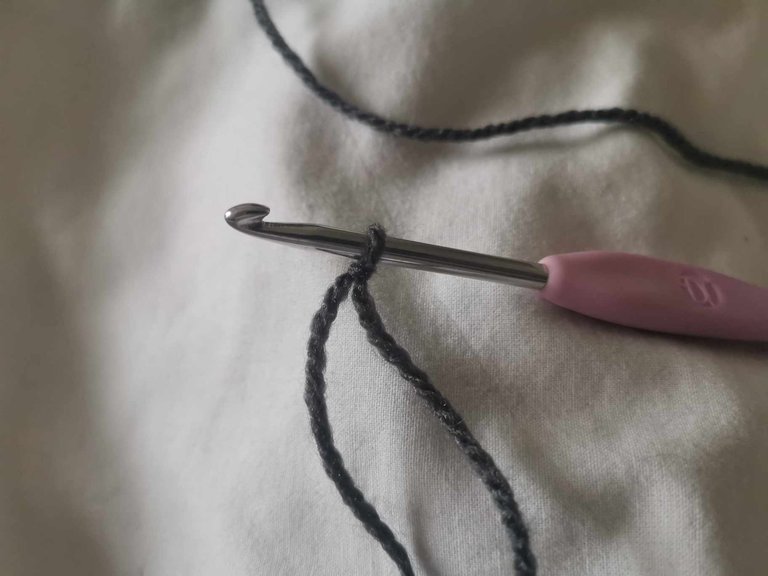
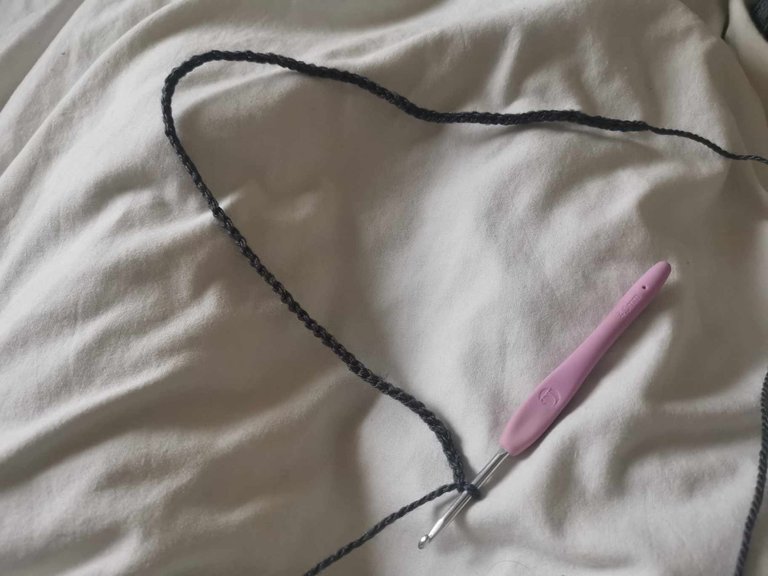
1st step: the chain
To start, I made a slip knot and started to make a chain. This one should go around my head. Here, I cast on 90 chain stitches.
2nd step: the first row
For the first row, I simply made half double crochets all along my chain. And when I got to the end, I made a chain stitch before turning my project.
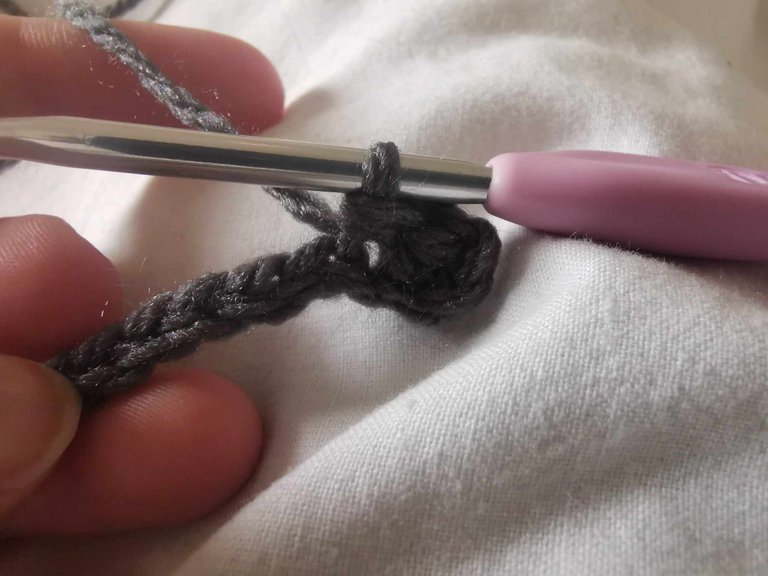
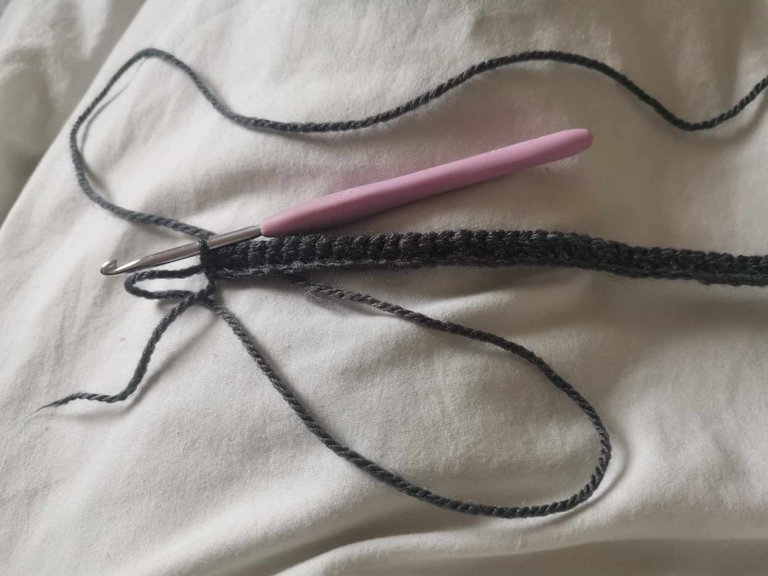
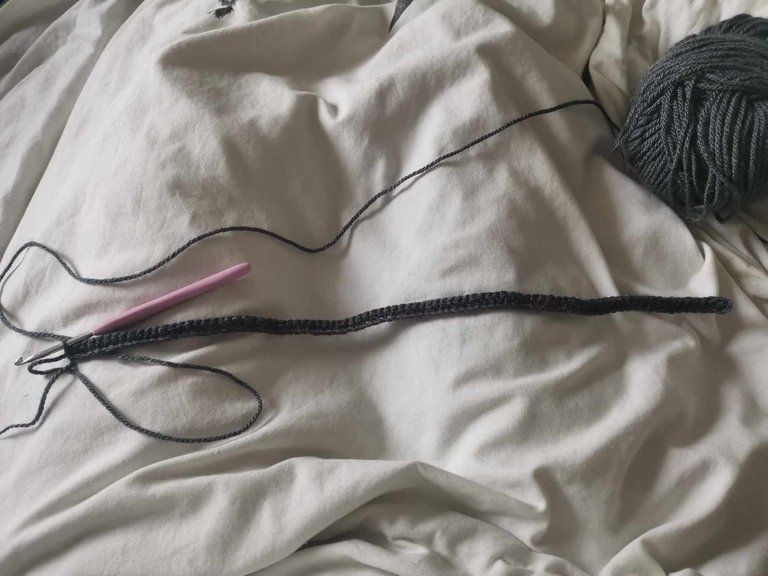
Step 3: The Next Rows
I then continued with the 2nd row, for this one and the following ones, I simply made half double crochets in the back strand. This allows you to form this ribbed design. If you don't want the ribbing, you have to stitch in both loops.
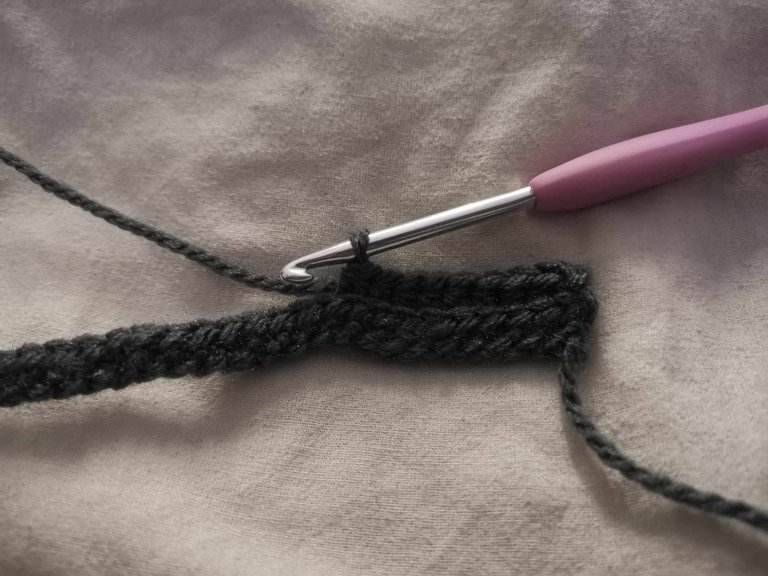
At the end of each row, I made a chain stitch before turning my project.
And I started a new row. And so on until I got a sufficient width, which covers the ears.
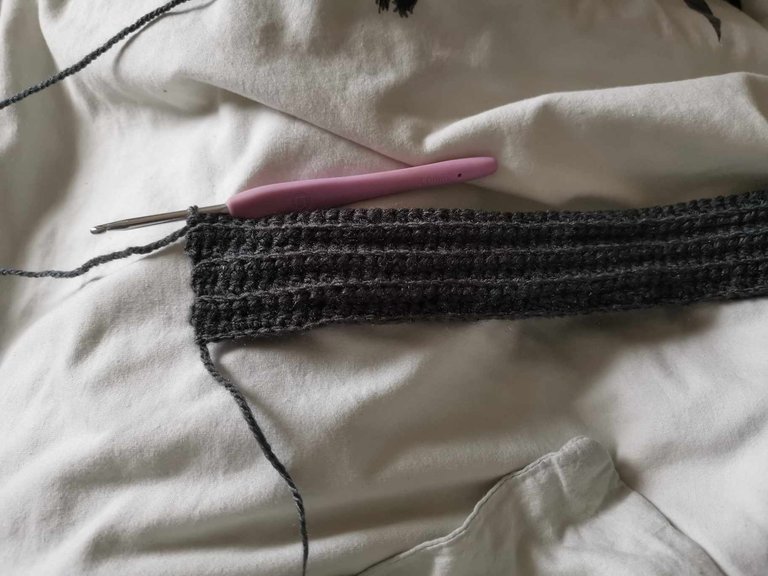
For my part, I made 16 rows. Then I cut the thread, keeping a sufficient length to sew and I made several knots to close my work.
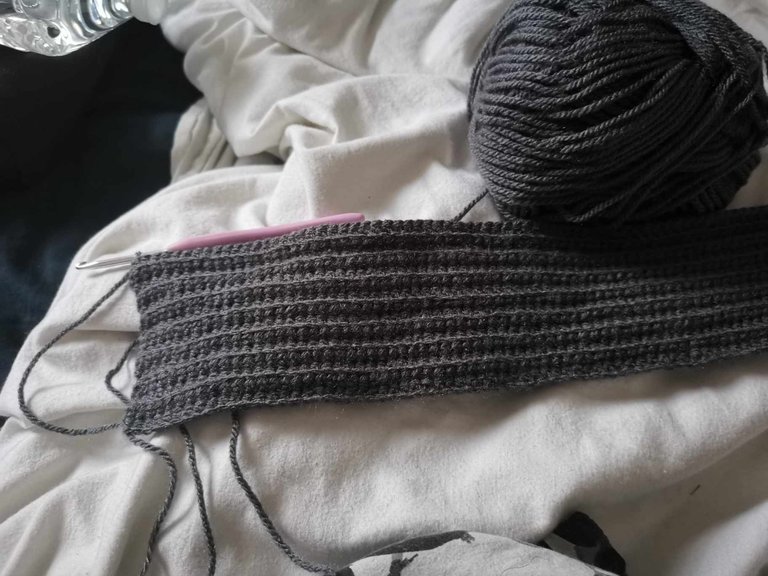
Step 4: Twist the headband
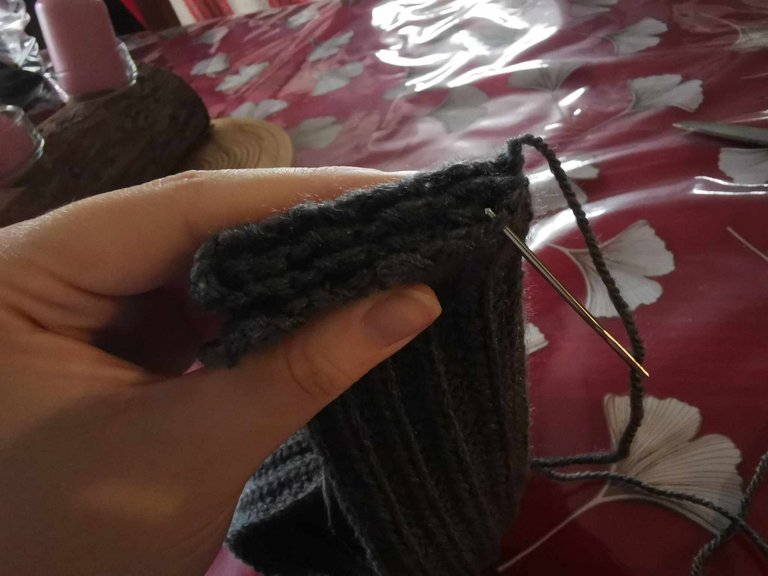
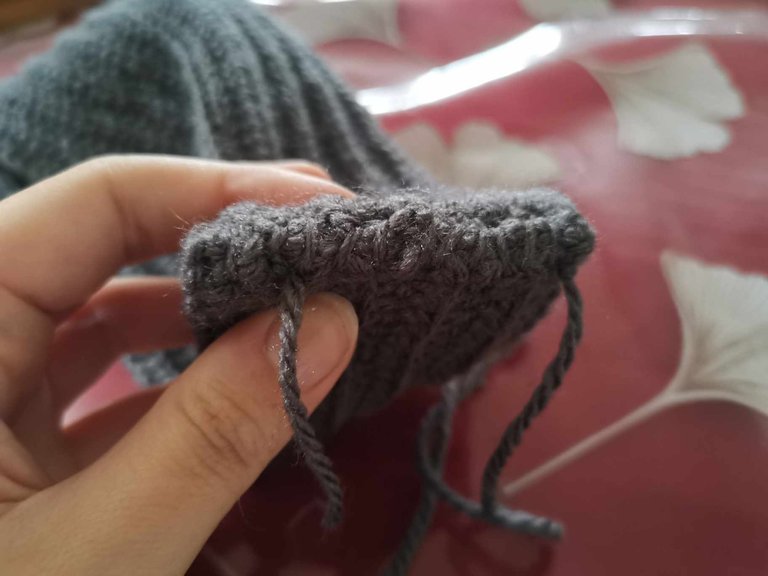
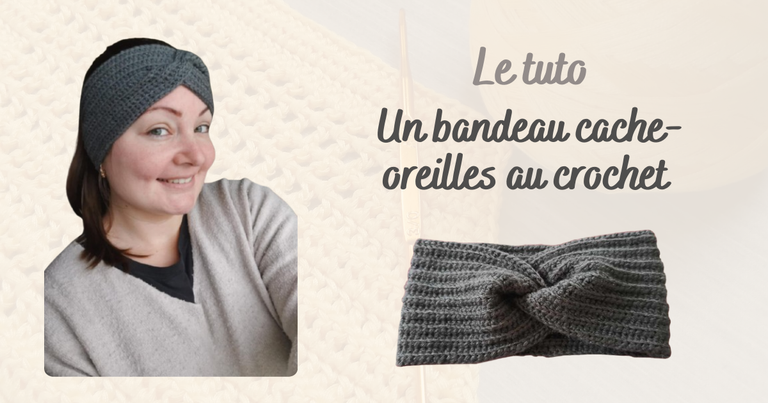
To close the headband and the twister, I then superimposed the faces of the two sides, as in the photo: I fold in two and fit the two parts together.
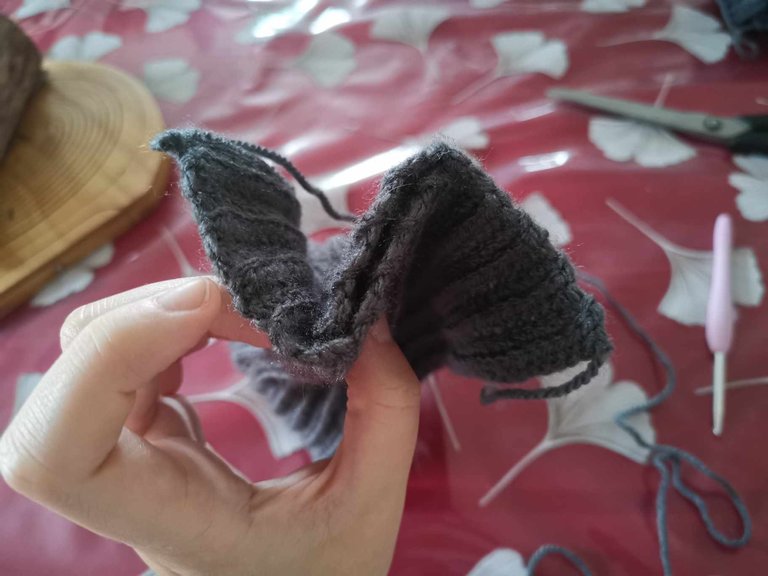
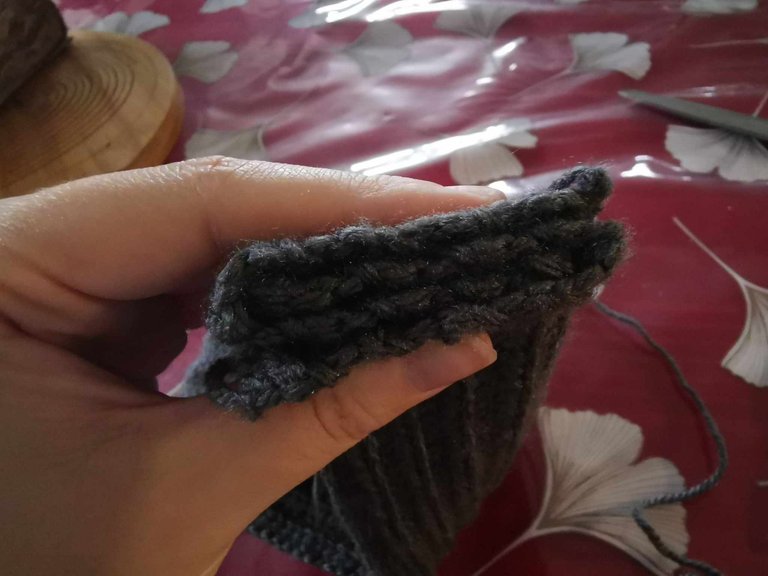
I hope the picture is a little more telling than my explanation 😅
Then, I took my yarn needle and sewed all the way. In one direction, then the other, back and forth so that it would hold well. Then I made a knot to close my seam.
5th step: weave in the threads
All that's left is to weave in the threads. To do this, I took my yarn needle and weaved the thread into a few stitches of my headband. Then, I made several small knots to close and cut the thread flush.
6th step: turn the headband inside out
The ear warmer headband is finished, you just have to turn it inside out to discover the finished project.
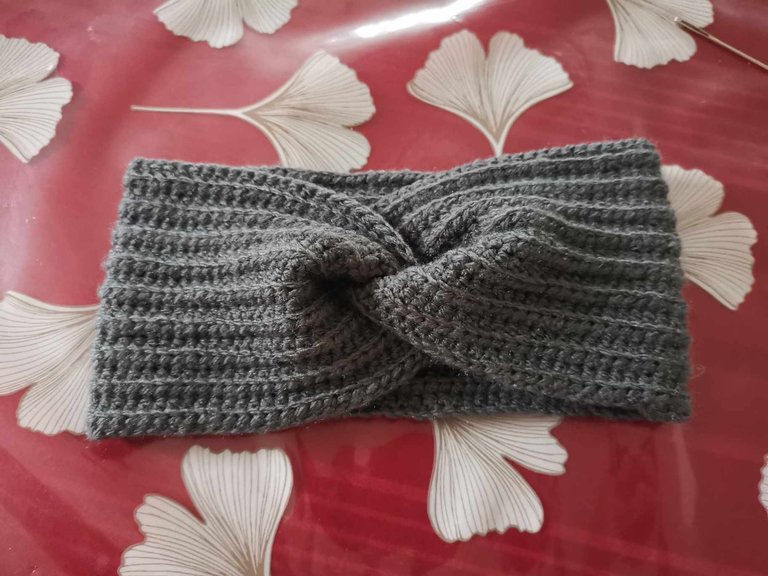
It's time to try it out and take it outside to test it. You'll see, your ears will never be cold again, especially if you use merino wool for example.
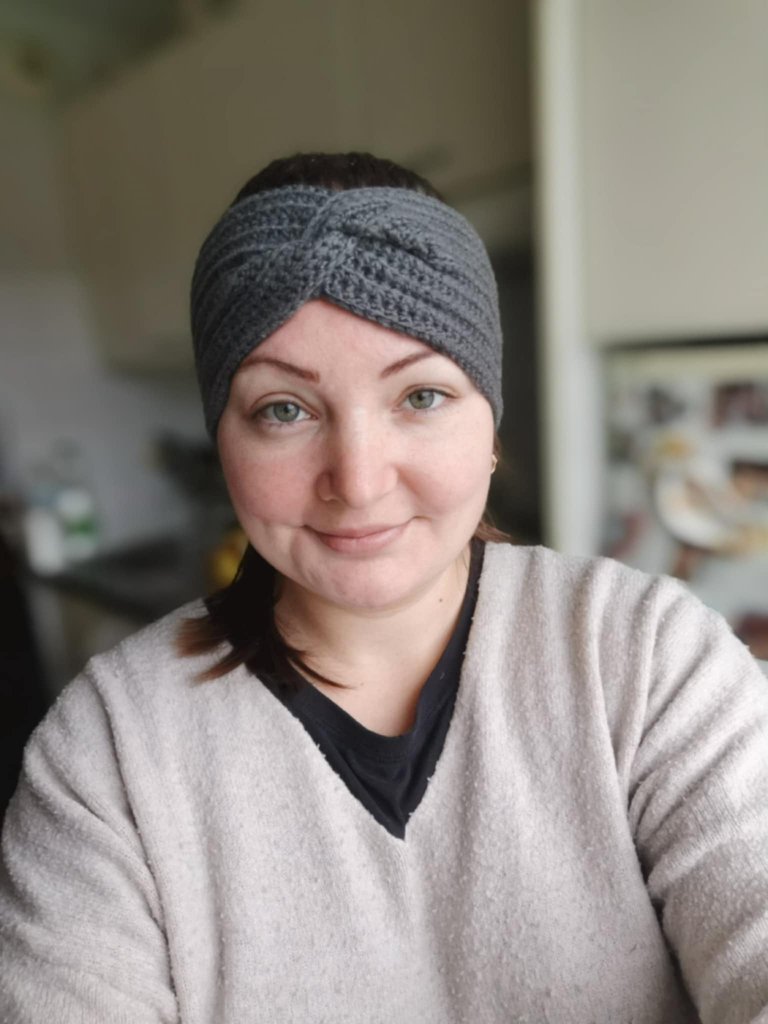
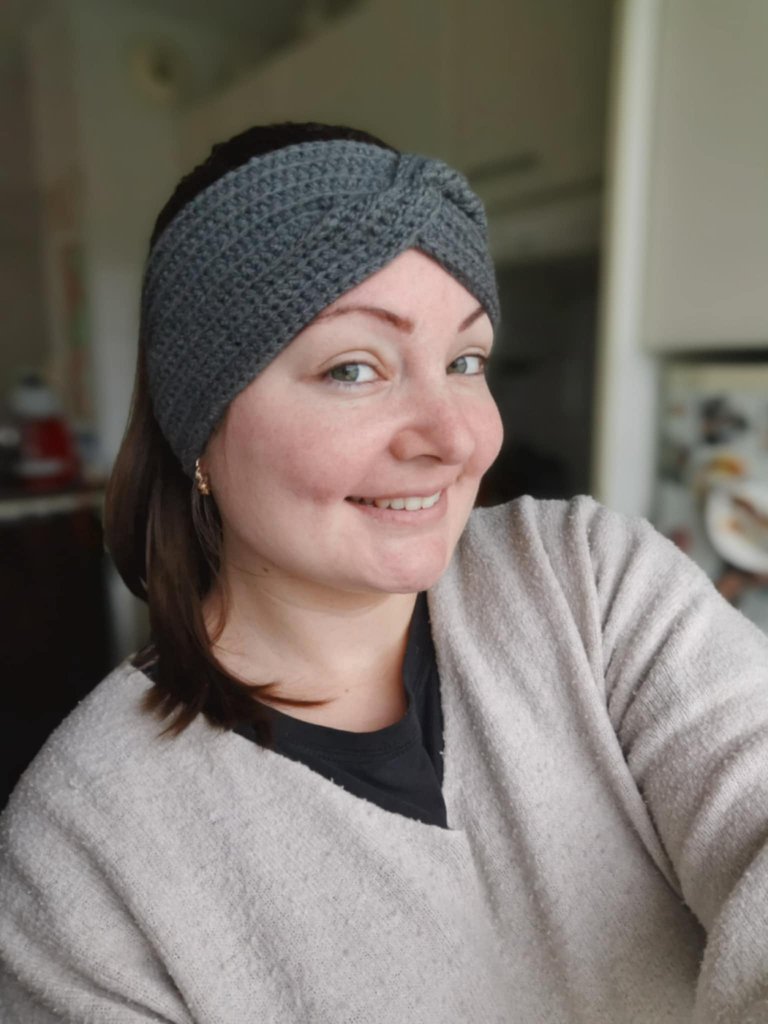
In short, if you ever start crocheting and want to practice, I think this is the ideal project. And if you don't like wearing a headband, why not give it to one of your loved ones? 🎁
I hope you like this little tutorial! If you need more details, don't hesitate to tell me in the comments.
Are you more of a hat or ear warmer person? ❄️
See you soon,
Johanna
PS: I used Google Translate to translate the english part.
Hello les amis et les fans de crochet ! 👋
J’espère que vous allez tous très bien et que vous avez plein de projets en tête.
Moi, j’ai énormément de projets crochet en tête en ce moment. Surtout pour cet hiver ! D’ailleurs, il y a quelque temps, ma mère a récupéré des tas de pelotes de laine non utilisées par ses sœurs. Certaines sont des fins de pelotes et d’autres sont par lot de 3 ou 4.
J’ai de quoi m’entraîner et faire pleins de petits projets ! 🙏
Et la semaine dernière, je me suis lancé dans la confection d’un nouveau bandeau cache-oreilles pour l’hiver.
Lorsque j’ai commencé le crochet en janvier 2024, c’est le premier vrai projet que j’ai terminé : un bandeau cache-oreilles en laine.
D’ailleurs, j’aime autant les bonnets que les bandeaux maintenant !
Surtout quand je sais que c’est aussi simple à faire. C’est accessible aux débutants et ça ne prend pas trop de temps (je dirai entre 3h et 4h).
Bref, je me suis dit que vous aussi vous aimeriez avoir bien chaud à vos petites oreilles cet hiver et qu’un petit tutoriel pourrait vous plaire 👇
Le matériel que j’ai utilisé

- Une pelote d’acrylique gris anthracite
- Un crochet de 4mm
- Une aiguille à laine
Les étapes
1ère étape : la chaînette
Pour commencer, j’ai fait un nœud coulant et j’ai commencé à faire une chaînette. Celle-ci doit faire le tour de ma tête. Ici, j’ai monté 90 mailles en l’air.


2ème étape : le premier rang
Pour le premier rang, j’ai simplement fait des demi-brides tout le long de ma chaînette. Et arrivé au bout, j’ai fait une maille en l’air avant de tourner mon projet.


3ème étape : les prochains rangs
J’ai ensuite continué avec le 2ème rang, pour celui-ci et les suivants, j’ai simplement fait des demi-brides dans le brin arrière. Cela permet de former ce dessin côtelé. Si vous ne souhaitez pas avoir le côtelé, il faut piquer dans les deux brins.

À la fin de chaque rang, j’ai fait une maille en l’air avant de tourner mon projet.
Et j’ai recommencé un nouveau rang. Et ainsi de suite jusqu’à obtenir une largeur suffisante, qui couvre les oreilles.

Pour ma part, j’ai fait 16 rangs. Puis j’ai coupé le fil, en gardant une longueur suffisante pour faire de la couture et j’ai fait plusieurs nœuds pour fermer mon travail.

4ème étape : twister le bandeau
Pour fermer le bandeau et le twister, j’ai ensuite superposé les faces des deux côtés, comme sur la photo : je plie en deux et j’emboîte les deux parties.


J’espère que la photo est un peu plus parlante que mon explication 😅
Ensuite, j’ai pris mon aiguille à laine et j’ai cousu tout le long. Dans un sens, puis dans l’autre, un aller et un retour pour que cela tienne bien. Puis j’ai fait un nœud pour fermer ma couture.


5ème étape : rentrer les fils
Il ne reste plus qu’à rentrer les fils. Pour cela, j’ai pris mon aiguille à laine et j’ai rentré le fils dans quelques mailles de mon bandeau. Ensuite, j’ai fait plusieurs petits nœuds pour fermer et j’ai coupé le fils à ras.
6ème étape : retourner le bandeau
Le bandeau cache-oreilles est terminé, il faut simplement le retourner pour découvrir le projet fini.

C’est le moment de l’essayer et de sortir le tester en extérieur. Vous verrez, vos oreilles n’auront plus jamais froid, surtout si vous prenez de la laine mérinos par exemple.


Bref, si jamais vous commencez le crochet et que vous souhaitez vous entraîner, je trouve que c’est le projet idéal. Et si vous n’aimez pas porter de bandeau, pourquoi ne pas l’offrir à un de vos proches ? 🎁
J’espère que ce petit tutoriel vous plaira ! Si vous avez besoin de précision, n’hésitez pas à me le dire en commentaire.
Vous êtes plus team bonnet ou team cache-oreilles ? ❄️
À bientôt,
Johanna
PS : J'ai utilisé Google traduction pour traduire la partie en anglais.
It is beautiful, stylish, and charming. Love its design that makes it more appealing. You did a great job! Thanks!
Thank you so much for all your compliments, it makes me really happy! 🙏😁
!PIZZA
Your post has been manually reviewed for curation by the Principality of Bastion.
Check the Trail of posts we voted
Principality of Bastion - Our Leit Motiv? Let's Grow Together.
Principality's site | Minava NFT Market | Discord | Our Twitch Channel
You may TRAIL this account if you like the curation we do, or join our discord to know more about what we do.

$PIZZA slices delivered:
(4/10) @itharagaian tipped @altheana
Congratulations @altheana! You have completed the following achievement on the Hive blockchain And have been rewarded with New badge(s)
Your next target is to reach 2000 upvotes.
You can view your badges on your board and compare yourself to others in the Ranking
If you no longer want to receive notifications, reply to this comment with the word
STOP