Today we are going to welcome the culmination of our jacket dreamcatcher embroidery, it is actually a surprising experience since they are unique, original works that provide your community clothing and can make you an elegant woman in outfit.
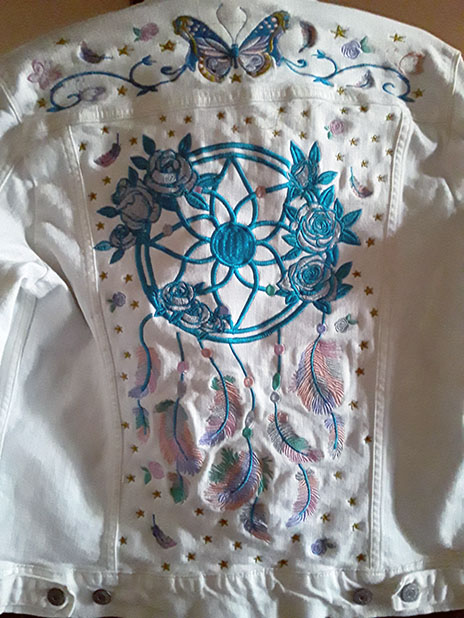
Let's remember the beginning of this project
https://hive.blog/needleworkmonday/@sheilamenher/dreamcatcher-embroidered-on-jacket-part-1
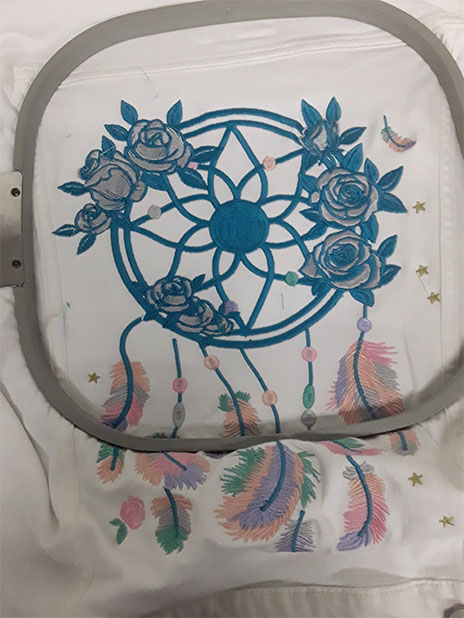
Actually these last additions of different elements such as stars, roses and small feathers have made this work truly unique, every detail has been taken care of.
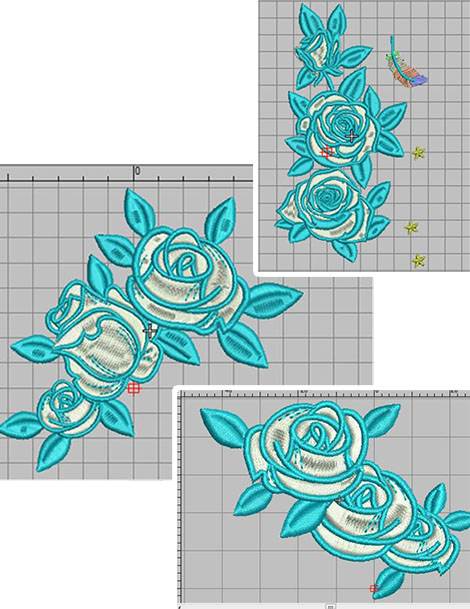
After finishing our hoop, I had to place each group of flowers that are three, place them individually in the program and fix with the frame in that place, precisely in one place so that it looks the same as the complete design.
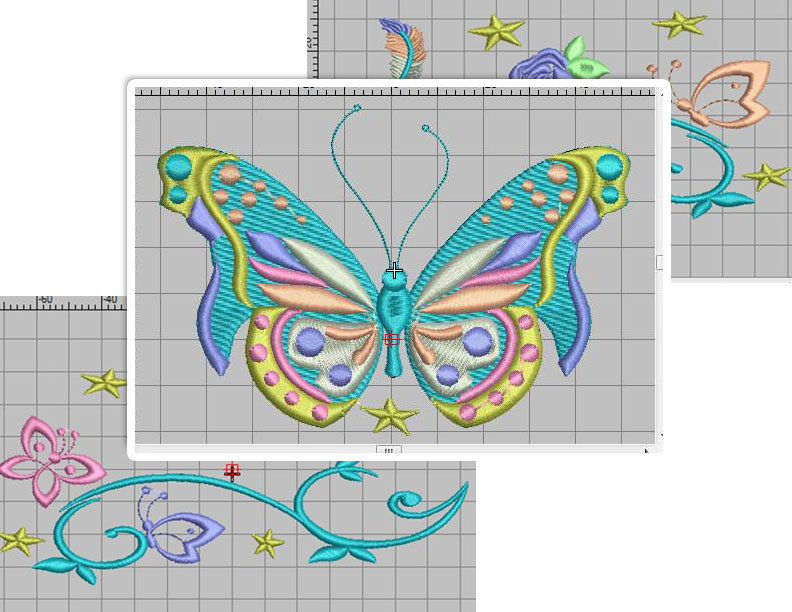
Also make the upper part in three parts, first the center that would be the butterfly to obtain the center perfectly and then place each right and left side so that it is linear.
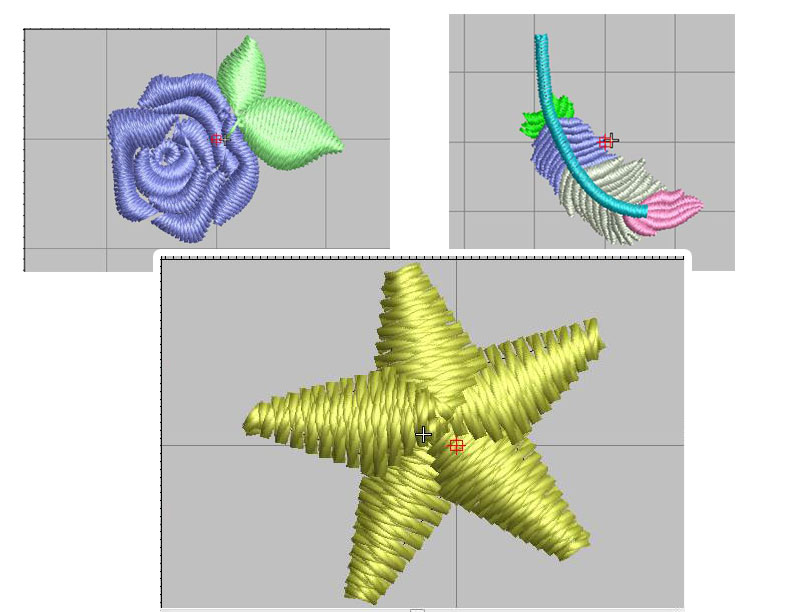
The same case to make the final details of little roses, feathers and little stars that are watered throughout the remaining empty part, each design individually.
After having ready our designs separately and adjusted to size we go to the machine, where we will place to embroider the respective flowers first.
Let's see
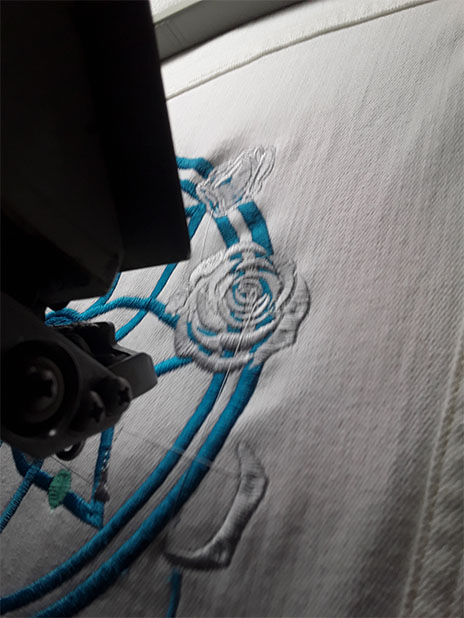
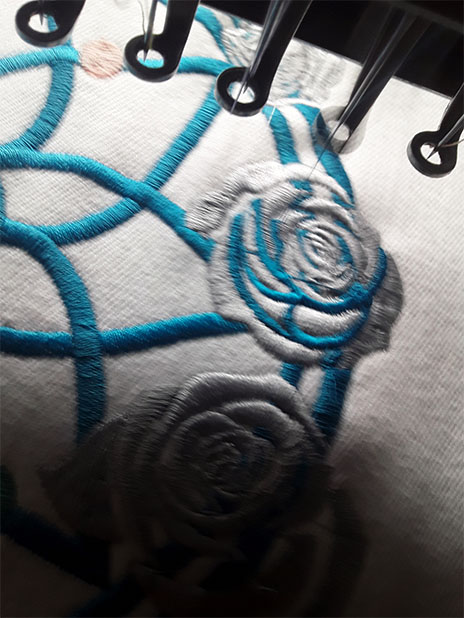
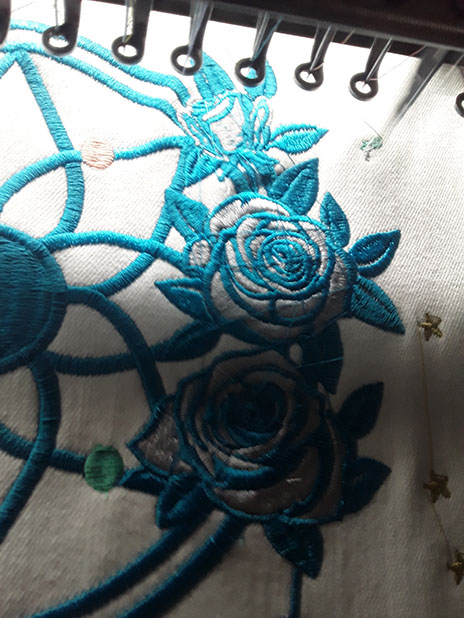
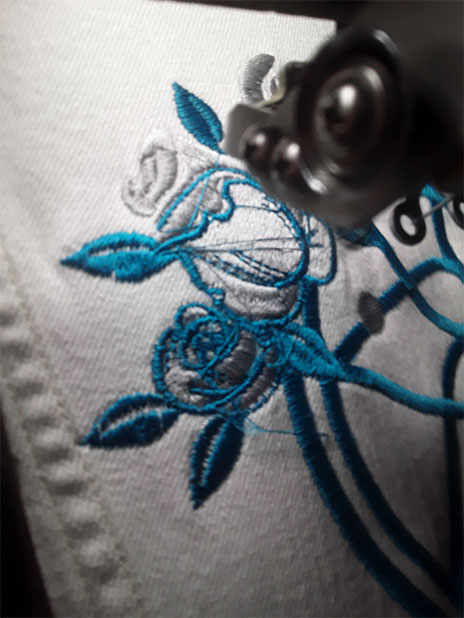
And so would be all our embroidered roses and then continue with the top...
starting as we agreed to center with the butterfly first.
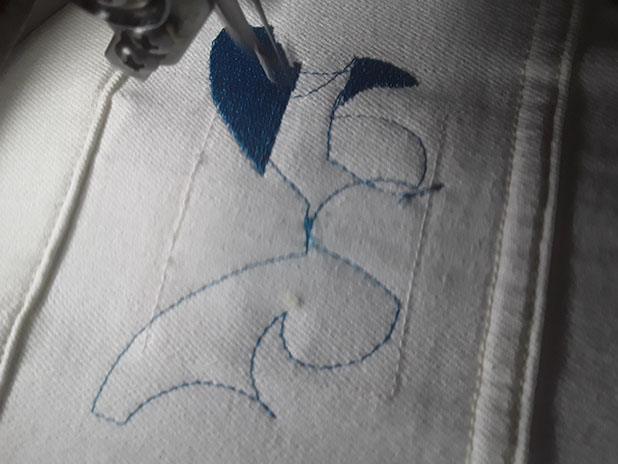
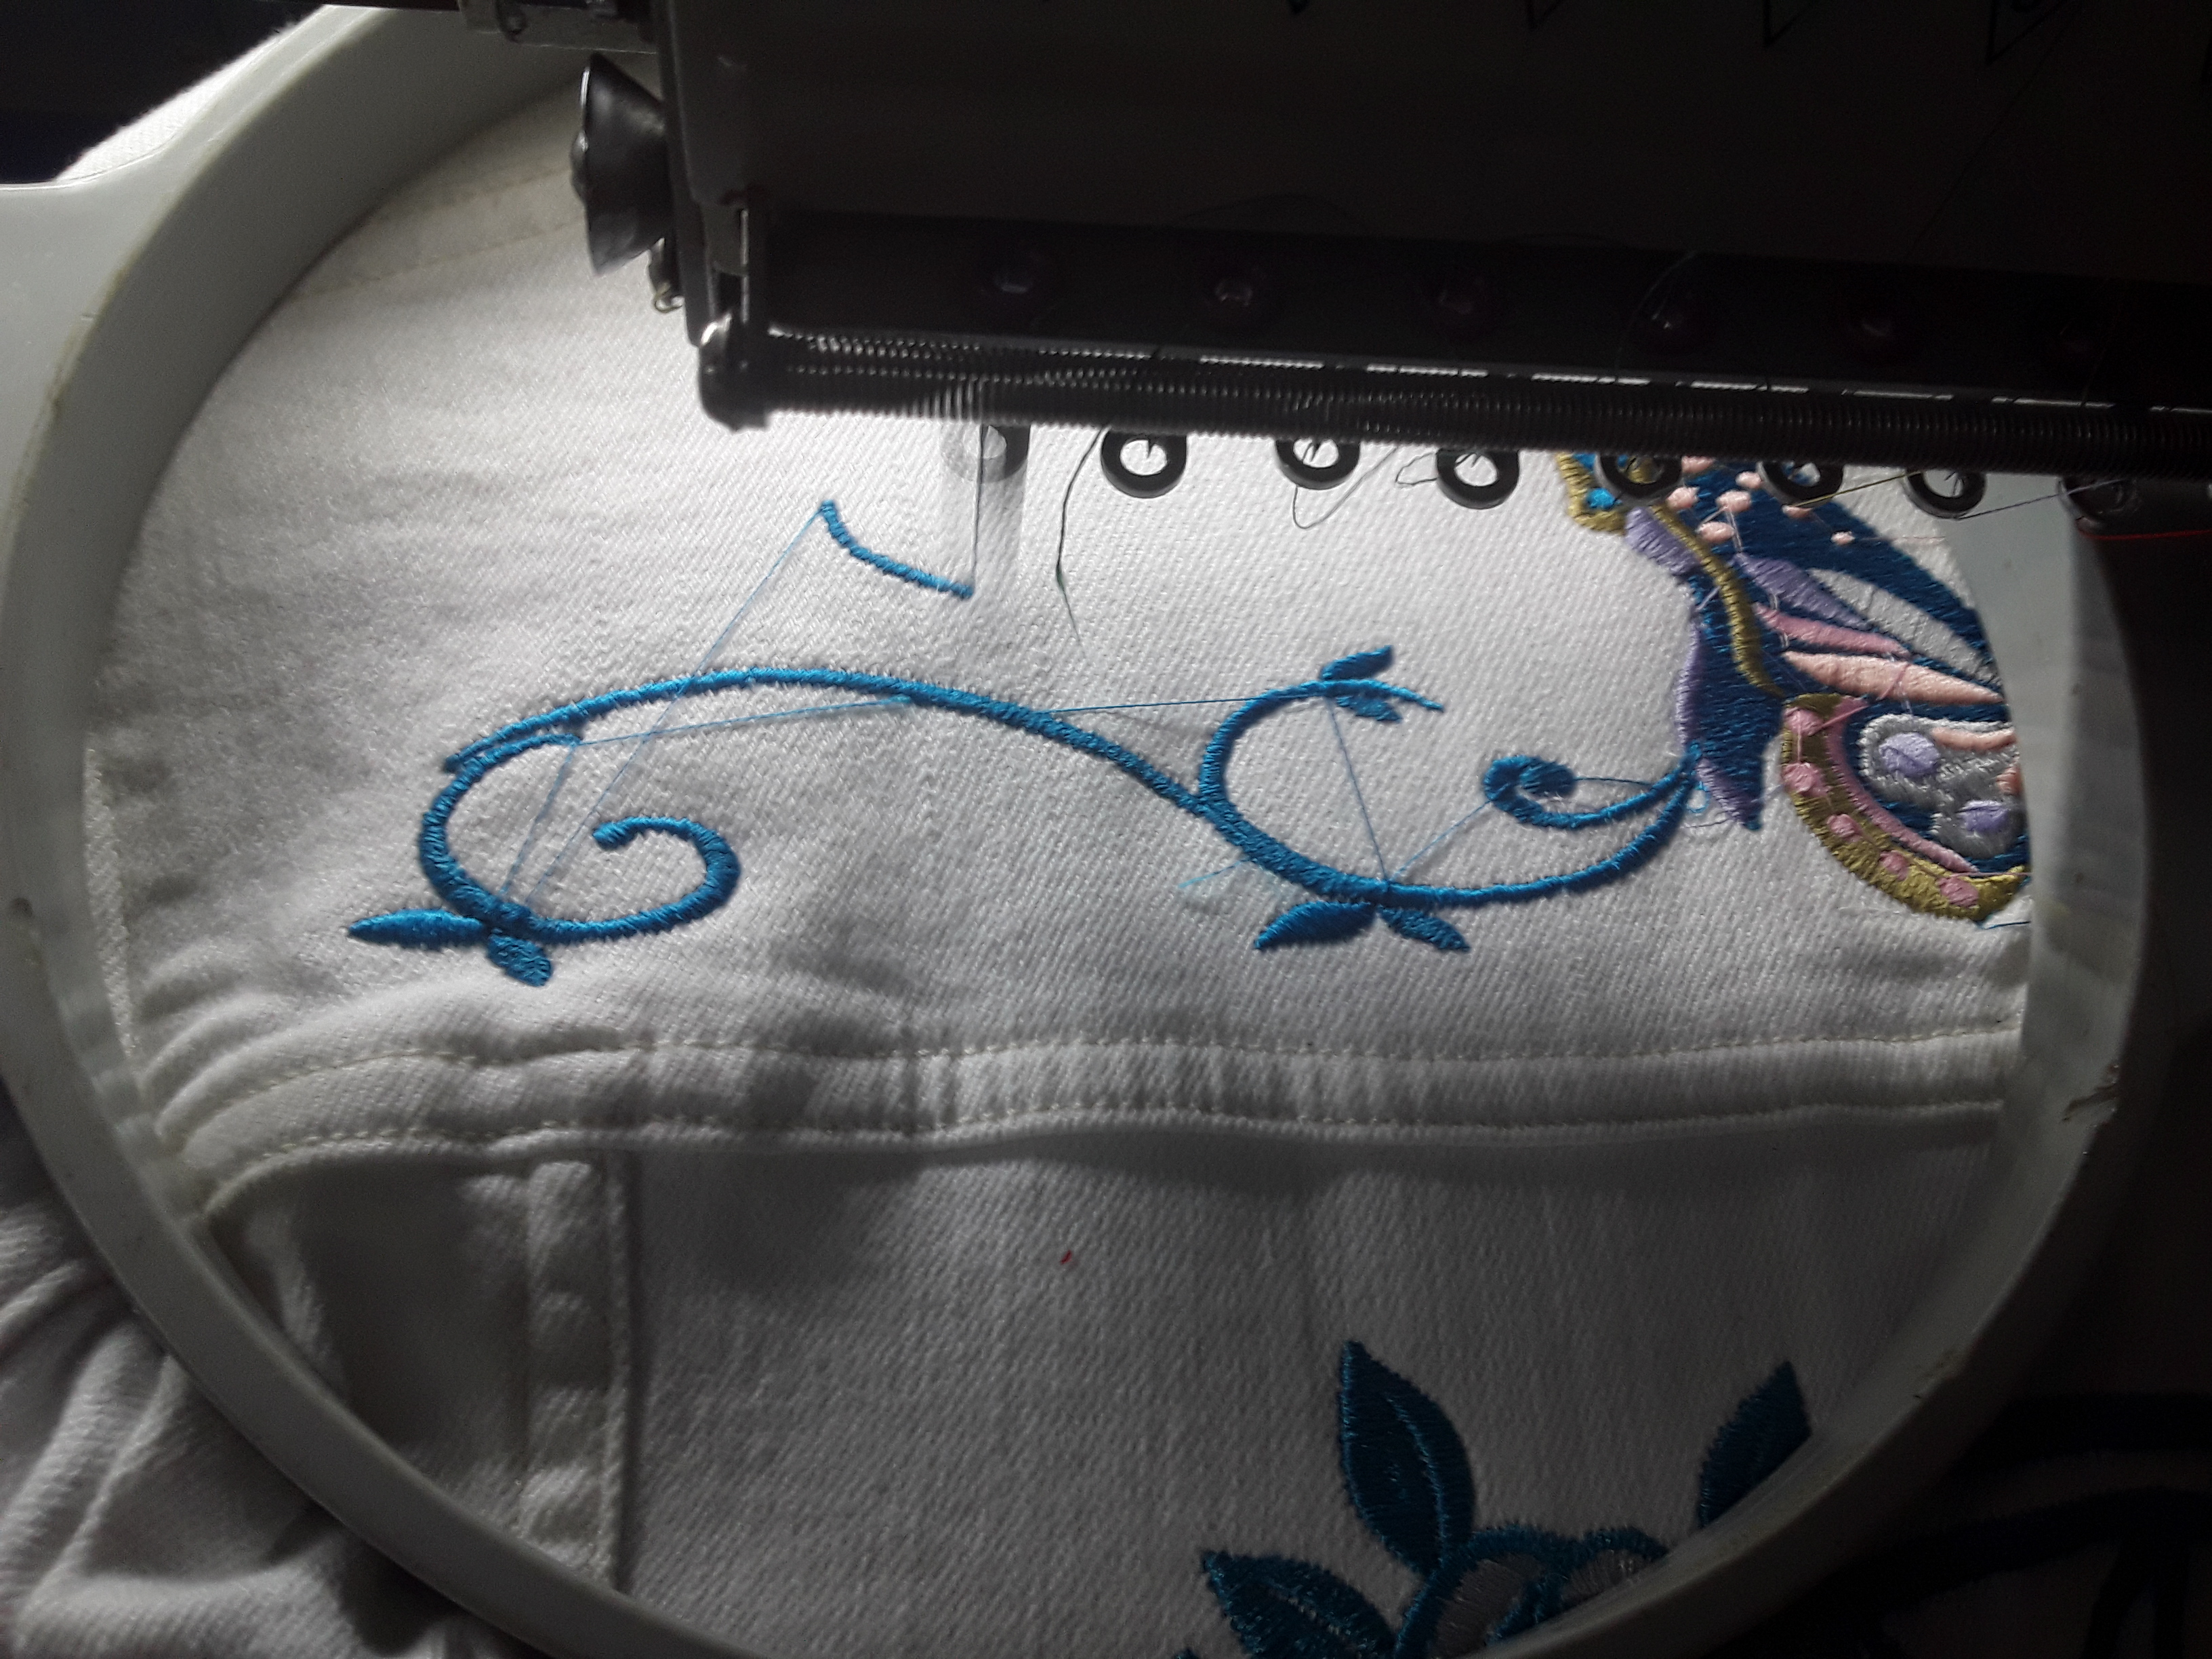
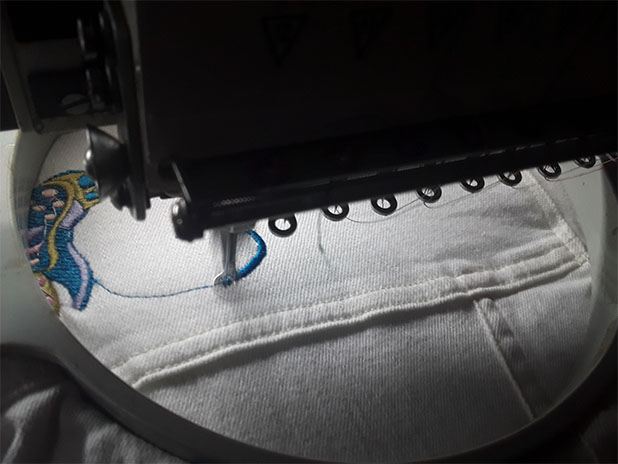
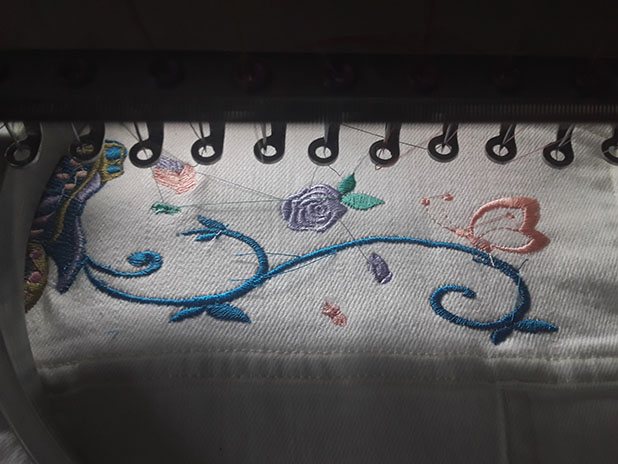
And so the top part is ready
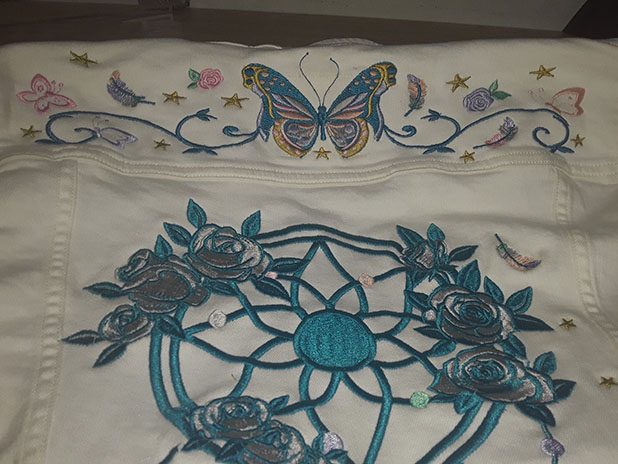
Now the last details would be included in three elements, only we will change the color orders so that they look different in the case of roses and feathers, for this I used my domestic embroidery machine, to do it at home calmly.
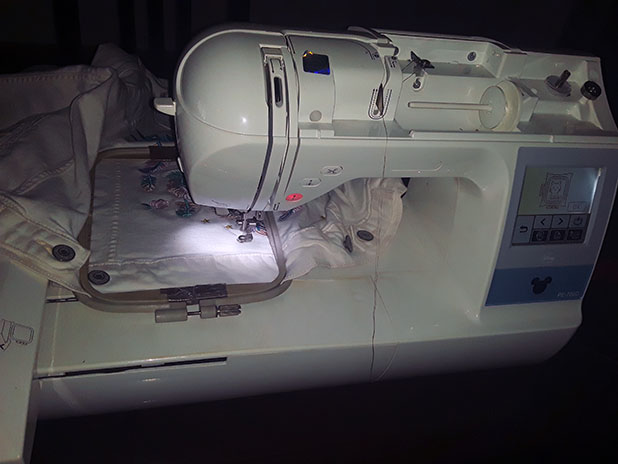
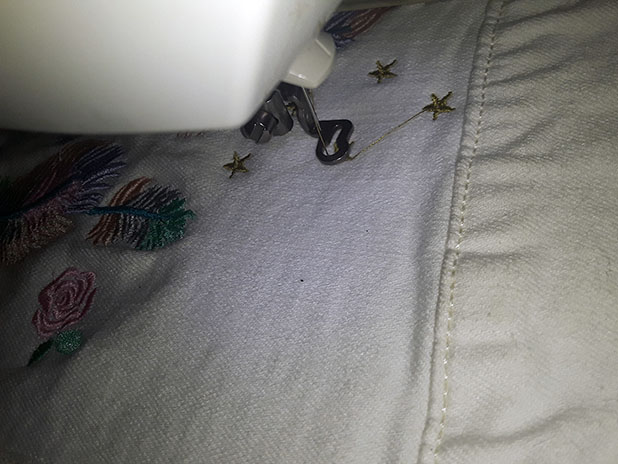
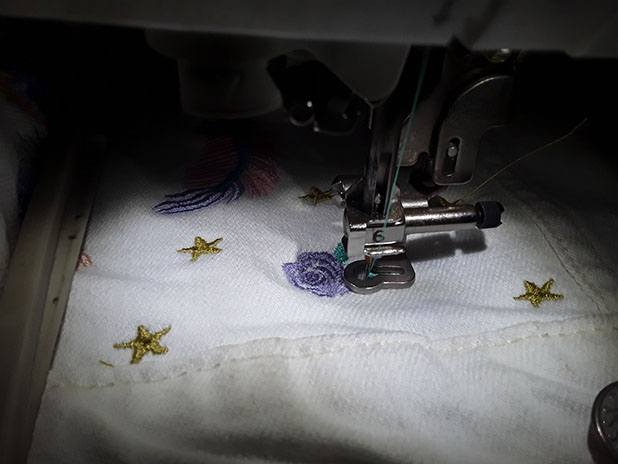
Removing and attaching the hoop has been a difficult task since each time we add the embroidery it is not so easy to put it on, sometimes it takes time for it to fit and apart we must take care of the embroidery.
The design placed in the indicated place according to the element, so that it does not look repetitive or with the same tone of threads, the colors must vary.
Each individual design is located inside the seam, never outside to give the impression that the embroidery was made before making it.
This is how our dream catcher was, it really was a great project and I am very happy to have finished it...
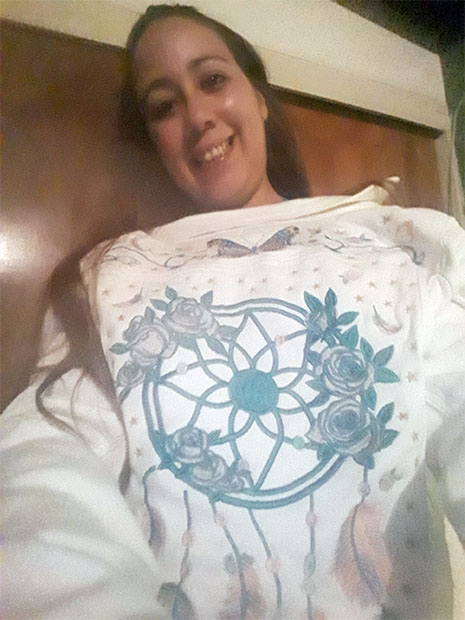
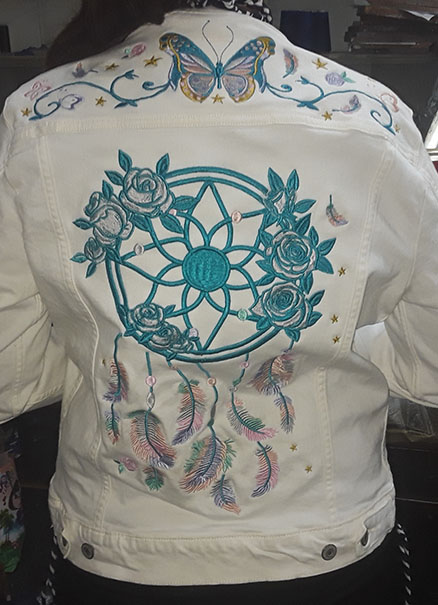
tomorrow I will deliver it to my friend Tatiana, she has been delighted with this work, which is good to be able to make people happy with the art of embroidery, very gratifying
See you soon
Fondly
This is truly amazing! How I wish I have your skills and creativity too. You definitely have to do more.❤️
Hello dear friend, even for me it is impressive, I had done similar things but not something like that, if you like the design you can try it, thanks for your comment it is very valuable to me
❤️❤️❤️❤️❤️
Beautiful......Like the colors.........Spread Knowledge.....Spread Love.......🤓 🤓 ✌️ 🤓 🤓
at first it was going to be a color but then those colors were chosen and it was great thank you so much always welcome
Awesome creativity
This post has been appreciated and featured in daily quality content rewards. Keep up the good work
Thank you very much @appreciator you are always welcome, your support is very valuable to me, I will continue creating more :)
👋 Hi @sheilamenher, I was flipping through the blockchain and stumbled on your work! You've been upvoted by Sketchbook / a community for design and creativity. Looking forward to crossing paths again soon.
✅ Join the Sketchbook Community