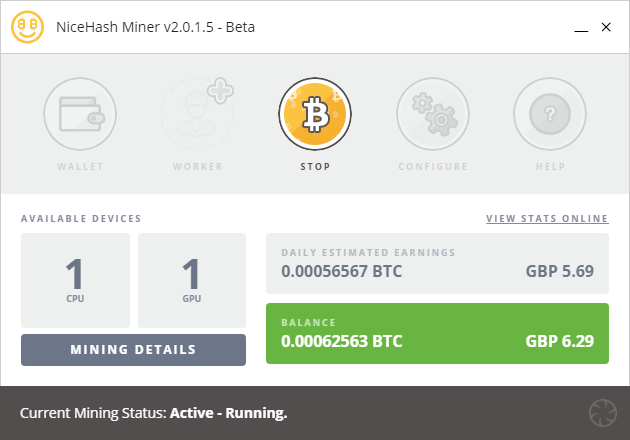
What is the NiceHash miner?
The NiceHash miner is a program that you can download from Nicehash.com that allows you to use your computer’s power to mine Bitcoin. For more information on what mining is check out the Bitcoin Mining Guide. Mining is usually a complex process requiring you to create accounts on a few websites and setting up a special program that allows you to mine to a pool(collection of miners). This process is usually quite long as there are many settings for the program that needs to be added correctly or you may end up mining and not get any Bitcoin. The NiceHash miner does all the complicated stuff for you and allows you to mine with minimal effort.
Step 1 – Registration on NiceHash
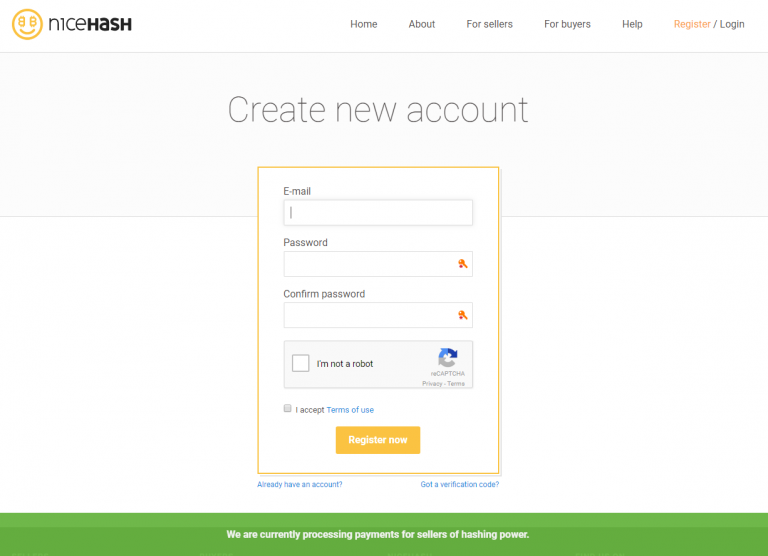
Find your way to the NiceHash.com website and click the registration button and register on the website by entering your email and password.
Step 2 – Confirm your email address
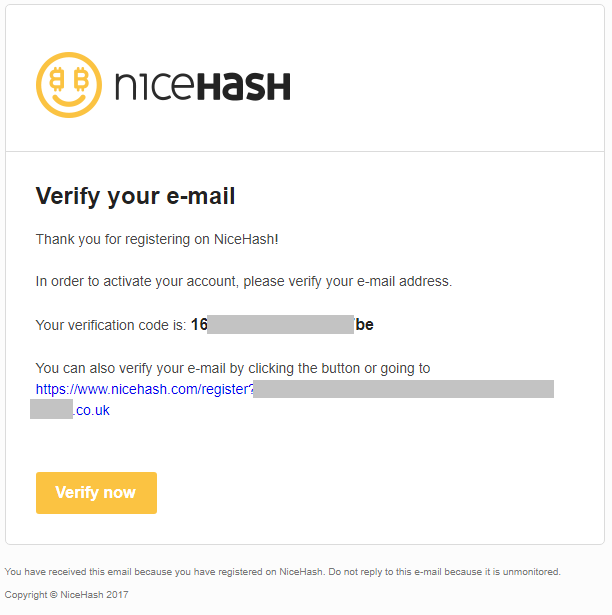
You will receive an email with a verification code and link. You can use either method to confirm your email.
Step 3 – Getting Your Wallet Address
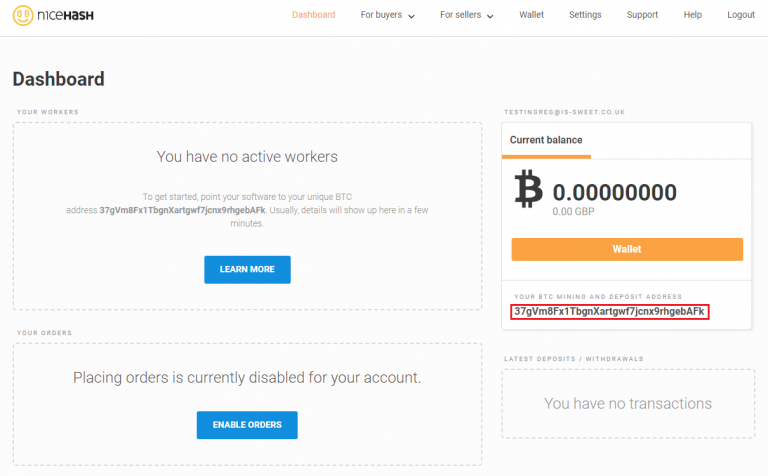
Once you have confirmed your email address you need to log into the account with your credentials. You will then be presented with the dashboard screen and the wallet code is highlighted in the image above. You need to remember this code as it is used in the NiceHash miner program to link the miner to your account. Without this code, you will be mining without a reward.
Step 4 – Download The Miner
Now that you’re set up, you need to download the miner which you can download from https://miner.nicehash.com/. Make sure to verify the HTTPS and the website address matches nicehash.com

Step 5 – Enter Your Wallet Address
This is where you link the miner to your account by adding your wallet address to the miner. Start the miner, and after a while, the program will have loaded. Select the wallet tab and enter your wallet address.

Step 6 – Start Mining
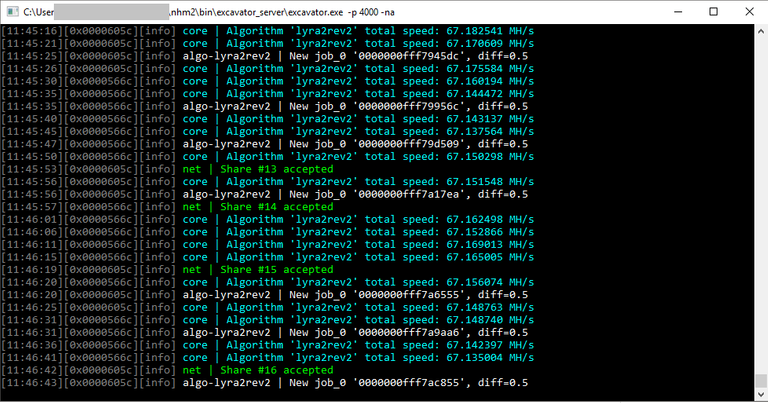
Now all you have to do is click the start mining and if this is your first time the program will run a some benchmarking to see how powerful your computer is. Once done it will select the most profitable mining algorithm. You will probably then have up to three windows. One is the miner GUI, one for the CPU mining and one for the GPU mining.
All Done
Congratulations you are now mining with the NiceHash miner. Now all you need to know is how to get your money out once you’ve been mining and generated some Bitcoin. But first, lets look at the NiceHash website interface so we can check how well we’re doing.
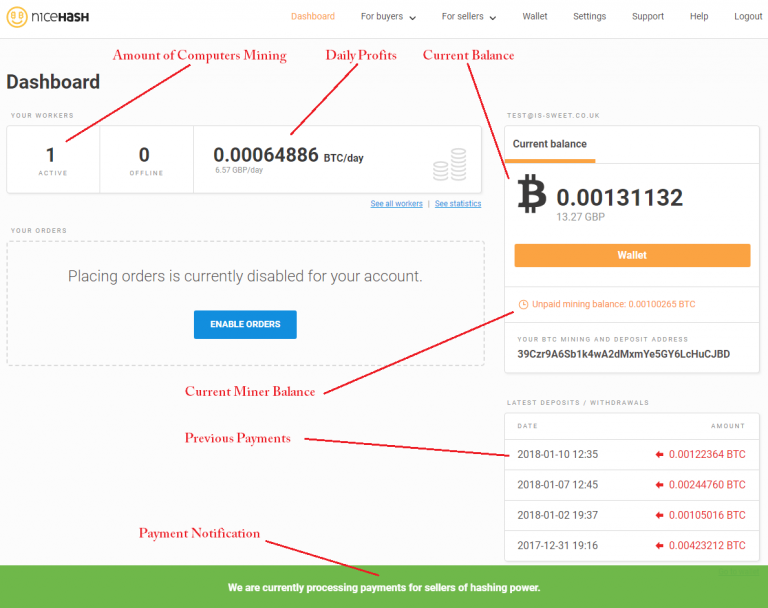
The image above is the NiceHash miner dashboard and it gives you a general overview of your mining status. The first section shows you your workers. A worker is each mining program that is currently running. This could be 1 or 2 for a single computer as you could be using your CPU and GPU to mine which would give you 2 workers. This section also shows you your projected daily income from your workers. In this example, we are generating 0.00064886 Bitcoin per day which is roughly £6.50 per day. These payments are not added to your balance at real time and instead are added at regular intervals and you will see a payment notification when they are adding your miner balance to your wallet as shown in the bottom of the image.
The section on the right shows your current balance(Bitcoin that has already been paid into your wallet) and directly under that is the current unpaid balance(the Bitcoin mined by the miner but not yet processed). The final section on the bottom right is previous payments that have been withdrawn from NiceHash. In order to receive fiat(real world money e.g. $ or £ ), you will need to transfer your bitcoin to an exchange which we will go over shortly.
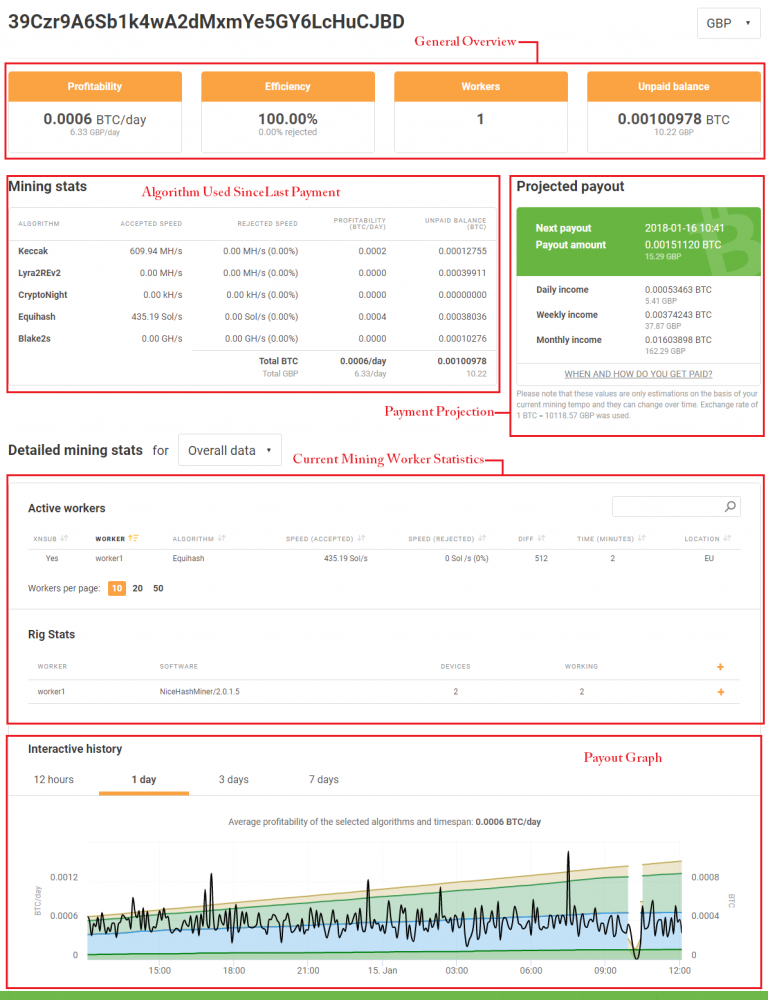
For a more detailed view of your mining process, you can view the worker statistics. This page shows you your profitability and which algorithms have been used to generate Bitcoin for you.
Withdrawing Your Money
In order to withdraw your Bitcoin into real-world cash(fiat), you will need to register on an exchange like coinbase. I recommend Coinbase as NiceHash have a deal where you don’t have to pay transfer fees when using Coinbase. (Coinbase Registration Guide)
Step 1 – Open your wallet on the NiceHash website
Step 2 – Select Withdraw
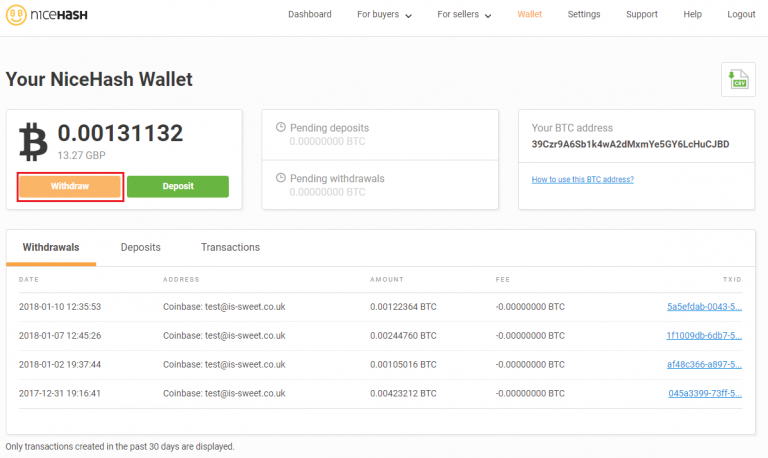
Step 3 – Select Withdraw to Coinbase

Step 4 – Enter the email you used to register to Coinbase
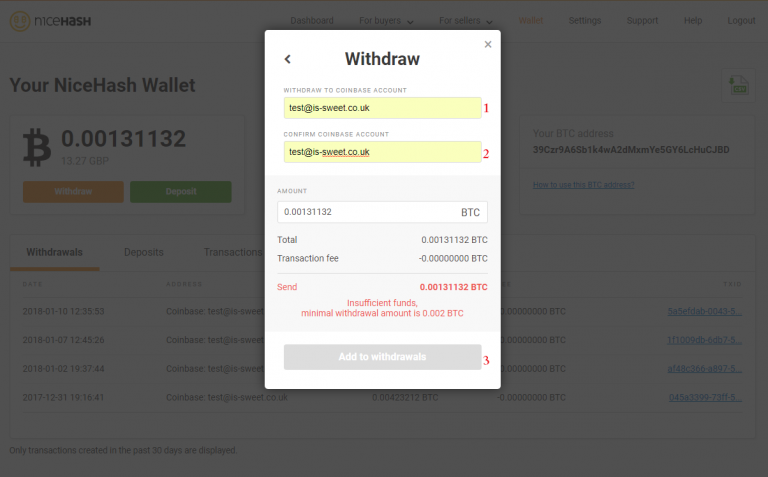
Step 5 – Click withdraw

Step 6 – Sell your Bitcoin on Coinbase
You now have all the steps required to start mining and get your funds into your coinbase account.
Easy to understand thanks for posting.