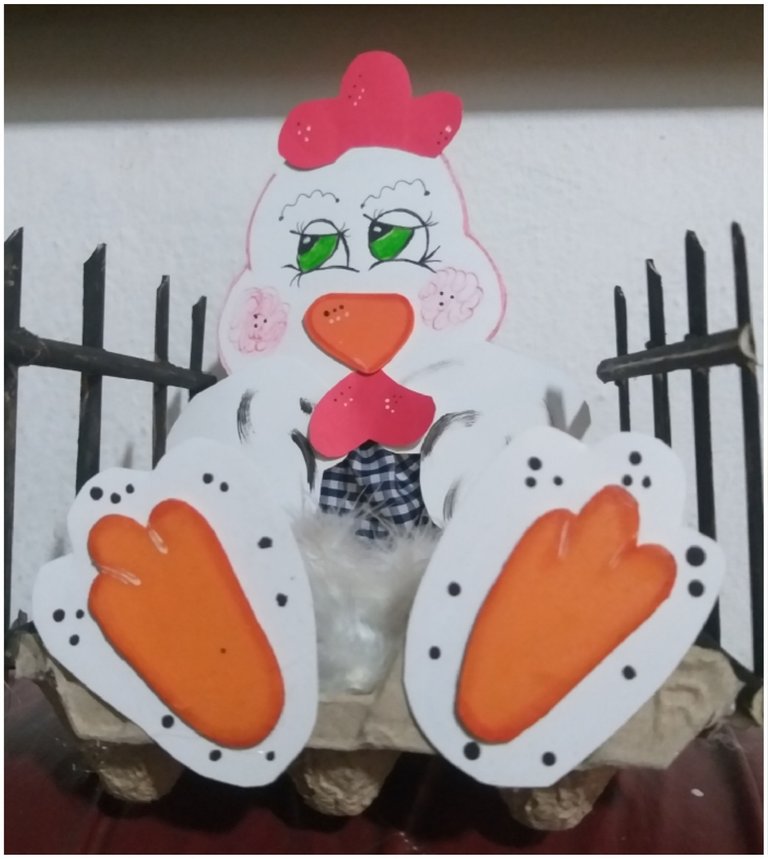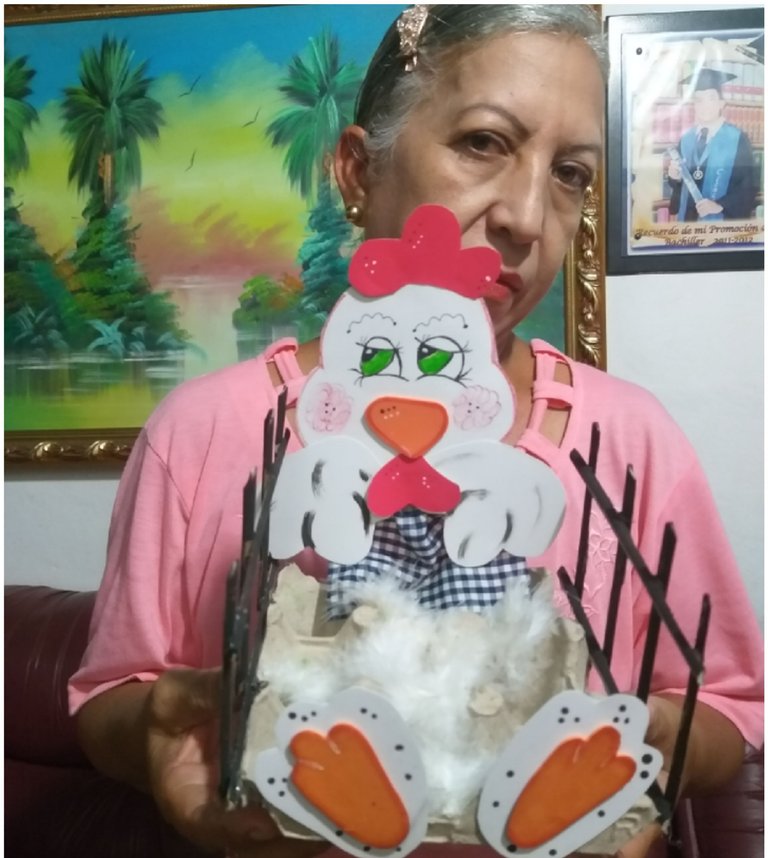
Hello dear beehive. I hope and have an excellent night! Today I present a beautiful craft with useful material. I hope and you like it where I invite you to make this great EGG CARRIER HEN. very easy to do with only recycled materials!
Hola querida colmena. Espero y tengan una excelente noche.! Hoy les presento una hermosa manualidad con material de provecho. Espero y les guste en donde los invito a que realizen esta grandiosa GALLINA PORTA HUEVOS. muy facil de hacer con solo materiales reciclado.!

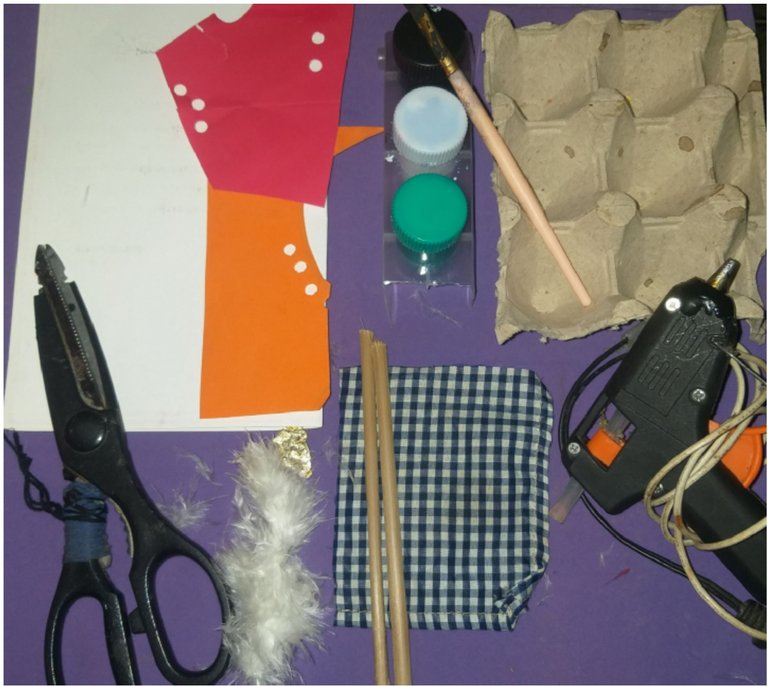
MATERIALS:
- White cardboard.
- Red card.
- Piece of Orange Foami.
- Egg carton.
- Fabric patch.
- Hot Silicone.
- Sticks.
- Paintings.
- Brush.
- Pieces of feathers.
MATERIALES:
- Cartulina blanca.
- Cartulina roja.
- Pedacito de Foami color Naranja.
- Carton de huevo.
- Retazito de tela.
- Silicona Caliente.
- Palitos.
- Pinturas.
- Pincel.
- Pedacitos de plumas.
STEP 1 :
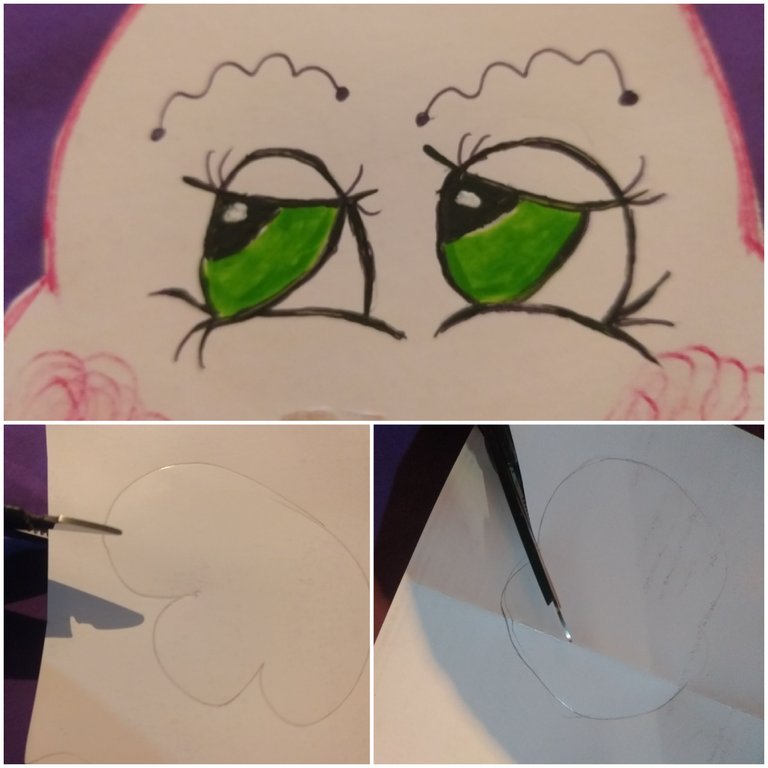
The white cardboard is cut out and the chicken's head and wings are formed. then the eyes and cheeks are painted.
PASO 1 :
Se recorta la cartulina blanca y se forma la cabecita de la gallina y las alitas.
luego se pintan los ojitos y las mejillas.
STEP 2:
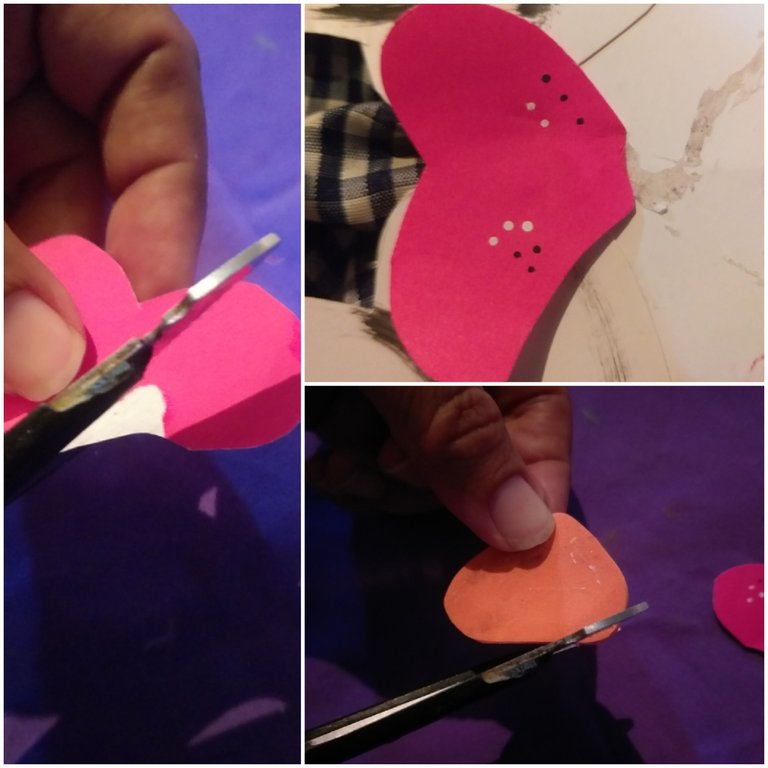
Cut the Red cardboard and make the crest and the bottom of the beak.
The beak is cut into orange foami.
STEP 3: The crest is glued on top of the head.
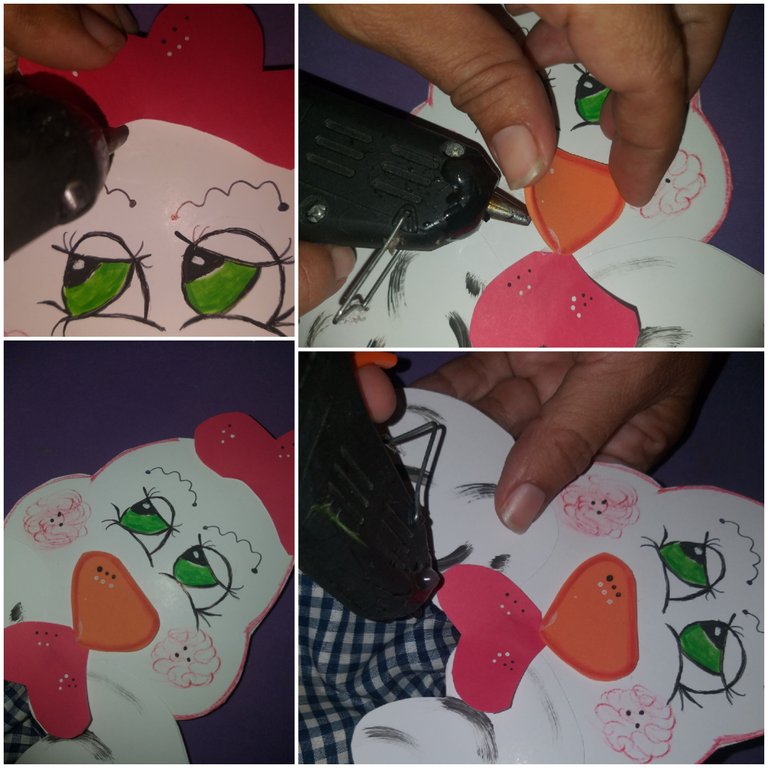
Then the wings are glued on the lower part of the head.
Then the beak is glued to it and below it the other red piece. In the back of the chicken, 1 stick is placed to serve as a support. The small piece of fabric is cut out and glued to the front of the hen to form a dress.
PASO 3:
Se pega la cresta en la parte superior de la cabeza. Luego se pegan las alitas en la parte baja de la cabeza.
Despues se le pega el pico y por abajo de este la otra pieza de color rojo. En la parte trasera de la gallinita se le coloca 1 palito para que sirva de soporte.
Se recorta el retacito de tela y se pega en la parte delantera de la gallina para formar un vestido.
STEP 4:
The hen's legs are cut out of cardboard and foam. The hen is glued to the egg carton.
Then the already formed legs are glued to the front.
PASO 4:
Se cortan las patas de la gallina en cartulina y foami. Se pega la gallina al carton de huevo.
Luego en la parte delantera se pegan las paticas ya formadas.

STEP 5:
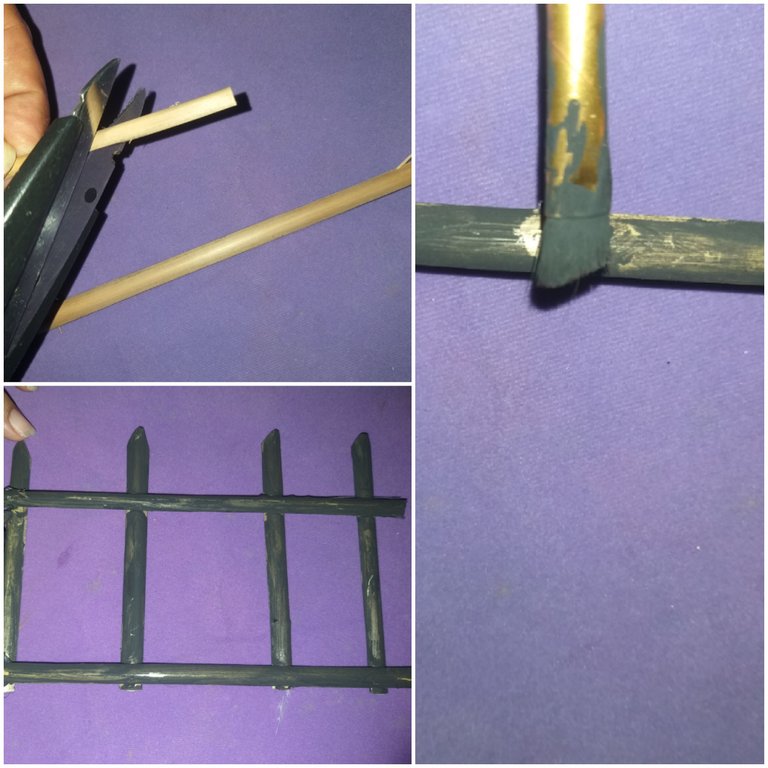
8 sticks of 10cm wide and 4 sticks of 18cm are cut. They are then painted black or the color of your choice.
Then stick the sticks forming a grid for each side and stick around the egg carton. and to finish some feathers are glued on the inside part where the eggs go.
PASO 5:
Se cortan 8 palitos de 10cm de ancho y 4 palitos de 18cm.
Luego se pintan de negro o del color de su preferencia.
Despues se pegan los palitos formando una rejita para cada lado y se pegan alrrededor del carton de huevo. y para finalizar se le pegan unas plumitas en la parte dentro donde van los huevitos.

greetings and I hope you are enjoying my blog.!
Saludos espero y esten disfrutando de mis blog.
