Cloud Deployment
Recently, I stated that cloud deployment of an OriginTrail incentivized node exhibited lower risk than any other deployment method (for reference see here). Yet, many users otherwise inexperienced in cloud computing may find it difficult to deploy an OriginTrail node on the cloud.
I will be releasing a platform-specific setup, rather than providing all setups simultaneously, as I have had feedback that the latter option causes confusion.
I would like to point out something before we begin. It is not necessary to deploy the testnet node on the cloud. I do believe, however, for anyone unfamiliar with the process, the time to get started on becoming familiar with these setups is now. When real tokens are being staked, you'll want the confidence that only experience can bring, or you may age much faster than your friends, worrying about if you have a proper set up.
Let's begin.
Digital Ocean
- Digital Ocean
- Sign up and enter billing information, as prompted
- Once account is verified and billing information has been provided, navigate to the 'Droplets' tab
- Select 'Create Droplet'
- Navigate to the 'One-click apps' tab
- Select the current Docker release
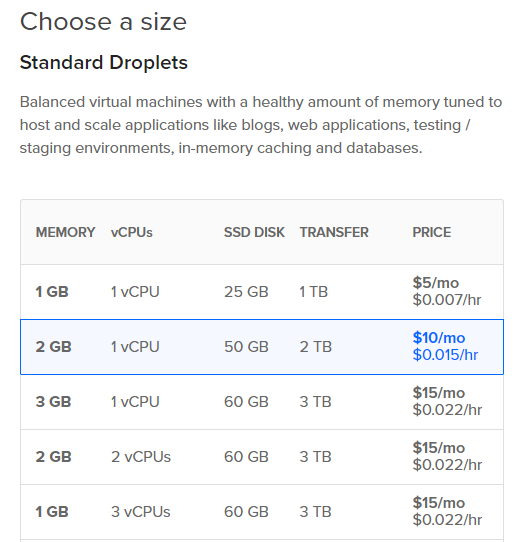
- Select the appropriate store and compute size for the server
- As the current requirements stated for testnet are 2 GB RAM and 5 GB HDD, I have chosen the most inexpensive option that meets the criteria suggested by the OriginTrail team. You can, of course, buy more capacity, but I do not recommend it. The option I have selected works.
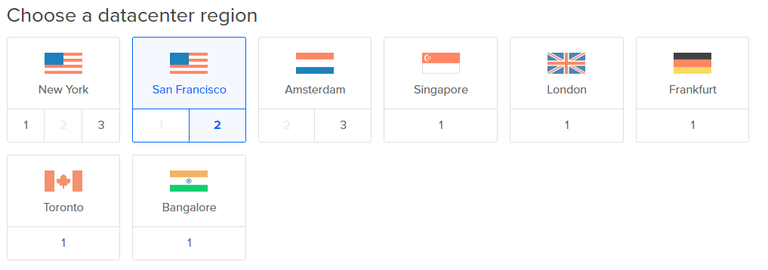
- Select the appropriate geographic server region.
- As different geographic locations offer different features across different services, it is possible that there may be more informed choices to be made for mainnet. For now, however, I recommend choosing the location nearest you.
- Finalize and Create
- Wait for node initialization to complete
While the server is initializing, you should see something like the following image.
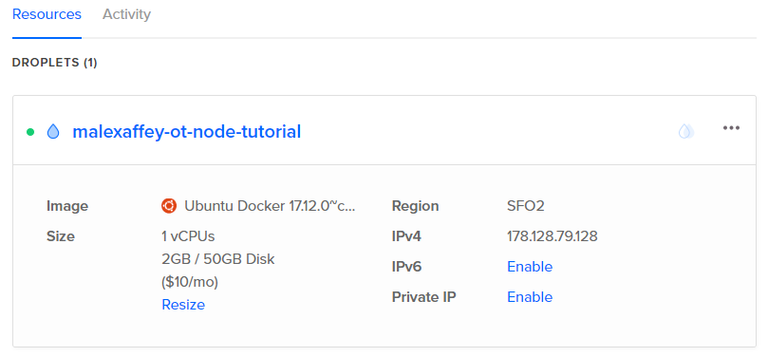
When the server has completed initialization, you should be able to access the droplet, and it should look something like the following image.
- Check the email you registered with Digital Ocean for a username and password specific to the root credentials on your droplet (server)
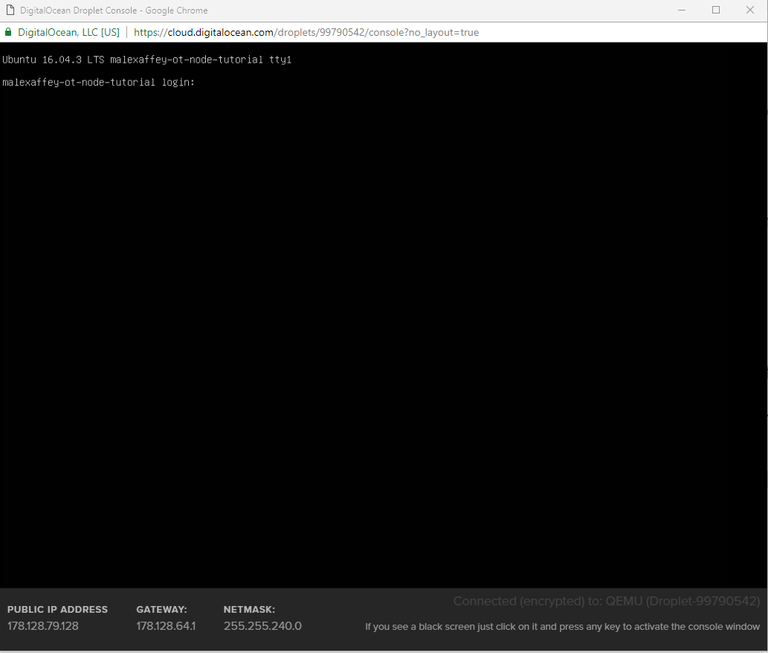
- Access the console
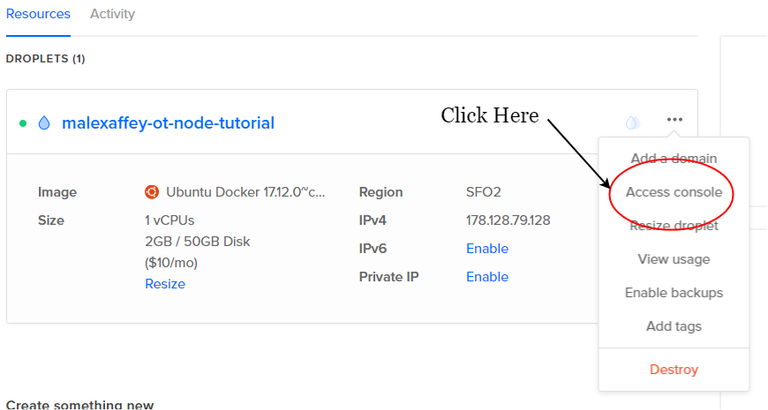
- Connect using username and password provided to you by Digital Ocean at your inbox associated with Digital Ocean registration. You will be required to generate a new password, after logging in for the first time.
- To avoid using the 'sudo' credential every time you interact with Docker, add yourself (root) to the docker user group
$ sudo usermod -aG docker $USER- Verify Docker is installed and working properly by running the Docker Hello, World sequence
Provide the following command:
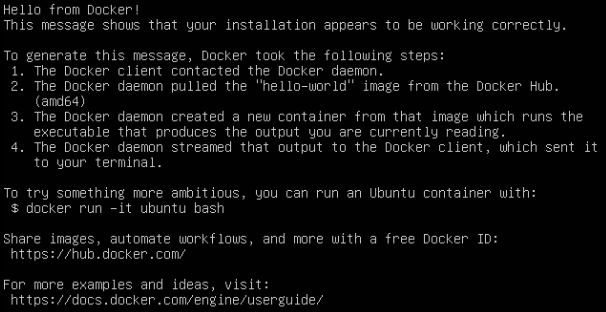
$ docker run hello-worldIf Docker has been successfully set up, you should be provided the following response from Docker's Hello, World! sequence.
- Pull the node setup code to initiate running the node
Provide the following command:
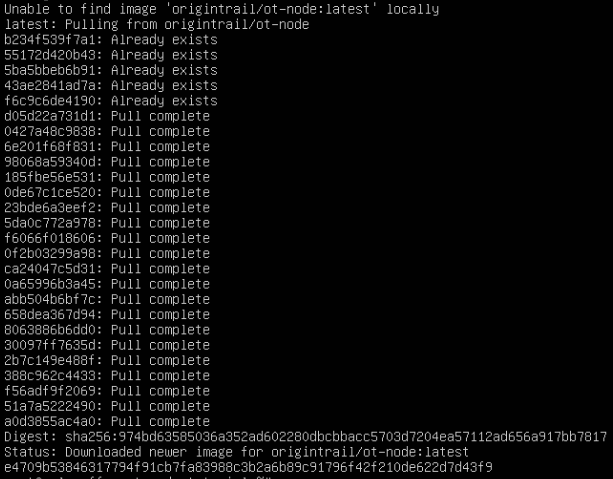
$ docker run -it -d --network host --name otnode --mount source=otnode-vol,destination=/ot-node origintrail/ot-node Be patient with this step, and wait until you are provided the following response from the console.
- Run the node with Docker
Provide the following command:
$ docker start otnode - Verify node is operational
Provide the following command:
$ docker psIf the node setup has been successful, you should be provided a status from Docker, stating something very similar to the following.
This completes the section concerning cloud deployment with Digital Ocean.



Cool in-depth post, thanks for sharing!
Congratulations @malexaffey! You have received a personal award!
Click on the badge to view your Board of Honor.
Do not miss the last post from @steemitboard:
Congratulations @malexaffey! You received a personal award!
You can view your badges on your Steem Board and compare to others on the Steem Ranking
Vote for @Steemitboard as a witness to get one more award and increased upvotes!