Back in September of 2016 i was fortunate to attend the Bali appropriate technology Institute (BATI) 6 day training course
One of the great things we learnt about was making cheap but effective water filtration Jars using ferro cement

How it works
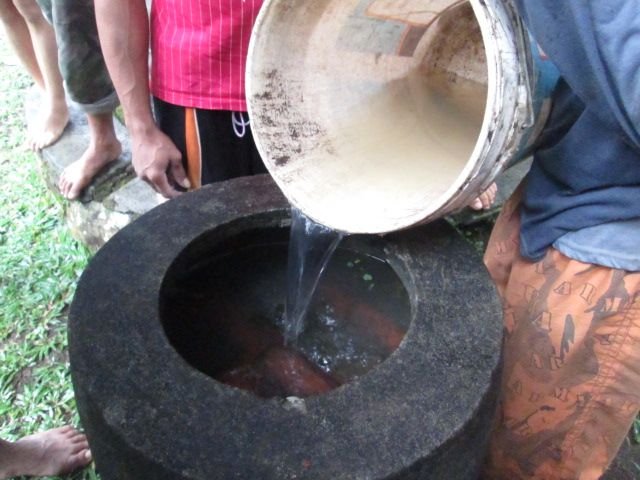
The Jars are used by pouring in water from the river which is muddy, and the water is filtered through sand and charcoal and comes out much cleaner
Each jar contains 80cm of sand that filters out sediments and bacteria from the water. We can also put in some activated charcoal if wanted to help remove some pollutants such as pesticides
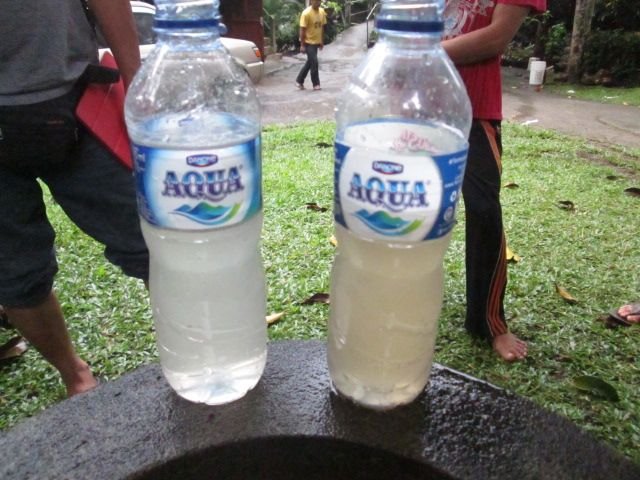
This is a comparison between the river water and the water after being filtered once. The jars can be set up in sequence so that the water gets filtered several times, flowing through two or more jars.
The improvement in this water is already pretty good, by removing most of the sediment the amount of bacteria is already greatly reduced and this water can be stored in a concrete tank for later use without turning stagnant
making the bag moulds
It is a very simple process. first we make a reusable bag from fabric that will be the mould around which we build the Jar
To do this we take some cotton drill fabric, the kind they make Uniforms out in Indonesia. Actually the fabric type isnt very important. If its durable it will last longer, but if its not then it wont. The most important thing is that it isnt elastic, we dont want it to stretch out of shape
We want the jar to be approxiametly 1 metre tall, this is necessary for the filtration to work effectively. It needs a minimum of 80cm of filtration with the 20cm above to hold the water we pour in
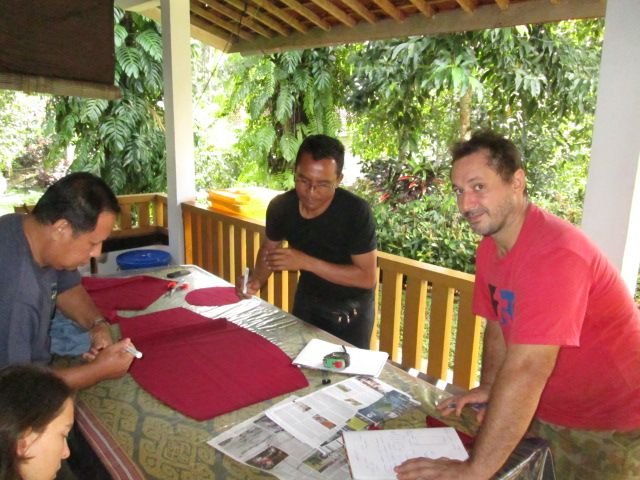
Here are the Designs Mr. Rus Alit made up with us. It can be modified to be taller or wider to suit your desires
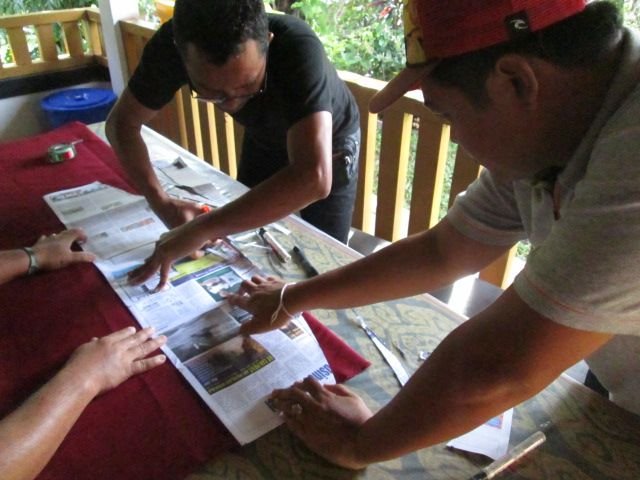
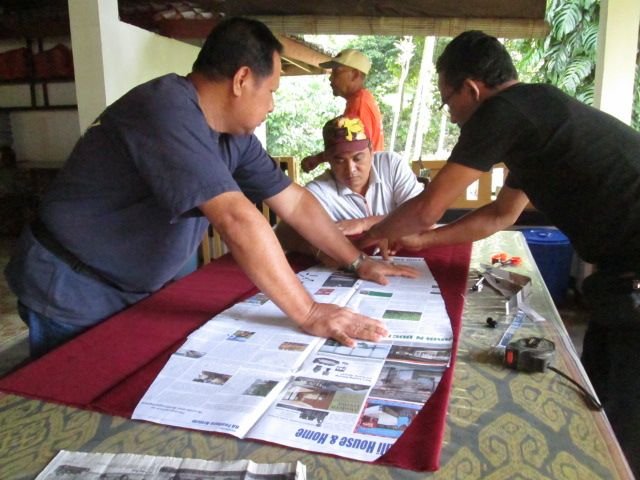
We begin by transferring the design to a pattern made of newspaper
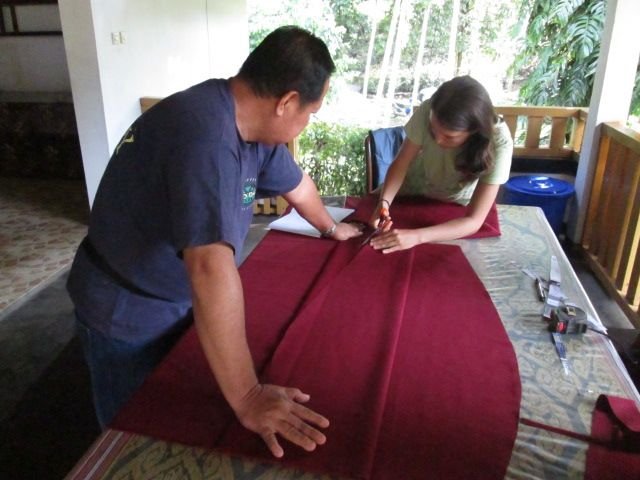
Using these we cut out the pieces of fabric that will be joined together
We cut the circular base which in this case is 30 centimetres in diameter
We cut the circular base which in this case is 30 centimetres in diameter
Carly was kind enough to sew these together for us as her needlework is far better than the rest of us
Making the Jars
We will cover this in part 2. I am still searching for some missing photos!
thanks for reading!

please Comment, Upvote, Share or Resteem!



Thankyou ! I'm
Looking forward to the second part
Good job! Pleas more fotos.