The term bokeh is derived from the Japanese word boke, meaning ‘blur’ or ‘haze’. As such, bokeh refers to the background blur of an image, making an image visually appealing. In todays tutorial, I will describe a step-by-step process how you can change the bokeh of your lens. This is really fun to do.
What you need to change the shape of your bokeh
Changing the shape of the bokeh effect in your camera is very easy. It requires about 5 to 10 minutes to create your first shape. You will need:
- A large aperture lens (I am using the Canon 50mm f1.8 in this tutorial).
- A piece of black paper (A4 should do);
- A bit of tape or glue;
- A pencil;
- A ruler;
- Scissors and/or sharp knife;
- And a rubber band (optional).
1) Create a new lens hood
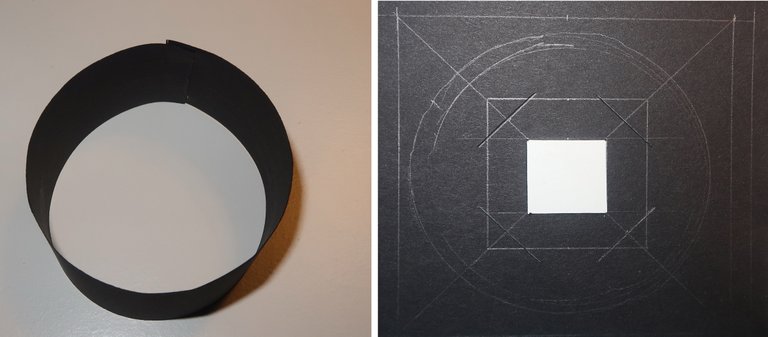
Measure the diameter of your lens. For the Canon 50mm f1.8, the diameter is about 70mm. Cut out a piece of paper measuring 22cm by 4cm. Fold this around the lens, it should snugly fit around the lens. Use a bit of tape to tape the paper edges together.
Lay your lens on the paper. Draw a circle around the lens. Subsequently, draw a square that is slightly larger than your lens. Draw diagonal lines from corner to corner. In the middle of the square, draw a square of 20mm and a square of 40mm. Cut out the square of 20mm. Cut 4 small notches at the corners of the 40mm square (see picture).
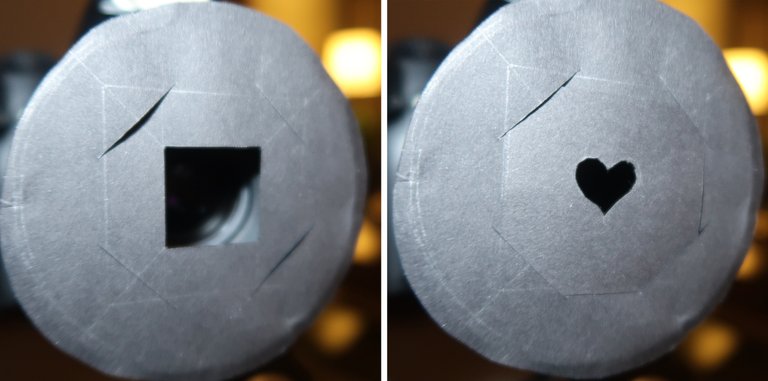
Cut out the circle and tape it to the paper folded around your lens (if using glue, make sure your glue is dry before sliding the paper around the lens). Your new lens hood is now ready.
If the lens hood slides off easily, you can use the rubber band to hold it in place.
2) Create the bokeh shape you want
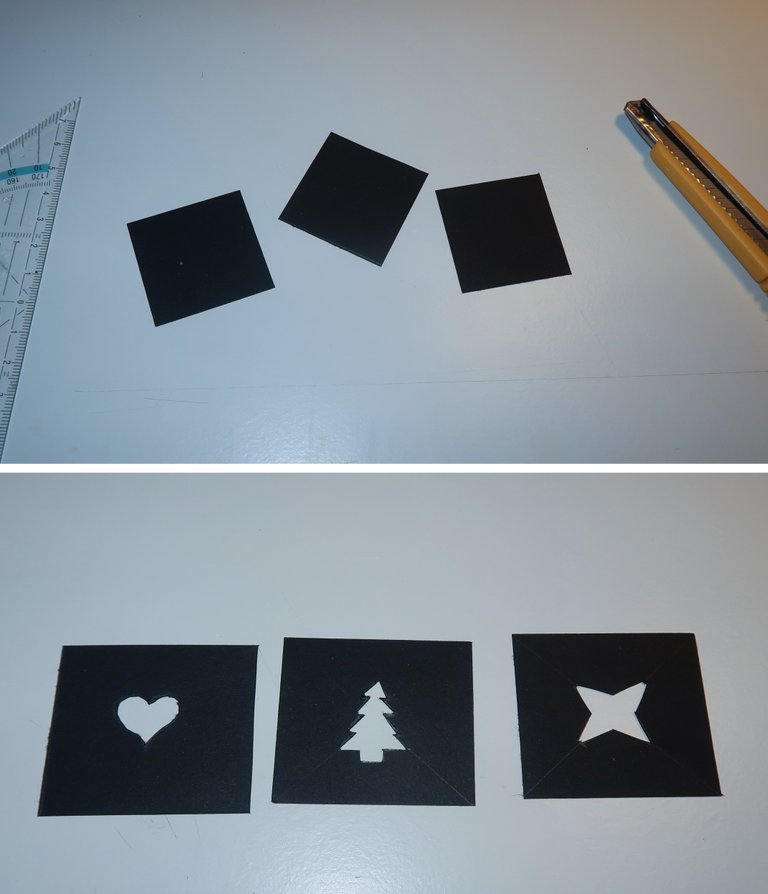
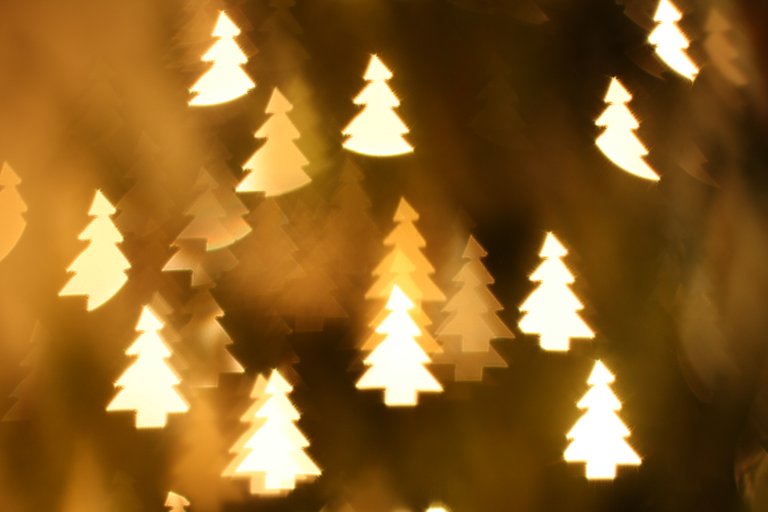
Start by cutting out a 40mm square paper. Next, you will need to cut out the bokeh shape you want to have. For this tutorial, I have drawn a heart in the middle of the 40mm paper, but you can use any shape (no inspiration: try a Christmas tree, star, triangle, butterfly or arrow). After you have successfully cut out your desired bokeh shape, you should slide the 40mm square in the 4 notches of the lens hood. Best to place the 40mm square bokeh shape as close to the lens as possible. Now you are ready to roll. Want a different bokeh shape? Just cut out another 40mm square with a new shape.
3) Time to test your bokeh shape
Set your camera to aperture priority or manual mode and select the lowest aperture possible. Set your focus to manual. Now aim your camera at an object with lights (e.g. a Christmas tree). Manually focus the camera so that the lights are as blurry as possible. Now you are ready to take a picture.
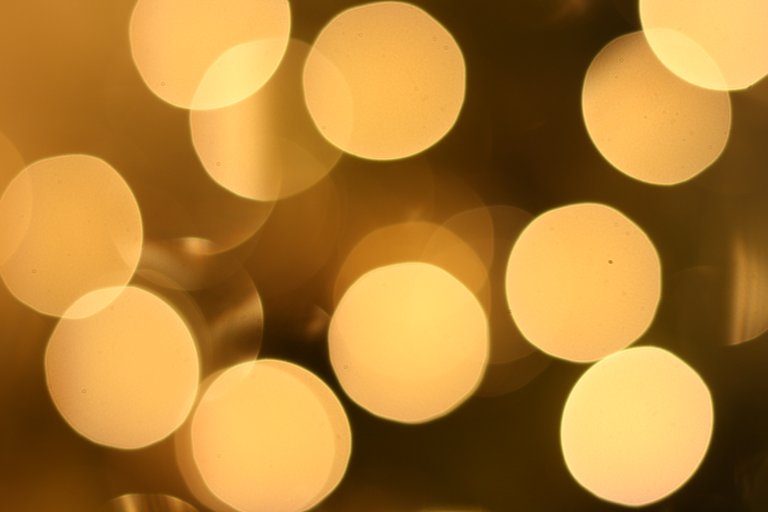
Normal bokeh:
Changed bokeh:
Have you created a cool bokeh, show it in the comments.
Although it is very unlikely you will hurt yourself or damage your lens while creating a bokeh effect according to this tutorial, I am in no way responsible if you do happen to hurt yourself or damage your lens or camera.
Would you like me to write more photography tutorials? Let me know in the comments (you may even suggest topics).
Don’t forget to Upvote, ReSteem, Comment or to Follow Me if you liked this post!


Congratulations @aegir! You have completed the following achievement on the Steem blockchain and have been rewarded with new badge(s) :
Click here to view your Board
If you no longer want to receive notifications, reply to this comment with the word
STOPDo not miss the last post from @steemitboard:
Congratulations @aegir! You received a personal award!
You can view your badges on your Steem Board and compare to others on the Steem Ranking
Vote for @Steemitboard as a witness to get one more award and increased upvotes!