So I want so share my take on the manipulation and editing images captured with your smartphone.
I love taking photos and I don’t carry my dslr with me so when I come across an interesting subject the best thing i can do is use the camera on my phone. I start by making Sure the lens is free of dirt and smudges as having my phone in my pocket all day it picks up dust and finger prints and we don’t want this to distort the photo also multiple shots is a must It would suck to walk away and realise you have an object you wanted to capture out of focus or out of frame.

Now that you have a photo image you want to edit it’s time to pick a mobile app to edit with. You could use your desktop but the purpose of this is using your smartphone android/iphone to do it all in one. I use light room for mobile so this is loosely based around this app.
Open the app and pick the photos you want to work with. Pick the one you want to edit the one that you think looks the best and will look best when complete.
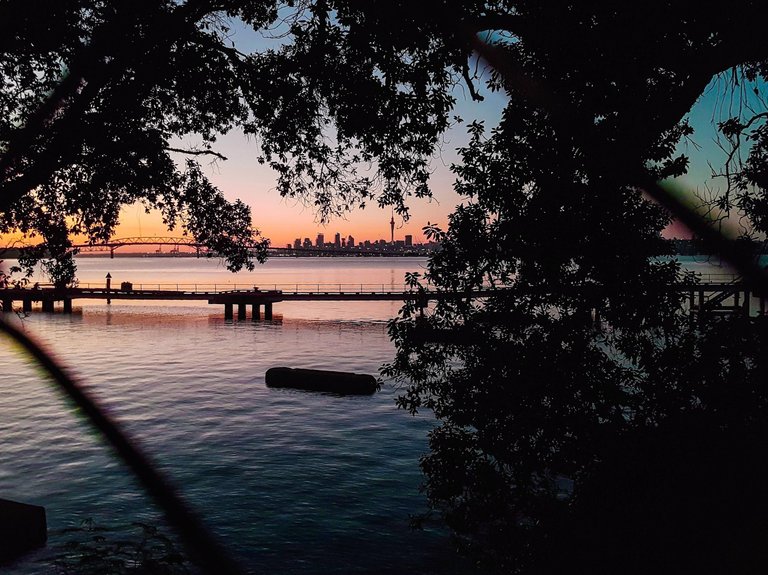
In the above picture you can see the importance of taking multiple photos of the same subject as focusing on different points will change the amount of light iso/aperture resulting in this case the sunrise being nice and orange to yellow as its over exposed
Next we begin manipulation and editing the chosen photo to our liking. We are going to open the little slide down the bottom which will bring up the settings we are going to adjust.


Now im not going to get technical with this really just slide different thing around till you get the result you want
Clarity
The Clarity slider is a global adjustment meaning that moving this slider affects the entire image. A small but subtle boost to Clarity can lift just about any image. Photos with more texture such as the one below may benefit from a larger increase in Clarity to bring out the texture and detail.
White balance
white balance in digital photography means adjusting colors so that the image looks more naturalss adjusting colors to primarily get rid of color casts, in order to match the picture with what we saw when we took it
Tint
The Tint slider is used more for minor adjustments to remove or add unwanted green or magenta colors from the scene and will often be used to get skin tones correct. However, there are people who use this slider for more artistic purposes (play with it and you’ll see what I mean)
Exposure
Exposure really targets the brightest parts of your photo and makes them brighter. Almost to the point of over-exposure. And it does so pretty quickly as you increase (or decrease) the slider. Brightness on the other hand still brightens the overall photo but does it more in the mid-tone (middle gray) area
Contrast
When working with the Contrast slider and pushing it to the right the adjustments darken the darker mid-tones and lighten the lighter mid-tones across the entire image. When the slider is pushed to the right contrast between the lighter and darker midtones increases. When the slider is pushed to the left there is less contrast between the lighter and darker midtones
Vibrance
Vibrance increases the intensity of the more muted colors and leaves the already well-saturated colors alone. It's sort of like fill light, but for colors. Vibrance also prevents skin tones from becoming overly saturated and unnatura
Saturation
Saturation slider lets you adjust the saturation of the colors in the image drag it to the right to brighten and deepen the colors in the photo. If you drag to the left you remove some of the depth and brightness in the colors and if you go all the way to -100 you end up with a desaturated or monochrome image.
Have fun with it be creative its all about creating something you find artistic and beautiful. Post you edits let me and the steemit community see what you come up with


Good thoughts
Great Article! I've never used my phone to edit photos because the screen is too small for me, but I routinely use Adobe Lightroom on my tablet. Keep up the great posts!