Hello Steemians!
Many people struggle with shooting full manual on a DSLR and while this isn’t really necessary for most modern cameras, making the big move to “M” on the dial really puts you – the photographer – in the driver’s seat.
Sure, modes like Aperture Priority and Shutter Priority and even auto ISO are helpful, but they remove you from understanding how light is interacting around your scene. Plus, if you put the effort in shooting manual on your digital camera you can easily use any camera no matter how old because the basic principles have not changed since the dawn of photography.
I was lucky to take a short course on shooting large format with a pre-film technique called wet-plate collodion which gives you a cool image on a thin piece of metal with the skills I learned using manual mode on my camera. If you want to shoot film, manual is standard on most older film cameras so learning this means that you have absolute choice when it comes to photography.
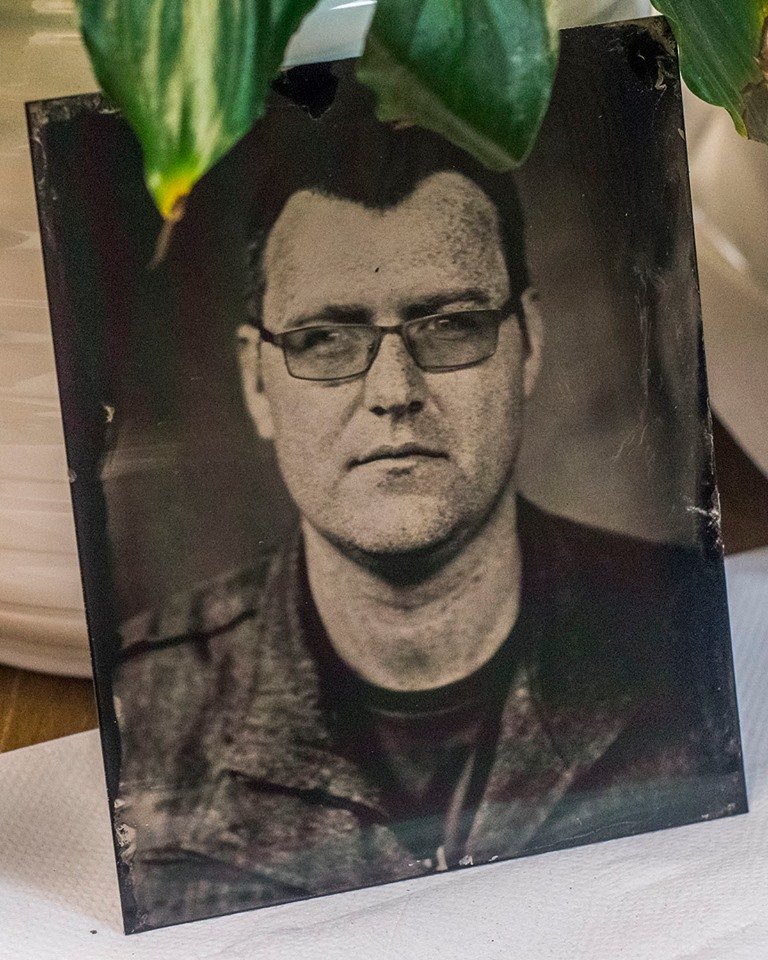
(result from the wet plate collodion class)
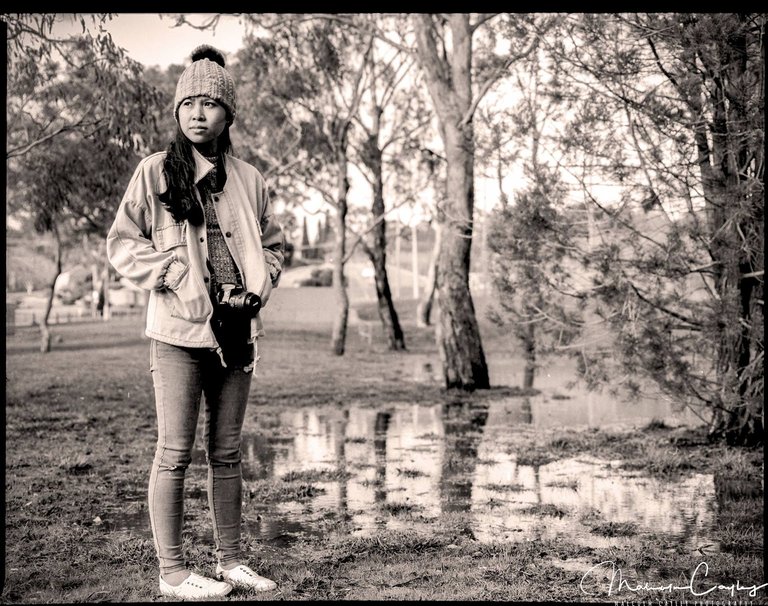
(Film photo shot with my Bronica ETRS and scanned)
The Exposure Triangle
/The_Exposure_Triangle1.jpg)
The biggest mistake that people new to M make is failing to understand that each element of the ISO triangle controls two aspects. These aspects are not necessarily completely good or bad but situationally dependent and can be used to achieve your creative visions.
ISO: this is the film or the sensor’s sensitivity to light. Turning it up increases the brightness of your photos. However, high ISO values are also very grainy. My D3300, for instance, is comfortable shooting up to 1600 for excellent results. It goes up higher but at significant quality reduction. The famous Canon 5D Mark IV (several times the value of my camera) shoots quality photos at higher ISO. The D3300 is also a “crop frame” sensor as opposed to the full frame 5D. This means that the physical size of the sensor is larger on the 5D meaning it is exposed to more light.
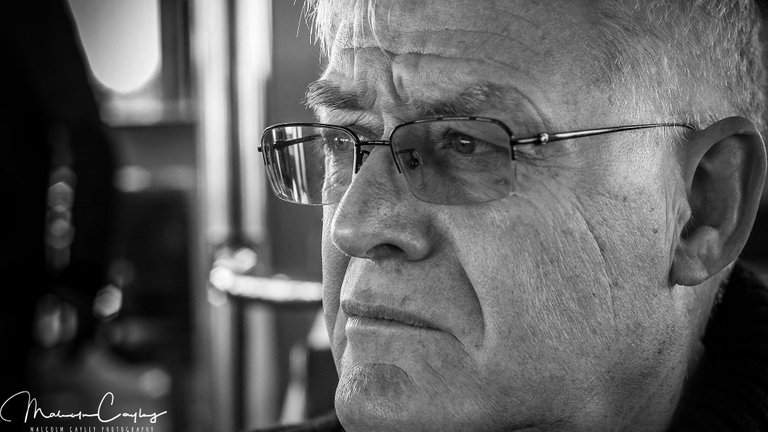

Aperture: the term aperture is just a fancy word for “hole”. It controls the Depth of Field (DOF) and the amount of light that is let in through the lens. Aperture is measured as a ratio which might seem counter-intuitive to beginners: a higher aperture number will give greater DOF. Landscape photographers usually shoot at values starting at f16. Portraits generally require a lower value. For professional studio work, however, everything might need to be razor sharp and thus require greater DOF.


Shutter speed: the shutter speed controls motion blur and the amount of light let in through the lens. Adjusting the shutter speed can give you silky waterfalls for low shutter speed (combined with a neutral density filter (ND)) while a fast shutter speed can give you perfectly frozen children leaping about or animals chasing each other or race cars frozen around the track. Shutter speed is represented by either seconds for slow speeds or fractions of a second for fast speeds. For instance, 1/4000 means 4000th of a second while 1 means 1 second.
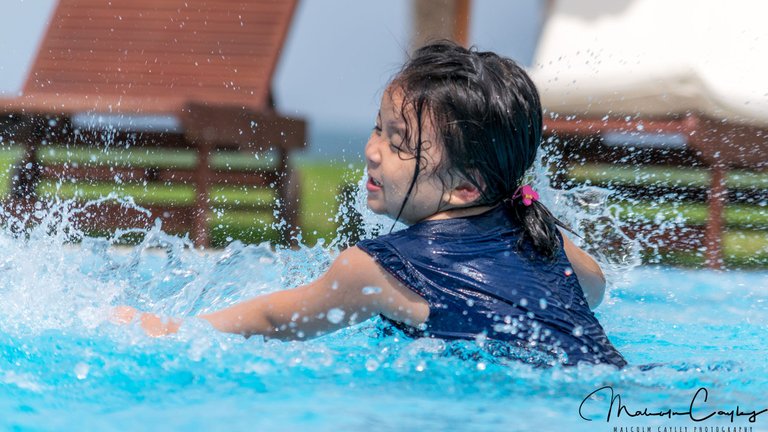
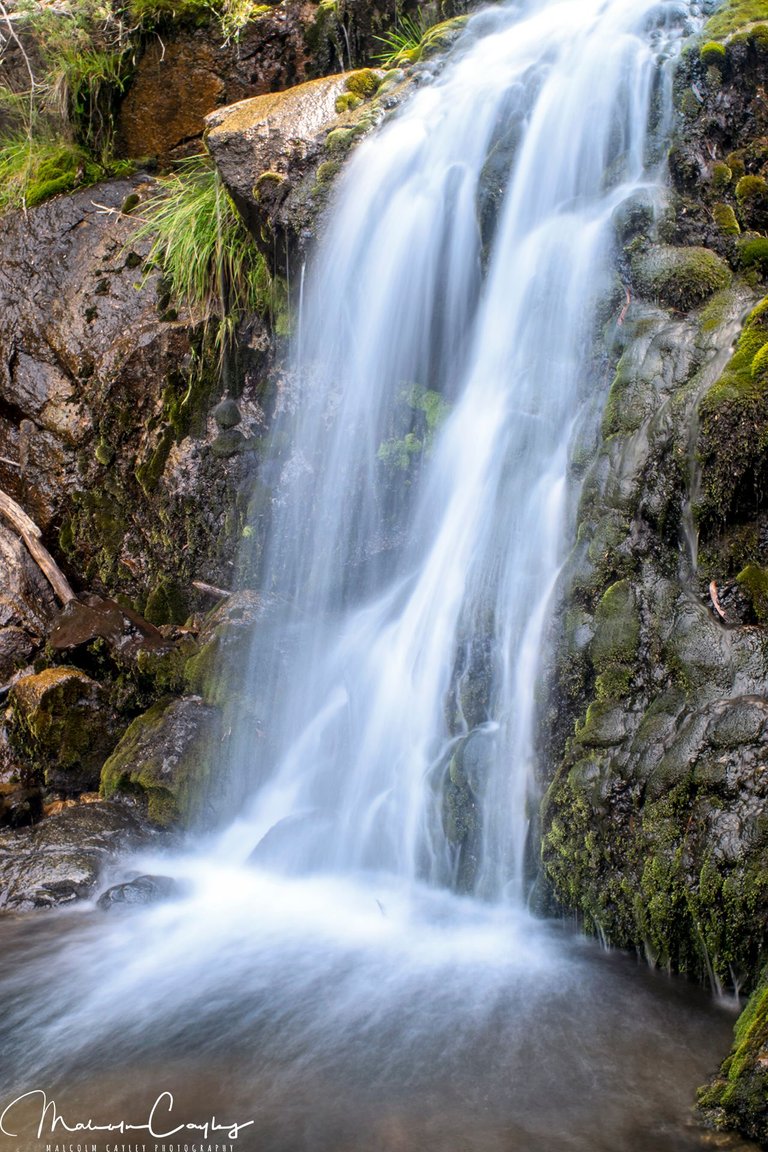
You will need to adjust the three settings for the type of photos you want to take. Checking the light meter through the lens (TTL) is preferred rather than pointing the camera downward because the amount of light hitting your scene versus the light hitting near your feet is going to be drastically different.
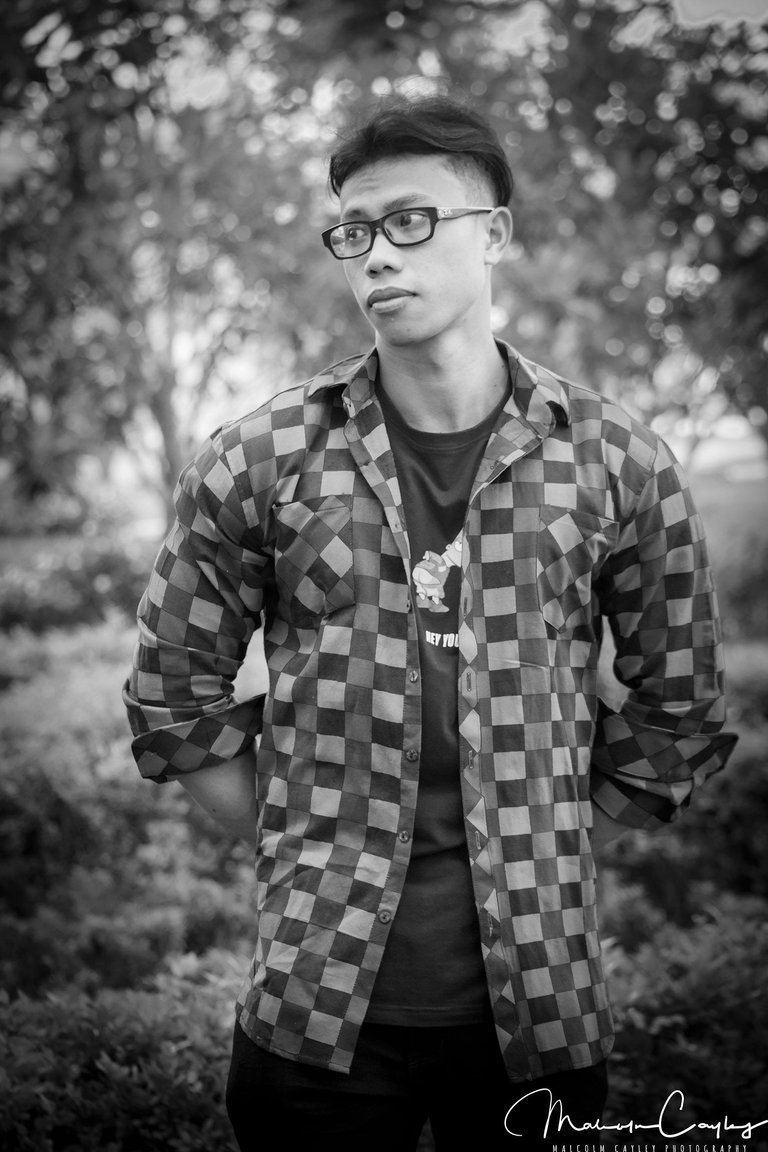
So, to sum up: ISO = sensitivity to light at the cost of noise; aperture = depth at the cost of light; shutter speed = motion control at the cost of light. But read the other way it might also mean: Low ISO: loss of grain; Low Aperture: loss of sharpness (Depth); Fast shutter speed: loss of blur.
Play around with the settings and take some photos for practice to get the hang of it! All of my photos above (except the wet-plate and the film photo) were shot with my Nikon D3300 with various lens like my Nikkor 55-300 AFS, Nikkor H 50mm, and Nikkor H.C 28mm. Someday I might be able to afford better equipment, but, as you can see, (I hope!) good photos need not break your budget.
Thanks for reading!
Hi @deterrencepolicy
This gem of a post was discovered by the OCD Team!
Reply to this comment if you accept, and are willing to let us promote your gem of a post! By accepting this, you have a chance to receive extra rewards and one of your photos in this article will be used on our compilation post!
You can follow @ocd – learn more about the project and see other Gems! We strive for transparency.
Hi thanks please promote it :)
Wow!
You are really in the art of photography @deterrencepolicy
These are great photo shots.
Thanks for sharing
.. and do stay in touch.
Thanks for the feedback @mcekworo :) will do :)
You're welcome
Congratulations @deterrencepolicy!
Your post was mentioned in my hit parade in the following categories:
Thank you @arcange :D
Amazing post!
On the manual mode you need be aware if your subject is moving from an shadow spot to an bright spot, then you need to ajust the settings
Thank you so much @mihainegurici :)
That's right! You are in command of the amount of light you're letting through your lens with manual mode so you need to be aware of the light in your scene. The human eye responds automatically to changing light conditions so figuring out the amount of light in a given scene is difficult for beginners to judge. With practice, certain favourite camera settings will reveal themselves over time depending on your gear. The specific settings I used on the above photo will very likely be irrelevant in another scene so I decided not to include them. The process of trial and error is really fun when learning manual so beginners shouldn't get frustrated :)
you want to see the last one on my blog?
very nice post , resteemed , followed and voted always nice to see what other photographers post and do .
Thanks @stresskiller I'll have to check your stuff out too :)
This was a great post. Thank you for sharing. I'll be sure to keep an eye out for you future work!
Glad you enjoyed it @firepower I'll have to figure out something new to write about ;)
I love that owl! And your photos are all amazing. Ever since i started using manual I've not looked back since! Followed!
It was an incredible place to visit in Tokyo - their biggest owl weighed 3kg and I got to hold their 1kg (unfortunately the bigger one was resting when we visited) Still an incredible experience to get up close and personal with the owls. I'll make a dedicated post about the cafe soon :)
shhhh!!! don't wake the owl
haha he was awake but just tired from the constant interaction with new people :) Another of Japan's awesome animal 'cafes' which are really just small venues where you interact with various animals. We went to a hedgehog cafe as well and it was adorable :)
Owls are amazing creatures :) they always look so peaceful :)
If you love owls I finished my latest blog post on my visit to the owl cafe in Akihabara :) Check it out for more lovely photos https://steemit.com/travel/@deterrencepolicy/review-owl-cafe-akiba-fukurou-tokyo
awesome thanks for sharing! :)
Great pictures
Wooooooooooow!
You really skill in the art of photography
This is a very nice photo of good ... there is a classic color of it ....
Hopefully i can also like you ,.
Thanks and keep in touch @fahrullah