Good day to you all!
Today I want to write a short post describing how I edit my pictures and what I do to enhance them in post-processing. Since I use a Mac to edit my images (I have both a Mac and PC, and have used Photoshop, Paintshop Pro, and Aftereffects... However Photos remains my go-to) I will be talking about using the Photos app.
Like I said, after trying all of these different types of software, I still prefer Photos. Why? Because of its simplicity, ease of use, and the fact that I own extensions for it that I paid for (and don't want to lose my investments!). However, for everything I usually want to do, Photos provides.
I did hear just today though that the new MacOS will bring a massive update to Photos and I can't wait! It looks like it will add far more depth and usefulness to Photos. Definitely can't wait!
I am by no means a professional photographer (Still a hobbyist by all means) so take this with a grain of salt, but these are the steps I personally follow when editing my images.
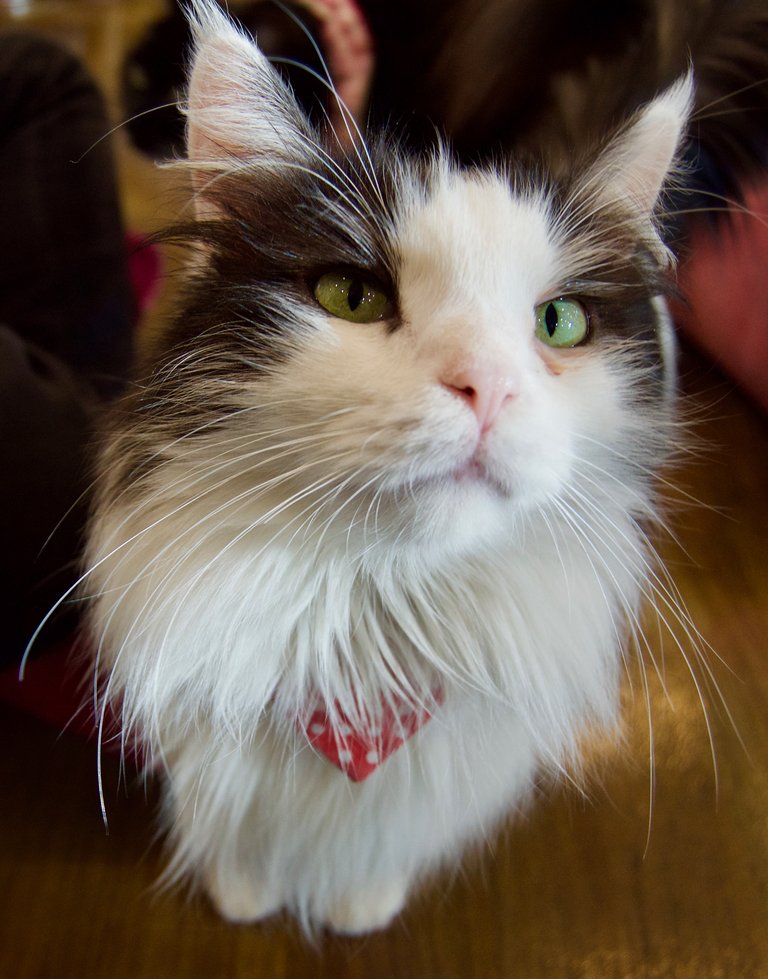
Obviously we need an image to start!
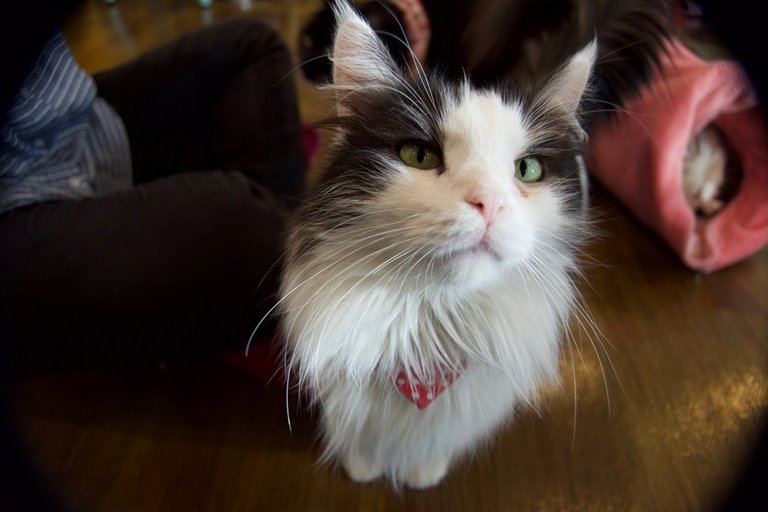
This is the image that I picked to use in this post as I believe it has a good balance of colours and a few changes that I definitely want to make!
Cropping
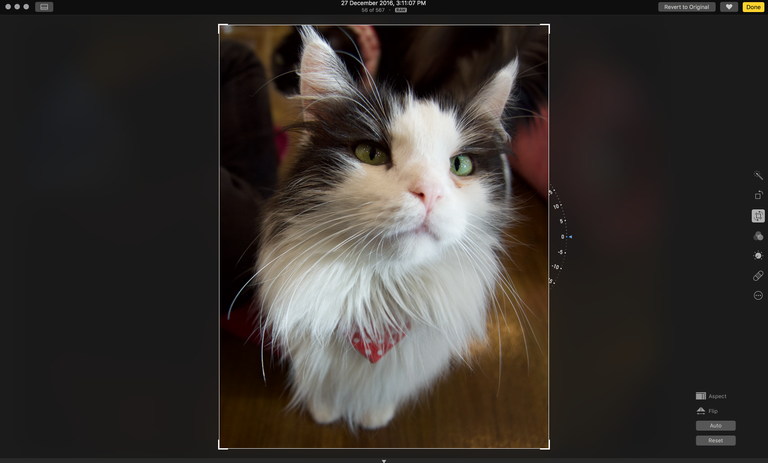
I begin by cropping the image. My key focus is keeping all of the target in the image. This cat is a great example with its whiskers. Although I did cut off some whiskers on the right a little (I think the balance of the image was a bit off if I keep them), I think it is most important to try and keep all the targets detail in the image. If you have a model with long hair that is flowing in the wind, make sure to keep all of the hair in the image!
Colour Adjustments
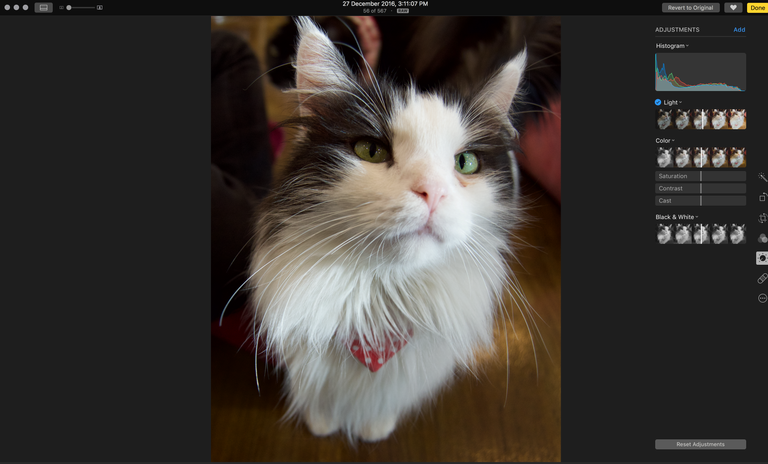
My next step is to move on to the colour and light adjustments. Since this image is on the darker side (as can be seen by the histogram), I want to increase the light levels a bit, but also keep the feeling of the image the same. I also adjust the colours here to a level which I think looks best. this definitely changes from image to image, so I would recommend finding what you personally like!
Sharpening and Definition
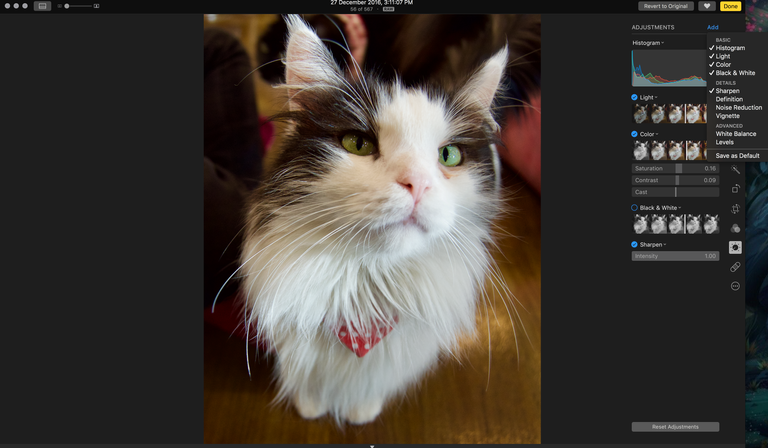
As you can see the image has been changed only minimally in the colour/light stage. I am happy with the natural colours of the image and I only increased the colours a bit to increase the contrast and draw out the cats eyes a bit more. At this stage I move on to adding other adjustments such as noise reduction, sharpening, and definition. In this image I don't think definition or noise reduction are required so I just added some sharpening and then left it.
Sometimes I also add filters, but rarely. I prefer to try and keep my images natural, and I think that many of the filters actually take away from a pictures beauty. Therefore I try to keep them as natural and unedited as possible!
Final image!
As you can see, really not much has changed! I am very happy with this image, however I wish that the top ear had been caught in the image (unfortunately this was an error while framing the photo... Not something I can change sadly).
Obviously the editing depends on the type of image and the style of the image, but this is the same procedure that I follow for all of my work. So if you have ever been curious what editing I do on my photos... Well now you know!
Thanks for reading!


Such an inspiration blog and the pic. I am definitely gonna try that one. thnx
Thanks a lot! I'm very glad you found it helpful and inspiring! Make sure to post your results... I would love to see :)