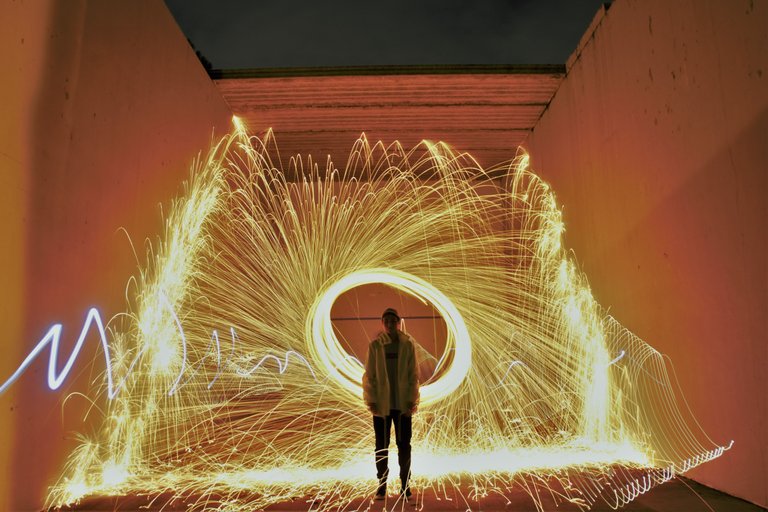
On my latest photography post, I was asked about how I was able to achieve this effect.
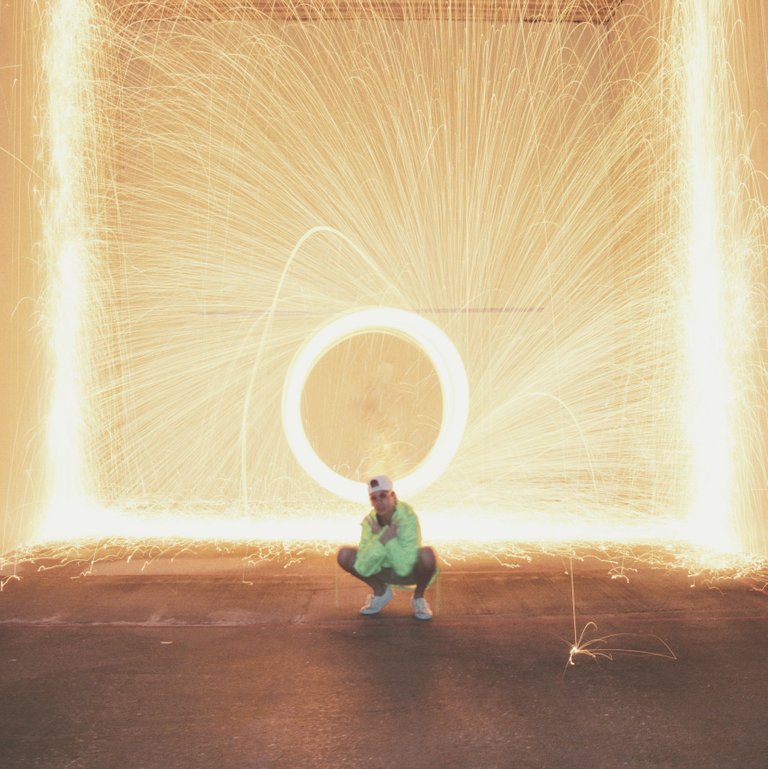
How EXACTLY was I able to create a ring of light? Easy.
First, you’re going to need a few tools.
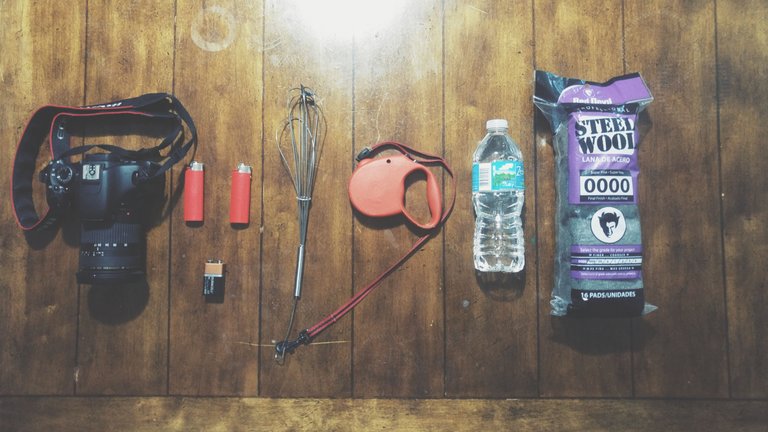
- Camera (Anything that can be set to a long exposure. I use the Canon Rebel t3i)
- Lighter
- Alternatively, you can use a 9-Volt battery to ignite the steel wool
- Whisk
- Dog Leash (Any rope that can be tied to the whisk is suitable)
- A bottle of water
- Steel Wool (I recommend 0000 grade steel wool, you can find it on Amazon.)
NOTE: Do NOT buy steel wool with soap in it. Often, they are used as sponges and will NOT ignite when held to a flame.
Second, find an open area where you can SAFELY throw sparks. Playing with fire is never recommended (unless taking a kickass photo) and proper safety precautions should be taken to avoid starting fires. I always take a few extra bottles of water with me, just in case anything catches fire. After shooting, I always hang around the area for 5-10 more minutes to make sure that nothing catches fire.
SAFETY IS THE TOP PRIORITY
Third, put the steel wool inside the whisk. Make sure that the steel wool fits tightly inside the whisk. I’ve had times when I used a whisk that was unable to hold the wool when I would spin it, causing large portions of the wool to fly out, causing things like this to happen.
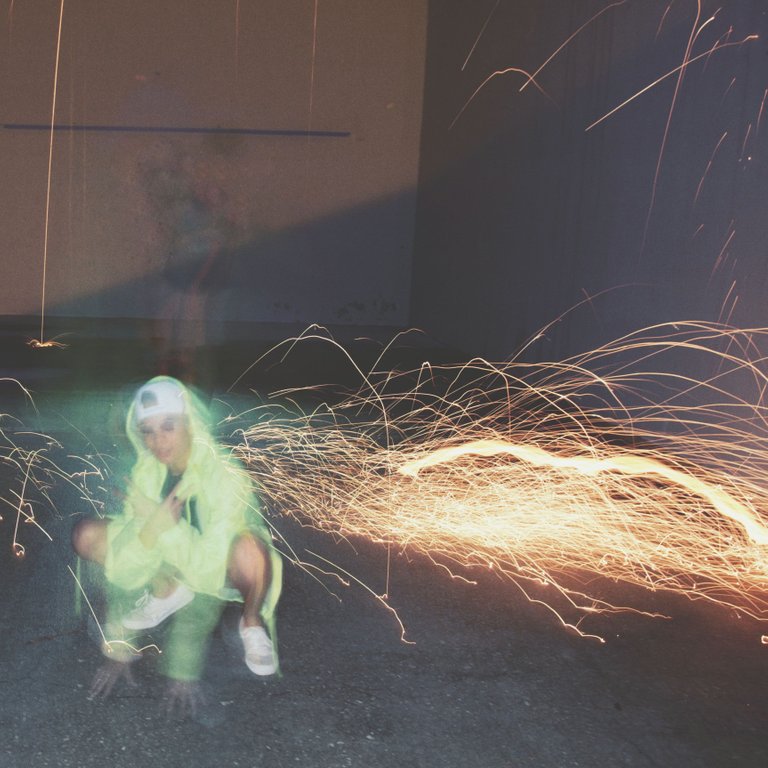
Connect the leash to the whisk, or if you’re using a rope, tie it to the end of the whisk. Make sure it’s secure enough that it can be spun around at high speeds. Now that you’ve assembled your weapon of mass destruction, it’s time for the fun to begin.
Fourth, set your camera to a long exposure. For each brand of camera, the way to do this is slightly different, but the best way to shoot steel wool is by following the rules of nighttime photography. Use the widest lens possible, with the smallest aperture to collect the most light. Most cameras will have a “BULB” mode, where the shutter will remain open for as long as you hold the button down. Set the shutter speed to 5 seconds minimum, or use BULB mode.
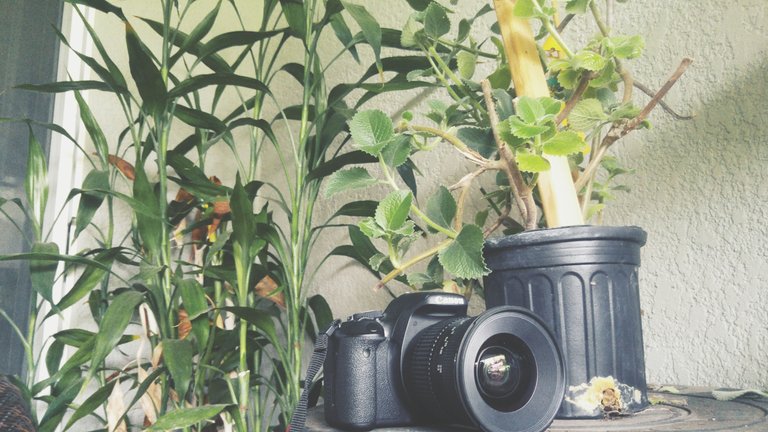
In my experience, I’ve found that the optimal time for shooting steel wool photos are anywhere from 5-10 seconds, taking the picture when there are a lot of sparks flying through the air. Ultimately, it’s up to proper timing. If you take the photo too soon, then you might miss the point in which the most amount of sparks are flying through the air. Likewise, if you take the photo too late, you might not have enough sparks flying during the photo, making it too dark.
Finally, you have your camera set just right, you’ve assembled your weapon of mass destruction. What now? Well, light it up. Hold the flame up to the wool until it glows orange. You do NOT need to wait until the wool is on fire to start swinging it around. When it does turn orange, it is easy to lose the spark if a gust of wind hits the wool. So whenever I see the wool turn orange, I usually shake the whisk around, to feed more oxygen to it while I put the lighter back in my pocket.
Now spin. Spin it like tomorrow doesn’t exist. When I did this for the first time last summer, I was immediately in awe of how magical it all felt. Then a few sparks landed on my shoulders and got burned a little bit. But it was all worth it for this.
PRO TIP: ALWAYS WEAR LONG SLEEVES, SOMETHING THAT WON’T CATCH FIRE.
Additional Help:
If you are doing steel wool photos solo, then you can buy a remote to trigger the camera from a distance.
The more 0’s a grade of steel wool has, the finer it is, meaning, the better the sparks will be when taking photos.
To use a 9-Volt battery other than a lighter is possible, but slightly more difficult. Hold it against the steel wool until it glows orange.
If you enjoyed this post, please be sure to upvote, reply, and follow me on my photography adventure!
Thanks!
I've seen steel wool photography before but I never knew how to do it. But now I know and will definitely try this in my future projects.
Congratulations @kava! You have completed some achievement on Steemit and have been rewarded with new badge(s) :
Click on any badge to view your own Board of Honnor on SteemitBoard.
For more information about SteemitBoard, click here
If you no longer want to receive notifications, reply to this comment with the word
STOPBy upvoting this notification, you can help all Steemit users. Learn how here!