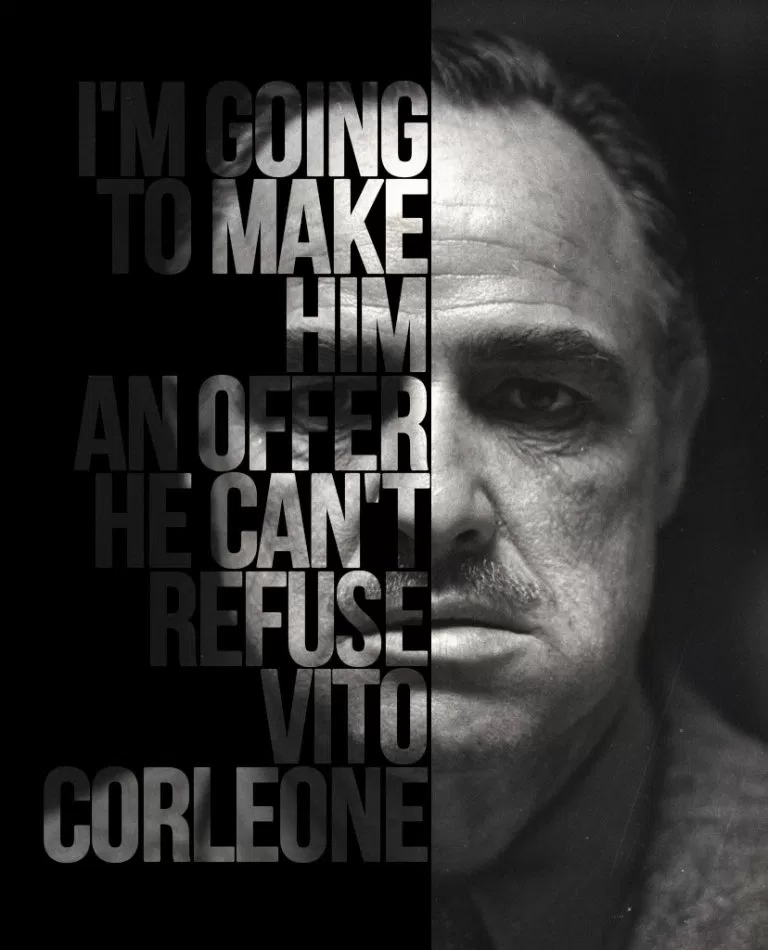
First, let's take a picture of the effect we will apply and a quotation we will use. The quote we will use in our class is "I'm going to make an offer for you can not refuse". Now it's time to choose our visual. Here's a good quality portrait photo we can use.
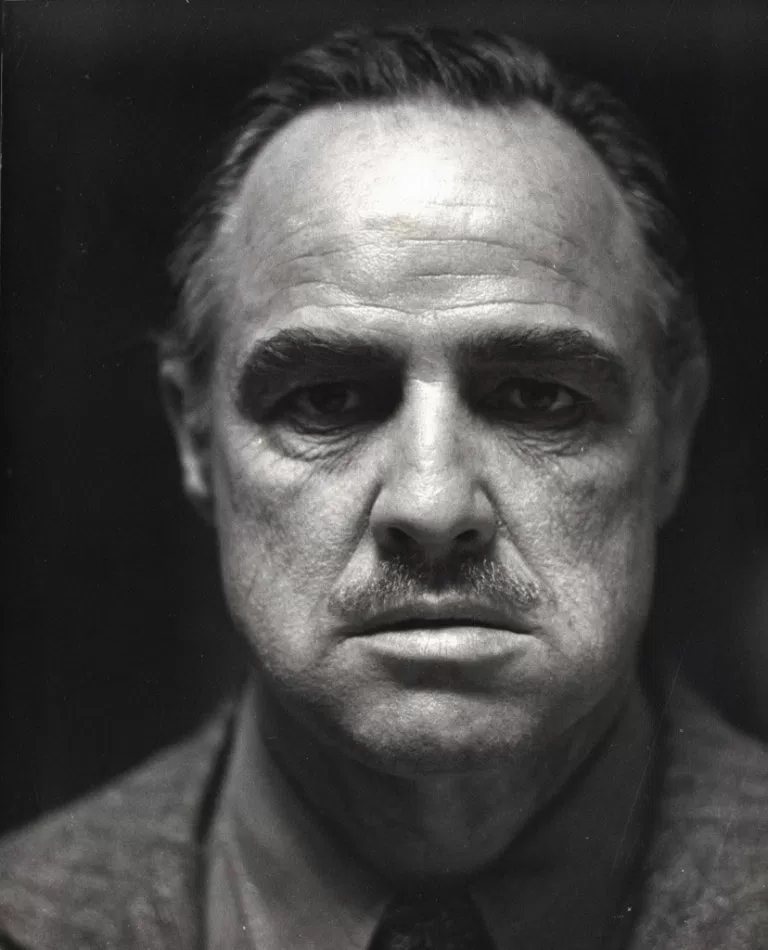
Here we go!
If you want to make Mario Puzo's other quotations, here's a few alternatives for you:
“Friendship is everything. Friendship is more than talent. It is more than the government. It is almost the equal of family.” ― Mario Puzo
“Great men are not born great, they grow great…” ― Mario Puzo
“Never hate your enemies. It affects your judgment.” ― Mario Puzo
“Revenge is a dish that tastes best when served cold.” ― Mario Puzo
“A friend should always underestimate your virtues and an enemy overestimate your faults.” ― Mario Puzo
“The lawyer with the briefcase can steal more money than the man with the gun.” ― Mario Puzo
“A man who doesn’t spend time with his family can never be a real man.” ― Mario Puzo
We're ready now. First, let's open our photo with Photoshop.
Step 1
We use the Morquee Tool shown below to select Marlon Brando's entire face on the left side to separate it from the center.

Step 2
After making the selection process, we click on the right button of the mouse in the relevant area and click on Layer via Cut in the pop-up window.
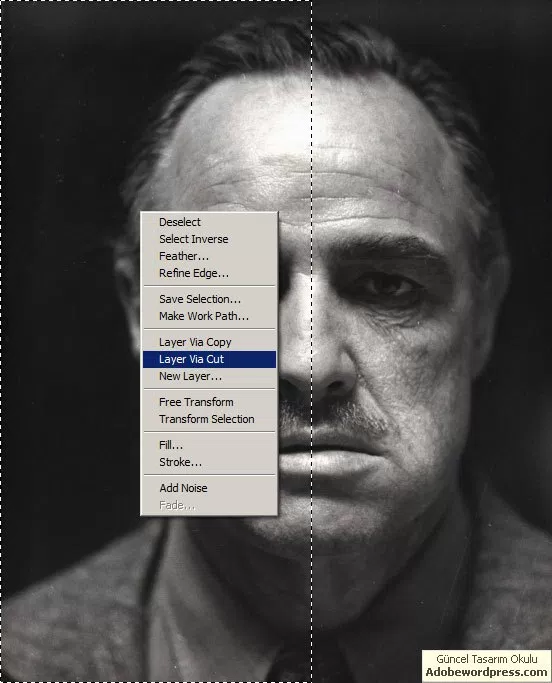
Step 3
So we split the photo into two. In the future we will leave the right side as it is and embark on our left side. As soon as you have two separate layers must be formed. At the bottom of these, we add an empty new layer and we are going to play politics. You can then update the layer name as Black Background.
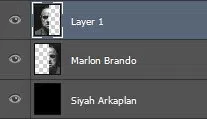
Step 4
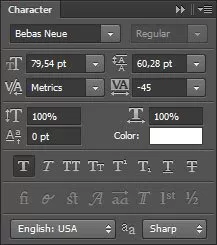
Now we continue by adding our writing. We do this with Photoshop's Type Tool photoshop-type-tool. The important thing here is to use a font that is bold and has a small letter spacing. Otherwise the details of your face may disappear. The font information we use in the example is as follows:
Step 5
Then we put the added text layer between the two hundred layers we have already prepared.
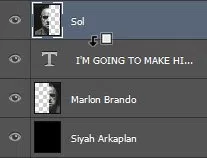
So much. Thus, we allow the left side of the face to be added on the text we add.
Result
