We are photographers. We love to capture everything we see in front of our eyes, either with our sophisticated mobile phones camera, mirrorless or DSLR or any other cameras we have in hand. But the well-known technique of long exposure photography refers to the ability of a camera to keep the shutter open long enough to continuously capture light, where the image will not be captured in a split second but will take seconds, minutes or even more.
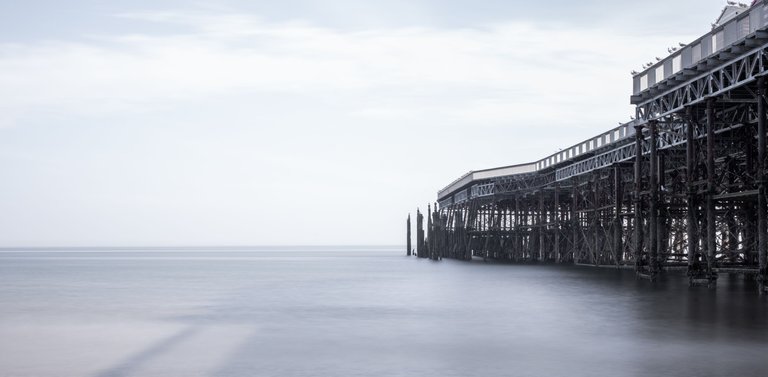
This technique is emerging in special to the photo devices with the ability to control the shutter speed (and other settings) manually, and the absolute cameras to have evolved with this ability are the DSLR's and mirrorless.
What we need to perform and things we know about long exposure photography
- A DSLR camera, mirrorless or any camera with the ability to manually control the shutter speed and other settings
- A prime or zoom lens (for DSLR and mirrorless cameras) without VR (vibration reduction) or with VR off.
- We need a tripod (mandatory)
- A subject in motion
- For daylight (or scenes with plenty of light), we need an ND filter.
- A shutter remote control (optional)
Let's cap this a bit. If your camera has the ability to manually control the shutter speed (all DSLR and Mirrorless has this ability), then it's a step forward. Some phones, compact cameras, GoPro cameras also can do that but are somehow limited.
We need this as the longer we keep the shutter open, the more light falls into our camera sensor.
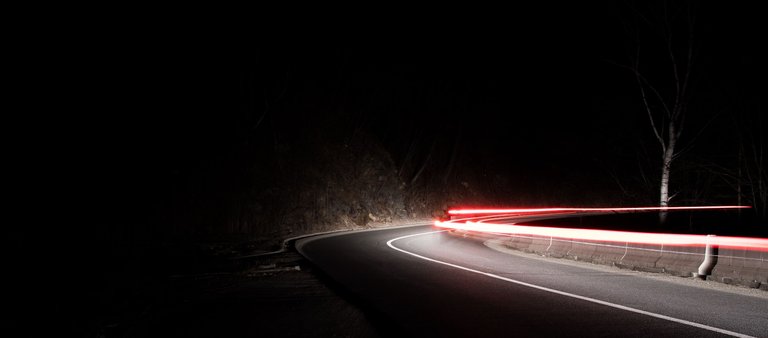
More the sensor will capture light, more details we can gather from a darker environment and the moving subjects will leave a trail (you need to match your settings to your scene, or the image will be either underexposed or overexposed).
Best to use long exposure photographs for:
- Astrophotography
- Waterfall / moving waters
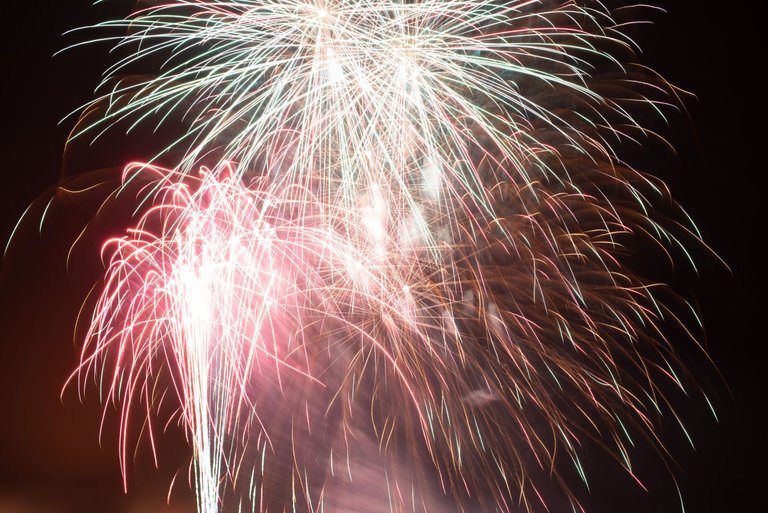
- Fireworks
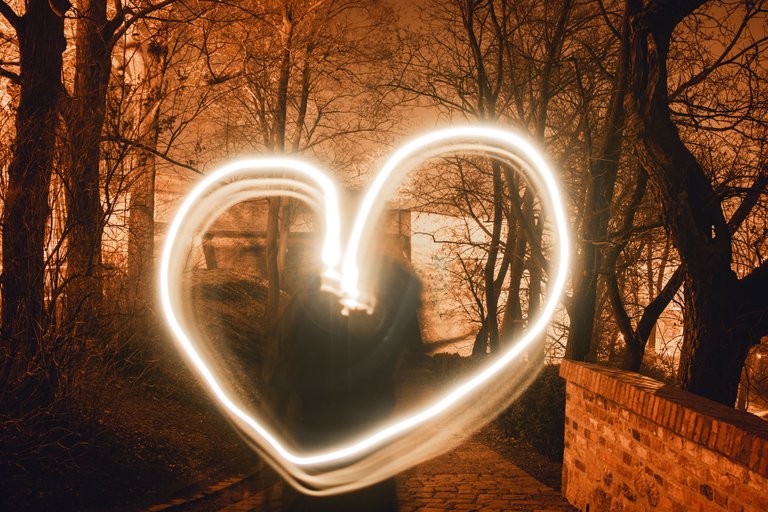
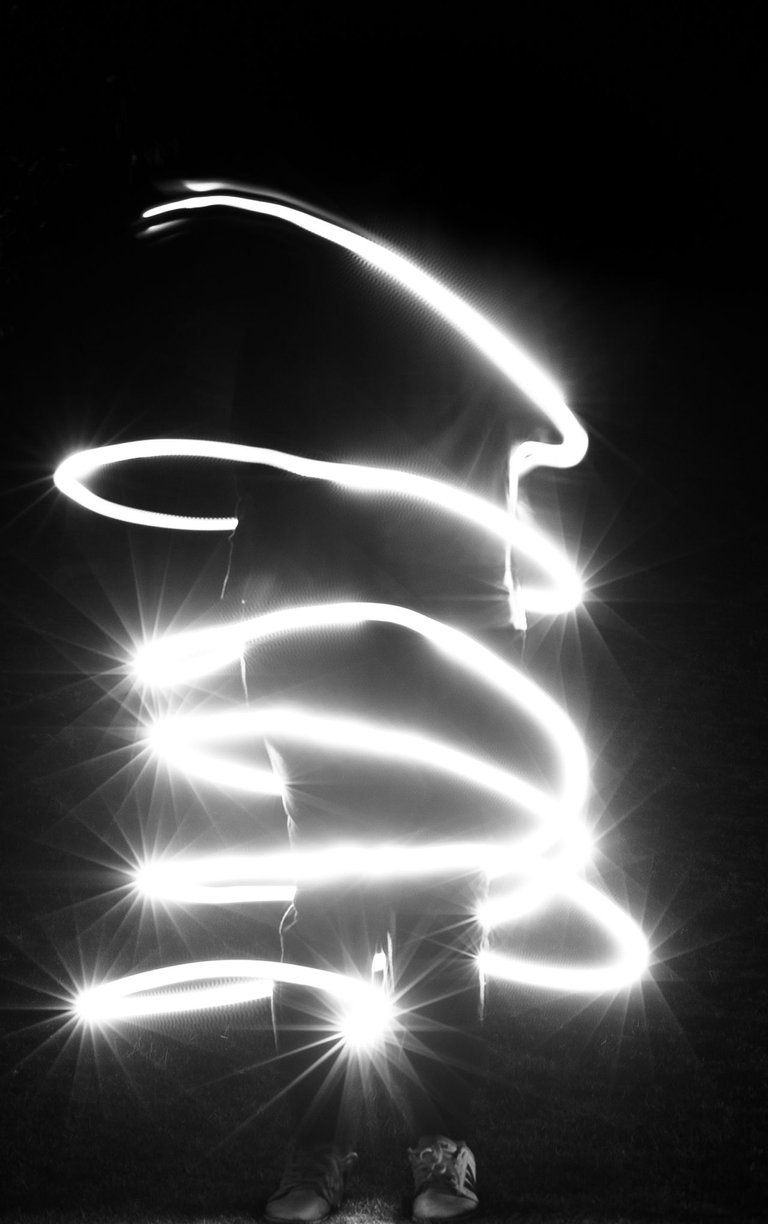
- Light trails / light painting
- Special effects into static images (e.g. trail of people walking on the street)
- there are an infinite number of situations where you can take advantage of the long exposure photography
The ND filter.
An ND (neutral density) is a filter to attach in front of a camera lens that blocks a large part of your light (90-99%+) in order to be able to capture long exposure photographs during either daytime or illuminated areas.
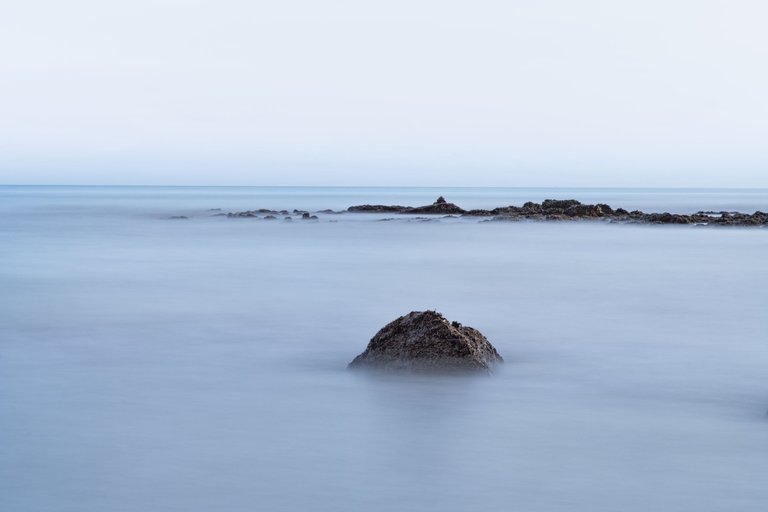
If we don't use an ND filter during the daytime, as an example, the camera sensor will capture too much light, and long exposure photography will simply not be possible.
There are two types of ND filters:
- circular ND filter
- square ND filter
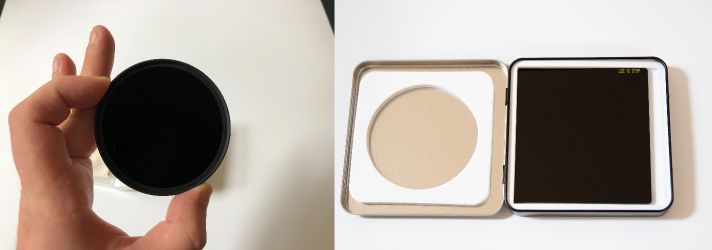
- The circular ND filter can be directly mounted on a lens with matching the lens diameter (e.g. for a 72mm lens diameter - not to be confused with the focal length - you will need an ND filter with a diameter of 72mm).
The advantage of circular ND filters is that it is much cheaper than a square one, but the disadvantage is that you will need multiple filters if you have multiple lenses.
- With the square ND filter, which is usually 100mm square, these can be placed on a holder attached to a ring with the diameter of the lens on one end and the diameter of the holder on the other end.
The advantage of a square ND filter is that you need a single filter for all your lenses and only the rings to match your lens diameter, allowing one square filter to be used on an infinite number of lenses. Still, the disadvantage is massive prices for a decent or good quality filter.
I owned both but always recommend the square one if you have more than one lens or you will change lenses in the future.
The lens for your DSLR or mirrorless camera
It doesn't really matter if you have a zoom lens or a prime lens, and the focal length will matter only in astrophotography.
But either lens you have, if you have the vibrance reduction (VR), you need to turn it off because your camera will attempt to stabilise the image continuously, making it impossible for long exposure photographs.
However, what also matters from a lens is the maximum aperture for astrophotography or the minimum aperture for a moderate or low light photograph without an ND filter.
In the case of astrophotography, having a large aperture lens (with smaller focal lengths) will allow you to gather as much light as possible from the stars in the shortest time before light trail will become visible (star trail).
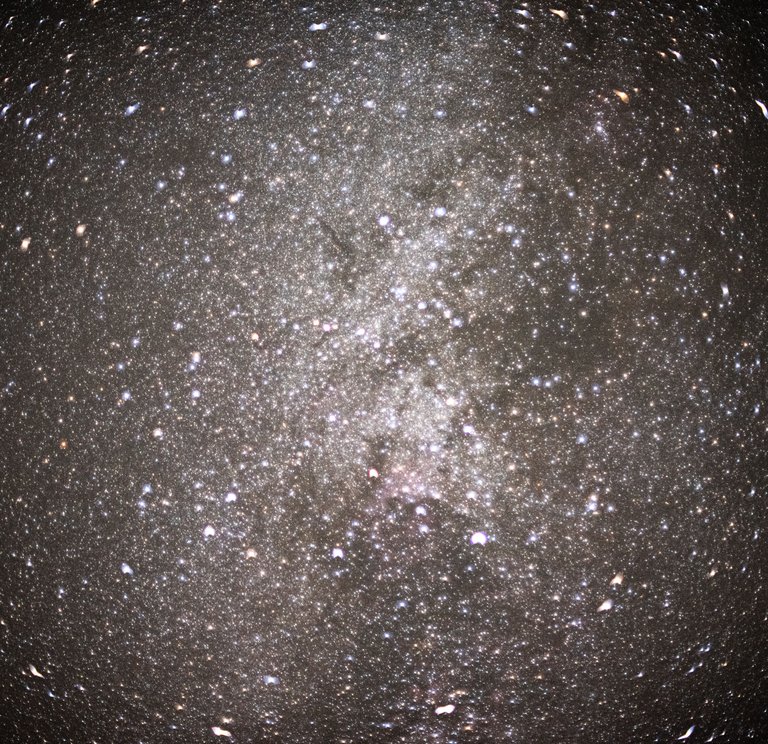
But other than that, any lens will be fine.
A tripod and subject in motion.
In the end, it wouldn't matter if you have all the setup and are ready to capture long exposure photographs; you won't be able to do it if you don't have a tripod. The camera will need to be perfectly steady, or another type of motion will be induced into the image, which will make the image all blurry.
And also, if you don't have a motion subject (except for astrophotography or night long exposures), there is nothing to capture in terms of prolonged exposure. For example, waterfalls, moving people, flowing rivers, the sea, cars (for car light trails) or painting in the air with a light all are motion subjects.
The shutter remote control
The shutter remote control will allow you to trigger the camera shutter remotely (either wired or wireless shutter remote), which will prevent you from touching the camera and inducing vibration when you attempt to capture long-exposure images.
This is optional as an alternative is for you to use a photo timer from your camera settings (e.g. 5 seconds).
What are the best settings for long exposure photography, and what else do we need to know?
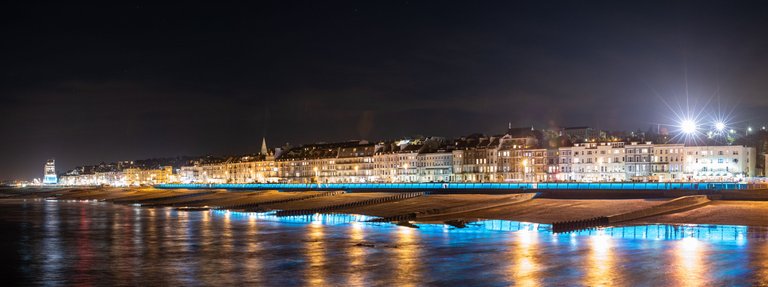
I will try to make this as simple as possible:
Always set the ISO to 100 (or the lowest setting) as we will get an abundant amount of light into our camera sensor and lower the ISO = less light, also lower the ISO = less noise.
Of course, the exception would be astrophotography (I will try to cover this in another post).Preferrable to use the MIRROR-UP technique - The mirror-up is a setting where the shutter of a DSLR will trigger in two stages: will set the mirror up and then open the sensor - this is used for long exposure photography in order to reduce and ultimately eliminate vibration resulted from a slamming shutter.
Step down your aperture to an f/8-f/13+ to reduce the amount of light and extend the shutter timing (except astrophotography or in some cases, night photography).
Always attempt multiple captures to find the perfect time to keep your shutter open in order to avoid any underexposure or overexposure of the image, with a fixed setting of ISO and Aperture.
Ensure your tripod is set on a stable surface (e.g. not sand, wooden decking or floor where people walk, at a reasonable distance from cars etc.) to avoid vibrations.
Optionally, post-process your images to give them a bit of vibe.
There are more techniques and settings you may have to consider, and of course, you can improve with practice. But this is all this comes into my mind right now.
This post is an original article I wrote and published ONLY on this platform. All the photographs are originally taken by me.
Author: lovelyscape (Gabriel Mihalcea)


On Hive: lovelyscape
My Blog: lovelyscape.com
My Personal Landing Page
- P I N M A P P L E -
Discord: lovelyscape#9039



@lovelyscape I am very interesting with your tutorial, even I can learn a lot with it, and I always try to get the best results for my long picture, because honestly I am more active roaming at night, but some pictures I haven't got the best results, but me Will continue to try it and can learn a lot on your tutorial, thank you for wanting to share and tell it here.
I will try to write as many tutorials as I can.
Wishing you all the best,
Gabriel.Thanks a lot @benk07, I am really glad I could help and thank you for your appreciation. I am sure that with good directions and practice you will manage to capture stunning photographs.
@lovelyscape I am happy to continue reading your next post.