Introduction
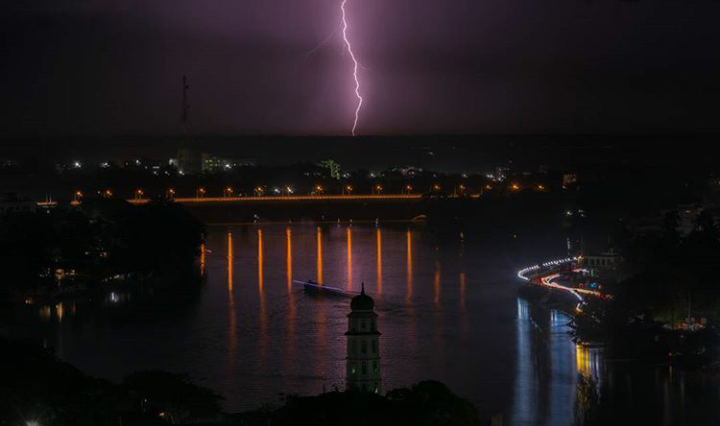
Lightning photography is both one of the most tricky and one of the most rewarding types of photography. Some reasons which come to my mind for saying this are: 1) You get only one chance for the particular situation - it is not like portrait photography
Equipment:
-SLR camera with B-shutter speed (preferably SLR; you might try using your digital camera, if it has B mode, but this is much more difficult)
-lenses ranging from 28mm to 135mm at minimum. Fixed-focal lenses are preferred over zoomlenses. Aperture ranges should be f/2.8 - f/22.
-sturdy tripod (metal or plastic doesn't make any difference whatsoever at all in safety - if lightning is so close by, you are in trouble anyway)
-cable release, which can be locked
Slow-speed film: 100 or 200 ISO
Location:
Location is important where you setup the equipment. You can choose to photograph at your own house, if you are lucky enough to have a nice view. Or you can choose to go outside on the street, or on a sidewalk, to practice.
The technique::
This is very simple, even though many people at first don't understand how anyone can be so fast in triggering the shutter release after seeing lightning. The trick is, you don't do that, because you will photograph lightning during the night (indeed daytime lightning photography is quite a challenge). You make use of the B shutter speed mode, which will leave the camera shutter open as long as you want, and you wait for lightning to occur in the frame.
The camera should be on a tripod, with a cable release: it should not move at all during the exposure, or the photo will be blurred.
So,lightning photography is nothing more than setting up your equipment at night, setting focus to infinity, selecting the proper film speed and aperture, and open the shutter. Then wait for lightning, and when lightning occurs within your camera's view, you close the shutter (by unlocking the cable release) and advance the film for the next frame.
Complications arise, however, because you also have to deal with ambient light - light pollution, cloud movement and such - which will give your photos a look you may or may not want. The maximal exposure in cities is very limited, sometimes less than 30 seconds or so. If lightning is inactive, you'd spend a lot of film without lightning that way. Also, the correct exposure is still dependent on the film speed and aperture setting - it is the aperture setting which is one of the crucial factors determining the difference between good and mediocre photos. Another factor is composition.
If lightning is very far away, say > 50 km, you will have to use a fast film, such as 400 ISO. Such lightning is in general not very spectacular to photograph, but you can practice anyway.
If you have lenses which show coma at low apertures, you will have to use a faster film and higher aperture. Coma can really ruin a photo.
http://www.weatherscapes.com/techniques.php?cat=lightning&page=lightning
I'm going to have to try this out with my new DSLR when it arrives, thanks for the tip!
Super post. That has always been a big mystery to me how that works. Thanks
benchod