Hey there, humans from steemit! In the last few weeks I've been posting this kind of pictures on Instagram and a lot of people keep asking me about it.
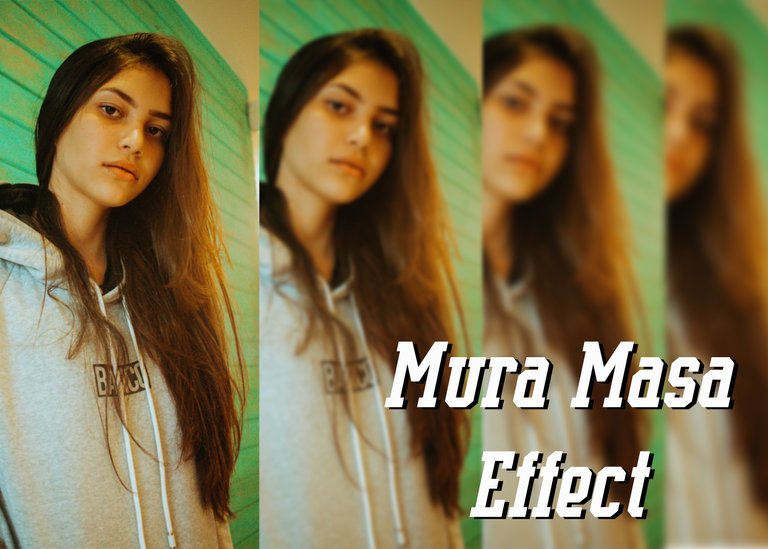
This stereoscopic photos, also known as "Mura Masa effect" became popular after the musical producer Mura Masa's video "What If I go?" came out.
Now, I'll show you a little tutorial about how to perform this effect using the burst mode of any DSLR camera, semi-profesional camera or even some cell phones.
Step #1: The shot.
You must consider that for the 3D effect, there must be a distance between the protagonist and the background of the composition.
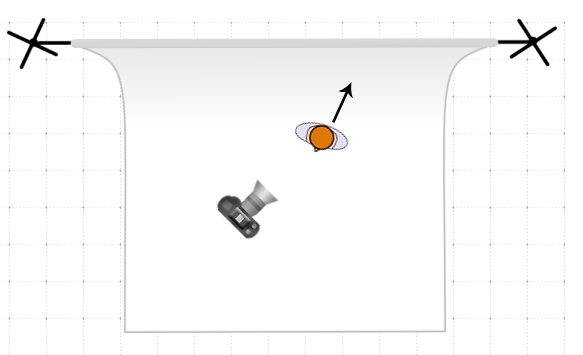
Distance between the photo subject and our background.
Step #2: The beginning and the end.
You must stay static in one place and keep the main subject centered, this while doing a half moon movement with the camera when you take the pictures.
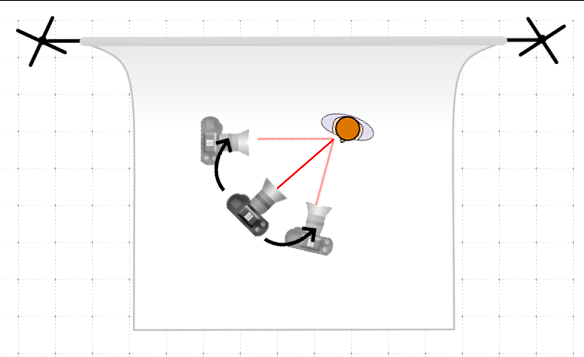
Scheme that exemplifies the movement of arch or half moon that is made in the photographic subject without losing the center of attention.

Movement made in the original photograph of this post.
Step #3: Line up and order up.
Now, lining up the images using as a reference the eyes, nose, an accessory or some detail of the clothes. After importing the images into photoshop we place them on a layer in the same project and once again in a timeline, we can find the function in the "window" menu.
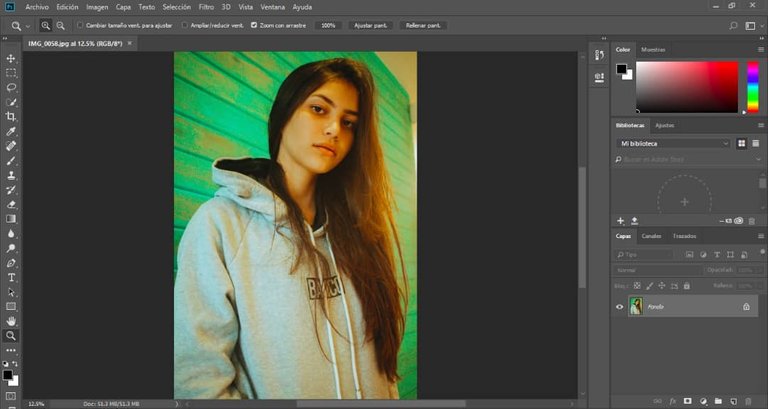
First photo of the opened secuence on photoshop.
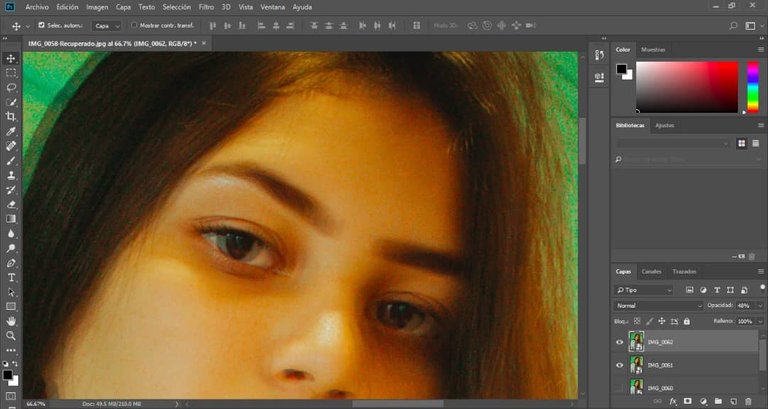
All the photographs superimposed in the first one, we set the opacity of the photo at 50% so that became semi-transparent and can be aligned with the lower layer photo.
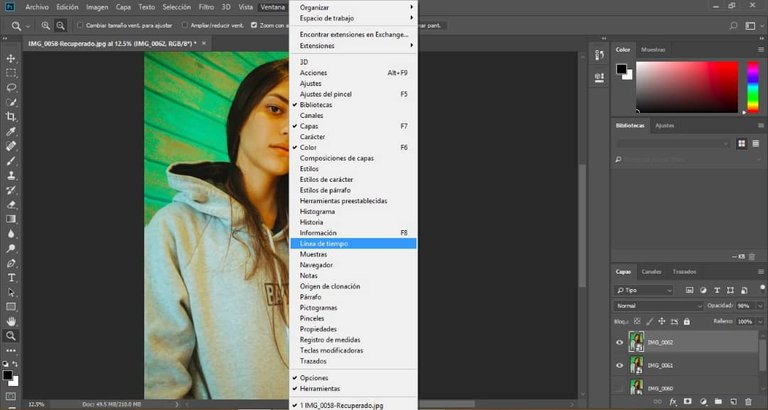
We open the timeline in adobe photoshop to build the steps of the GIF.
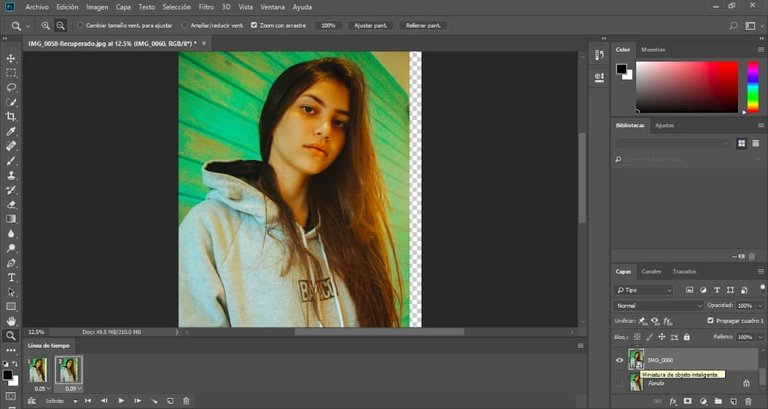
In the first box of the animation we put in visualize (the eye icon next to the layer) the first photograph, we create the second step of the animation in the timeline and we put in visualize the second photograph and so on with the rest of the pictures.
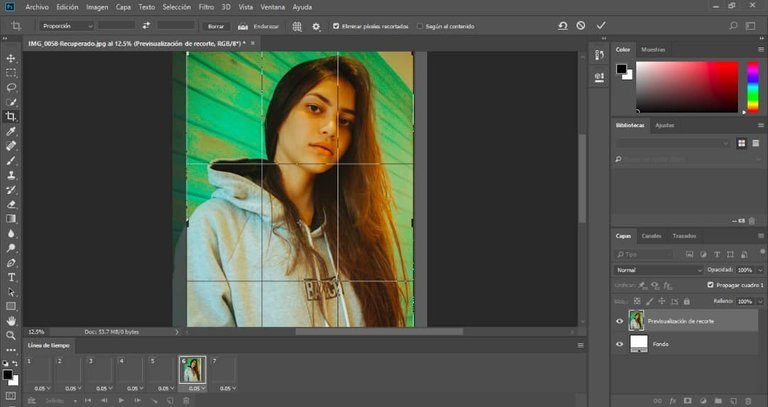
After clicking on the last photograph, for example, photo 6, we continue creating layers in reverse, that is, the previous photograph would come and so on in reverse until photograph number 2. After this we will use the clipping tool to reframe the leftovers of photography.
Step #4: Export.
For this we will export for web in .GIF format and we will mark the box of infinite repetition, here we can adjust the quantity of colors or the resolution of the photograph to adapt it to the social network or any purpose that they require, in this case it was exported for stories of Instagram.
Final result of the Mura Masa effect.
Here you go guys! This has been all for this tutorial, I hope you've learned something new, If you have any questions you can ask me in the comments.


yes very nice thank you, lovely effect. I will add it to our tutorials!
Thanks!
This post was shared in the Curation Collective Discord community for curators, and upvoted and resteemed by the @c-squared community account after manual review.
Just when you thought you've seen everything! Thanks for sharing!